manuals.online logo
Brands
  1. Home
  2. •
  3. Brands
  4. •
  5. AmazonBasics
  6. •
  7. Bathroom Fixture
  8. •
  9. AmazonBasics B088Y221P7 User manual

AmazonBasics B088Y221P7 User manual

B088Y221P7
Toilet Paper Holder - Commercial Recessed, Black
Porte-Papier Hygiénique - Encastré à Usage Commercial, Noir
Toilettenpapierhalter - Handelsüblich Eingelassen, Schwarz
Portarotolo Carta Igienica - Incasso a Parete, Colore Nero
Portarrollos para Papel Higiénico - Empotrado para Uso Comercial, Negro
WC-Papierhouder - Commercieel Ingebouwd, Zwart
トイレットペーパーホルダー-商業用リセス済み、黒
This product contains small items that could be a choking hazard if swallowed. Keep these items away from young children.
• Make sure these instructions are read and completely understood before attempting installation.
If you are unsure of any part of this installation, please contact a professional installer for assistance.
A (1x) B (1x) C (1x) D (2x) E (1x)
CAUTION
01
Step 4: Ensure toilet paper holder is tight and secure.
Step 3: Carefully attach the toilet paper holder (C) to the mount (B) with the included screws (D).
5-1/8 inch (130 mm)
5-1/8 inch (130 mm)
B
A
B
B
A
C
D
1
3
4
2
Step 1: Cut a 5-1/8 in. (130mm) x 5-1/8 in. (130mm) hole in wall using a drywall saw or utlilty knife. If there is
a preexisting hole, ensure hole is 5-1/8 in. (130mm) x 5-1/8 in. (130mm). Make adjustments to
preexisting hole size as needed.
Step 2: Rotate spring (A) on to back of toilet paper holder mount (B). Insert mount into hole and center mount
left to right and top to bottom. The spring will keep the mount in place.
Step 5: The toilet paper roll holder is spring loaded. Insert one end into the opening on one side of the holder,
insert the other end into the remaining opening and spring into place.
Step 6: Installation is complete. Add toilet paper (not included).
5
6
02
Reportez-vous aux schémas de la page 01 Siehe Diagramme auf Seite 01
WarrantyInformation
To obtain a copy of the warrantyfor this product:
US:amazon.com/AmazonBasics/Warranty
UK:amazon.co.uk/basics-warranty
US: +1-866-216-1072 / UK: +44(0) 800-279-7234
Feedback and Help
Love it? Hate it?Let us know with acustomer review.
US: amazon.com/review/review-your-purchases#
UK: amazon.co.uk/review/review-your-purchases#
US: amazon.com/gp/help/customer/contact-us
UK: amazon.co.uk/gp/help/customer/contact-us
DE
Gewährleistung
EineKopie der Gewährleistung für dieses Produkt erhalten Sieunter:
amazon.de/basics-garantie
DE:+49 (0) 800-363-8469 / AT: +430800-8866-3238
Feedback und Hilfe
Gefällt es Ihnen? Gefällt es Ihnen nicht? Dann bewerten Sie das Produkt auf unserer
Webseite!
amazon.de/review/review-your-purchases#
amazon.de/gp/help/customer/contact-us
Vorsicht
Dieses Produkt enthält Kleinteile, die eine Erstickungsgefahr darstellen können,
wenn sie verschluckt werden. Halten Sie diese Teile von Kleinkindern fern.
• Stellen Sie sicher, dass Sie diese Bedienungsanleitung gelesen und
vollständig verstanden haben, bevor Sie mit der Montage beginnen.
Falls Ihnen irgendein Teil dieser Installation unklar ist, wenden Sie sich
bitte an einen professionellen Montagetechniker.
FR
Informations Sur LaGarantie
Pour obtenirune copie de lagarantie portant sur ce produit :
FR : amazon.fr/basics-garantie
CA : amazon.ca/AmazonBasics/Warranty
FR : +33 (0) 800-947-715 / CA :+1-877-586-3230
Vos Avis et Aide
FR :amazon.fr/review/review-your-purchases#
CA : amazon.com/review/review-your-purchases#
FR :amazon.fr/gp/help/customer/contact-us
CA : amazon.ca/gp/help/customer/contact-us
Attention
Ce produit contient de petites pièces susceptibles de constituer un risque d’étouffement
en cas d’ingestion. Maintenez ces pièces hors de la portée des jeunes enfants.
•Veillez à bien lire et assimiler complètement les présentes instructions avant de
commencer l’installation. En cas de doute concernant toute étape de l’installation,
veuillez prendre contact avec un installateur professionnel afin de recevoir de l’aide.
Étape 5 : Le porte-rouleau de papier hygiénique est actionné par un ressort. Insérez
une extrémité dans une ouverture d'un des côtés du support, insérez l'autre
extrémité dans l'ouverture suivante et enclenchez le ressort en position.
Étape 6 : l'installation est achevée. Ajoutez du papier hygiénique (non inclus).
Étape 4 : assurez-vous que le porte-papier hygiénique est bien fixé.
Étape 3 : Fixez soigneusement le porte-papier hygiénique (C) au support (B) à l'aide
des vis fournies (D).
Étape 1 : Découpez un trou de 5-1/8 pouces (130 mm) x 5-1/8 pouces (130 mm) dans
le mur à l'aide d'une scie à cloisons sèches ou d'un couteau pour travaux. S'il
y a un trou préexistant, assurez-vous que le trou est de 5-1/8 pouces
(130 mm) x 5-1/8 pouces (130 mm). Ajustez la taille des trous préexistants
selon vos besoins.
Étape 2 : Faites tourner le ressort (A) à l'arrière du support du porte-papier
hygiénique (B). Insérez le support dans le trou et centrez le support de gauche
à droite et de haut en bas. Le ressort maintient le support en place.
Schritt 5: Der Toilettenpapierrollenhalter ist federbelastet. Stecken Sie ein Ende in
die Öffnung auf der einen Seite des Halters, stecken Sie das andere
Ende in die verbleibende Öffnung und lassen Sie es einrasten.
Schritt 6: Die Installation ist nun abgeschlossen. Legen Sie Toilettenpapier
ein (nicht enthalten).
Schritt 4: Stellen Sie sicher, dass der Toilettenpapierhalter fest und sicher hält.
Schritt 3: Befestigen Sie den Toilettenpapierhalter (C) sorgfältig mit den
mitgelieferten Schrauben (D) an der Halterung (B).
Schritt 1: Schneiden Sie mit einer Trockenbausäge oder einem Universalmesser
ein 5-1/8 Zoll (130 mm) x 5-1/8 Zoll (130 mm) großes Loch in die
Wand. Falls bereits ein Loch existiert, stellen Sie sicher, dass dieses
Loch 5-1/8 Zoll (130 mm) x 5-1/8 Zoll (130 mm) groß ist. Nehmen Sie
gegebenenfalls Anpassungen der bereits vorhandenen Lochgrößen vor.
Schritt 2: Drehen Sie die Feder (A) auf die Rückseite der Halterung (B) des
Toilettenpapierhalters. Führen Sie die Halterung in das Loch ein und
zentrieren Sie die Halterung von links nach rechts und von oben nach
unten. Die Feder wird dafür sorgen, dass die Halterung an ihrem Platz
bleibt.
Fare riferimento agli schemi a pagina 01
01ページの図を参照してください。
03
IT
Informazioni Di Garanzia
Per ottenere una copia della garanzia del prodotto:
amazon.it/basics-garanzia +39 (0) 800-628-805
Feedback e Aiuto
Ti piace? Oppureno?Faccelo sapere scrivendo la tua recensione.
amazon.it/review/review-your-purchases#
amazon.it/gp/help/customer/contact-us
Attenzione
Questo prodotto contiene elementi di piccole dimensioni che potrebbero causare il
rischio di soffocamento se ingeriti. Tenere questi elementi fuori dalla portata dei
bambini.
• Assicurarsi di leggere e comprendere integralmente queste istruzioni prima di
tentare l'installazione. In caso di dubbi su qualsiasi parte dell’installazione,
contattare un tecnico professionista per richiedere assistenza.
JP
Comentarios y Ayuda
¿Le encanta? ¿No legusta nada? Escriba una opinión como cliente.
ES: amazon.es/review/review-your-purchases#
MX:amazon.com.mx/review/review-your-purchases#
ES: amazon.es/gp/help/customer/contact-us
MX:amazon.com.mx/gp/help/customer/contact-us
ES: +34 (0) 900-803-711 / MX:+52(0) 442-348-9587
Información Sobre La Garantía
Para obtener una copia de la garantía de este producto:
ES: amazon.es/basics-garantia
注意
本製品は飲み込めば窒息の危険性のある小さいパーツを含んでい
ます。これらは小さいお子様から遠ざけてください。
•取り付けを試みる前にこれらの指示をしっかり読み、完全に
理解してください。これらの指示の中で少しでも不確かな部
分があれば、プロの取り付け業者にご連絡ください。
Consulte los diagramas de la página 01
ES
Atención
Este producto incluye objetos pequeños que pueden suponer un peligro de asfixia si
se ingieren. Manténgalos alejados de los niños.
• Asegúrese de leer y comprender completamente estas instrucciones antes de
proceder a la instalación. Si no está seguro de alguno de los pasos de esta
instalación, contacte con un contratista profesional para que le ayude.
Zie de afbeeldingen op bladzijde 01
NL
Garantie Informatie
Om een kopie van degarantie voordit product te krijgen:
amazon.nl/basics-garantie +31 8000227380
Feedback en Hulp:
Vind je het leuk? Vind je het niet leuk?Beoordeel het product dan op onze website!
amazon.nl/review/review-your-purchases#
amazon.nl/gp/help/customer/contact-us
Opgelet
Dit product bevat kleine onderdelen die verstikking kunnen veroorzaken wanneer ze
worden ingeslikt. Houd deze onderdelen uit de buurt van kleine kinderen.
•Zorg ervoor dat u deze instructies leest en volledig begrijpt voordat u aan de
slag gaat. Als u twijfels hebt bij een deel van deze installatie, kunt u voor hulp
contact opnemen met een professionele installateur.
Passo 5: il portarotolo di carta igienica è caricato a molla. Inserire un’estremità
nell’apertura su un lato del portarotolo e inserire l’altra estremità nella parte
restante dell’apertura e mettere la molla in posizione.
Passo 6: l’installazione è completa. Aggiungere il rotolo di carta igienica (non incluso).
Passo 4: Assicurarsi che il portarotolo di carta igienica sia ben fissato e sicuro.
Passo 3: Fissare accuratamente il portarotolo di carta igienica (C) al supporto (B)
tramite le viti fornite (D).
Passo 1: Praticare un foro di 5-1/8 pollici (130 mm) x 5-1/8 pollici (130 mm) nella
parete utilizzando un seghetto per cartongesso o un coltello multiuso. Se è
già presente un foro, assicurarsi che la dimensione del foro corrisponda a
5-1/8 pollici (130 mm) x 5-1/8 pollici (130 mm). Correggere la dimensione
del foro preesistente, se necessario.
Passo 2: Ruotare la molla (A) sulla parte posteriore del supporto del portarotolo di
carta igienica (B). Inserire il supporto nel foro e centrarlo in modo che sia
equidistante sul lato destro e sinistro e nella parte inferiore e superiore. La
molla mantiene il supporto in posizione.
Paso 5: El portarrollos se carga mediante resorte. Inserte un extremo en la abertura
de un lado del soporte, el otro extremo en la abertura restante y coloque el
resorte.
Paso 6: Se ha completado la instalación. Añada el rollo de papel (no incluido).
Paso 4: Asegúrese de que el portarrollos esté tenso y fijo.
Paso 3: Coloque el portarrollos (C) con cuidado al soporte (B) con los tornillos
incluidos (D).
Paso 1: Corte un agujero de 5-1/8 pulgadas (130 mm) x 5-1/8 pulgadas (130 mm)
en la pared con una sierra para paneles de yeso o con un cuchillo. Si ya
existe un agujero, compruebe que es de 5-1/8 pulgadas (130 mm) x
5-1/8 pulgadas (130 mm). Si fuera necesario, ajuste el agujero ya existente.
Paso 2: Gire el resorte (A) de la parte posterior del soporte del portarrollos (B). Inserte
el soporte en el orificio y céntrelo de izquierda a derecha y de arriba a abajo.
El resorte mantendrá el soporte fijo.
ステップ1:乾式壁鋸または実用ナイフを使用して、壁に5-1/8
インチ(130mm)x5-1/8インチ(130mm)の穴を
空けます。すでに穴が空けてある場合は、穴が5-1/8
インチ(130mm)x5-1/8インチ(130mm)であるか
確認します。必要な場合、すでに空いている穴のサイ
ズを調節します。
ステップ2:スプリング(A)を取りレットペーパーホルダー取付
部(B)の後部まで回転させます。取付部を穴に差し
込み、取付部を左から右に、および上下に動かして
中央に寄せます。取付部がスプリングでしっかり固
定されます。
Stap 5: De WC-papierrolhouder is uitgerust met een veermechanisme. Steek één
uiteinde in het gat aan één kant van de houder. Steek het ander uiteinde
in het andere gat en de veer komt op zijn plaats vast te zitten.
Stap 6: De installatie is voltooid. Breng WC-papier aan (niet inbegrepen).
Stap 4: Zorg dat de WC-papierhouder stevig vastzit.
Step 3: Maak de WC-papierhouder (C) voorzichtig aan de beugel (B) vast met behulp
van de inbegrepen schroeven (D).
Stap 1: Maak een gat van 5-1/8 inch (130 mm) x 5-1/8 inch (130 mm) in de muur
met behulp van een gipsplaatzaag of een afbreekmes. Als er reeds een gat
aanwezig is, controleer of het 5-1/8 inch (130 mm) x 5-1/8 inch (130 mm)
groot is. Indien nodig, maak de nodige aanpassingen aan het reeds
bestaande gat.
Step 2: Draai de veer (A) vast aan de achterkant van de beugel (B) van de
WC-papierhouder. Breng de beugel in het gat aan en zorg dat deze zich
zowel horizontaal als verticaal mooi in het midden bevindt. De veer houdt
de beugel op zijn plaats.
04
保証について
この製品の保証書のコピーを入手するには:
amazon.jp/AmazonBasics/Warranty
+81 (0) 120-899-276
フィードバックとサポート
気に入っていただけましたか?お気に召しませんでしたか?カスタ
マーレビューでお知らせください。
amazon.jp/review/review-your-purchases#
amazon.jp/gp/help/customer/contact-us
中国製
HECHO EN CHINA
GEMAAKT IN CHINA
PRODOTTOIN CINA
HERGESTELLT IN CHINA
FABRIQUÉ EN CHINE
MADE IN CHINA
ステップ5:トイレットペーパーロールホルダーはスプリング懸
架式です。開口部の一方をホルダーの他方に差し込
み、他方をもう一方の開口部とスプリングに差し込
み固定します。
ステップ6:取付完了です。トイレットペーパーを入れます(別売)。
ステップ4:トイレットペーパーホルダーが締め付け固定されて
いるか確認します。
ステップ3:トイレットペーパーホルダー(C)を付属ネジ(D)
で取付部(B)に慎重に固定します。

Other AmazonBasics Bathroom Fixture manuals

AmazonBasics B0775YFK36 User manual

AmazonBasics

AmazonBasics B0775YFK36 User manual

AmazonBasics B07FHBYWPY Operating and safety instructions

AmazonBasics

AmazonBasics B07FHBYWPY Operating and safety instructions

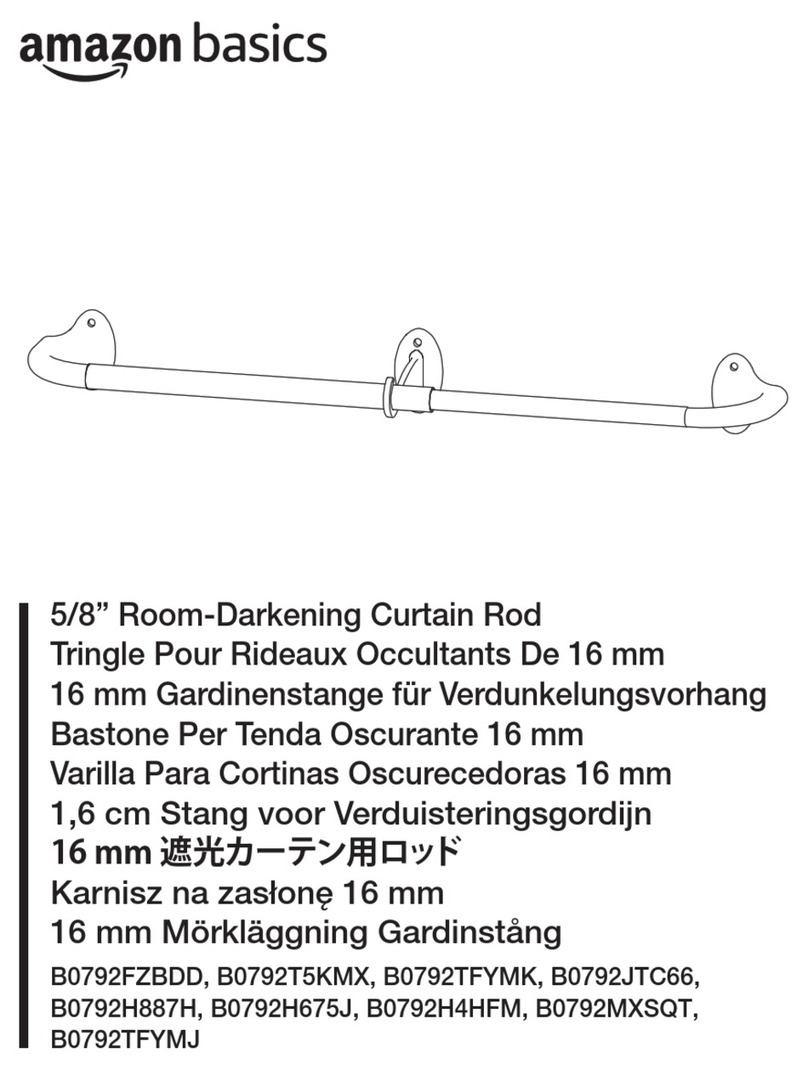
AmazonBasics B0792FZBDD User manual

AmazonBasics

AmazonBasics B0792FZBDD User manual

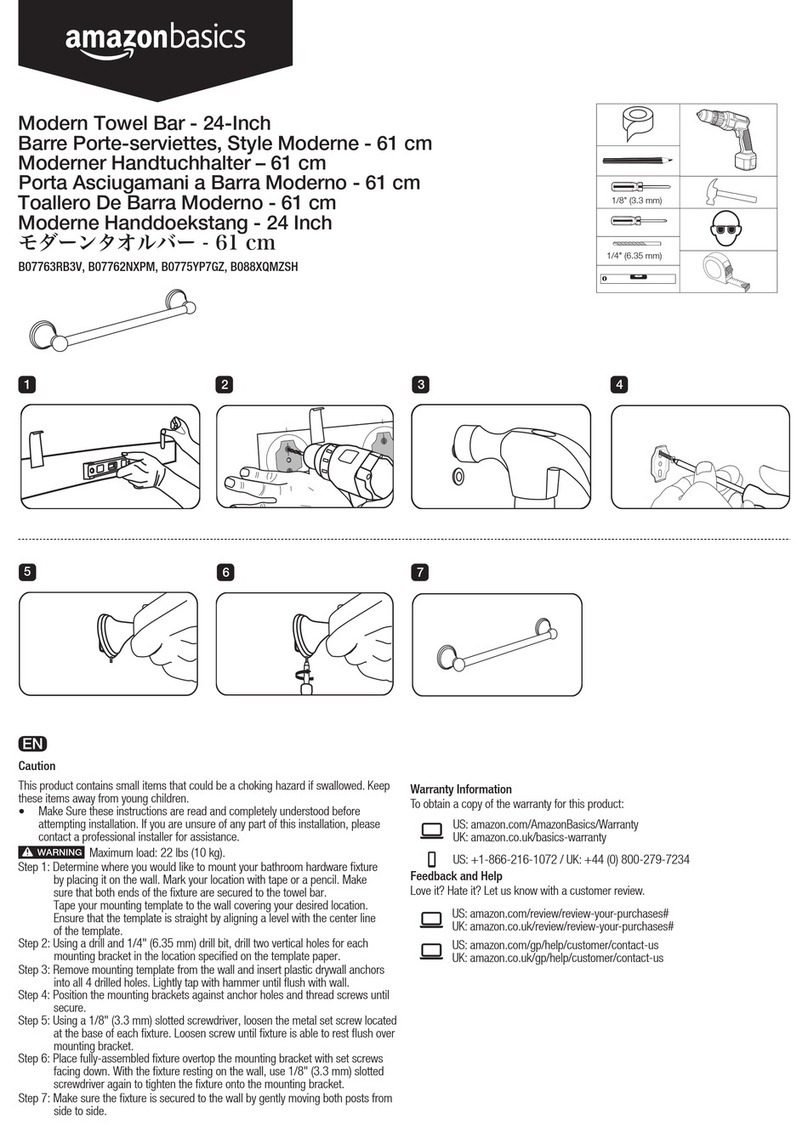
AmazonBasics B07763RB3V User manual

AmazonBasics

AmazonBasics B07763RB3V User manual

AmazonBasics B07FHBYWPY User manual

AmazonBasics

AmazonBasics B07FHBYWPY User manual

AmazonBasics B079LL22TC User manual

AmazonBasics

AmazonBasics B079LL22TC User manual

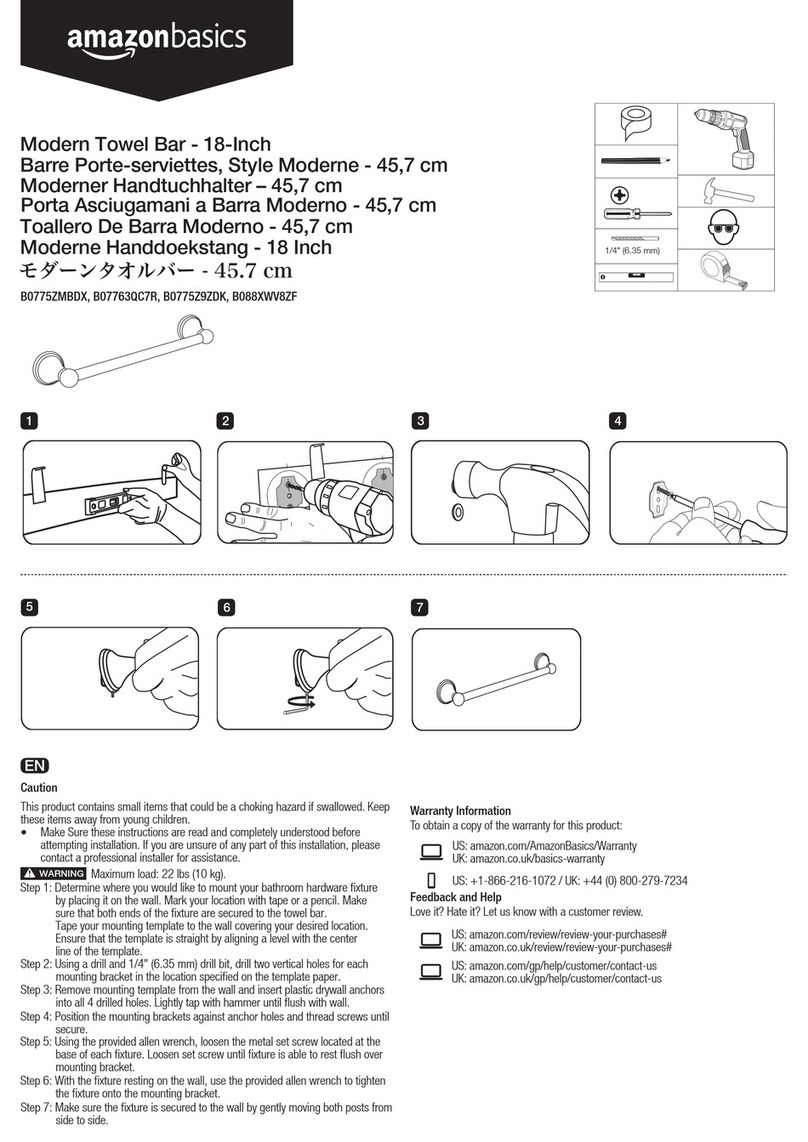
AmazonBasics B0775ZMBDX User manual

AmazonBasics

AmazonBasics B0775ZMBDX User manual

AmazonBasics B07F288Z1B User manual

AmazonBasics

AmazonBasics B07F288Z1B User manual

AmazonBasics B07RS44KQN Operating and safety instructions

AmazonBasics

AmazonBasics B07RS44KQN Operating and safety instructions

Popular Bathroom Fixture manuals by other brands

newform 67620E instructions

newform

newform 67620E instructions

WilTec 61836 Operation manual

WilTec

WilTec 61836 Operation manual

Delinia THOMAS instruction manual

Delinia

Delinia THOMAS instruction manual

Bradley Advocate AV Series Installation

Bradley

Bradley Advocate AV Series Installation

newform 695 instructions

newform

newform 695 instructions

Zenna Home 35604BN installation instructions

Zenna Home

Zenna Home 35604BN installation instructions

Miomare WC-SITZ Assembly instructions

Miomare

Miomare WC-SITZ Assembly instructions

URIDAN ADMIRAL KH-10 installation instructions

URIDAN

URIDAN ADMIRAL KH-10 installation instructions

Hans Grohe ShowerTablet Select 300 13151000 Instructions for use/assembly instructions

Hans Grohe

Hans Grohe ShowerTablet Select 300 13151000 Instructions for use/assembly instructions

Graff EX-1872-LM31W Instructions for assembly and use

Graff

Graff EX-1872-LM31W Instructions for assembly and use

Schulte DuschMaster Rain II D9638 Assembly instructions

Schulte

Schulte DuschMaster Rain II D9638 Assembly instructions

ReFa Fine Bubbles quick guide

ReFa

ReFa Fine Bubbles quick guide

DURAVIT A.1 A15230 0000 10 Instructions for mounting and use

DURAVIT

DURAVIT A.1 A15230 0000 10 Instructions for mounting and use

Allen + Roth Davidson-60GP-CH installation manual

Allen + Roth

Allen + Roth Davidson-60GP-CH installation manual

Helvex 410-19-1 installation guide

Helvex

Helvex 410-19-1 installation guide

Spectrum Pfister Vie 016-VI installation guide

Spectrum

Spectrum Pfister Vie 016-VI installation guide

MAAX 102847 installation instructions

MAAX

MAAX 102847 installation instructions

Grohe Allure E 36235 quick start guide

Grohe

Grohe Allure E 36235 quick start guide

manuals.online logo
manuals.online logoBrands
  • About & Mission
  • Contact us
  • Privacy Policy
  • Terms and Conditions

Copyright 2025 Manuals.Online. All Rights Reserved.