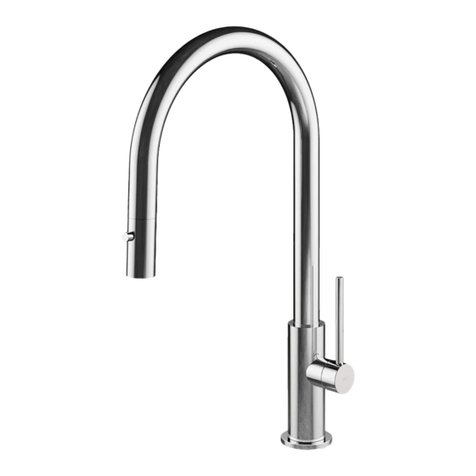
MGS SPIN D User manual

SPIN D - SPIN E - SPIN SQE - SPIN HD
Libretto_Istruzioni_SPIN D_E_SQE_HD:Layout 1 17/02/16 08:03 Pagina 2

MGS Progetti srl vi ringrazia per aver scelto questo suo prodotto.
I rubinetti MGS sono realizzati in acciaio inossidabile e vengono
lucidati e spazzolati a mano per far risaltare la naturale
bellezza e preziosità del metallo. Ne consegue che,
seppur simili, i nostri rubinetti non sono mai identici.
Il vostro rubinetto MGS sarà sempre nuovo anche dopo anni di
utilizzo: basterà lucidarne la superficie con un prodotto idoneo
alla pulizia dell'acciaio inossidabile.
MGS Progetti srl dankt Ihnen für den Kauf dieses Produktes.
MGS Spültischarmaturen aus Edelstahl sind exklusiv und werden
von Hand poliert und gebürstet, wodurch die schöne natürliche Oberfläche
dieses edlen Metalles erzielt wird. Alle Produkte sind daher gleich,
aber nicht identisch, auf jeden Fall etwas Besonderes.
Ihre MGS Spültischarmatur wird lebenslang unverändert bleiben,
wenn Sie die Oberfläche mit einem für Edelstahl geeignetem
Reinigungsmittel polieren.
MGS Progetti srl would like to thank you for choosing this product.
MGS stainless steel faucets are hand polished and brushed
for obtaining the beautiful natural finish of this noble metal.
All products are therefore alike but not identical, synonymous
of exclusivity. Your MGS faucet will stay beautiful for a
life-time by just polishing its surface with a cleaning product
suitable for stainless steel.
MGS Progetti srl vous remercie pour avoir choisi votre
nouveau robinet en acier inoxydable. Les robinets MGS entièrement
brossés et polis à la main font ressortir la préciosité
de l’acier inoxydable qui maintient sans limites de temps
sa beauté naturelle. Il s’ensuit que les robinets MGS ne sont jamais
identiques et que chaque pièce est pratiquement unique.
Votre robinet MGS sera toujours nouveau même après des années
de service et il suffira pour le raviver de le polir de temps en
temps avec un produit approprié.
Libretto_Istruzioni_SPIN D_E_SQE_HD:Layout 1 17/02/16 08:03 Pagina 3

Libretto_Istruzioni_SPIN D_E_SQE_HD:Layout 1 17/02/16 08:03 Pagina 4

MONTAGE
1. Zuerst Rohre kräftig durchspülen.
2. Kopfmutter “A” lösen.
3. Einhandmischer einbauen.
4. Verstärkungsplatte “B”, Schreibe “C”, Kopfmutter “A”
wie abgebildet einlegen und festschrauben.
5. Flexible Schläuche “E” und “D” verschrauben nachdem
Dichtung “F” angebracht wurde.
6. Gegengewicht “H” am flexiblen Schlauch “D” befestigen
nachdem die Haftgummistreifen “G” gemäss beigelegter
Gebrauchsanweisung eingelegt wurden.
7. Die flexiblen Schläuche “I” und “L” mit der
Wasserleitung verbinden (rot für Heisswasser und Blau
für Kaltwasser).
8. Wir empfehlen zwischen dem Hauptwasseranschluss
und der Armatur einen Wasserfilter einzubauen,
welcher regelmässig gereinigt werden muss.
MONTAGGIO
1. Spurgare bene le tubazioni di alimentazione.
2. Svitare completamente il controdado “A”.
3. Inserire il miscelatore nel lavello.
4. Inserire come illustrato in figura il rinforzo
sottolavello “B”, la rondella “C” e stringere forte
il controdado “A”.
5. Avvitare il dado dell’attacco flessibile “E” al flessibile
“D” anteponendo la guarnizione “F”.
6. Fissare il contrappeso “H” sul flessibile “D” dopo aver
inserito le strisce di gomma adesiva “G” come da
istruzioni allegate.
7. Collegare gli attacchi flessibili “I” e “L” del miscelatore
alla rete idrica (rosso per acqua calda – blu per acqua
fredda).
8. Si raccomanda di installare tra la rete e gli attacchi
idrici del miscelatore un filtro per l’acqua da pulire
periodicamente.
ASSEMBLY
1. Flush through the supply pipes.
2. Fully unscrew nut “A”.
3. Place the mixer on the sink.
4. Insert reinforcement plate “B”, washer “C” and firmly
tighten nut “A”.
5. Screw flexible hose “E” to flexible hose “D” after
positioning gasket “F”.
6. Fix counterweight “H” to flexible hose “D” after
placing adhesive rubber strips “G” as per attached
instructions.
7. Connect flexible hoses “I” and “L” to the mains (red
for hot water and blue for cold water).
8. We recommend to install between the mains and the
faucet a water filter which should regularly be
cleaned.
MONTAGE
1. Bien dégorger la tuyauterie principale.
2. Dévisser totalement l’écrou “A”.
3. Introduire le robinet en place dans son trou sur l’évier.
4. Insérer en position la plaque de renfort “B”, la rondelle
“C” et serrer l’écrou “A”.
5. Relier les tuyaux “E” et “D” après avoir mis en place le
joint “F”.
6. Serrer le contrepoids “H” sur le tuyau flexible “D”
après avoir mis en place les bandes adhésives “G” selon
instructions annexes.
7. Visser les tuyaux “I” et “L” du robinet à la tuyauterie
principale. Rouge eau chaude, bleu eau froide.
8. Il est conseillable d’installer un filtre à eau entre la
tuyauterie principale et le robinet. Le filtre doit être
régulièrement nettoyé pour garantir son bon
fonctionnement.
Libretto_Istruzioni_SPIN D_E_SQE_HD:Layout 1 17/02/16 08:03 Pagina 5

SPIN E
Installation advised with lever on the right side
- child safety: cold water setting towards the front
- distance between wall and centre of mounting hole min. 30 mm (1 3/16)
Consigliato per installazione con leva posizionata a destra
- protezione bambini con leva “acqua fredda” avanti
- distanza fra la parete e l’interasse foro lavello min. 30 mm
Empfohlene Installation für Armatur mit Hebel auf der rechten Seite
- Sicherheit für Kinder: Kaltwasser bei Hebelposition vorne
- Abstand Wand zu Mitte Tischbohrung min. 30 mm
Conseillé pour installation avec levier placé à droite
- sécurité pour les enfants: eau froide en position l'avant
- distance mur au centre du perçage dans table min. 30 mm
Libretto_Istruzioni_SPIN D_E_SQE_HD:Layout 1 17/02/16 08:03 Pagina 6

SPIN SQE
Installation advised with lever on the right side
- child safety: cold water setting towards the front
- distance between wall and centre of mounting hole min. 30 mm (1 3/16)
Consigliato per installazione con leva posizionata a destra
- protezione bambini con leva “acqua fredda” avanti
- distanza fra la parete e l’interasse foro lavello min. 30 mm
Empfohlene Installation für Armatur mit Hebel auf der rechten Seite
- Sicherheit für Kinder: Kaltwasser bei Hebelposition vorne
- Abstand Wand zu Mitte Tischbohrung min. 30 mm
Conseillé pour installation avec levier placé à droite
- sécurité pour les enfants: eau froide en position l'avant
- distance mur au centre du perçage dans table min. 30 mm
Libretto_Istruzioni_SPIN D_E_SQE_HD:Layout 1 17/02/16 08:03 Pagina 7

SPIN D
Installation advised with lever on the right side
- child safety: cold water setting towards the front
- distance between wall and centre of mounting hole min. 36 mm (1 1/2)
Consigliato per installazione con leva posizionata a destra
- protezione bambini con leva “acqua fredda” avanti
- distanza fra la parete e l’interasse foro lavello min. 36 mm
Empfohlene Installation für Armatur mit Hebel auf der rechten Seite
- Sicherheit für Kinder: Kaltwasser bei Hebelposition vorne
- Abstand Wand zu Mitte Tischbohrung min. 36 mm
Conseillé pour installation avec levier placé à droite
- sécurité pour les enfants: eau froide en position l'avant
- distance mur au centre du perçage dans table min. 36 mm
Libretto_Istruzioni_SPIN D_E_SQE_HD:Layout 1 17/02/16 08:03 Pagina 8

MONTAGE
1. Zuerst Rohre kräftig durchspülen.
2. Kopfmutter “A” lösen.
3. Einhandmischer einbauen.
4. Verstärkungsplatte “B”, Schreibe “C”, Kopfmutter “A”
wie abgebildet einlegen und festschrauben.
5. Flexible Schläuche “E” und “D” verschrauben nachdem
Dichtung “F” angebracht wurde.
6. Gegengewicht “H” am flexiblen Schlauch “D” befestigen
nachdem die Haftgummistreifen “G” gemäss beigelegter
Gebrauchsanweisung eingelegt wurden.
7. Die flexiblen Schläuche “I” und “L” mit der
Wasserleitung verbinden (rot für Heisswasser und Blau
für Kaltwasser).
8. Wir empfehlen zwischen dem Hauptwasseranschluss
und der Armatur einen Wasserfilter einzubauen,
welcher regelmässig gereinigt werden muss.
MONTAGGIO
1. Spurgare bene le tubazioni di alimentazione.
2. Svitare completamente il controdado “A”.
3. Inserire il miscelatore nel lavello.
4. Inserire come illustrato in figura il rinforzo
sottolavello “B”, la rondella “C” e stringere forte
il controdado “A”.
5. Avvitare il dado dell’attacco flessibile “E” al flessibile
“D” anteponendo la guarnizione “F”.
6. Fissare il contrappeso “H” sul flessibile “D” dopo aver
inserito le strisce di gomma adesiva “G” come da
istruzioni allegate.
7. Collegare gli attacchi flessibili “I” e “L” del miscelatore
alla rete idrica (rosso per acqua calda – blu per acqua
fredda).
8. Si raccomanda di installare tra la rete e gli attacchi
idrici del miscelatore un filtro per l’acqua da pulire
periodicamente.
ASSEMBLY
1. Flush through the supply pipes.
2. Fully unscrew nut “A”.
3. Place the mixer on the sink.
4. Insert reinforcement plate “B”, washer “C” and firmly
tighten nut “A”.
5. Screw flexible hose “E” to flexible hose “D” after
positioning gasket “F”.
6. Fix counterweight “H” to flexible hose “D” after
placing adhesive rubber strips “G” as per attached
instructions.
7. Connect flexible hoses “I” and “L” to the mains (red
for hot water and blue for cold water).
8. We recommend to install between the mains and the
faucet a water filter which should regularly be
cleaned.
MONTAGE
1. Bien dégorger la tuyauterie principale.
2. Dévisser totalement l’écrou “A”.
3. Introduire le robinet en place dans son trou sur l’évier.
4. Insérer en position la plaque de renfort “B”, la rondelle
“C” et serrer l’écrou “A”.
5. Relier les tuyaux “E” et “D” après avoir mis en place le
joint “F”.
6. Serrer le contrepoids “H” sur le tuyau flexible “D”
après avoir mis en place les bandes adhésives “G” selon
instructions annexes.
7. Visser les tuyaux “I” et “L” du robinet à la tuyauterie
principale. Rouge eau chaude, bleu eau froide.
8. Il est conseillable d’installer un filtre à eau entre la
tuyauterie principale et le robinet. Le filtre doit être
régulièrement nettoyé pour garantir son bon
fonctionnement.
Libretto_Istruzioni_SPIN D_E_SQE_HD:Layout 1 17/02/16 08:03 Pagina 9

SPIN HD
Installation advised with lever on the right side
- child safety: cold water setting towards the front
- distance between wall and centre of mounting hole min. 30 mm (1 3/16)
Consigliato per installazione con leva posizionata a destra
- protezione bambini con leva “acqua fredda” avanti
- distanza fra la parete e l’interasse foro lavello min. 30 mm
Empfohlene Installation für Armatur mit Hebel auf der rechten Seite
- Sicherheit für Kinder: Kaltwasser bei Hebelposition vorne
- Abstand Wand zu Mitte Tischbohrung min. 30 mm
Conseillé pour installation avec levier placé à droite
- sécurité pour les enfants: eau froide en position l'avant
- distance mur au centre du perçage dans table min. 30 mm
Libretto_Istruzioni_SPIN D_E_SQE_HD:Layout 1 17/02/16 08:03 Pagina 10

Pezzi di ricambio • Ersatzteile • Spare parts • Pièces détachées
SPIN E
Libretto_Istruzioni_SPIN D_E_SQE_HD:Layout 1 17/02/16 08:03 Pagina 11

Pezzi di ricambio • Ersatzteile • Spare parts • Pièces détachées
SPIN SQE
Libretto_Istruzioni_SPIN D_E_SQE_HD:Layout 1 17/02/16 08:03 Pagina 12

Pezzi di ricambio • Ersatzteile • Spare parts • Pièces détachées
SPIN D
Libretto_Istruzioni_SPIN D_E_SQE_HD:Layout 1 17/02/16 08:03 Pagina 13

Pezzi di ricambio • Ersatzteile • Spare parts • Pièces détachées
SPIN HD
Libretto_Istruzioni_SPIN D_E_SQE_HD:Layout 1 17/02/16 08:03 Pagina 14

IV9LSP.377
MGS Progetti srl
Corso Milano, 189 • 28883 Gravellona Toce (VB) • Italy
Warranty
MGS products are covered by a warranty of 5 years from purchasing date on all stainless steel parts and
of 2 years on all other components. During this period, parts with construction defects in materials or
workmanship will be replaced free of charge. This warranty will not respond in the case of faults caused
by unsuitable or improper use, wrong installation, natural wear, improper or careless treatment, wrong
usage of cleaning or maintenance products. MGS will not assume liability for labour expended, freight cost
or damages accruing from the use of the material purchased from us. If material is defective, the limit
of damage is the price of the defective material. Proof of purchase (original sales receipt) from the
original consumer purchaser must be made available to MGS for all warranty claims. The warranty is not
transferable and is extended solely to the original purchaser of the product.
Garantie
Auf MGS Produkte gewähren wir Ihnen 5 Jahre Garantie ab Kaufdatum für alle Edelstahlteile und 2 Jahre
für alle anderen Komponenten. Während diese Zeitraums werden alle Teile, die einen Konstruktionsfehler
aufweisen, kostenlos ersetzt. Diese Garantie wird nicht gewährt bei unsachgemässem Gebrauch, falscher
Montage , nachlässiger, Handhabung, falscher Anwendung von Reinigungsmitteln und fehlender oder
mangelhafter Wartung. MGS ist nicht verantwortlich für eventuelle Eingriffskosten zu Hause des Kunden.
Im Schadenfall entspricht die Rückerstattung des Schadens dem Preis des defekten Materials. Die
Garantie ist nicht übertragbar und der Käufer muss Kaufdatum und Originalquittung vorweisen.
Condizioni di garanzia
Le parti in acciaio dei rubinetti MGS sono garantite per 5 anni, mentre gli altri componenti per 2 anni
(cartucce, flessibili, ecc.). Durante il periodo di garanzia tutte le parti riportanti difetti dovuti a vizi di
fabbricazione saranno sostituite gratuitamente. Questioni legate a un utilizzo anomalo o inadeguato,
installazione difettosa, normale usura, uso negligente o errato, impiego di prodotti per la pulizia inadatti
e a danni di trasporto non sono coperte dalla garanzia. MGS non è responsabile per eventuali costi di
intervento al domicilio del cliente finale. In caso di difetto il limite del danno rimborsato è definito dal
prezzo del materiale difettoso. L'acquirente per avere diritto alla garanzia deve dimostrare la data di
acquisto con la prova di acquisto originale.
Garantie
Les robinets MGS sont garantis pour une période de 5 ans pour toutes les parties en acier inoxydable et
de 2 ans pour les autres composants. Pendant la période de garantie toutes les parties avec un défaut de
construction seront remplacées gratuitement. La garantie n’a plus de validité dans les cas de mauvaise
utilisation tels qu’installation défectueuse, usage impropre, mauvais nettoyage, etc…De même pour les
dommages de transport et la normale usure. MGS n’est pas responsable pour les frais d’intervention au
domicile du client final. Lorsqu’un robinet est défectueux la limite du défaut ne peut pas dépasser le prix
de la pièce défectueuse. La garantie commence à la date d’achat du robinet et la facture originale est
nécessaire afin d’établir la validité de la garantie.
Libretto_Istruzioni_SPIN D_E_SQE_HD:Layout 1 17/02/16 08:03 Pagina 1
Other manuals for SPIN D
1
This manual suits for next models
3
Table of contents
Other MGS Plumbing Product manuals
Popular Plumbing Product manuals by other brands
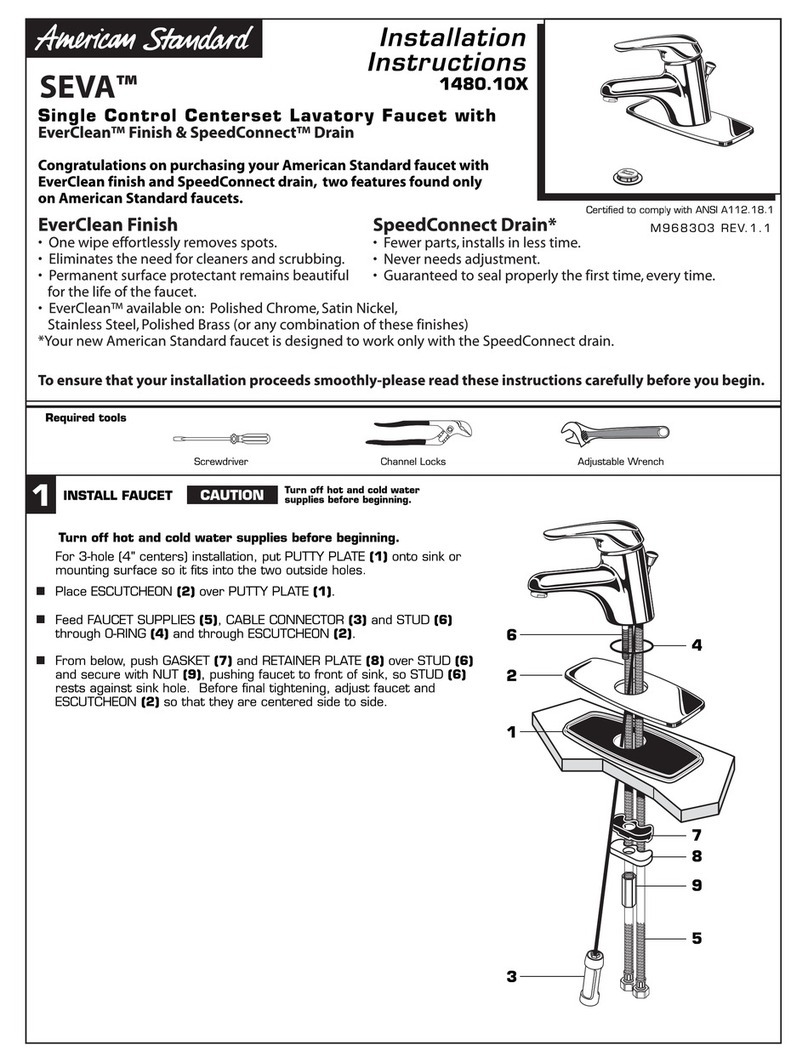
American Standard
American Standard Seva 1480.10X installation instructions
Hans Grohe
Hans Grohe Crometta 85 Green 28561000 installation instructions
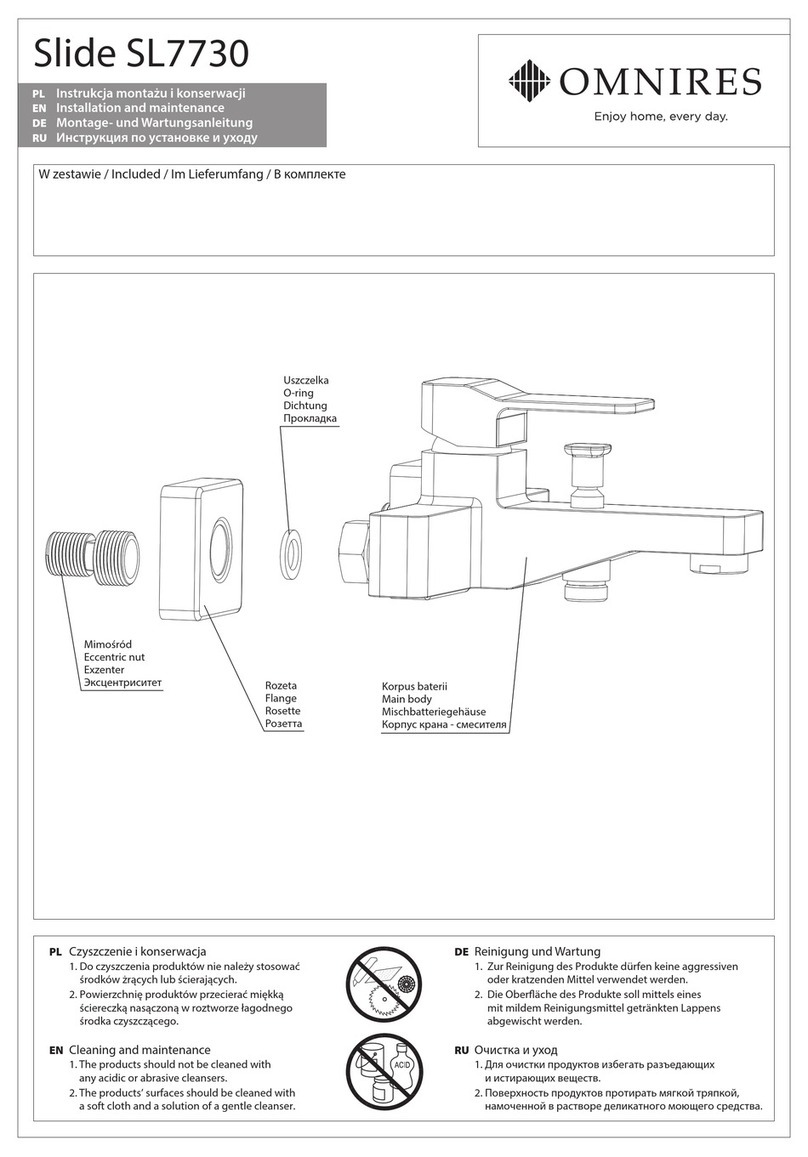
Omnires
Omnires Slide SL7730 Installation and Maintenance
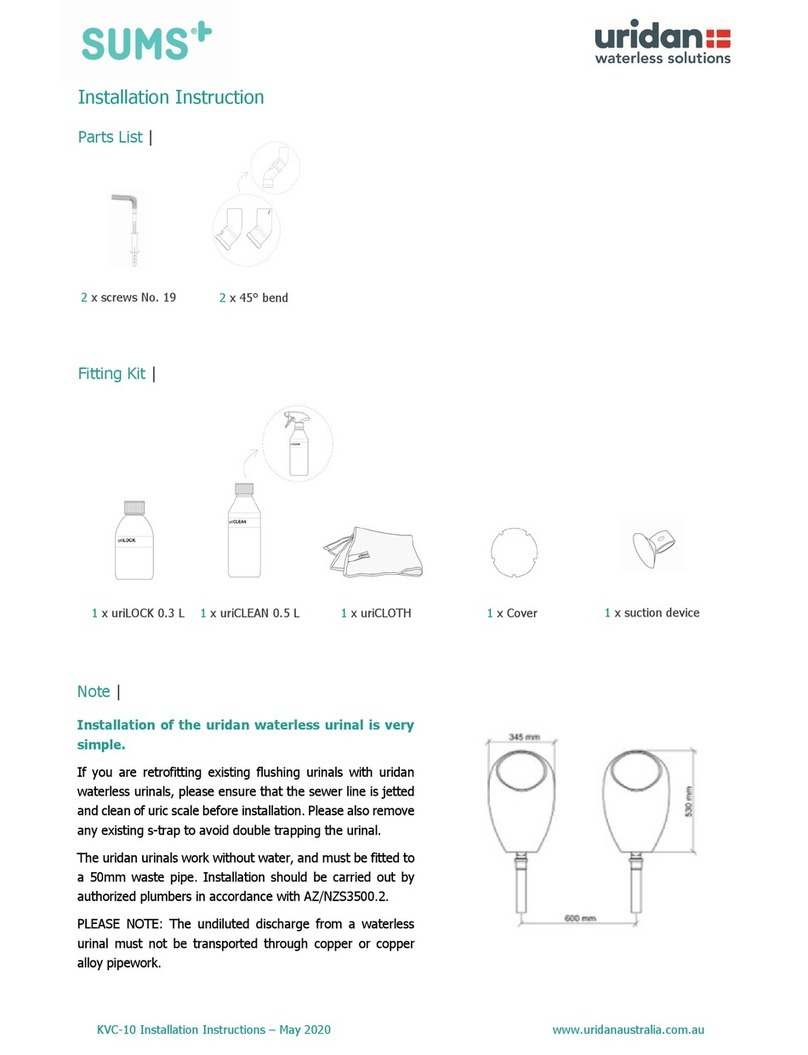
SUMS
SUMS uridan CADET KVC-10 Installation instruction
Hans Grohe
Hans Grohe AXOR Uno 27985 Series Assembly instructions
VIGO
VIGO VG06063 Series Guidelines for Installation
