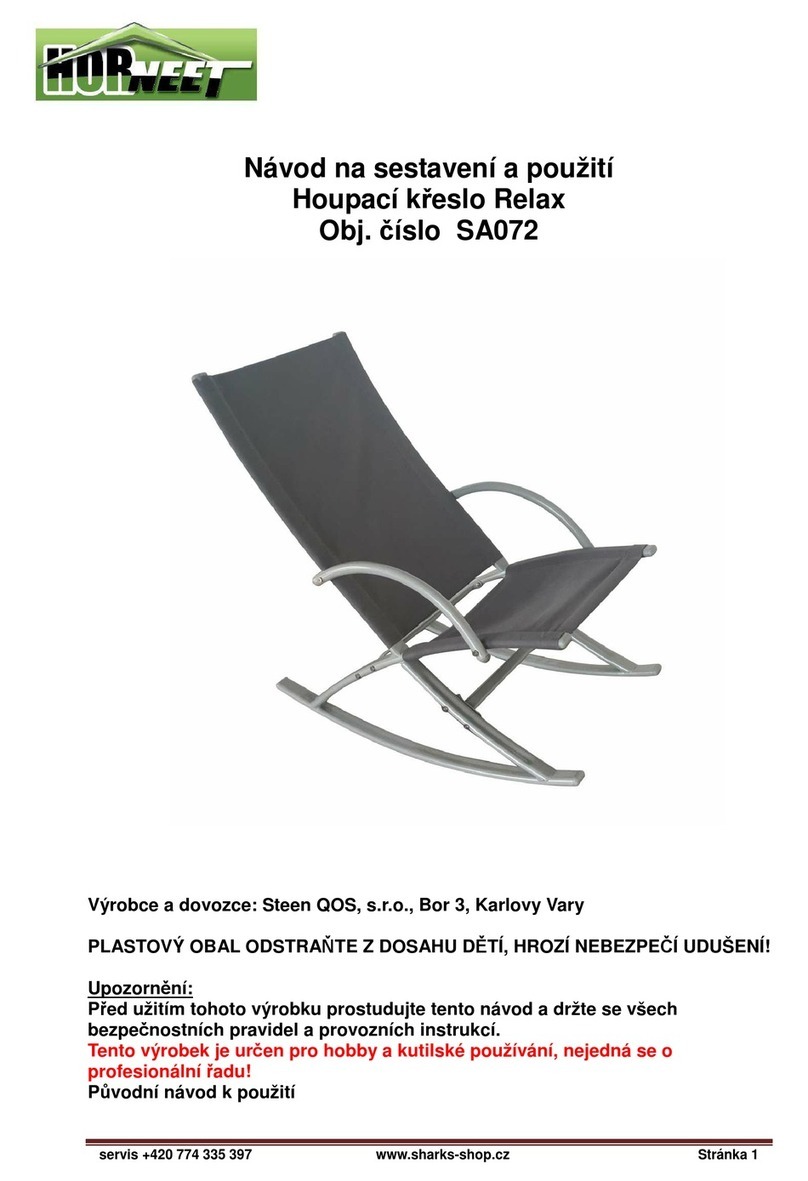
Michelin SMARTSHELL User manual


Réf/document : Michelin Inflatable Solutions Classification: D3 Conservation : WA
2
This file contains all our recommendations to guide you in the use of your
new MICHELIN Inflatable Solutions product.
We recommend that you read it carefully before using your product for the
first time, and refer to it if you have any doubts.
Our sales team remains at your disposal for any further information (e-mail:
commerce@aircaptif.com).

Réf/document : Michelin Inflatable Solutions Classification: D3 Conservation : WA
CONTENTS

Réf/document : Michelin Inflatable Solutions Classification: D3 Conservation : WA
4
Elements included in a PACK :
1x carry bag (A)
1x inflatable structure (B)
2 x pediments + 2 x doors (C)
1x high flow pump (D)
1x repair kit (E)
6 x guy ropes (F)
OPTIONAL elements :
Ballast bags (G)
I - VERIFICATION OF CONTENTS ON DELIVERY
(A) (B)
(D)
(E) (F)
(C)

Réf/document : Michelin Inflatable Solutions Classification: D3 Conservation : WA
5
Lower crown, plug without non-return valve for deflation
Upper crown, plug with non-return valve for inflation
"Clamp open: allows air to pass through (position when
inflating/deflating)
"Clamp closed: does not allow air to pass through
(position when structure is inflated)
II - LEGEND

Réf/document : Michelin Inflatable Solutions Classification: D3 Conservation : WA
6
III - CHARACTERISTICS
Module 4m
Inside length 9m
Inside width 4m
Maximum height 3,7m
Weight 60kg

Réf/document : Michelin Inflatable Solutions Classification: D3 Conservation : WA
7
Installation takes around 20 minutes, and only two operators are needed to
assemble and dismantle the SmartShell shelter.
1. Remove the shelter from its carry bag
2. Laying out the inflatable on the ground
✓Laying out the inflatable on the ground.
The more the structure is spread out, the faster it inflates.
IV - INSTALLATION

Réf/document : Michelin Inflatable Solutions Classification: D3 Conservation : WA
8
3. Assembling the modules
✓Zip the modules together. Refer to the labels to zip the modules in the right
direction. The red labels must be assembled, and the same applies to the
green labels.
4. Open all the clamps and close all the caps
Make sure all the clamps are open.
Inside each structure are several inflatable bladders connected together by
tubes that can be closed with clamps. Together they form
the "OnePump"
system.
This system allows you to inflate the module at a single point (when the clamps
are open), but also to block the propagation of any loss of pressure on one of
the tubes (when the clamps are closed).
IV - INSTALLATION
"Clamp" open : allows air to
pass through (inflate/deflate
position)
"Clamp” closed: does not let air
through (position when the
structure is inflated)

Réf/document : Michelin Inflatable Solutions Classification: D3 Conservation : WA
9
IV - INSTALLATION
✓Close all the plugs on the structure.
Warning : Never open the zip that gives access
to the bladder.
5. Installing the cover
✓Zip the cover over the structure, making sure it is
zipped in the right direction using the colored labels.
Zips to leave open
WARNING :
Before inflating the structure, make sure that
all the ZIPs on the pediment doors are open
to remove any stress from the curve of the
structure and avoid tearing.

Réf/document : Michelin Inflatable Solutions Classification: D3 Conservation : WA
10
IV - INSTALLATION
6. Inflating the structure
✓Unscrew the top crown of the plugs to insert the inflation pumps. Two
pumps are required per module.
✓Lift the structure to give it its curved shape.
The structure is inflated when it is rigid.
✓You can then turn off the pump and close the plugs.
✓Start inflation by pressing the pump's "main motor"
mode (yellow button) and allow the air to spread for
1 to 2 minutes.
✓Then press the pump's "boost" mode (red button) to
continue inflation.

Réf/document : Michelin Inflatable Solutions Classification: D3 Conservation : WA
11
7. Securing the structure
✓Attach the two straps of each module up to the mark (line on the strap).
✓Ballast the structure using the ballast bags.
✓Secure the structure using the guy ropes.
✓You can now switch on your structure's LEDs.
✓Secure the cover with the Velcro fasteners. Make sure the cover is taut.
IV - INSTALLATION

Réf/document : Michelin Inflatable Solutions Classification: D3 Conservation : WA
12
Dismantling takes around 5 minutes.
1. Deflating the structure
✓Before deflating, open all the clamps.
✓Switch off the LEDs (if present), then detach the straps holding the curved
structure in place.
✓Deflate the structure by unscrewing the lower crown of the plugs.
WARNING : Do not attempt to deflate the structure with the inflation
pump! You risk damaging the plastic inner tube that is slipped inside each
flange.
✓Remove the cover by unzipping it.
V –DISMANTLING

Réf/document : Michelin Inflatable Solutions Classification: D3 Conservation : WA
13
2. Folding the structure
✓Once the structures are spread out on the ground, separate the structures,
then dismantle and fold back the covers.
✓Fold the structure in on itself.
✓Roll up the structure and slide it, folded, into its carry bag.
V –DISMANTLING
1
3
2

Réf/document : Michelin Inflatable Solutions Classification: D3 Conservation : WA
14
1- Uses involving risks
✓Do not use machinery or sharp equipment
near the shelter, as this could damage it.
✓Do not use abrasive ballast (breeze block,
stone, metal), as this may cause premature
damage to the perimeter of the shelter.
✓Do not bring the shelter into contact with
flammable or corrosive products, as this
may damage the structure.
VI –MAINTENANCE

Réf/document : Michelin Inflatable Solutions Classification: D3 Conservation : WA
15
2- Maintenance tips
Covers should be folded appropriately to maintain their watertight
properties and prevent damage during storage.
You can hose down the shelter (avoid pressure washing). Wait for the
shelter to dry before storing it in the transport bag.
Inflation is guaranteed for 48 hours. Before each use, check the inflation.
A repair kit is included in your PACK.In the event of an inner tube leak,
remove the tube from the textile sleeve, paying attention to the eyelets at
the ends.
These "eyelet" fasteners take the form of transparent plastic caps.
Clean the leak area with rubbing alcohol and leave to dry for 1 minute.
Finally, apply the self-adhesive patch, pulling the bladder taut. Press the
patch back and forth until it adheres, then replace the bladder in the textile
sleeve, fastening the ends securely.
To ensure that the repair is complete, perform an initial inflation by isolating
the freshly repaired bladder from the rest of the structure.
VI –MAINTENANCE

Réf/document : Michelin Inflatable Solutions Classification: D3 Conservation : WA
16
The AirCaptif guarantee lasts for one (1) year.
This guarantee covers the following defects:
Leaks from a defective weld.
Valve detachment or valve leakage.
The guarantee does not cover damage resulting from incorrect assembly,
incorrect use or resulting from an external cause such as :
Normal wear and tear of components.
Damage due to external aggression.
Damage caused by transport, malicious damage, poor maintenance and in
particular cleaning with unsuitable products (please refer to our assembly
instructions), falling trees, etc.
To benefit from the guarantee, please send us a photo of the product with
the reference number or a copy of your invoice to:
commerce@aircaptif.com.
Please note that the commercial guarantee does not deprive you of the
provisions relating to the guarantee against hidden defects (articles 1641 et
seq. of the French Civil Code) or the legal guarantee of conformity (L211-1 et
seq. of the French Consumer Code).
The guarantee is limited solely to the replacement of parts (excluding labour)
recognised as defective by our company, without any compensation or
damages being claimed for material or physical damage caused.
In the event of a return, the following information must appear on the
packaging: Name and address of the sender Name and address of the user
Number of our delivery note, invoice, quotation, dimensions of the shelter,
reasons for the return.
VII - WARRANTY CONDITIONS

Réf/document : Michelin Inflatable Solutions Classification: D3 Conservation : WA
17
When acting under the legal guarantee of conformity, the consumer :
✓has a period of two years from the date of delivery of the goods in which
to take action
✓may choose between repairing or replacing the goods, subject to the cost
conditions set out in article L. 211-9 of the Consumer Code
✓is exempt from having to prove the existence of a lack of conformity in the
goods during the six months following delivery of the goods. This period is
extended to twenty-four months from 18 March 2016, except for second-
hand goods.
The legal guarantee of conformity applies independently of any commercial
guarantee that may have been granted.
Consumers may also decide to invoke the warranty against hidden defects in
the goods sold, as defined in article 1641 of the French Civil Code. In this
case, they may choose between rescission of the sale or a reduction in the
sale price in accordance with article 1644 of the French Civil Code.
Article L. 211-4 of the French Consumer Code: "The seller is obliged to deliver
goods in conformity with the contract and is liable for any lack of conformity
existing at the time of delivery. He shall also be liable for any lack of
conformity resulting from the packaging, the assembly instructions or the
installation when the latter was made his responsibility under the contract or
was carried out under his responsibility".
VII - WARRANTY CONDITIONS
Table of contents
Popular Outdoor Furnishing manuals by other brands

Teamson
Teamson TK-KF0003 manual

Forever Redwood
Forever Redwood PRESIDENTIAL BENCH Assembly instructions
Furniture of America
Furniture of America Sharon CM-OS2139 Assembly instructions
Sunjoy
Sunjoy D-GZ009PCO Assembly instruction
SPORTSPOWER
SPORTSPOWER WP-336R owner's manual
Paragon
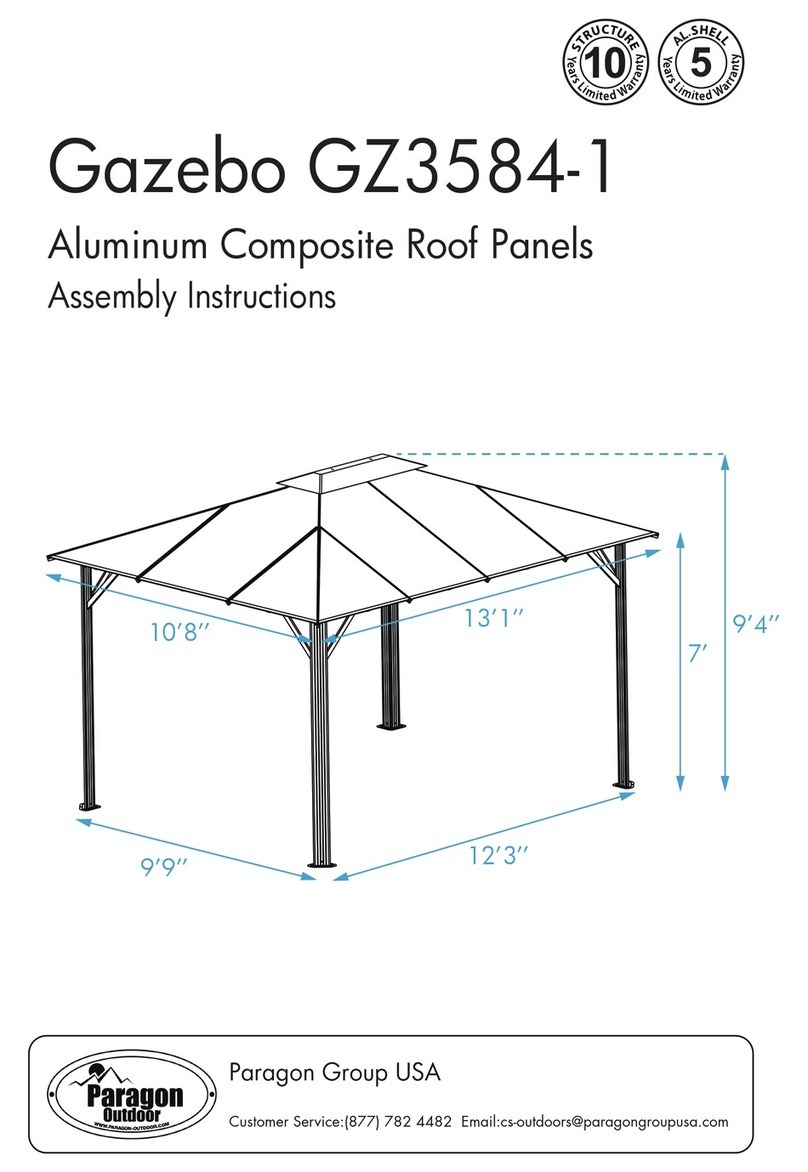
Paragon GZ3584-1 Assembly instructions
