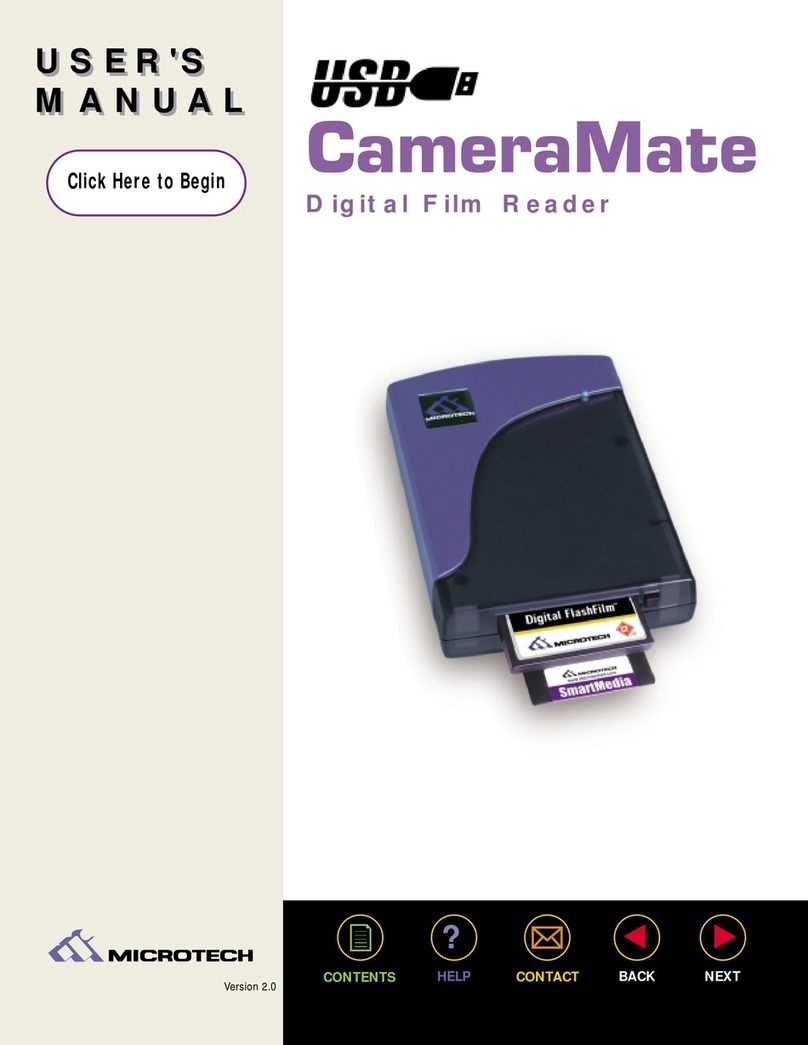
Microtech USB CameraMate User manual

CameraMate
Digital Film Reader
USER'S
MANUAL
USER'S
MANUAL
Version 1.0
FireWire

USER'S
MANUAL
USER'S
MANUAL
FireWire CameraMate CONTENTS
Home
Getting Started
Connecting to a Macintosh
Connecting to a PC Compatible
How to Use the FireWire CameraMate
Troubleshooting Your Microtech FireWire
CameraMate
Obtaining Technical Support
Contacting Microtech
2

USER'S
MANUAL
USER'S
MANUAL
3
1
Introduction
What's included with the
FireWire CameraMate
System Requirements
Parts of the FireWire CameraMate
Registering the FireWire CameraMate
GETTING
STARTED
FireWire CameraMate

Introduction:
Thank you for purchasing the FireWire CameraMate from Microtech.
The FireWire CameraMate is a CompactFlash digital media reader/writer for new FireWire
(IEEE 1394) equipped Apple Macintosh (iMac, iBook, G3/G4, Cube, etc.) and PC Compatible own-
ers who wish to read and write CompactFlash cards. The FireWire CameraMate is easy to use and
provides transfer rates of up to 5MB/sec (40Mb/sec).
What's included with the FireWire CameraMate:
The FireWire CameraMate includes the following package contents:
■FireWire CameraMate Digital Film Reader
■Microtech Installer CD (includes this User's Guide, Microsoft supplemental
FireWire (IEEE 1394) drivers for Windows 98 SE, and free software)
■Mounting Software Installer CD (for use wih Macintosh only)
■Quick-Start Guide
■Warranty Registration Card
System Requirements:
PC Compatible:
■Desktop or laptop PC Compatible with an available 6 pin FireWire (IEEE 1394) port
■Windows 98 SE, Me, 2000, XP
■CD-ROM Drive (for driver software installation on Windows 98 SE)
■Pentium (or equivalent) 200MHz laptop or desktop PC
Macintosh:
■Apple iMac, G3, G4, System with an available 6 pin FireWire (IEEE 1394) port
■Mac OS 8.6 or greater
■CD-ROM Drive (for software installation)
■FireWire Manager 2.3.3 or greater
USER'S
MANUAL
USER'S
MANUAL
4
FireWire CameraMate

Parts of the FireWire CameraMate:
USER'S
MANUAL
USER'S
MANUAL
5
-
+
DC 5V
Media Recognition/Access LED indicator
Integrated FireWire Cable
CompactFlash eject
button
CompactFlash slot
Top View
Rear View
Front View
Optional Power Adapter*
*WARNING: Permanent damage will result when
used with a standard power adapter. Use only with the
Microtech Optional Power Adapter (if power required).
FireWire CameraMate

Registering the FireWire CameraMate
Thank you again for purchasing the Microtech FireWire CameraMate. In order for us to better
serve you, we encourage you to register your FireWire CameraMate as soon as possible.
There are several benefits to registering the FireWire CameraMate:
Registering your FireWire CameraMate entitles you to free periodic driver software
updates when available.
Registering your FireWire CameraMate entitles you to toll free technical assistance
from Microtech.
There are three options for you to register the FireWire CameraMate:
Register online at http://www.microtechint.com/register for instant
registration.
Complete and mail the included Warranty Registration Card to Microtech.
Complete and fax the included Warranty Registration Card to Microtech.
USER'S
MANUAL
USER'S
MANUAL
6
1.
2.
1.
2.
3.
FireWire CameraMate

USER'S
MANUAL
USER'S
MANUAL
7
2
Connecting to the FireWire Port
Installing the Driver Software
CONNECTING
to a Macintosh
FireWire CameraMate

Connecting to the FireWire port
Connect the FireWire connector of the FireWire CameraMate to the FireWire port
located at the back of the computer. In the case of the Apple iMac or iBook, use the
FireWire ports located on the side of the computer. Refer to the illustrations below.
Make sure the cable ends are firmly connected. Be careful not to confuse the insertion
of the connector as it will only insert in one direction. Do not force connections, as this
may damage the computer or the FireWire CameraMate.
NOTE:The FireWire cable may be plugged into the computer while the computer is
running.
USER'S
MANUAL
USER'S
MANUAL
8
12
1
2
12
1
2
1.
2.
Attach the FireWire connector from
the FireWire CameraMate to the
FireWire port on your Macintosh.
Enlarged view
Enlarged view
FireWire CameraMate

Installation Overview
The FireWire CameraMate is relatively easy to install and operate. To avoid complications
during the installation process, please follow the steps in order as described in this chapter.
INSTALLATION NOTE: FireWire CameraMate driver software installation is not required on Mac OS
9.1 and above, driver software is required on Mac OS 8.6 - 9.0.4
Installing the driver software
Start your computer and close all open applications.
Connect the FireWire CameraMate to your computers FireWire Port.
Insert the “HARD DISK TOOLKIT•PE” Installer CD-ROM.
Double-click on the "HDT•PE™4.5 Installer" folder icon and then on the “Hard disk
ToolKit•PE™Installer” icon in the next window.
The following splash screen will appear. Click "Continue."
Another screen will appear containing the installer information.
Click “Install” to continue.
USER'S
MANUAL
USER'S
MANUAL
9
1.
2.
3.
4.
FireWire CameraMate
5.
6.

A pop-up window will appear requesting your name, organization, and serial number.
Enter this information and click “OK”.
A progress bar will appear, followed by a pop-up window with registration selections.
Select a registration option to continue.
A final dialog box will appear advising that the software was installed successfully.
Click “Quit” to complete the installation process.
Now, double-click on the “FWB FireWire Loader” icon in the “Hard Disk ToolKit•PE”
folder. This will display the “FWB FireWire loader” application.
Click on “Just Driverless Devices” to load the FireWire driver that will enable you to
mount your media on your Macintosh desktop. Restart when prompted.
Congratulations! Driver software installation is now complete.
INSTALLATION NOTE: If you attempt to attach the FireWire connector of the FireWire
CameraMate to the computer prior to installing the driver software, you will be unable to mount
or access your CompactFlash media.
USER'S
MANUAL
USER'S
MANUAL
10
7.
FireWire CameraMate
8.
9.
10.
11.

3
Installing the Driver Software
Connecting to the FireWire Port
USER'S
MANUAL
USER'S
MANUAL
11
CONNECTING
to a PC Compatible
FireWire CameraMate

Installation Overview
The FireWire CameraMate is relatively easy to install and operate. To avoid complications during
the installation process, please follow the steps in order as described in this chapter.
INSTALLATION NOTE: Driver software installation is only required for Windows 98 Second
Edition. This driver software is a Microsoft Windows 98 Second Edition 1394 storage supplement
driver and is not Microtech driver software. Any questions or technical support requests should
be directed to Microsoft with reference to Microsoft Q article Q242975. Microtech recommends
installing these drivers for trouble free operation. Driver installation software is not required for
Windows 2000, Windows Me, and Windows XP.
Installing the driver software on Windows 98 Second Edition:
Before connecting and using the FireWire CameraMate on a computer running Windows 98
Second Edition, you must first install the Windows 98 Second Edition Q242975 Update located
on the accompanying Microtech Installer CD.
NOTE: The screenshots below may vary slightly from those on your computer.
Start your computer running Windows 98 Second Edition. Close any open applications.
Insert the Microtech Installer CD. The auto-run program will then launch the setup
automatically. If the installer does not begin automatically, double-click on “My
Computer.” Next double-click on the drive corresponding to your CD-ROM, then
double-click on the “Setup.exe” file to begin.
USER'S
MANUAL
USER'S
MANUAL
12
1.
FireWire CameraMate

A menu will appear with several options (as shown below), select “Install Drivers” from
the menu.
NOTE: From this menu you can also access the Microtech web site, contact information, User’s
Manual, as well as the included Bonus Software.
USER'S
MANUAL
USER'S-
MANUAL
13
2.
FireWire CameraMate

To begin the installation of the Microsoft IEEE-1394 (FireWire) supplemental drivers, click
the “Install Now” button.
Follow the on screen instructions as prompted to complete the installation.
USER'S
MANUAL
USER'S
MANUAL
14
4.
FireWire CameraMate
Congratulations! Driver installation is now complete. You may now connect the FireWire
CameraMate to your computer. Proceed to the next page for instructions on connecting
the FireWire CameraMate.
3.

USB CameraMate
Connecting to the FireWire port:
Connect the FireWire connector of the FireWire CameraMate to the FireWire port on
your computer.
NOTE:The FireWire cable may be plugged into the computer while the computer is
running.
Make sure the cable ends are firmly connected. Be careful not to insert the connector
wrong as it will only insert in in one direction. Do not force connections, as this may
damage the computer or the FireWire CameraMate.
USER'S
MANUAL
USER'S
MANUAL
15
Attach the FireWire connector from the
FireWire CameraMate to the FireWire port on
your computer
Enlarged view
1.
2.
FireWire CameraMate

Digital film card compatibility
Inserting a CompactFlash Card
Inserting and Accessing a Card
(Macintosh)
Formatting Cards (Macintosh)
Removing a Card (Macintosh)
Inserting and Accessing a Card (PC)
Formatting Cards (PC)
Removing a Card (PC)
Using the FireWire CameraMate
with Digital Cameras
USER'S
MANUAL
USER'S
MANUAL
16
4
HOW TO USE
the FireWire CameraMate
FireWire CameraMate

This section describes the operation relating to the FireWire CameraMate and digital film cards. To
avoid complications while attempting to use your FireWire CameraMate, Microtech recommends
reading this entire chapter. For installation information, refer to “Chapter 2: Connecting to a
Macintosh” (page 9) or “Chapter 3: Connecting to a PC Compatible” (page 13).
Digital film card compatibility
The FireWire CameraMate is compatible with all current CompactFlash cards available on the
market, as well as CFII and CF+ Type II formats, such as the IBM family of Microdrives.
USER'S
MANUAL
USER'S
MANUAL
17
FireWire CameraMate
32MB
Digital FlashFilm
Digital FlashFilm
512MB
Digital FlashFilm
128MB
1GB
Microdrive

USER'S
MANUAL
USER'S
MANUAL
18
32MB
Digital FlashFilm
Inserting a CompactFlash card
Position the CompactFlash card in the direction as shown in the illustration below.
Insert the card into the CameraMate. Be certain of the orientation - all leading
manufacturers of CompactFlash cards adhere to a specification requiring a positive keying
of the card. Gently push the card in all the way until the card is locked in place. The card
will slide in on the molded rails and a slight amount of resistance will be felt as the
connectors make contact. This is normal.
IMPORTANT: If excessive force is required, or the card just doesn’t seem to fit, do not attempt
to force the card in the reader, instead, call Microtech’s toll free tech support number for assis-
tance.
WARNING: Be careful not to insert the CompactFlash card in the wrong direction - be sure the
connectors are facing inward and the card is not inserted upside down. If it is forced in, the slot
or CompactFlash card may be damaged or data on the card may be lost or corrupted.
CompactFlash connectors
FireWire CameraMate
1.
2.

Inserting and accessing a card (Macintosh)
After a card is inserted on a Macintosh computer, a distinct icon will appear on the Mac OS
desktop. This is the “mounted” state, which enables read and write operations for the digital
film card. The time required between card insertion and mounting depends on the type and
brand of card. Usually, a card can be mounted and accessed within a few seconds.
When a card is mounted, it can be used in the same fashion as a floppy or other type of remov-
able disk. Double-click the icon to open it's respective file window. For example in the screen-
shot below- an IBM 340MB Microdrive was inserted into the FireWire CameraMate. By double-
clicking on the Microdrive icon, you will see it contains 10 high resolution TIF images taken on a
professional digital camera. The images stored on your media can be dragged, copied, opened,
edited, deleted, and so forth.
To transfer images to and from your computer, simply highlight the image(s), hold down the
option key, and drag the selected image(s) to a destination of your choice. This will make an
exact copy of your image(s) on your local hard drive or destination of your choice.
IMPORTANT: Be sure you have installed the FireWire CameraMate driver software (where
necessary) prior to attempting to operate the FireWire CameraMate. Also be sure the Apple File
Exchange control panel is set to load in your system folder - you can activate it using the Apple
Extensions Manager control panel.
USER'S
MANUAL
USER'S
MANUAL
19
CompactFlash icon
(example shown: IBM
340 MB Microdrive)
NOTE: Files contained within a card can be
accessed by double-clicking on its respective icon.
FireWire CameraMate

Formatting cards (Macintosh)
There may be instances where you may wish to format a card in the FireWire CameraMate
rather than in a digital camera. There may also be times when you may be required or prompted
to format your card. As such please read the information in this section for information on
formatting CompactFlash cards.
WARNING: Formatting a CompactFlash card will completely erase all data currently stored on
the card. If there are important images or files you wish to safeguard for later use, make a
backup copy on your hard drive, CDR drive, or other type of removable media.
Formatting CompactFlash cards:
Highlight/select the CompactFlash card icon. Select the "Erase Disk" command in the
"Special" menu (as shown below).
As formatting a card will completely erase any data currently stored on the card, a dialog
box will appear asking if you wish to completely erase the card. Click "Erase" to begin
formatting the card. Or, click "Cancel" if you do not wish to format the card.
USER'S
MANUAL
USER'S
MANUAL
20
1.
2.
FireWire CameraMate
Other manuals for USB CameraMate
1
Table of contents
Other Microtech Card Reader manuals