IMPORTANT SAFEGUARDS
When using electrical appliance, basic safety precautions should always be followed,
including the following:
1. Read all instructions before using.
2. To protect against any electrical hazards, DO NOT place unit or cord in water or
any other liquids.
3. Do not touch any hot surfaces. Use oven mitts for removing or touching any hot
parts. Always place Toast Oven on heat protected surface.
4. Leave about 100-150mm open space all around the exterior of this appliance.
Place the appliance on a dry, horizontal surface.
5. Unplug the unit from outlet when not in use and before cleaning. Always allow to
cool before attaching or removing any parts.
6. The use of accessory attachments not recommended by the appliance manufacturer
may cause injuries.
7. Always pull the plug out from the wall – never pull the cord. Remove the plug from
the wall be fore moving the appliance. Use both hands to move the appliance.
8. Do not let cord hang over edge of table or counter, or touch hot surface.
9. Do not place the Toaster Oven inside an heated oven or near a hot flame or electric
burner.
10. Do not use outdoors
11. If the electric circuit is overloaded with other appliances, this appliance may not
operate properly. The Toaster Oven should be operated on a separate electrical
circuit from other operating appliances.
12. The temperature of accessible surfaces may be high when the appliance is
operating.
13. If the supply cord is damaged, it must be replaced by the manufacturer or its
service agent or a similarly qualified person in order to avoid a hazard.
14. Store only the accessories provided with this unit inside the oven when not in use.
Do not store any other materials.
15. A fire may occur if the appliance is covered or touching flammable material,
including curtains, draperies, walls, and the like, when in operation. Do not put
any items on top of the appliance when in operation.
16. Do not place any cardboard, paper or plastic inside the oven.
17. All containers placed inside the oven must not be airtight. Also, they need to have
enough room to allow for expansion of fluids.
18. Clean this appliance regularly as build – up of grease may cause a fire. Make
sure that this appliance is not placed near curtains, any drapery, or other flammable
material.
19. Do not clean with metal scouring pads. Pieces can break off the pad and touch
electrical parts involving a risk of electric shock.
20. In order to prevent accidental burns, always use the handle and knobs to operate
this appliance.
21. The temperature of the door or outer surface may be high when the appliance
operating.


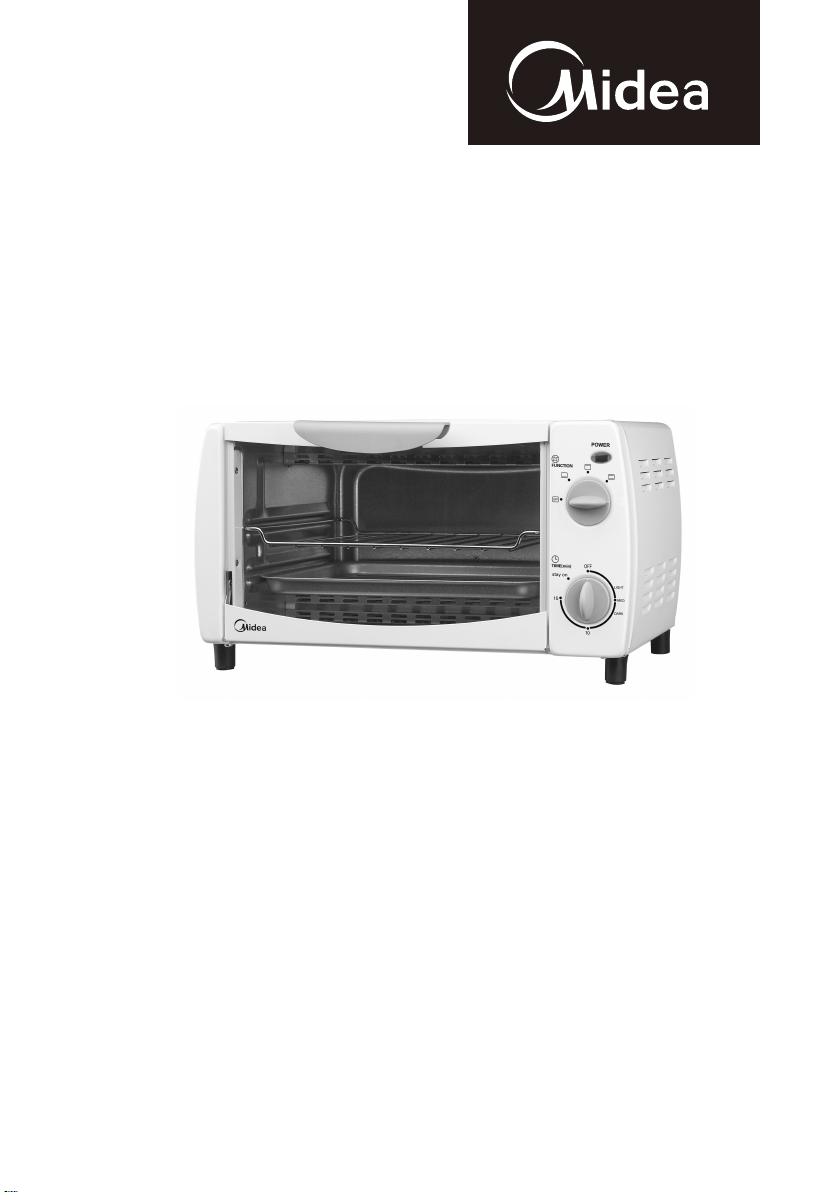
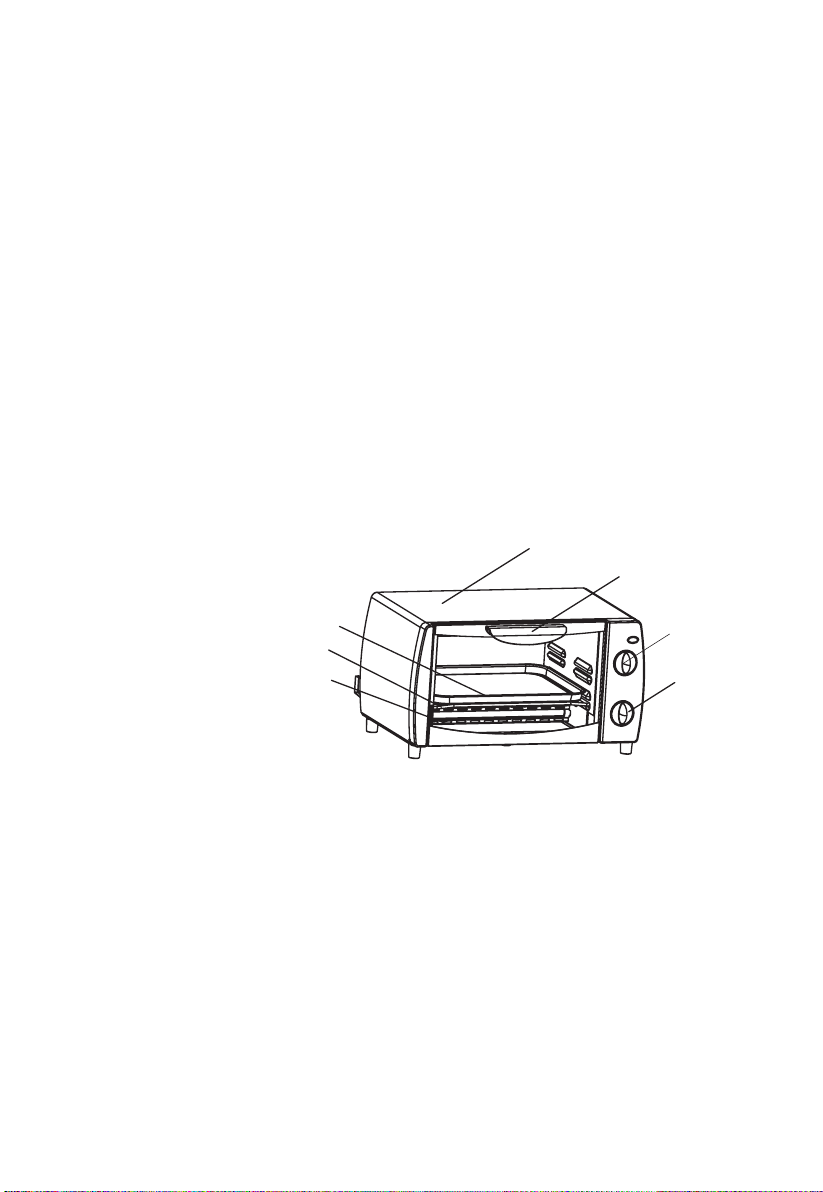
 User manual")


M Service manual")