Completed by ________________________________ Date ________________________________
Miele
•
9
Independence
W
ay
•
Princeton,
NJ
08540
•
800-991-9380
•
F
ax
609-419-4241
•
[email protected]14. Programming the water hardness and acvate soener if necessary (connued)
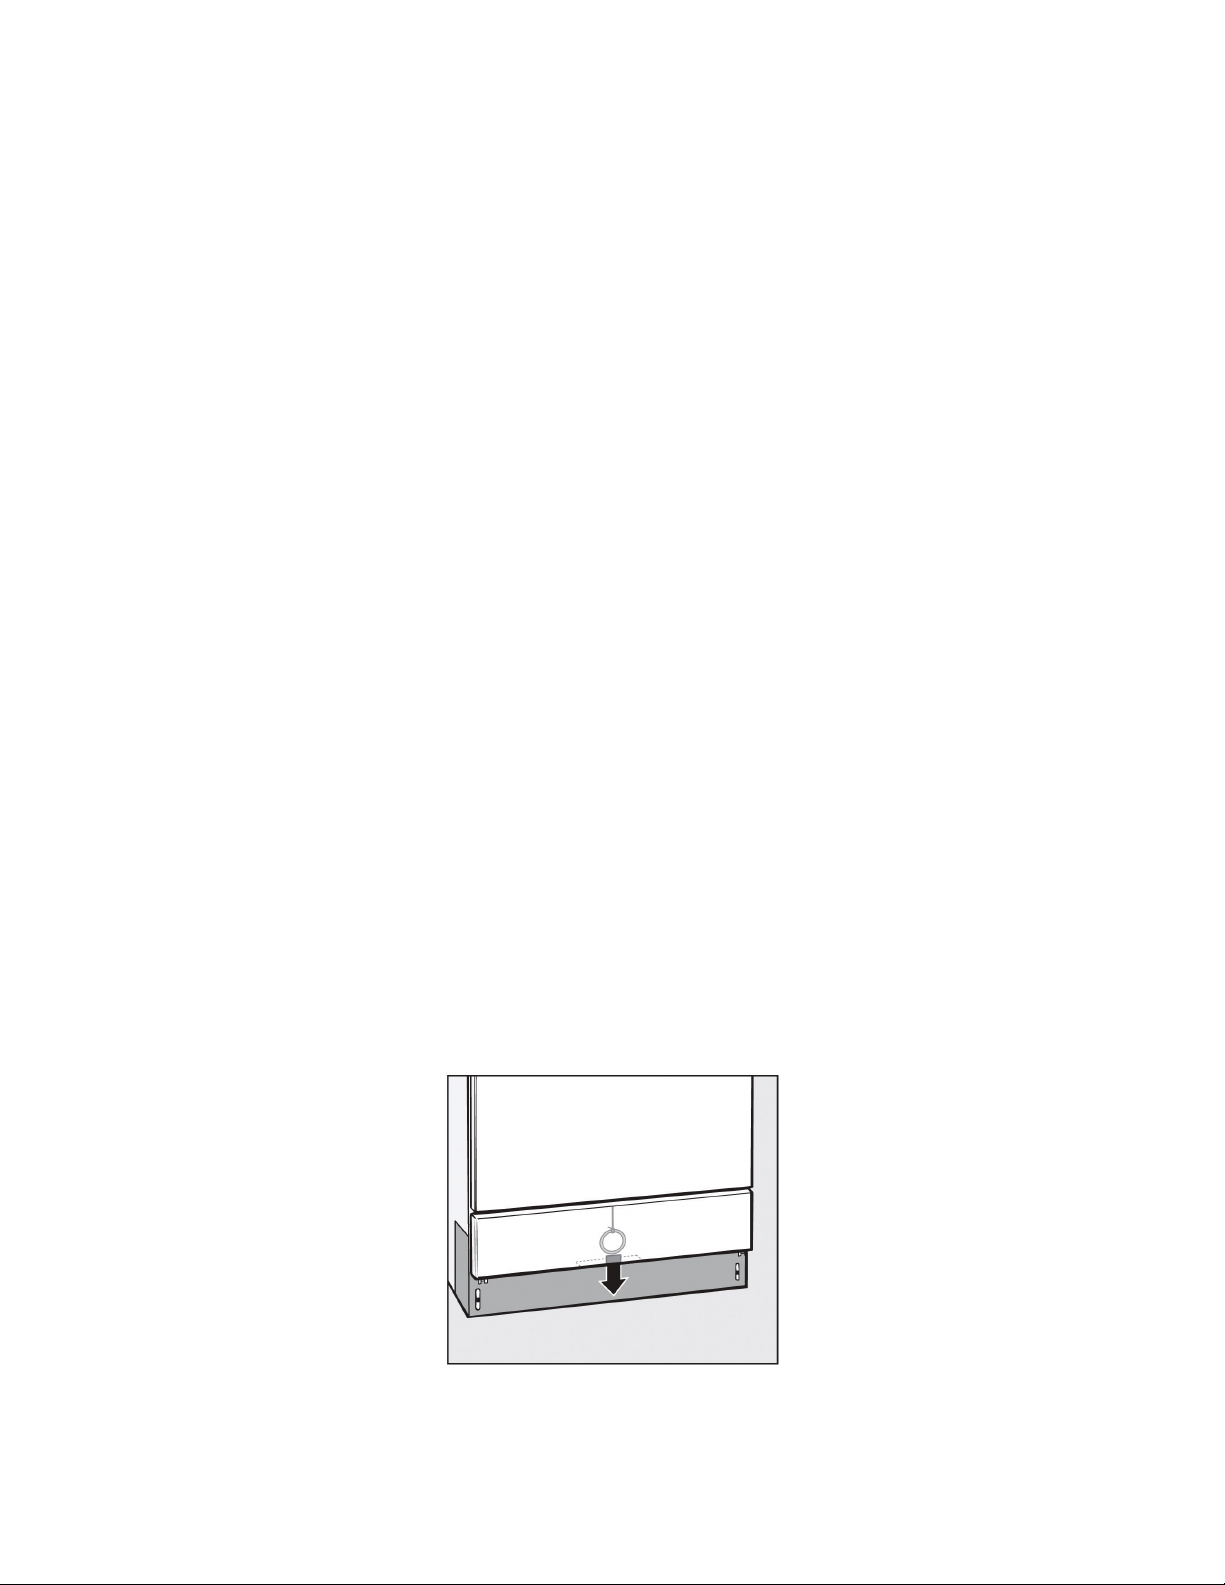
A. Filling the salt reservoir
• Remove the bottom basket from the machine.
• Unscrew the salt reservoir cap.
Before lling the salt reservoir with reactivation salt for
the rst time, ll it with water till water spills out.
• Place the funnel provided in place (see illustration).
• Carefully ll the reservoir with 1 bag of ProCare Universal
61 salt. Displaced water will run out as it is being lled.
• Wipe any residual salt o the screw threads on the socket.
• Screw the cap on rmly.
• Immediately after this step: Run the “Rinse” program
to remove any traces of salt from the cabinet.
Note: There may be a delay before the “Rinse” program
starts due to the reactivation of the water softener.
B. Setting the water softener
• Turn o the machine with the “On/O” button.
• Turn the program selector to the “Stop” position.
• Press and hold the “Display” and “Start” buttons at the same time.
Simultaneously turn the machine on with the “On/O” button. The current program
status “P...” will appear in the display and the “Fill/Drain” indicator will illuminate.
• Press the “Drying” button once.“E01” (programming level 1) will appear in the display.
• Turn the program selector one switch position clockwise (1 o’clock position).
The number “19” will appear in the display (this indicates the factory water hardness
setting in gr/gal, equivalent to 340 ppm).
• Press the “Display” button as many times as necessary or hold it in until the
required value (hardness level in gr/gal) appears in the display. Once the number “60”
has been reached the counter will begin again at “0.
• Press the “Start” button. “SP” will appear in the display.
• Press the “Start” button again.
The setting will now be stored in memory. The display will go out. For future servicing, it is
useful to make a note of your water hardness level.
• Document the water hardness level here and on page 14 the operating manual:
__________ gr/gal or __________ ppm
Please reference page 14 of the operating manual for setting the water softener hardess.
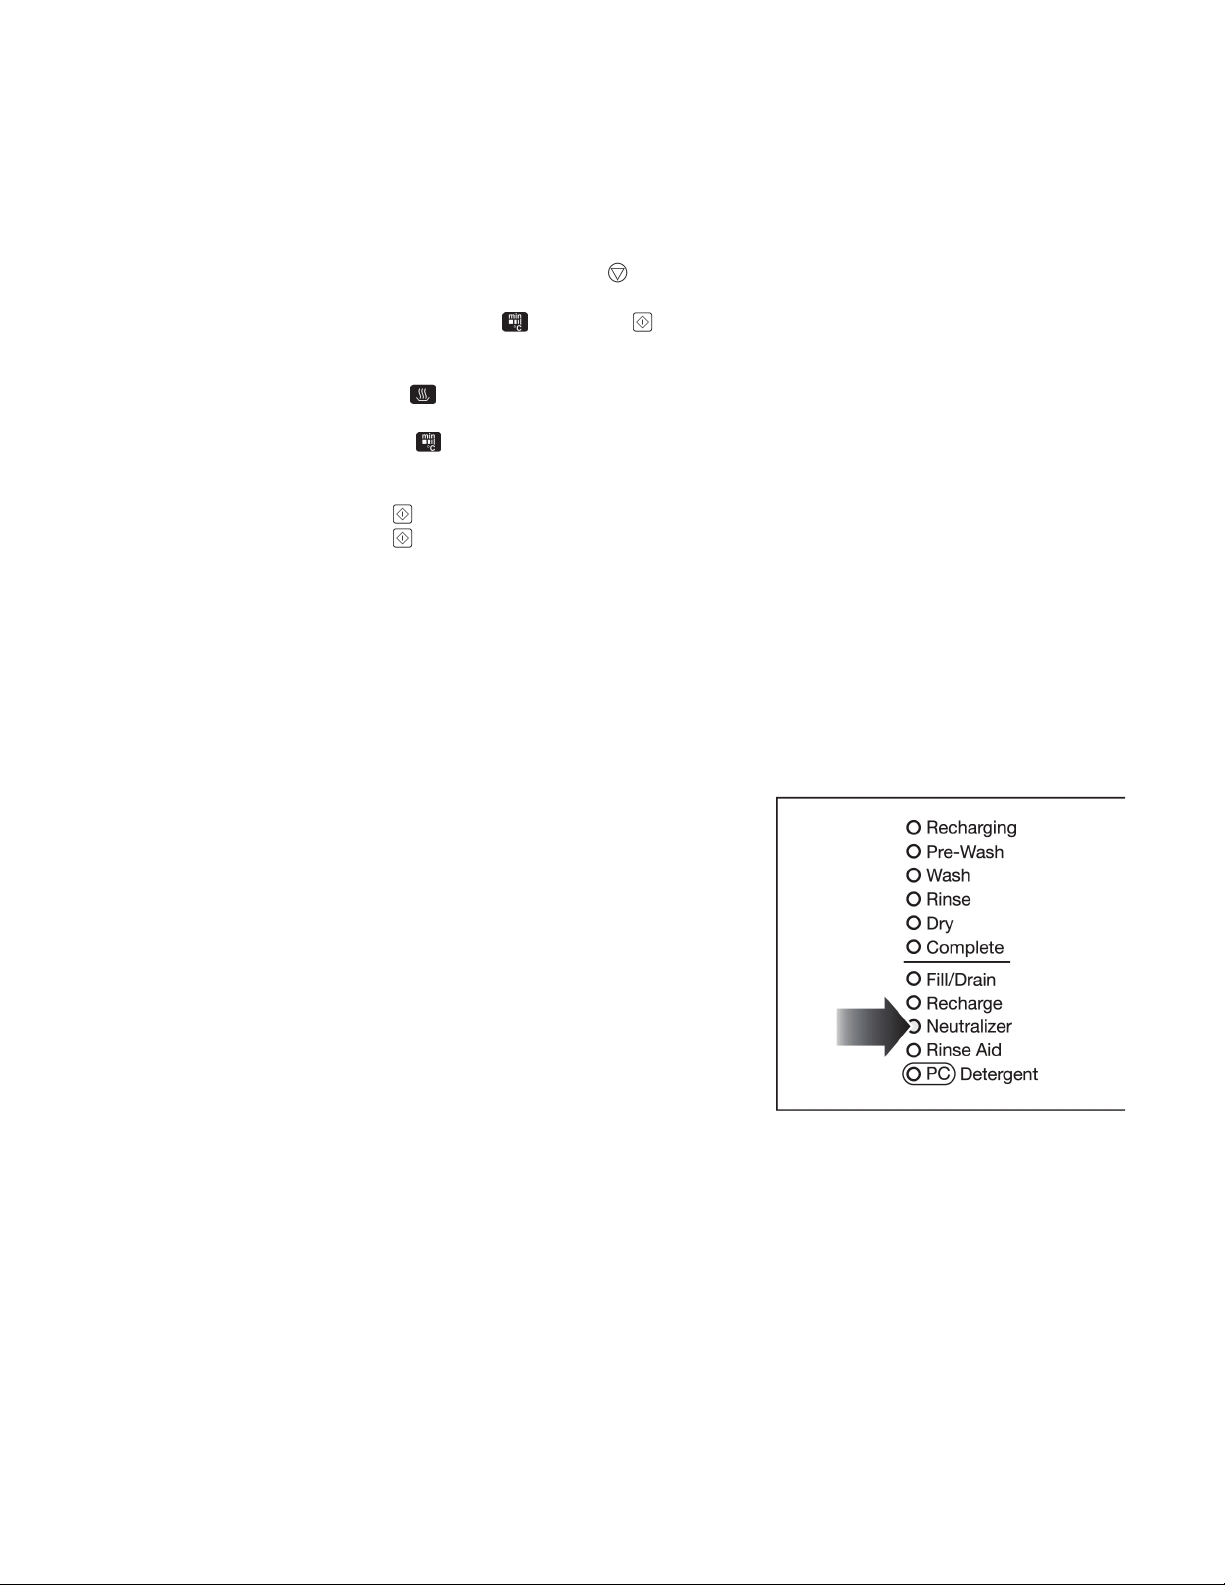
C. Salt Indicator (see illustration)
Reactivation takes place automatically during a program.
The “Recharging”indicator (#1 in illustration) illuminates.
When the salt reservoir is empty, the “Recharge”
indicator (#2 in illustration) illuminates to remind the end user
to ll the reservoir.