Cleaning and care Tips for use Settings
Changing settings
ĺTouch the control.
ĺSelect Settings .
ĺSelect the option you want and change
the setting as required.
ĺTouchOK to save the setting.
Tip: touching takes you back to the
previous menu.
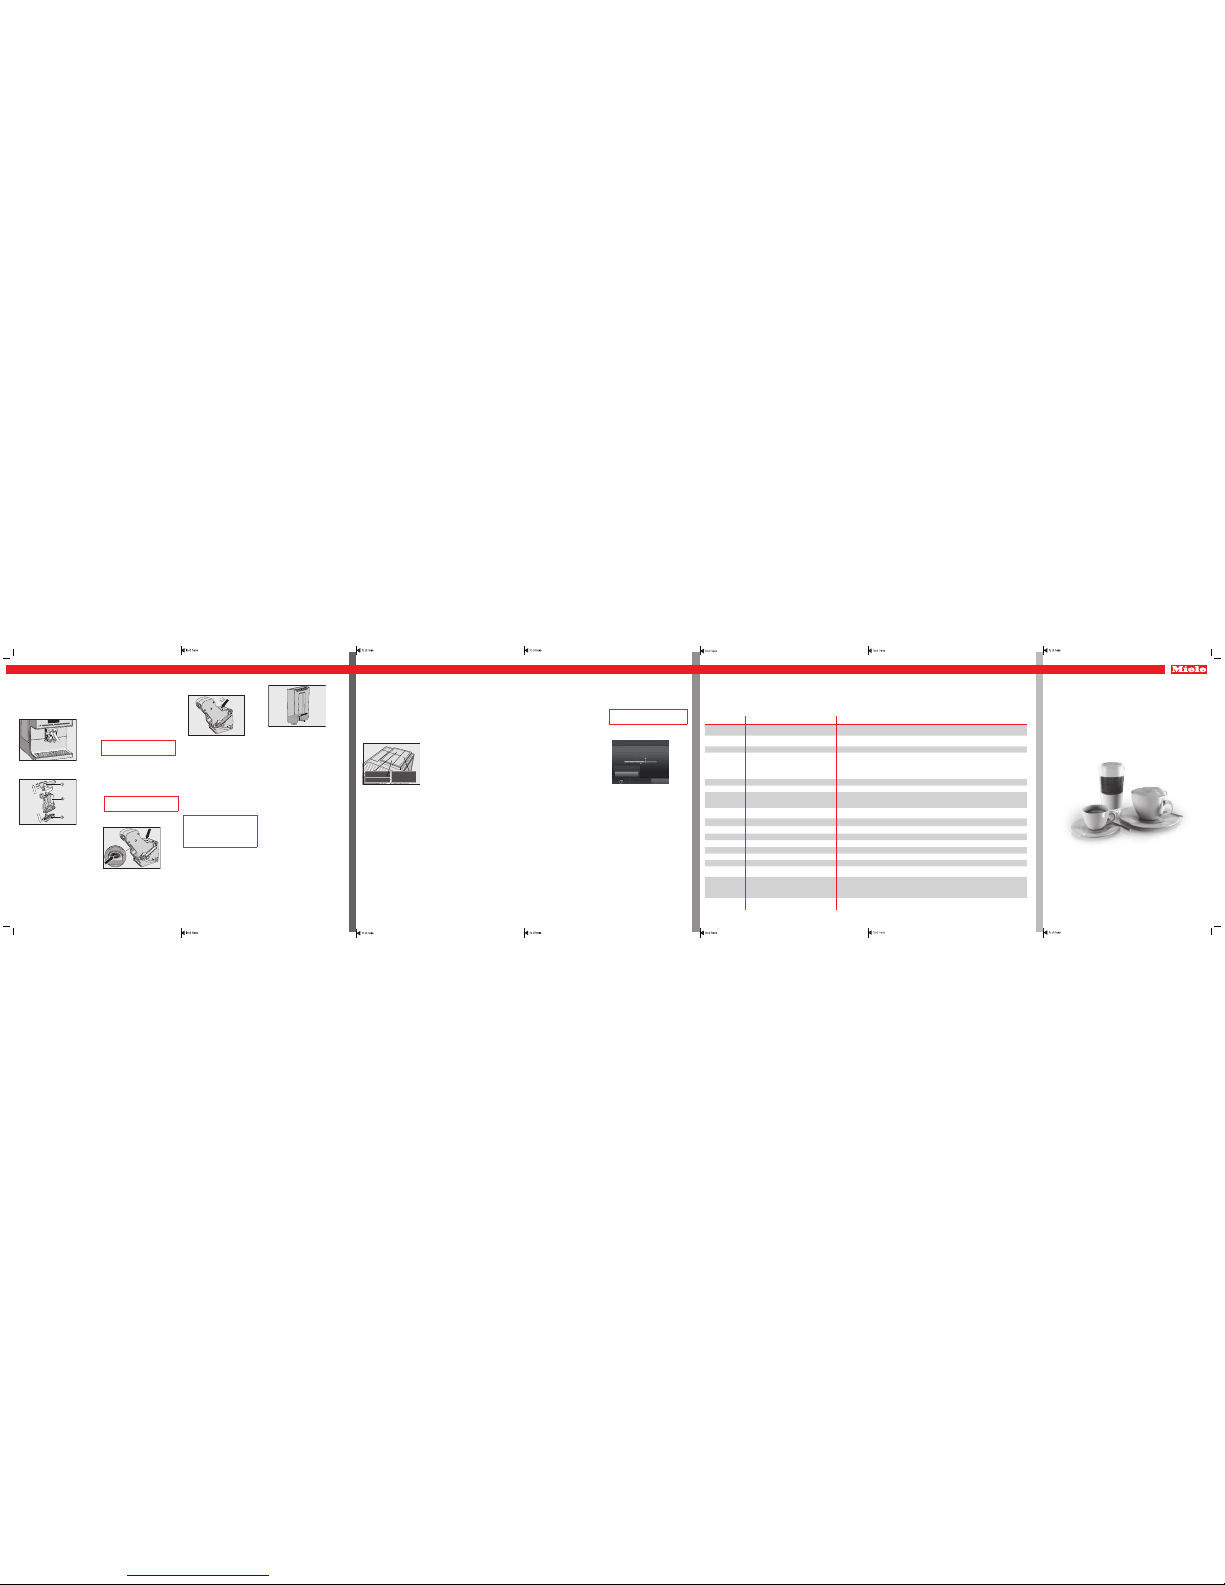
Option Available settings Comments
Language deutsch, english and other languages
Country If you select the wrong language by mistake, you can easily find the Language option by following the
flag symbol.
Time Show (Off / On / Night dimming)
Clock format (12h / 24h)
Your choice of display will affect the energy consumption of your coffee machine.
Date
Timer Timer 1 (Switch on at, Switch off at,
Switch off after)
Timer 2 (Switch on at, Switch off at)
TeaTimer (On / Off)
Descaling timer
For Switch on at and Switch off at the timer must be activated and at least one day of the week must be
allocated.
Expert mode On / Off
Eco mode On / Off
Lighting Brightness
(Machine switched on or switched off)
Switch off after
Type of beans Type A, B and C (Change name, Change
allocation)
Info
System lock On / Off When the system lock is activated, the Switch on at option for the timer cannot be selected.
Water hardness soft, medium, hard, very hard
Brightness
Volume Audible tones / Keypad tones
Cup heating On / Off
Spout adjustment On / Off The height of the central spout cannot be adjusted manually.
Miele@home Setup Further functions can be taken advantage of if the coffee machine is connected to a WiFi network, and
is signed into the Miele@mobile App (see operating instruction manual).
Service Evaporate
Demo mode
The Evaporate function removes water from the system and should be used if the machine is not going
to be used for a long period of time or has to be moved.
Demo mode is intended for use in showrooms or at exhibitions. Do not activate this setting for domestic
use.
Factory default Appliance settings
Network configuration
Language, Time, Date, Number of drinks and Profiles cannot be reset.
Bean system
You can change the names for the types of
coffee bean and/or reallocate the types of
bean under Settings | Type of beans.
If you do not allocate a type of bean, you
will be asked what type of bean you want
to use for the coffee as you make it.
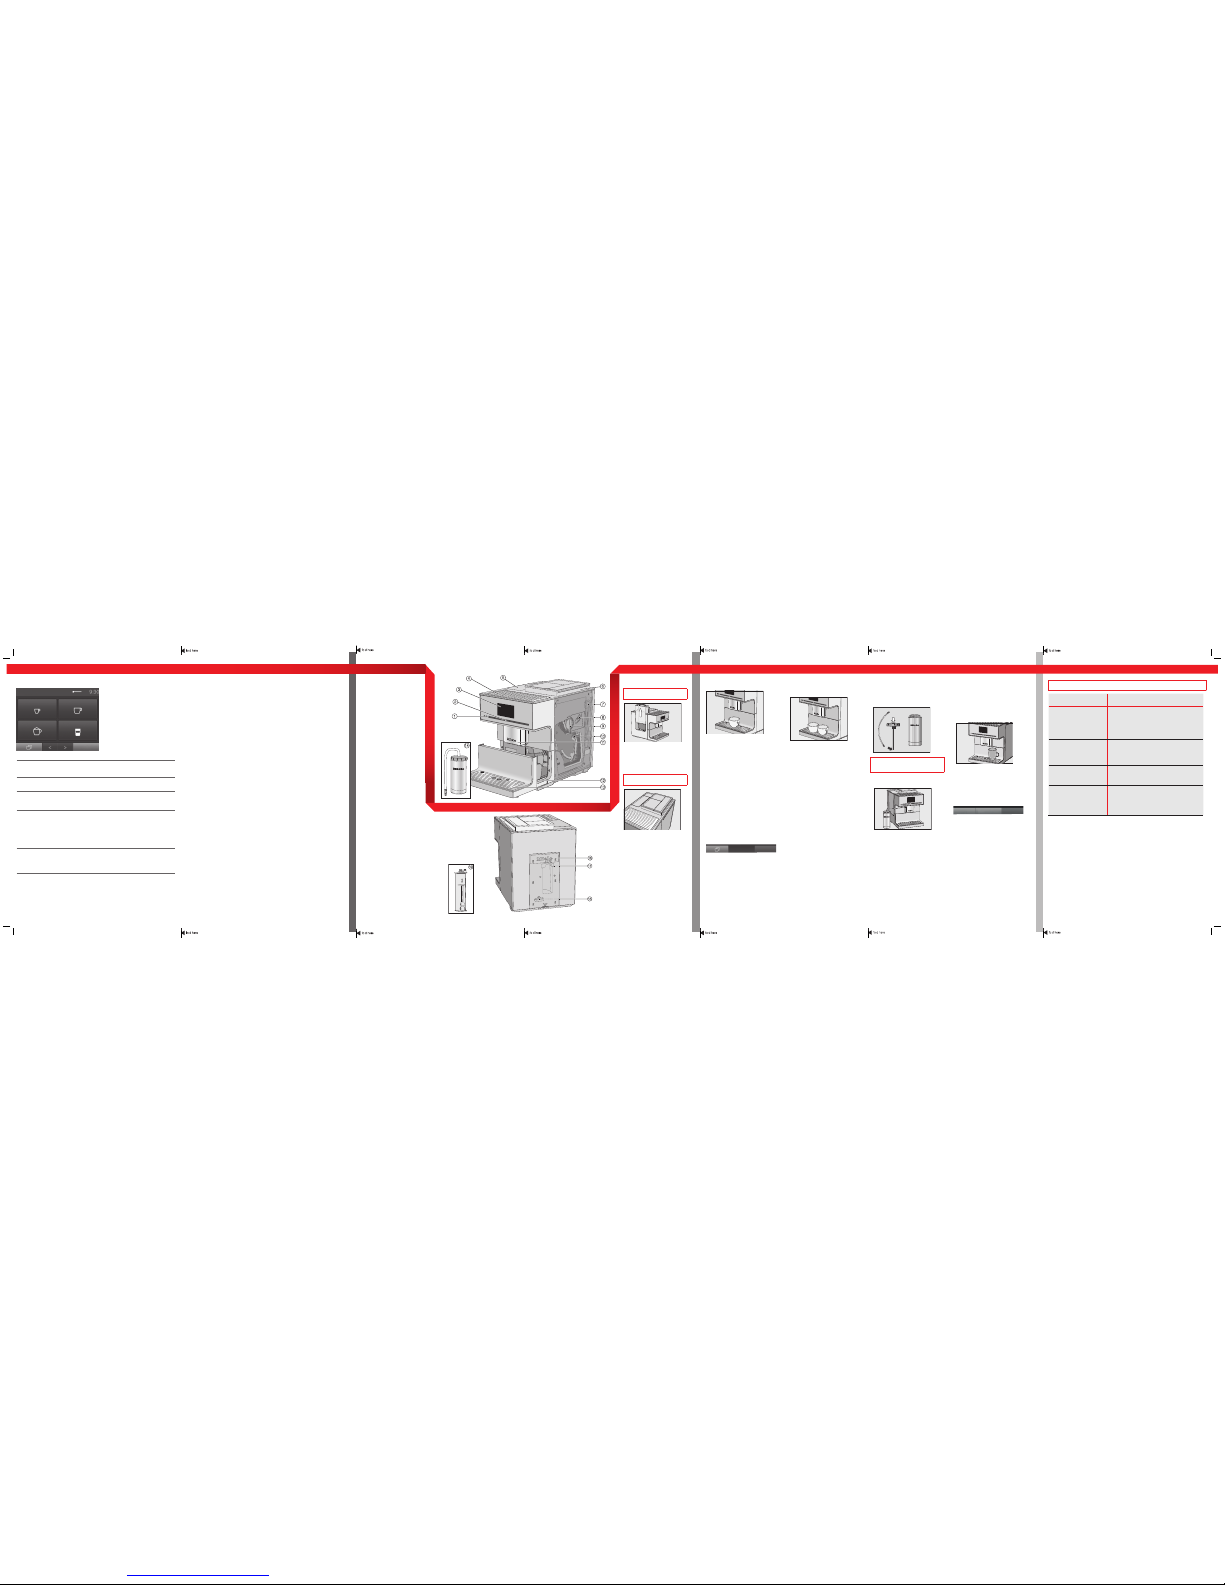
Rename type of beans
The 3bean containers are shown in the
display as follows and are pre-named.
If you are using the same type of beans in
two or three bean containers at the same
time (for instance because you only use
one type of bean), make sure you name
them in the same way exactly.
ĺSelect Change name.
ĺEnter the name you want (max. 8
characters) and then touchSave.
Allocate type of beans
ĺSelect Change allocation.
If you have set up one or more Profiles and
at least one coffee drink, first select the
Profile.
ĺChange the allocation as required and
then touchOK.
Tip: If you touch all, you will have
highlighted all coffee drinks and you will
not be able to deselect the ones you do
not want.
Drink parameters
You can set the amount of coffee, the
brewing temperature and pre-brewing for
each drink individually.
ĺSelect Process from the drinks menu
using the arrow sensor.
ĺTouch Change drink and select a drink.
ĺTouch Drink parameters.
ĺSelect Amount of coffee, Brew
temperature, Pre-brewing or Type of beans.
ĺSelect the setting you want and
touchOK.
ĺTouch OK again to save your changed
settings.
Portion size
You can adjust the amount of water for all
coffee drinks, hot water and all types of
tea and the amount of milk for drinks with
milk.
ĺPlace the cup you want under the
central spout or hot water spout.
ĺSelect Process using the arrow sensor.
ĺTouch Change drink and select a drink.
ĺTouch Portion size.
The drink will be made and Save will
appear in the display as soon as the
minimum dispensing amount is reached.
ĺWhen the cup is filled to the level you
want, touch Save.
If you want to change the portion size for
coffee drinks made with milk or hot water,
the ingredients which make up the drink
will be saved one after the other while the
drink is being made.
Profiles
You can set up profiles and individual
drinks to cater for different tastes and
preferences.
Creating a profile
ĺSelect Profiles followed by Create profile.
ĺEnter the name you want (max. 8
characters) and then touchSave.
Processing a profile
When you have created at least one profile
you can choose from the following options
under Process:
– Change name
– Delete profile
– Change profile
Creating and processing drinks in a
profile
ĺTouch Create drink and select a drink.
ĺChange the portion size or drink
parameters.
ĺEnter a name for the new drink
(maximum 8characters) and touch Save.
When you have created at least one drink
you can choose from the following options
under Process drink:
– Change drink
(portion size, drink parameters and
name)
– Delete drink
Expert mode
In Expert mode you can change the
portion size while the drink is being made.
To do this Expert mode must be switched
on (Settings | Expert mode).
The portion size can only be changed
when the respective ingredient is being
processed while the drink is being made.
The setting will not be saved and will only
apply for the current drink.
ĺTouch the segments and adjust the
indicator (small triangle) as you wish.
Cleaning the central spout
If the central spout is in the uppermost
position it cannot be dismantled. The
central spout must be moved into the
maintenance position to do this.
ĺPress the control for 3seconds.
ĺCarefully pull the stainless steel cover off
and then pull the dispensing unit off.
ĺTwist off the upper section with the
holder for the milk pipework and pull
it off. Then pull the Y-shaped piece
off. Remove the dispensing spouts .
ĺClean all parts thoroughly. Clean the
surfaces of the central spout with a
damp cloth.
ĺFit the dispensing unit back together.
ĺPush the dispensing unit back into the
central spout and replace the stainless
steel cover.
ĺTouch OK.
Degreasing the brew unit
You need 1Miele cleaning tablet to
degrease the brew unit. The process takes
approx. 12 minutes.
The message Degrease the brew unit will
appear in the display.
ĺTouch OK.
The maintenance programme will then
start.
ĺFollow the instructions in the display.
Clean the brew unit by hand under
warm running water. Do not use
cleaning agent.
ĺOpen the machine door.
ĺRelease the brew unit. Press and
hold the button under the brew unit
handleand, whilst doing so, turn the
handle to the left.
ĺCarefully pull the brew unit out of the
coffee machine.
When you have removed the brew
unit, do not change the position of the
handle on the brew unit.
ĺClean the brew unit by hand under
warm running water.
ĺWipe any remaining coffee off the two
filters (see arrows).
ĺDry the funnel in the brew unit.
ĺCarefully clean the inside of the coffee
machine.
The following message will appear in the
display: Fit the brew unit with a tablet in it.
ĺPush the brew unit back into the coffee
machine.
ĺLock the brew unit. Press and hold the
button under the brew unit handle and,
whilst doing so, turn the handle to the
right.
ĺClose the appliance door.
ĺFollow the further instructions given in
the display.
The cleaning process is finished at the end
of the rinsing cycle.
"Descale the machine"
maintenance programme
Risk of damage from descaling
solution.
Sensitive surfaces and/or natural floors
can suffer damage.
Wipe up any spillages of descaling
agent immediately.
You need 1descaling tablet for the
descaling process. The process takes
approx. 12 minutes.
The message Descale the machine appears
in the display.
ĺTouch OK.
The maintenance programme will then
start.
ĺFollow the instructions in the display.
ĺFill the water container to the Descaling
symbol symbol with lukewarm water.
ĺPlace 1descaling tablet in the water.
ĺPush the water container back into the
appliance.
ĺFollow the further instructions given in
the display.
ĺWhen Rinse the water container and fill it to
the symbol with fresh tap water appears
in the display:
ĺRemove the water container and rinse
it thoroughly with clean water. Fill the
water container to the descaling symbol
with fresh tap water.
The descaling process is complete at the
end of the rinsing process.
Stop
Dispensing
Cancel
Type A Type B
Type C