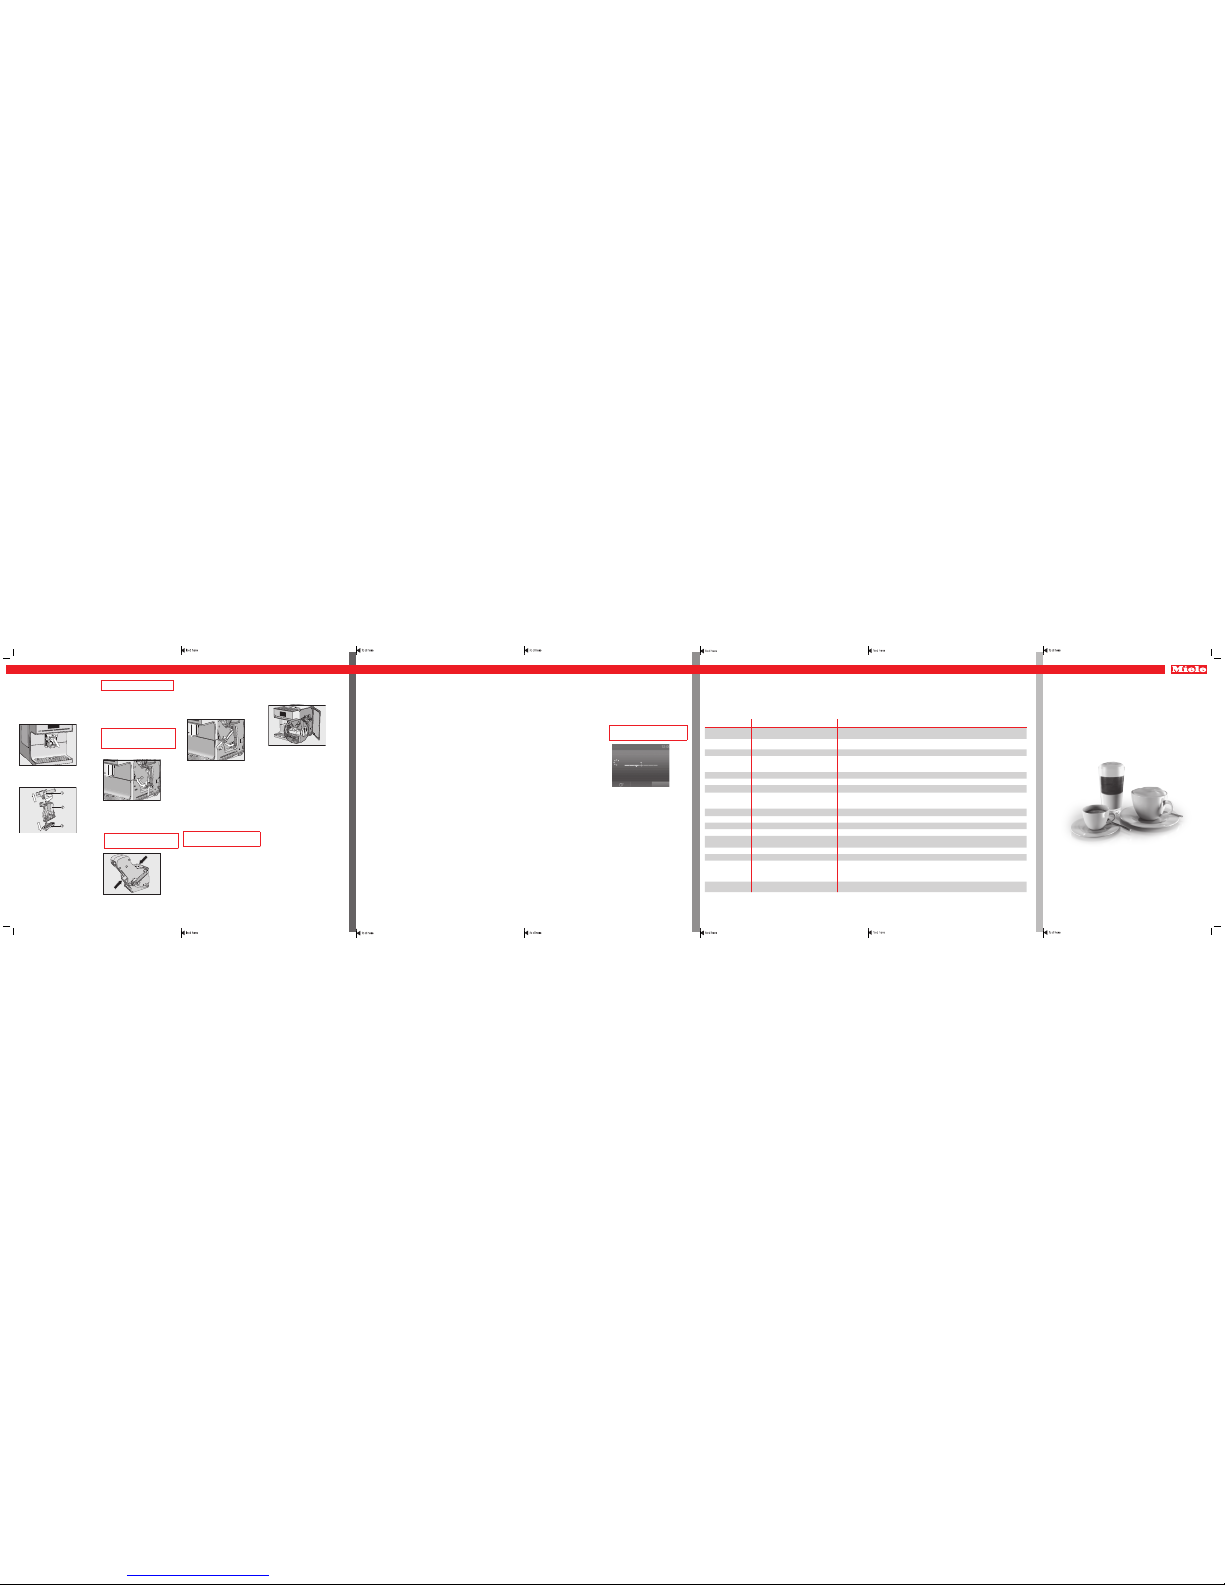
Quick Start Guide
Coffee machine
These short instructions are not a substitute for the operating instructions supplied
with the appliance. Please read the Operating and installation instructions booklet
supplied with your machine before using it for the first time and take note of the
Warning and Safety instructions, as well as the full descriptions on how to use your
machine.
en - AU, NZ M.-Nr. 10 355 300
SPECIAL INSTRUCTIONS
SETTINGS
CLEANING AND CARE
Cleaning and care Special instructions Settings
Changing settings
ĺTouch .
ĺSelect "Settings ".
ĺSelect the option you want and change
the setting as required.
ĺTouch OK to save the setting.
Tip: Touching takes you back to the
previous menu.
Menu option Available settings Notes
Language deutsch, and other languages
Country Tip: If you select the wrong language by mistake, you can find the "Language" option by following the
flag.
Time of day Display (Off / On / Night dimming)
Clock format (12 h / 24 h)
Depending on which option you select, the machine may use more energy. A message appears in the
display to inform you of this.
Date
Timer Timer 1 (Switch on at, Switch off at,
Switch off after)
Timer 2 (Switch on at / Switch off at)
For "Switch on at" and "Switch off at" to be set, the timer must be activated and at least one day of
the week must be allocated.
Expert mode On / Off
Eco mode On / Off
Descaling Descaling method (automatic/manual) If you select "Automatic descaling", the "Start time" will be displayed.
Lighting Brightness (Appliance switched on or
switched off)
Switch off after
Info
System lock On / Off When the system lock is activated, the "Switch on at" option for the timer cannot be selected.
Water hardness Soft / Medium / Hard / Very hard The water hardness level only needs to be set for manual descaling.
Display brightness
Volume Buzzer tones
Keypad tone
Cup heating On / Off
Spout adjustment On / Off The height of the central spout cannot be manually adjusted.
Service Evaporating the coffee machine
Demo mode
The "Evaporate" function removes water from the system and should be used if the machine is not
going to be used for a long period of time or has to be moved.
Demo mode is intended for use in showrooms or at exhibitions. Do not activate this function for
domestic use.
Factory default settings The following settings will not be reset: Language, Time, Date, Number of drinks dispensed or
Descaling method.
Drink parameters
You can change the amount of coffee,
brewing temperature and pre-brewing for
each drink.
ĺSelect "Process" from the drinks menu
using the arrow sensor.
ĺTouch "Change drink" and select a drink.
ĺTouch "Drink parameters".
ĺSelect "Amount of coffee", "Brew
temperature" or "Pre-brewing".
ĺSelect the setting you want and touch
OK.
ĺTouch OK again to save your changed
settings.
Portion size
You can adjust the amount of water for all
coffee drinks, hot water and all types of
tea.
For coffee drinks with milk you can also
set the amount of milk or milk froth to suit
your personal taste.
ĺPlace the cup you want to use under the
central spout or hot water spout.
ĺSelect "Process" with the arrow
sensor.
ĺTouch "Change drink" and select a drink.
ĺTouch "Portion size".
The drink will be made and "Save" will
appear in the display as soon as the
minimum dispensing amount is reached.
ĺWhen the cup is filled to the level you
want, touch "Save".
If you want to change the portion size for
coffee drinks made with milk or hot water,
the ingredients (components) which make
up the drink will be saved one after the
other while the drink is being made.
User profiles
You can save frequently made drinks in a
profile with your own individual settings
(see "User profiles").
ĺSelect "Profiles" from the main menu.
Creating a User profile
ĺSelect "Create Profile".
ĺEnter the name you want (max. 8
characters) and then touch"Save".
Processing profiles
When you have created at least one
profile, you can choose from the following
options under "Process":
– Change name
– Delete profile
– Change profile
Creating and processing drinks in a
profile
ĺTouch "Create drink" and select a drink.
ĺChange the portion size or drink
parameters.
ĺEnter a name for the new drink
(maximum 8 characters) and touch
"Save".
When you have created at least one drink,
you can choose from the following options
under "Process drink":
– Change drink
(portion size, drink parameters and
name)
– Delete drink
Expert mode
In Expert mode you can change the
amount of coffee and the portion size
while the drink is being made.
The setting will not be saved and will only
apply for the current drink.
You can activate Expert mode from the
"Settings " menu.
The parameters can only be changed
when the respective ingredient is being
processed while the drink is being made.
ĺTouch the segments and adjust the
indicator (small triangle) as you wish.
Cleaning the central spout with
integrated cappuccinatore
If the central spout is in the uppermost
position, it cannot be dismantled. The
central spout must be moved into the
maintenance position to do this.
ĺTouchfor three seconds.
ĺPull the stainless steel cover forwards
and off and then pull the dispensing unit
off.
ĺTwist the upper sectionwith the
holder for the milk pipework and pull it
off. Then pull the Y-shaped pieceoff.
Remove the dispensing spouts.
ĺClean all parts thoroughly.
ĺClean the surfaces of the central spout
with a damp cloth.
Tip: If necessary, clean the milk pipework
under running water with the brush
supplied.
ĺFit the dispensing unit back together.
Push the spouts firmly back onto the
dispensing unit.
Make sure that all parts are tightly
connected to one another.
ĺPush the dispensing unit back into the
central spout and refit the stainless steel
cover.
ĺTouch OK.
Cleaning the brew unit by hand
Clean the brew unit by hand only
under warm running water. Do not
use washing-up liquid or any other
cleaning agent.
ĺOpen the door.
ĺPress the button under the handle of the
brew unit and, whilst doing so, turn
the handle to the left.
ĺCarefully pull the brew unit out of the
coffee machine.
When you have removed the brew
unit, do not change the position of the
handle on the brew unit.
ĺWipe any remaining coffee off the two
filters. One filter is located in the funnel
and the other to the left of the funnel.
ĺDry the funnel to prevent ground coffee
sticking to it the next time a coffee is
prepared.
ĺCarefully clean the inside of the coffee
machine.
ĺPush the brew unit back into the coffee
machine, making sure it is straight.
ĺPress the button under the handle of the
brew unitand, whilst doing so, turn
the handle anti-clockwise.
Degreasing the brew unit
After 200 portions have been dispensed,
"Degrease the brew unit" will appear in the
display. This message will not go out until
the brew unit has been degreased.
You need 1 Miele cleaning tablet to
degrease the brew unit. The process takes
approx. 12minutes.
The cleaning process cannot be
cancelled once it has started. It must be
completed through to the end.
ĺTouch "Maintenance"in the main menu
and then "Degrease the brew unit".
The maintenance programme will then
start.
ĺFollow the instructions in the display.
When "Place a cleaning tablet in the ground
coffee drawer and then close it" appears in
the display:
ĺOpen the door.
ĺTurn the handle to the left to remove the
ground coffee drawer.
ĺPlace the cleaning tablet in the
integrated coffee scoop and push the
ground coffee drawer into the ground
coffee chute. Turn the handle to the right
to close the ground coffee chute.
ĺFollow the further instructions given in
the display.
DoubleShot Cancel
Grinding