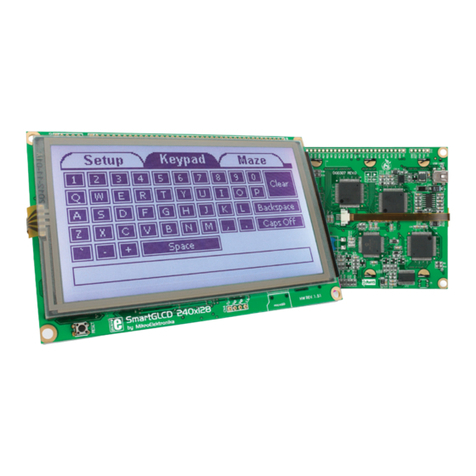
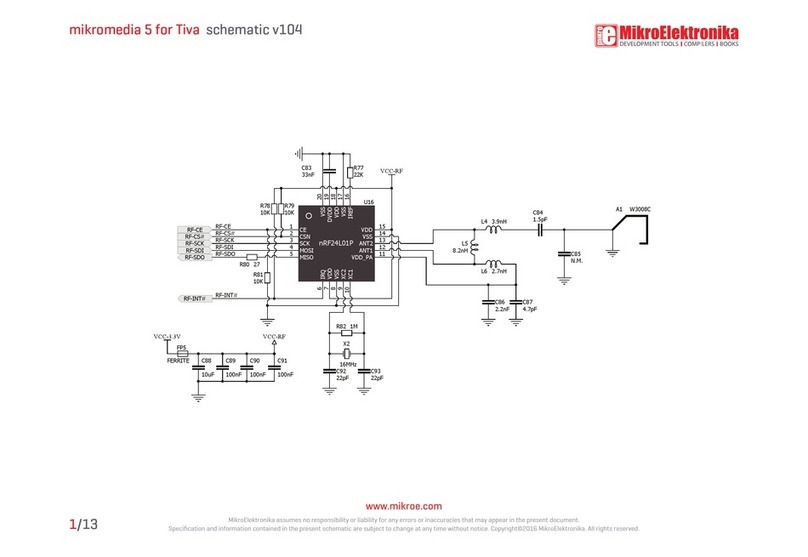
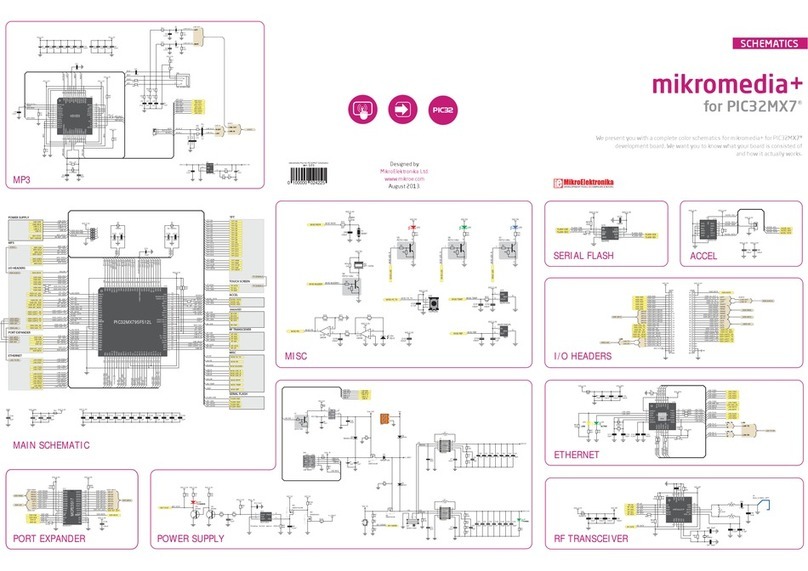
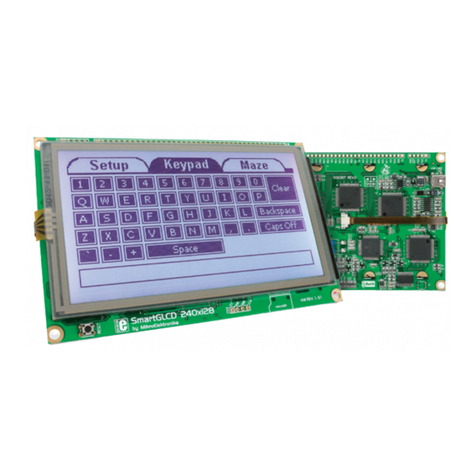
mikroElektronika PIC18FK User manual

Compact development system rich with on-board peripherals for all-round
multimedia development on PIC18F67K40 device.
for PIC18FK
mikromedia

Page 2
I want to express my thanks to you for being interested in our products and for having
confidence in MikroElektronika.
The primary aim of our company is to design and produce high quality electronic products
and to constantly improve the performance thereof in order to better suit your needs.
TO OUR VALUED CUSTOMERS
Nebojsa Matic
General Manager
The PIC®, dsPIC®, PIC24®, PIC32®and Windows®logos and product names are trademarks of Microchip Technology®and Microsoft®in the U.S.A. and other countries.

Page 3
Introduction to mikromedia for PIC18FK 4
Package Contains 5
Key Features 6
System Specification 7
1. Power supply 8
Battery power supply 8
USB power supply 8
2. PIC18F67K40 microcontroller 9
Key microcontroller features 9
3. Programming the microcontroller 10
Programming with mikroBootloader 11
step 1 – Connecting mikromedia 11
step 2 – Browsing for .HEX file 12
step 3 – Selecting .HEX file 12
step 4 – Uploading .HEX file 13
step 5 – Finish upload 14
Programing with mikroProg programmer 15
mikroProg Suite for PIC®Software 16
Programing with ICD2®or ICD3®programmer 17
4. Reset Button 18
5. microSD Card Slot 19
6. Crystal oscillator 20
7. Audio Module 21
8. Touch Screen 22
9. Accelerometer 23
10. USB connection 24
11. Flash Memory 25
12. Pinouts 26
13. Dimensions 27
14. Schematic 28
15. Mikromedia accessories 32
What’s next? 33
Table of Contents

Page 4
Introduction to mikromedia for PIC18FK
Mikromedia for PIC18FK is a compact smart
display and development platform with the
PIC18F67K40 microcontroller from Microchip.
The large 320x240 TFT color display will allow
you to build multimedia applications with speed
and ease. You can use it for development and
as a final product. A 320x240 TFT Color Display
with Touch Screen and Stereo MP3 Codec chip,
microSD™card, a preprogrammed PIC18FK MCU
and compiler support — you are set for creating
some amazing projects. It comes preprogrammed
with USB bootloader, but can also be programmed
with external programmers, such as mikroProg™
or ICD2/3. Mikromedia is compact and slim, and
perfectly fits in the palm of the hand, which makes
it convenient platform for mobile devices.

Page 5
Package Contains
01 02
04
Damage resistant
protective box
mikromedia for PIC18FK
development system
03
Two 1x26 male headers and
one 1x5 header
USB cable

Page 6
Key Features
01
09
02
16
01
02
03
04
05
06
07
08
09
10
11
12
13
14
15
Connection Pads
TFT 320x240 display
Micro USB connector
CHARGE indication LED
LI-Polymer battery connector
3.5mm headphone connector
Power supply regulator
Serial Flash memory
RESET button
VS1053 Stereo mp3 coder/decoder
PIC18F87J50 microcontroller
Accelerometer
Crystal oscillator
Power indication LED
microSD Card Slot
ICD2/3 connector
mikroProg connector
17

Page 7
03
06
07
08
11
10
12
13
14
15
16
04 05
17
System Specification
power supply
Via USB cable (5V DC)
board dimensions
81.2 x 60.5 mm (3.19 x 2.38 inch)
weight
~45.5g (0.10lbs)
power consumption
52 mA with erased MCU (when back-light is ON)
CAUTION: Electrostatic Sensitive Device
Permanent damage may occur on devices subjected to high energy
electrostatic discharges which readily accumulate on the human body
or test equipment and can discharge without detection.
class B product
Product complies with the Class B limit of EN 55022 and can be used in
the domestic, residential, commercial and industrial environments.

Page 8
USB power supply - You can apply power
supply to the board using micro USB cable
provided with the board. On-board voltage
regulators provide the appropriate voltage
levels to each component on the board.
Power LED (green) will indicate the presence
of power supply.
You can also power the board using Li-Polymer battery,
via on-board battery connector. On-board battery
charger circuit MCP73832 enables you to charge the
battery over USB connection. LED diode (RED) will
indicate when battery is charging. Charging current is
~250mA and charging voltage is 4.2V DC.
Battery power supply
USB power supply
Figure 1-1: Connecting
USB power supply
Figure 1-2: Connecting Li-Polymer battery
1. Power supply

Page 9
2. PIC18F67K40 microcontroller
Key MCU features
- 128K bytes Program Flash
- 3568 Bytes Data SRAM
- 1024 Bytes Data EEPROM
Sleep mode: Lowest Power Consumption
PIC18F67K40 is a 64-Pin, low-power, high performance
microcontroller with XLP technology. equipped with a 10-bit
ADC with Computation (ADCC) automating Capacitive Voltage
Divider (CVD) techniques for advanced touch sensing, averaging,
filtering, oversampling and performing automatic threshold
comparisons.

Page 10
The microcontroller can be programmed in three ways:
01
02
03
Via USB UART mikroBootloader
Using mikroProg external programmer
Using ICD2/3®external programmer
Figure 3-1:
PIC18F67K40
microcontroller
3. Programming the microcontroller

Page 11
You can program the microcontroller with a bootloader
which is preprogrammed by default. To transfer .hex
file from a PC to MCU you need bootloader software
(mikroBootloader USB HID) which can be downloaded
from:
3.1 Programming with mikroBootloader
Figure 3-2: mikroBootloader window
step 1 – Connecting clicker 2 for PIC18FK
01 To start, connect the USB cable, or if already connected press
the Reset button on your clicker 2 for PIC18FK. Click the Connect
button within 5s to enter the bootloader mode, otherwise existing
microcontroller program will execute.
After the mikroBootloader software is downloaded,
unzip it to desired location and start it.
https://download.mikroe.com/examples/starter-boards/
clicker-2/pic18fk/clicker-2-pic18fk-mikrobootloader-v100.zip
clicker 2 for PIC18FK Bootloader
WinRAR ZIP archive
clicker 2 for PIC18FK Bootloader
File folder
Software
File folder
mikroBootloader USB.exe
Bootloader tool for mikroElektron...
mikroElektronika
PIC18F67K40_Bootloader_Firmware_v100.hex
HEX File
Firmware
File folder
01

Page 12
step 3 – Selecting .HEX filestep 2 – Browsing for .HEX file
Figure 3-3: Browse for HEX Figure 3-4: Selecting HEX
01 01
02
01
01
02
Click the Browse for HEX button and from a
pop-up window (Figure 3-4) choose the .HEX file
which will be uploaded to MCU memory.
Select .HEX file using open dialog window.
Click the Open button.

Page 13
step 4 – Uploading .HEX file
Figure 3-5: Begin uploading Figure 3-6: Progress bar
01
01
01 01
To start .HEX file bootloading click the
Begin uploading button.
Progress bar enables you to monitor .HEX file uploading.

Page 14
step 5 – Finish upload
Figure 3-7: Restarting MCU Figure 3-8: mikroBootloader ready for next job
01
01
02
Click OK button after the uploading process is finished.
Press Reset button on clicker 2 for PIC18FK board and wait
for 5 seconds. Your program will run automatically.

Page 15
The microcontroller can be programmed with mikroProg programmer and mikroProg Suite for PIC®software.
The mikroProg programmer is connected to the development system via the CN6 connector, Figure 3-9.
mikroProg is a fast
USB 2.0 programmer with
mikroICD™hardware In-Circuit
Debugger. Smart engineering allows
mikroProg™to support PIC10®, PIC12®, PIC16®,
PIC18®, dsPIC30/33®, PIC24®and PIC32®devices in
a single programmer. It supports over 570 microcontrollers
from Microchip®. Outstanding performance, easy operation and
elegant design are it’s key features.
Programing with mikroProg programmer
Figure 3-9:
Connecting mikroProg to mikromedia

mikroProg Suite for PIC software
mikroProg programmer requires
special programming software
called mikroProg Suite for PIC. This
software is used for programming
of ALL Microchip®microcontroller
families, including PIC10®, PIC12®,
PIC16®, PIC18®, dsPIC30/33®, PIC24®
and PIC32®. Software has intuitive
interface and SingleClick™programming
technology. Just by downloading the
latest version of mikroProg Suite your
programmer is ready to program new
devices. mikroProg Suite is updated
regularly, at least four times a year, so
your programmer will be more and more
powerful with each new release.
Figure 3-10: Main window of mikroProg Suite for PIC®programming software

The microcontroller can be also programmed
with ICD2®or ICD3®programmer. These
programmers connects with mikromedia
board via ICD2 CONNECTOR BOARD.
In order to enable the ICD2® and ICD3®
programmers to be connected to the
development system, it is necessary to provide
the appropriate connector such as the ICD2
CONNECTOR BOARD. This connector should be
first soldered on the CN5 connector. Then you
should plug the ICD2® or ICD3® programmer
into it, Figure 3-11.
Programing with ICD2®or ICD3®programmer
Figure 3-11:
Connecting ICD2®
or ICD3®programmer

Page 18
Board is equipped with reset button, which is located at the
top of the front side (Figure 4-2). If you want to reset the
circuit, press the reset button. It will generate low voltage
level on microcontroller reset pin (input). In addition, a reset
can be externally provided through pin 27 on side headers
(Figure 4-3).
4. Reset Button
Figure 4-2: Frontal reset button
Figure 4-1: Location of additional reset button
You can also solder additional reset button
on the appropriate place at the back side of
the board, Figure 4-1.
NOTE

Page 19
5. microSD Card Slot
Board contains microSD card slot for using microSD cards in your
projects. It enables you to store large amounts of data externally, thus saving
microcontroller memory. microSD cards use Serial Peripheral Interface (SPI) for
communication with the microcontroller.
Figure 6-1: microSD card slot

Page 20
Board is equipped with 16MHz crystal oscillator (Y1) circuit
that provides external clock waveform to the microcontroller
CLKO and CLKI pins. This base frequency is suitable for further clock
multipliers and ideal for generation of necessary USB clock, which ensures
proper operation of bootloader and your custom USB-based applications.
The use of crystal in all other schematics is implied even if it is purposely left out, because of the schematics clarity.
6. Crystal oscillator
Figure 5-1:
Crystal oscillator module
NOTE :
This manual suits for next models
1
Table of contents
Other mikroElektronika Monitor manuals
