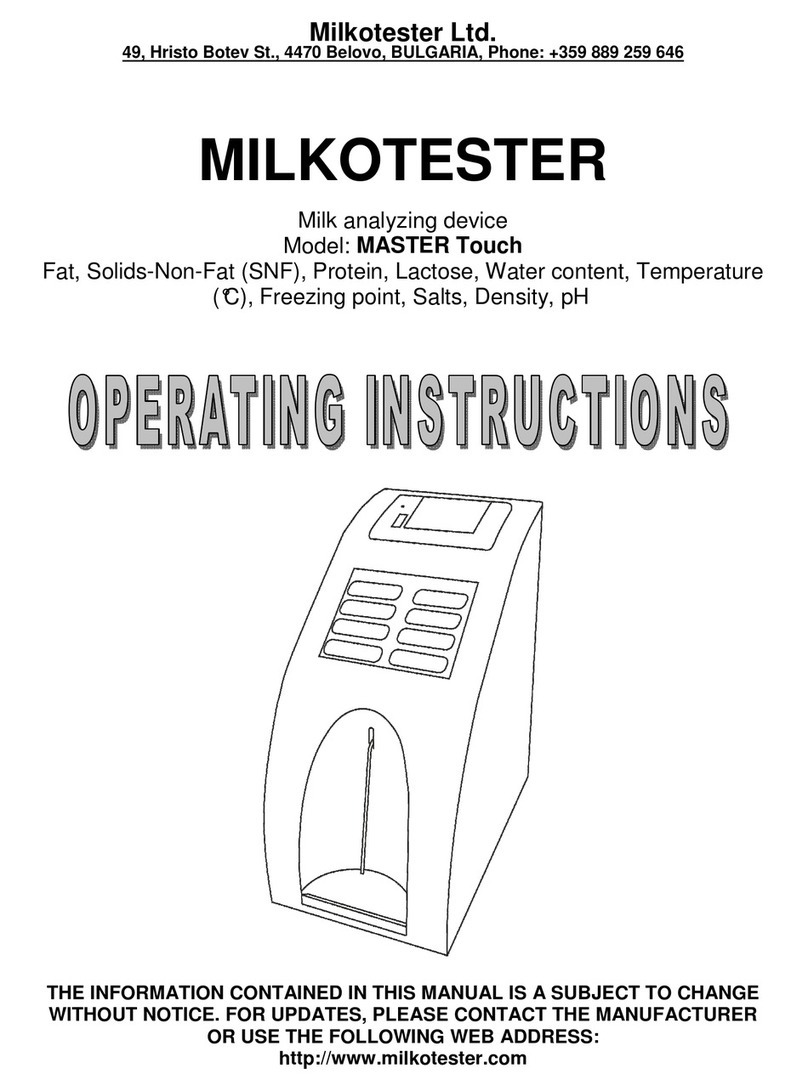
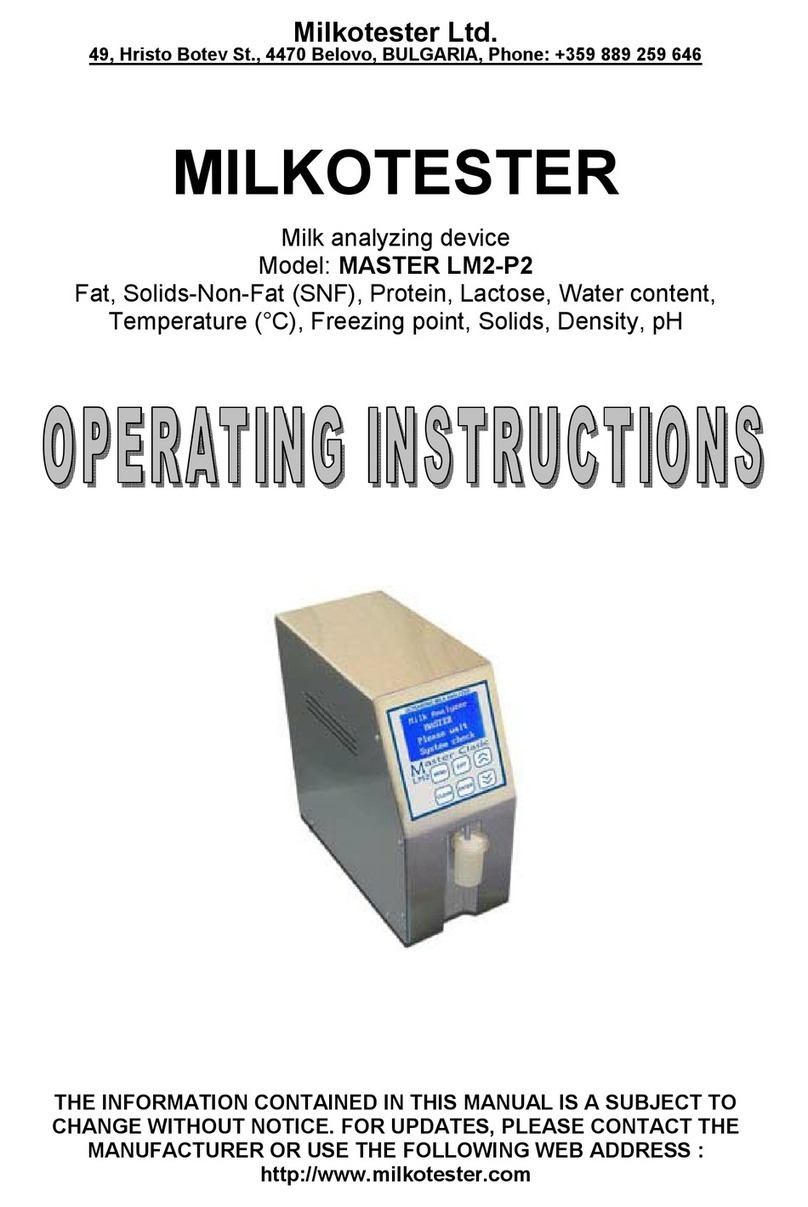
Milkotester Master Series User manual

Appendices towards the Operation Manual of Ultrasonic milk analyzer Master
Measurement of pH
General information
PH probe is a unit, measuring the solution acidity or alkalinity degree. It is measured on
scale of 0 to 14. The term pH is derived from "p", the mathematical symbol for the negative
logarithm, and "H", the chemical symbol of Hydrogen. The formal definition of pH is the
negative logarithm of the Hydrogen ion activity.
pH Electrode
For pH measurement the milk analyzer needs a combination electrode, compatible with
most pH electrodes that have BNC connectors and zero potential (the pH where the mill volt
output of the electrode equals 0) near 7 pH.
Electrode part
The electrode is the most important part of the pH measurement. The electrode glass
membrane is fragile and must be handled with care. To protect the glass membrane and to
maintain activation, a protective rubber cap containing a suitable storage solution covers the
glass membrane.
Electrode care & Electrode maintenance
pH Electrodes are susceptible to dirt and contamination and need to be clean regularly
depending on the extent and condition of use. At no time should one touch or rub the glass
bulb as this causes the build-up of electrostatic charge.

Appendices towards the Operation Manual of Ultrasonic milk analyzer Master
Storage
For best results, always keep the pH bulb wet. An optimal storage solution for
combination electrode is pH 4 buffer with 225 grams of KCl per liter. Table salt, NaCl, can be
used if KCl is not really available. Other pH buffers or tap water are also acceptable storage
media, but avoid storage in de-ionized water. The protective rubber cap filled with the buffer
solution provides ideal storage for long periods.
After Use
After measurement is completed, follow the sequence below for storage.
- Wash the electrode and reference junction in de-ionized water.
- Close the refilling hole by returning its rubber sleeve or stopper cap.
(Necessary for only refillable electrode).
- Store the electrode as mentioned above (see section Storage).
Electrolyte Replacement (for refillable electrode only)
The reference electrolyte needs to be refilled when the electrode has been used for a
long period, or when the internal electrolyte has dried up. To accomplish this, follow the
procedure described below.
- Remove the protective rubber cap or sleeve;
- Remove the protective rubber sleeve to expose the filling port of the electrode;
- Remove the old reference electrolyte with a syringe;
- Fill the new reference electrolyte.

Appendices towards the Operation Manual of Ultrasonic milk analyzer Master
New electrolyte preparation
- Open the KCl container;
- Add in de-ionized water until it reaches the level of 20 ml;
- Close the container and shake it to dissolve the KCl;
- Add in fresh electrolyte until it reaches the level of the refilling port. The reference
electrolyte used should be 3M(Mol) KCl;
- Replace the rubber sleeve.
Re-use the electrode
- Rinse the liquid junction with de-ionized water.
If these steps fail to restore normal electrode response, you may attempt to
rejuvenate it (See: Electrode Rejuvenation).
Electrode cleaning
Electrodes which are mechanically intact can often be restored to normal performance
by one or combination of the following procedures.
- Salt deposits:
Dissolve the deposit by immersing the electrode in tap water for ten to fifteen minutes.
Then thoroughly rinse with de-ionized water. Wash the electrode pH bulb in a little
detergent and water. Rinse electrode tip in with de-ionized water.
- Oil/Grease films:
Wash electrode pH bulb in a little detergent and water. Rinse electrode tip with de-ionized
water.

Appendices towards the Operation Manual of Ultrasonic milk analyzer Master
- Clogged Reference Junction:
pH electrodes have junction, which allows the internal fill solution of the measuring
electrode to leak out into the solution being measured. The junction can become clogged by
contamination in the solution. If a clogged junction is suspected it is best to clear the
junction. Heat up the diluted KCl solution to 60-80°C. Place the sensing part of the pH
electrode into the heated KCl solution for approximately 10 minutes. Allow the electrode to
cool while immersed in some unheated KCl solution.
- Protein Deposits
Prepare 1% pepsin solution in 0.1 M HCI. Allow the electrode to stand in this solution for
five to ten minutes. Rinse the electrode with de-ionized water.
Table of errors of pH measurement according to ambient temperature:
ºC
ºF
2
3
4
5
6
pH7
8
9
10
11
12
5
41
0,30
0,24
0,18
0,12
0,06
0
0,06
0,12
0,18
0,24
0,30
15
59
0,15
0,12
0,09
0,06
0,03
0
0,03
0,06
0,09
0,12
0,15
25
77
0
0
0
0
0
0
0
0
0
0
0
35
95
0,15
0,12
0,09
0,06
0,03
0
0,03
0,06
0,09
0,12
0,15
45
113
0,30
0,24
0,18
0,12
0,06
0
0,06
0,12
0,18
0,24
0,30
55
131
0,45
0,36
0,27
0,18
0,09
0
0,09
0,18
0,27
0,36
0,45
65
149
0,60
0,48
0,36
0,24
0,12
0
0,12
0,24
0,36
0,48
0,60
75
167
0,75
0,60
0,45
0,30
0,15
0
0,15
0,30
0,45
0,60
0,75
85
185
0,90
0,72
0,54
0,36
0,18
0
0,18
0,36
0,54
0,72
0,90

Appendices towards the Operation Manual of Ultrasonic milk analyzer Master
T (ºC)
pH
0
4.01
7.12
9.52
10
4.00
7.06
9.38
20
4.00
7.02
9.26
25
4.01
7.00
9.21
30
4.01
6.99
9.16
40
4.03
6.97
9.06
50
4.06
6.97
8.99
60
4.10
6.98
8.93
70
4.16
7.00
8.88
80
4.22
7.04
8.83
90
4.30
7.09
8.79
In order to calibrate the device you will need two buffer solutions with known values, for
example –one with value of pH 3 /low value/ and the other –pH 7 /high value/.After
choosing Set pH the following text will appear on the display
Temperature effects on the value of pH buffers
Set
pH low buffer:
x.xx

Appendices towards the Operation Manual of Ultrasonic milk analyzer Master
Remove the protective cup of the electrode.
Dip the electrode into the low value buffer solution and make sure that the junction
zone of the electrode is at least at 30 mm below the surface of the buffer solution and leave
it at rest. Now you have to enter the known value of the “low” buffer solution. Use ↑↓ (Up
and Down) arrows to enter the new value and Press ENTER to confirm. After dialing the last
symbol press ENTER to confirm the new value.
The following text will appear on the display:
Wait until the electrode and the buffer stabilize /the reference value should change
the least possible/. Press ENTER to set the value.
The following text will appear on the display:
Dip the electrode into the high value buffer solution and make sure that the junction
zone of the electrode is at least at 30 mm below the surface of the buffer solution and leave
it at rest. Now you have to enter the known value of the “high” buffer solution. Use ↑↓ (Up
and Down) arrows to enter the new value and Press ENTER to confirm. After dialing the last
symbol press ENTER to confirm the new value.
The following text will appear on the display:
Setting
Ref. Value: xxxxx
Set
pH high buffer:
x.xx

Appendices towards the Operation Manual of Ultrasonic milk analyzer Master
Wait until the electrode and the buffer stabilize /the reference value should change
the least possible/. Press ENTER to set the value
Please note:
The pH electrode must be calibrated on a regular base in order to obtain high
accuracy results of the measurement.
For calibration use buffer solutions with values as close as possible to the pH values
of the milk samples.
After each measurement of pH rinse the tip of the electrode with
de- ionized water.
After each measurement or calibration put on the protective cup of the electrode.
The pH electrode is fragile and must be handled with care.
MENU > Settings > Set pH > pH mode
The milk analyzer has two service menus of work –manual and automatic. They are
selected from MENU > Settings > set pH > pH service menu
Choose pH service menu and press ENTER.
Setting
Ref. Value: xxxxx
pH calibration
pH mode

Appendices towards the Operation Manual of Ultrasonic milk analyzer Master
Under the manual service menu, the milk sample is put under the pH probe, then you
press the pH button and the measurement will last without interruption (until the pH button
is pressed again). In order to measure pH the device must be in a working condition.
Measurement of pH is not possible when the device is in the following service menu:
In this service menu the device is measuring all the other components.
To start measurement of pH press pH button. The milk analyzer now is operating as a
pH meter. The following text will appear on the display:
Press the EXIT button to stop measurement of pH and enter the service menu:
Auto pH measure
Manual pH measure
MEASURING…
Please Wait
pH result:
X.XX
Cow Milk
Sheep Milk
UHT Milk

Appendices towards the Operation Manual of Ultrasonic milk analyzer Master
Now you can start measuring the other components of milk.
MENU > Settings > Set Thermometer
Press ENTER and the following text will appear on the display:
Put a sample of water with temperature 15and press ENTER
The following text will appear on the display:
Repeat the procedure with a sample of 25C
Put probe 15C
and press ENTER
Put probe 25C
and press ENTER
Table of contents
Other Milkotester Measuring Instrument manuals
Popular Measuring Instrument manuals by other brands
NCTE
NCTE 2300 Series Technical information and instructions
Absolute Process Instruments
Absolute Process Instruments Cecomp Test+ CTP3B instructions
Bridge Technologies
Bridge Technologies VB60 QAM Initial setup guide
Campbell
Campbell TDR200 product manual
ABB
ABB 4690 Series Upgrade Procedure
DMMetering
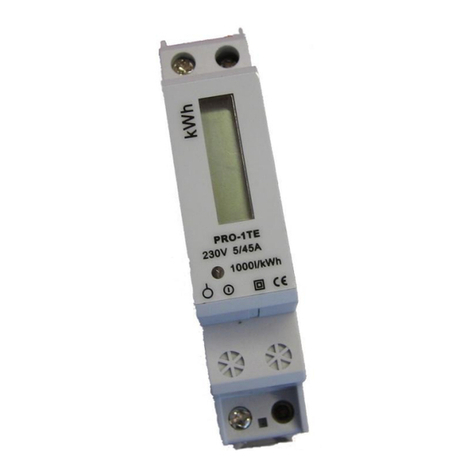
DMMetering PRO-1TE Series user manual
