manuals.online logo
Brands
  1. Home
  2. •
  3. Brands
  4. •
  5. Miller
  6. •
  7. Welding System
  8. •
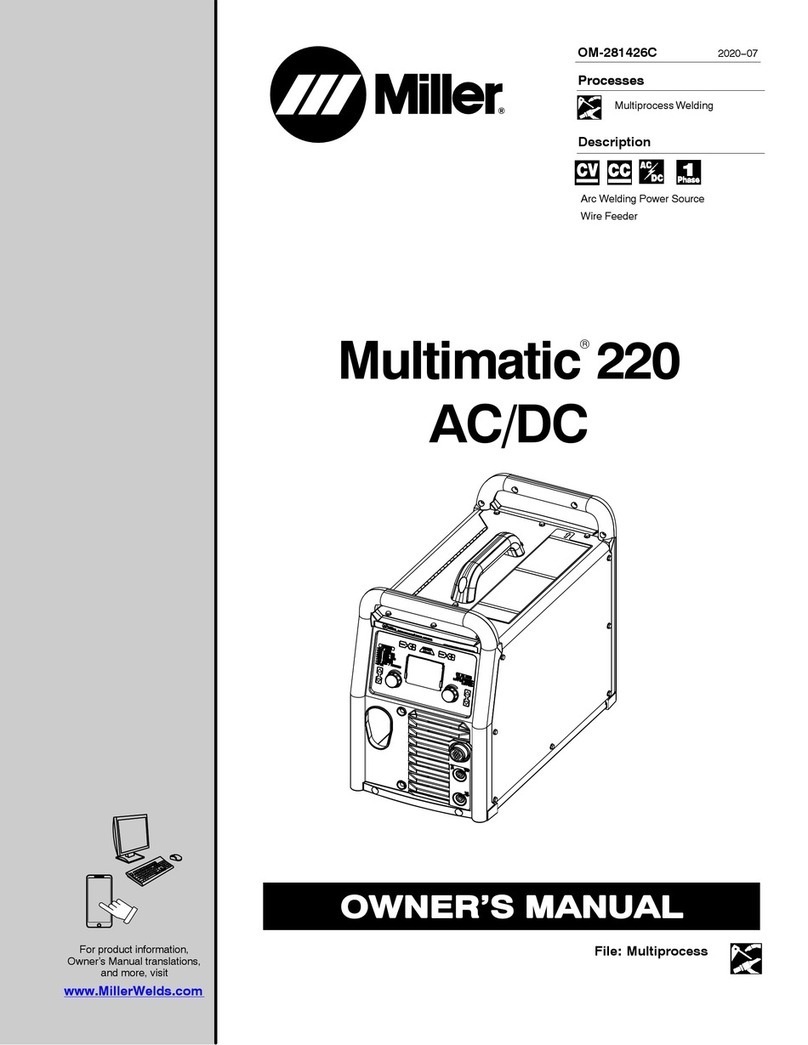
  9. Miller Multimatic 220 AC/DC User manual

Miller Multimatic 220 AC/DC User manual

Multimatic®220 AC/DC Quick Reference (TIG and Stick)
Read and follow all labels and the Owner’s Manual carefully before installing, operating, or servicing unit.
Read the safety information at the beginning of the manual and in each section.
Note: These settings are intended to be a starting point for control panel setup — this is not a welding procedure specication nor a substitute for procedure qualication.
Select Process
Use up/down buttons to select.
Select TIG Arc Start
(TIG only)
Use up/down buttons to select.
Turn Auto-Set ON
Button will illuminate.
Select Tungsten or Rod Diameter
Use –/+ buttons to select.
Select Material Thickness
Use –/+ buttons to select.
Adjust Amperage
Use right knob to ne-tune.
TIG Manual Mode (Aluminum) TIG Manual Mode (Steel/Stainless) Stick Manual Mode
Amperage Adjustment
Controls the welding amperage output. Limits the maximum
output of a remote amperage device.
TIG Arc Start Select
Determines the method used to initiate the arc. Choose the
appropriate start by using the TIG Arc Start up/down buttons.
Lift-Arc (no remote) is only available in TIG Steel/Stainless
process. Quick termination of the arc is not advisable in the
TIG Aluminum process.
Tungsten Size
Each tungsten diameter requires specic preset parameters for
optimized starting. Choose the correct tungsten electrode size
you are welding with using the left-side –/+ buttons. Select
from 1/16"or 3/32"diameters. (See tips on back.)
AC Frequency Adjustment*
Controls the width of the arc cone. Increasing the AC Frequency
provides a more focused arc and increased directional control.
Range is 60 –150 Hz. Pro-Set value is 120 Hz. (See tips on back.)
AC Balance Adjustment (%EN)*
Controls oxide cleaning. Increasing setting reduces oxide cleaning.
Range is 60 –80%. Pro-Set value is 75%. (See tips on back.)
DC Pulse Adjustment*
Reduces heat input to minimize distortion and increase travel
speed. Set PPS (pulses per second). The range is OFF –150 PPS.
Pro-Set value is 100 PPS. The background amperage and peak
amperage are not adjustable. Background amperage = 25% of
peak amperage. Peak amperage time = 40%. (See tips on back.)
DIG Adjustment (Arc Force Control)*
Controls the amount of additional amperage at low voltage
(short arc length) conditions. Adjust the force of the arc for
different joint congurations and electrodes. Range is OFF–99%.
Pro-Set value is 30% for 7018 electrodes.
TIG Post Flow Control (shown on back page)
Controls the length of time gas ows after welding stops.
Range is AUTO –25 seconds. AUTO calculates the time based on
the maximum amperage of each welding cycle. The minimum
time is 8 seconds. AUTO = maximum amperage/10.
*
Indicates Pro-Set™
selectable parameter available. Provides
professional settings developed for the weld process. To use Pro-Set,
adjust the button or knob until Pro-Set ashes on the display and the
number is blue indicating the professional setting for the parameter.
TIG/Stick Auto-Set™Elite
(TIG Steel/Stainless screen shown)
1
2
3
4
5
6
Select Process
Use up/down buttons to select.
Select TIG Arc Start
Use up/down buttons to select.
Note: Lift-Arc not available in TIG Aluminum
Turn Auto-Set OFF
Button will not be illuminated.
Select Tungsten Diameter
Use –/+ buttons to select.
Adjust AC Balance (%EN)
Use –/+ buttons to adjust.
Adjust AC Frequency
Use left knob to adjust.
Adjust Amperage
Use right knob to adjust.
Select Process
Use up/down buttons to select.
Select TIG Arc Start
Use up/down buttons to select.
Turn Auto-Set OFF
Button will not be illuminated.
Select Tungsten Diameter
Use –/+ buttons to select.
Adjust DC Pulse
Use left knob to adjust.
Adjust Amperage
Use right knob to adjust.
Select Process
Use up/down buttons to select.
Turn Auto-Set OFF
Button will not be illuminated.
Adjust DIG (Arc Force)
Use left knob to adjust.
Adjust Amperage
Use right knob to adjust.
6 7
3
45
1 1 1 12
6
2
3
453 2
4
2
AMPS
3/32"
TUNGSTEN MATERIAL
1/8"
120 FREQ AMPS
120 210
3/32"75
TUNGSTEN BALAN CE%EN
PULSES PER SECOND
PULSER
OFF AMPS
210
3/32"
TUNGSTEN
USE REMOTE
DIG AMPS
30 120
1
2
3
4
5
6
7
1
2
3
4
5
6
5 6
1
2
3
4
3 4
A Multimatic 220 AC-DC QRG 283817 Front.pdf 1 9/24/18 1:51 PM

# 283817 © 2018 Miller Electric Mfg. LLC
AC Waveshape Controls
Setting Arc Effect Weld EffectFeature
AC Balance
AC Balance controls arc cleaning
action. If oating black spots
appear in the puddle, the
balance setting is too high.
Turn the balance down until
puddle becomes clear.
60%
75%
Increases electrode
balling action
Reduces balling,
helps maintain
point of electrode
Wider bead and
cleaning action
Cleaning Bead
Cleaning
Narrow bead with
reduced cleaning
Bead
Tungsten Selection and Prep
Tungsten Type Application Notes
Diameter Amp Range
Good all-around tungsten for
both AC and DC welding.
Excellent low-amp starts for
AC and DC welding.
Commonly used for DC welding,
not ideal for AC.
PURE TUNGSTEN (green) is NOT recommended for inverters!
For best results in most applications use a sharpened cerium
or lanthanum electrode for AC and DC welding.
Note: Only 1/16"or 3/32"
tungsten can be selected
when using Auto-Set.
2% Thorium
2% Cerium
1.5/2% Lanthanum
0.020"
0.040"
1/16"
3/32"
1/8"
5/32"
3/16"
1/4"
5–20
10–80
10–150
60–250
100– 400
160– 500
190–750
325–1100
Tungsten Preparation: Sharpen tungsten for AC and DC welding.
Tip: Blunting the tip of the electrode is sometimes done to help maintain consistent geometry and resist
tungsten erosion. This is especially helpful in AC when melt-back of the tungsten electrode is common.
Note: Do not use wheel for other jobs or tungsten can become contaminated.
Ideal Preparation — Stable Arc
CORRECT INCORRECT IDEAL GRIND ANGLE RANGE
AC EFFECT
Wrong Preparation — Wandering Arc
Grinding
Wheel
Stable Arc
Blunt Tip
Straight Ground Radial Ground 15˚ to 30˚
Slight meltback
of electrode tip
Pointed Tip
Arc Wander
Grinding
Wheel
MillerWelds.com
60 Hz
120 Hz
Bead
Narrower prole
for llet welds
Wider prole ideal
for buildup work
Bead
AC Frequency
Controls the width of the arc
cone. Increasing the AC
Frequency provides a more
focused arc and increased
directional control.
Note: Decreasing the AC
Frequency softens the arc and
broadens the weld puddle for a
wider weld.
Visible oxide
removal (etching)
Visible oxide
removal (etching)
TIG Postow Control (Menu 12 of 12)
Pulsed TIG Controls
Low-Speed Pulse High-Speed Pulse
The Pulsed TIG function switches the amperage from a high (peak) to a low (background) at a set rate (PPS).
Pulsing can reduce heat input by lowering the average amperage, increasing control of the weld puddle,
penetration and distortion. The following parameters can be adjusted for desired results:
Tip: Begin welding at factory default settings of 100 PPS, 40% peak and 25% background amps.
Adjust the frequency (PPS) to change width and appearance.
1 to 10 pulses per second (PPS) will produce a
distinct ripple pattern in the weld bead. Can be
used to time ller addition, reduce distortion and
improve control.
100 pulses per second (PPS) and higher helps to
focus the arc for increased stability, penetration and
travel speed. Increased puddle agitation improves
weld microstructure.
Distinct ripple pattern
Narrow bead and
heat affected
zone
Focused arc
increases
travel speed
and penetration
Access (and Exit) Setup Menus
Simultaneously press and release
left-side – button and right-side + button.
Navigate to
TIG Postow Control Menu
Use right-side –/+ buttons to select menu 12.
Adjust TIG Postow
Use right knob to adjust. The range is
AUTO–25 seconds. After completing
selection, exit setup menus (see step 1).
1
2
3
2
1 1
3
AUTO
12 / 12
TURN RIGHT ENCODER
TO ADJUST SETTING
TIG POSTFLOW
CONTROL
A Multimatic 220 AC-DC QRG 283817 Back.pdf 1 9/24/18 1:52 PM

Other manuals for Multimatic 220 AC/DC

2

Other Miller Welding System manuals

Miller Bobcat 250 Diesel User manual

Miller

Miller Bobcat 250 Diesel User manual

Miller HJ134589 User manual

Miller

Miller HJ134589 User manual

Miller Spectrum 625 X-TREME User manual

Miller

Miller Spectrum 625 X-TREME User manual

Miller XMT 450 CC User manual

Miller

Miller XMT 450 CC User manual

Miller Dimension Subarc 652 User manual

Miller

Miller Dimension Subarc 652 User manual

Miller HF-251D-1 User manual

Miller

Miller HF-251D-1 User manual

Miller INTEGRA 183 User manual

Miller

Miller INTEGRA 183 User manual

Miller XMT 350 CC/CV User manual

Miller

Miller XMT 350 CC/CV User manual

Miller Red-D-Arc EXTREME 425 CC/CV Auto-Line User manual

Miller

Miller Red-D-Arc EXTREME 425 CC/CV Auto-Line User manual

Miller Hydracool 1 CE User manual

Miller

Miller Hydracool 1 CE User manual

Miller Spectrum 625 X-TREME User manual

Miller

Miller Spectrum 625 X-TREME User manual

Miller FieldPro Smart Feeder CE User manual

Miller

Miller FieldPro Smart Feeder CE User manual

Miller Trailblazer 280 NT User manual

Miller

Miller Trailblazer 280 NT User manual

Miller OM-257 675D User manual

Miller

Miller OM-257 675D User manual

Miller Bobcat 250 User manual

Miller

Miller Bobcat 250 User manual

Miller SuitCase X-TREME 8VS CE User manual

Miller

Miller SuitCase X-TREME 8VS CE User manual

Miller PipePro 304 User manual

Miller

Miller PipePro 304 User manual

Miller INTEGRA 350 Professional User manual

Miller

Miller INTEGRA 350 Professional User manual

Miller 907275 User manual

Miller

Miller 907275 User manual

Miller Spoolmatic 30A User manual

Miller

Miller Spoolmatic 30A User manual

Miller Millermatic Pulser 185 User manual

Miller

Miller Millermatic Pulser 185 User manual

Miller XMT 456 CC User manual

Miller

Miller XMT 456 CC User manual

Miller Gold Star 300SS User manual

Miller

Miller Gold Star 300SS User manual

Miller Axcess E Dual User manual

Miller

Miller Axcess E Dual User manual

Popular Welding System manuals by other brands

Thermal Arc 211i Service manual

Thermal Arc

Thermal Arc 211i Service manual

Amada 301H/115V Operation manual

Amada

Amada 301H/115V Operation manual

Paton ADI 160 STANDARD manual

Paton

Paton ADI 160 STANDARD manual

Lincoln Electric AIR VANTAGE 500 CUMMINS IM826-A Operator's manual

Lincoln Electric

Lincoln Electric AIR VANTAGE 500 CUMMINS IM826-A Operator's manual

Sealey Electrospot7001 instruction manual

Sealey

Sealey Electrospot7001 instruction manual

Lincoln Electric Power MIG 260 Operator's manual

Lincoln Electric

Lincoln Electric Power MIG 260 Operator's manual

Husky FC125LV Use and care guide

Husky

Husky FC125LV Use and care guide

WIA WELDMATIC 270 Operator's manual

WIA

WIA WELDMATIC 270 Operator's manual

GYS TIG 168 DC HF manual

GYS

GYS TIG 168 DC HF manual

Aristo 320 instruction manual

Aristo

Aristo 320 instruction manual

Nippon Gases MICROTIG DC 162 PULSE Operating and safety instructions

Nippon Gases

Nippon Gases MICROTIG DC 162 PULSE Operating and safety instructions

Urrea SOLI1020-BV User manual and warranty

Urrea

Urrea SOLI1020-BV User manual and warranty

Miller Electric Universal Large Cylinder Cart owner's manual

Miller Electric

Miller Electric Universal Large Cylinder Cart owner's manual

Lincoln Electric K126-11 Innershield Operator's manual

Lincoln Electric

Lincoln Electric K126-11 Innershield Operator's manual

ESAB Aristo Mig 5000i instruction manual

ESAB

ESAB Aristo Mig 5000i instruction manual

Kühtreiber MAKin 250 DP Instructions for use

Kühtreiber

Kühtreiber MAKin 250 DP Instructions for use

Lincoln Electric RANGER 11458 Operator's manual

Lincoln Electric

Lincoln Electric RANGER 11458 Operator's manual

Top Gun ARC 145WR Manual guide

Top Gun

Top Gun ARC 145WR Manual guide

manuals.online logo
manuals.online logoBrands
  • About & Mission
  • Contact us
  • Privacy Policy
  • Terms and Conditions

Copyright 2025 Manuals.Online. All Rights Reserved.