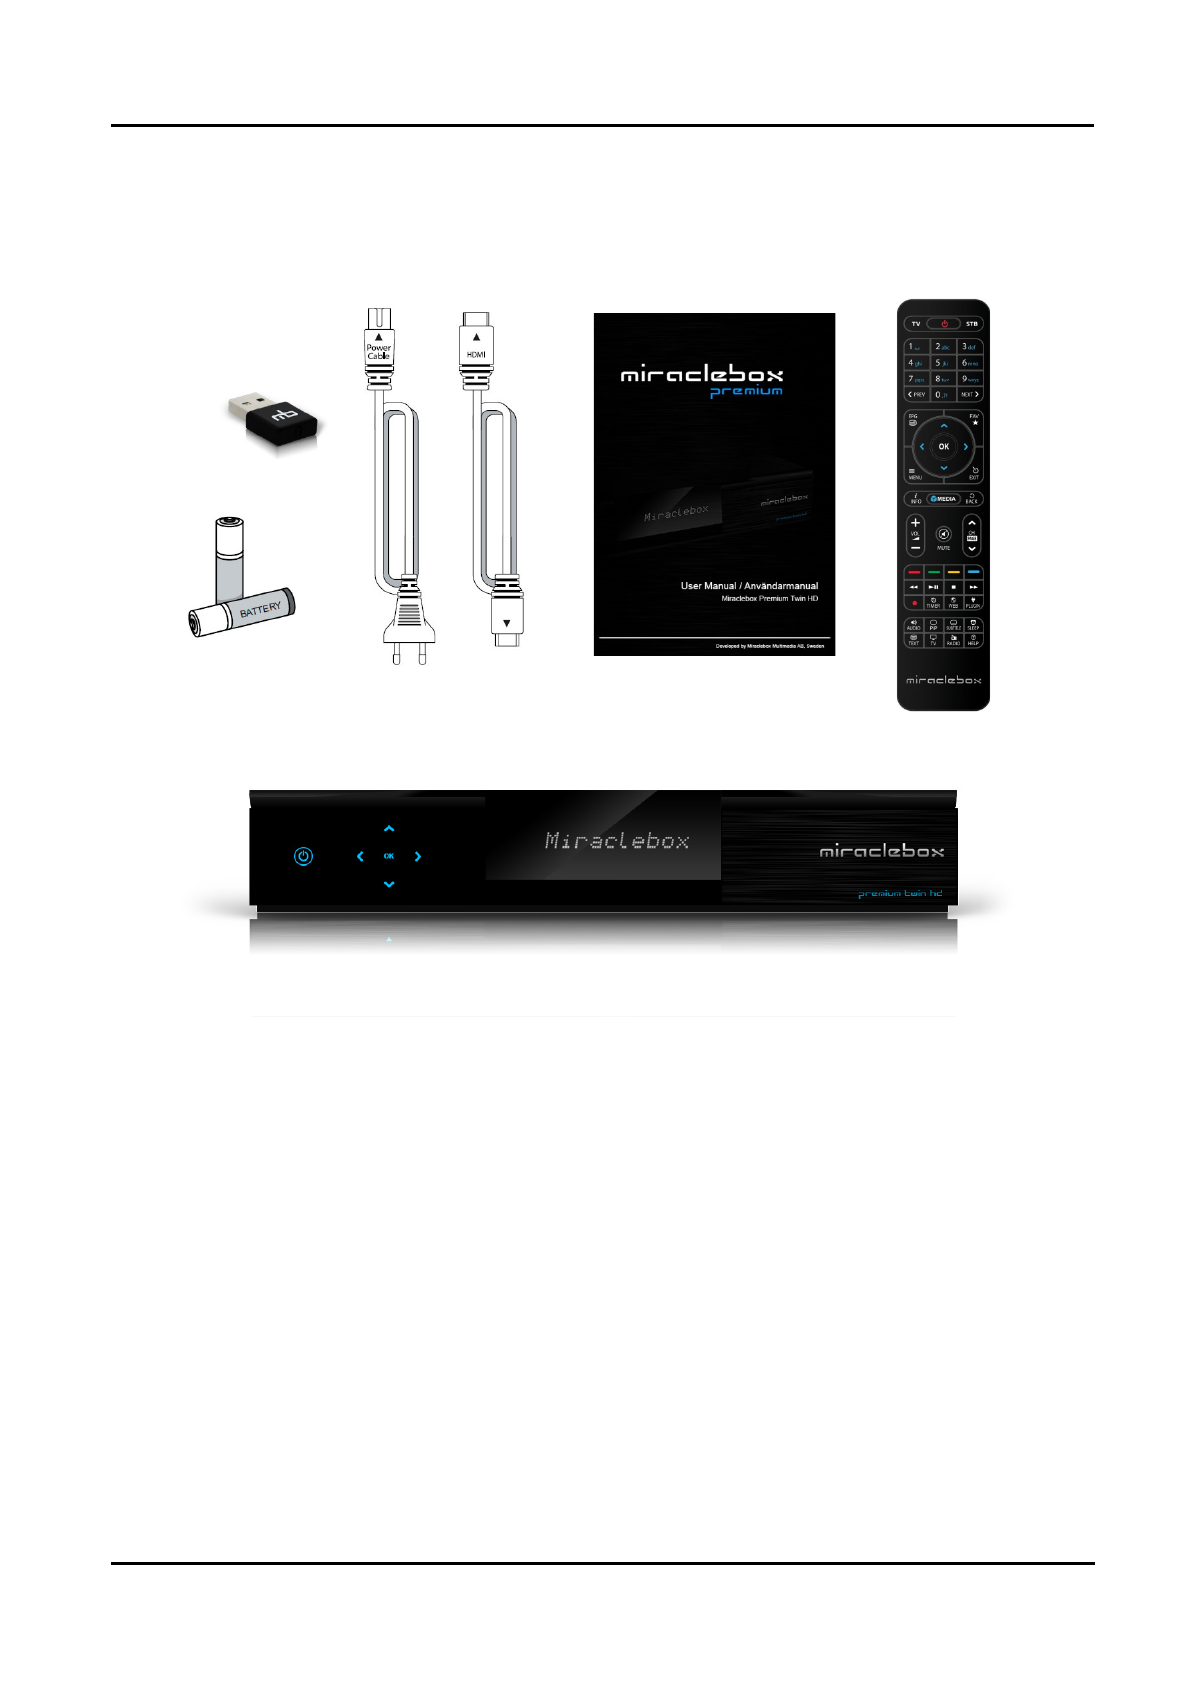
User Manual Miraclebox Premium Twin HD
14. Plug-ins / Addons.......................................................................................................................... 34
15. Web Interface................................................................................................................................ 36
16. System Information....................................................................................................................... 37
17.Standby / Restart........................................................................................................................... 38
5. System Setup ..................................................................................................39
1. System Settings............................................................................................................................. 39
A. Language Selection................................................................................................................. 39
B. A/V Settings .............................................................................................................................. 39
C. Time Settings............................................................................................................................ 39
D. Network Setup.......................................................................................................................... 40
E. Recording Settings................................................................................................................... 41
F. Timeshift Settings..................................................................................................................... 41
G. Skin Setup................................................................................................................................. 41
H. General Settings....................................................................................................................... 41
I. Expert Settings......................................................................................................................... 41
2. Service Searching........................................................................................................................... 42
A. Tuner Configuration................................................................................................................. 42
B. Default Service Lists................................................................................................................ 42
C. Automatic Scan ........................................................................................................................ 42
D. Manual Scan............................................................................................................................. 43
3. EPG Settings.................................................................................................................................. 44
4. Storage Manager........................................................................................................................... 45
5. Common Interface......................................................................................................................... 45
6. Parental Control............................................................................................................................. 46
7. Software Management ................................................................................................................. 46
8. Installation Wizard......................................................................................................................... 47
9. Factory Reset................................................................................................................................. 47
6. Miraclebox Remote Control.............................................................................48
1. User Guide of the Remote Control Unit..................................................................................... 48
2. TV Code List................................................................................................................................... 49
7. Upgrade your Miraclebox ................................................................................50
8. Troubleshooting...............................................................................................51
9. Technical data .................................................................................................52
10. Copyright - GNU GPL....................................................................................53
Miraclebox Multimedia AB 2
EN