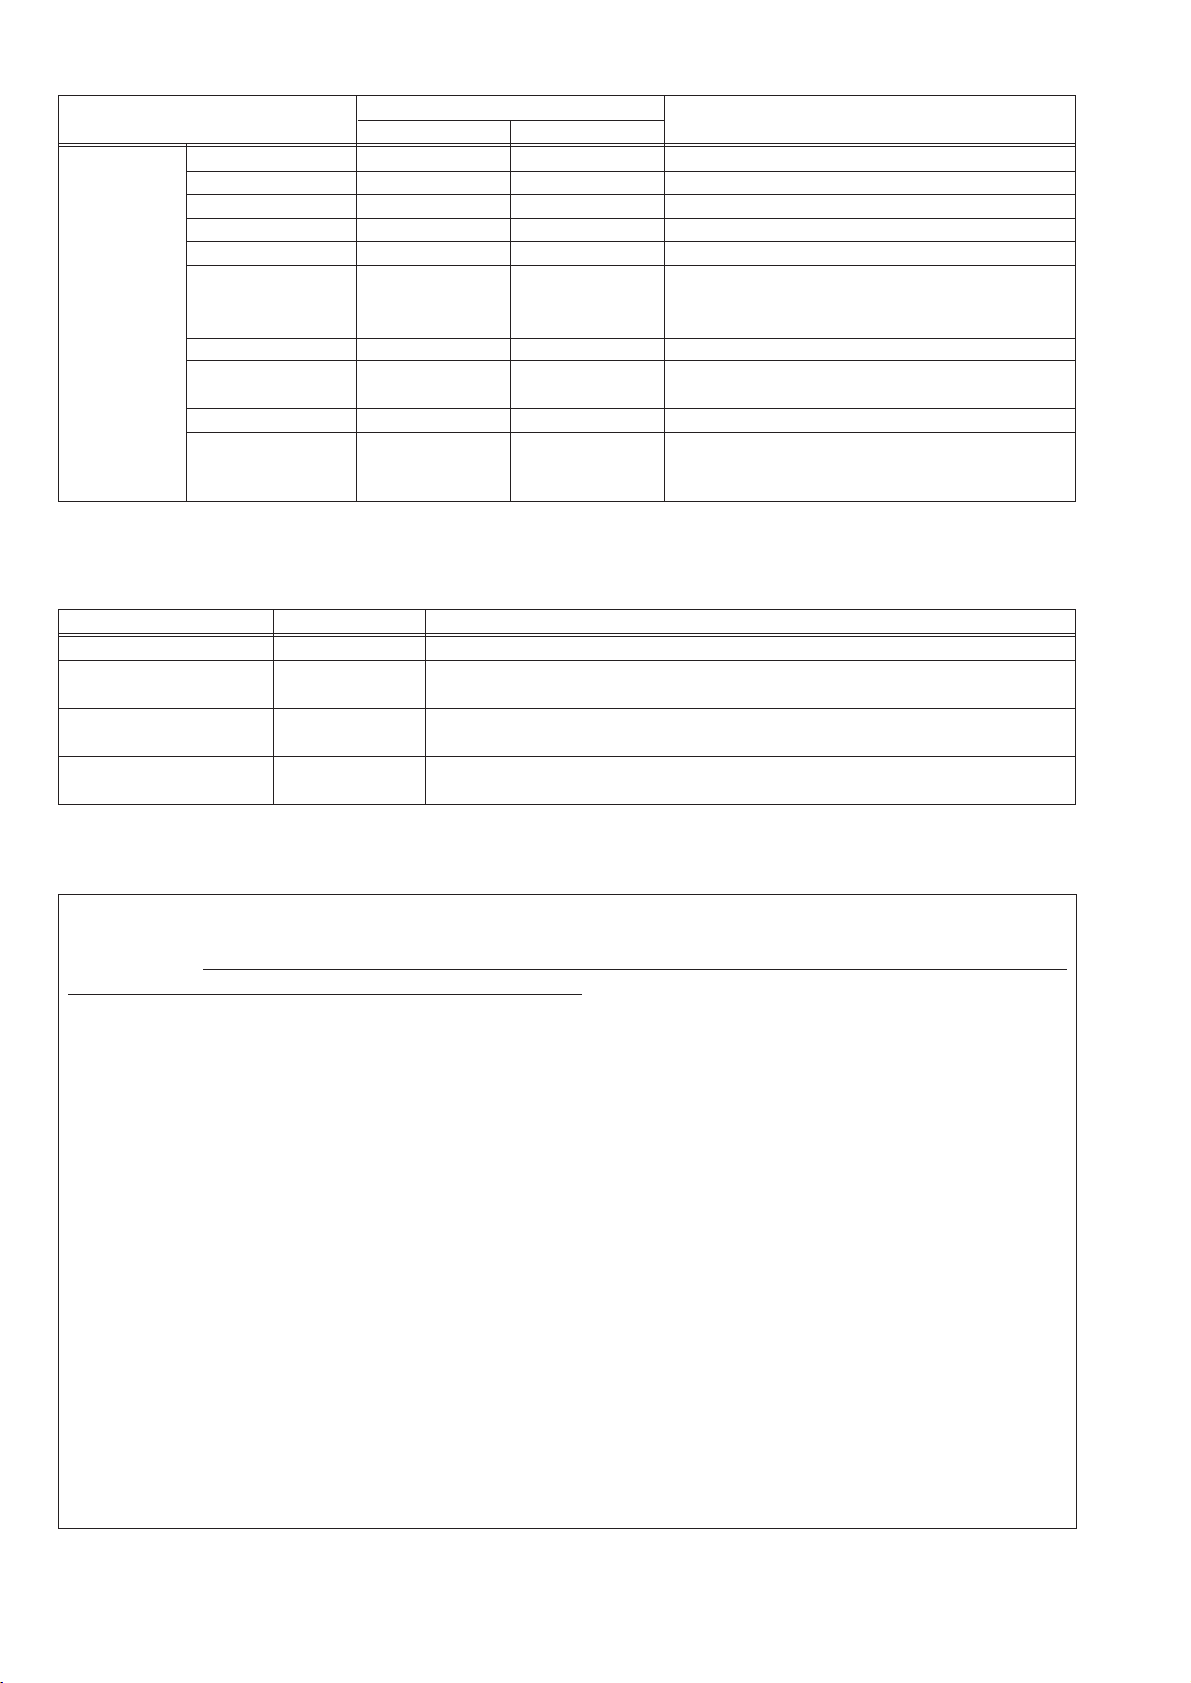
Safety Guidelines for the Computer Running the TG-2000A (Summary)
(1) Selecting a Computer
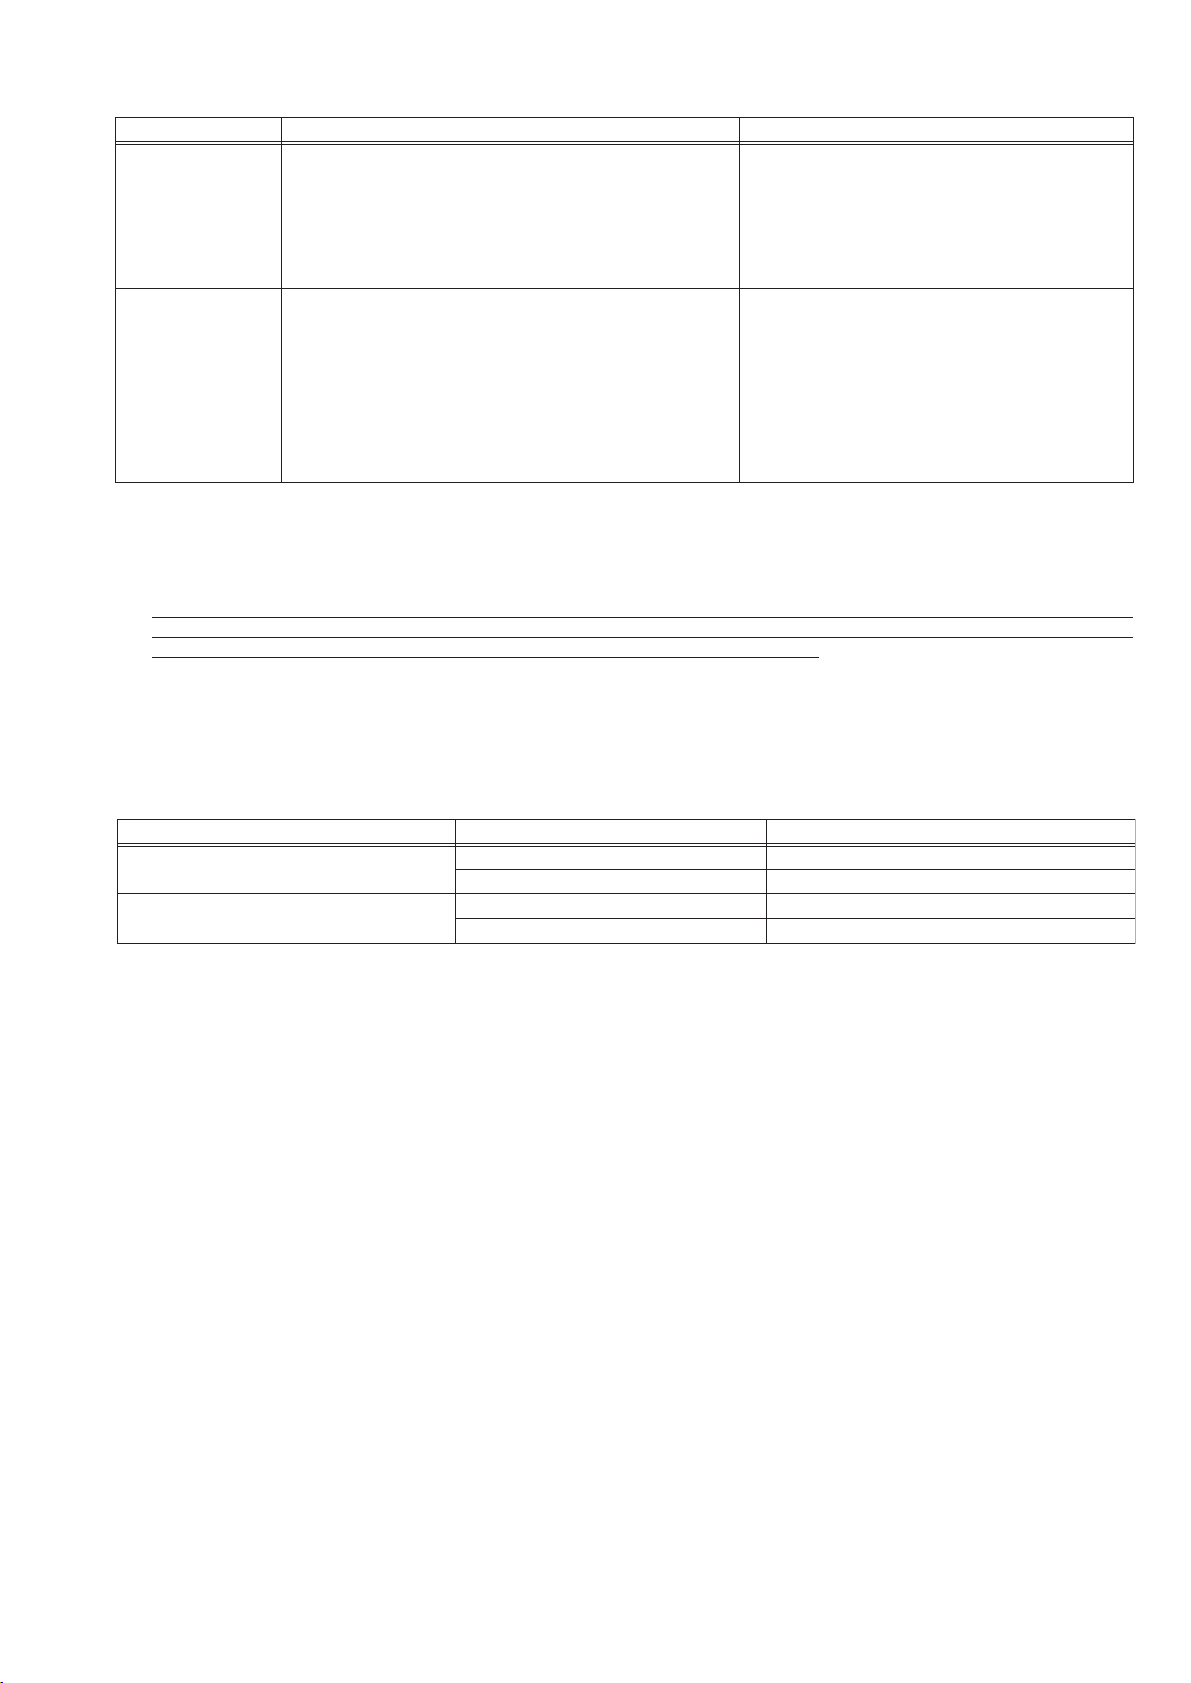
(2) Precautions for General Usage
(3) Other Precautions
2
Selecting a desktop
• Depending on the function, it is recommended to use a
desktop as opposed to a laptop computer as there is a
tendency for heat to build up in a laptop.
Computer based UPS recommended
• It is recommended to use a UPS to protect data from
momentary power outages or power cuts.
It is particularly recommended to employ a UPS when
using power apportioning billing.
Use a computer/operating environment with specifications capable of running the TG-2000A function.
• Run the function using the specified OS. There is a possibility that the function cannot be used when running an OS
other than specified.
• Use a business model computer. There are cases when it is not possible to install or run the application with other
applications on a computer or laptop intended for personal use.
Do not place the computer in any of the following
locations.
• An error or accident may occur when using in the fol-
lowing environments.
A place where there is: a lot of dust, a likelihood of
shock or vibration, instability, a heater or speaker near-
by, direct exposure to sunlight, a likelihood of dropping,
a possibility that the computer may be exposed to mois-
ture or high temperature, or where it may be exposed to
sudden temperature fluctuations or heat.
Ensure to read the computer/peripheral instruction
manual.
• A fire or accident may occur due to improper use of the
equipment.
Precautions relating to the computer and peripheral equipment
• Please consult the maker regarding damage to the computer or peripheral equipment. We will not be held responsi-
ble for damage occurring at the user’s site.
Avoid covering the computer or AC adapter with a
cloth or blanket, or locating them on or near a heater.
• There is a possibility of internal temperature build-up,
fire or burning under the above situations.
Cut the power or disconnect the power cable imme-
diately if smoke, or an abnormal smell or noise
emanates from the computer.
• Using the computer in the above circumstances may
result in fire, burning, or electric shock. Please consult
the maker of the equipment/computer.
Use the hard disk, floppy disk, or CD media as indi-
cated.
• Do not expose the hard disk, floppy disk, or CD to
shock or vibration during use.
• Do not cut the power or reboot the computer while the
hard disk, floppy disk, or CD is in use.
• Always turn OFF the power when moving the computer.
Do not close the lid when using a laptop.
• There is a possibility of an internal temperature build-
up, fire or burning. Use in an area with sufficient ventila-
tion.
Do not touch the computer air vent.
• The air emitted by the ventilator is hot and may result in
burning if exposed to the skin.
Do not tamper with the computer fan.
• Tampering with the computer fan may result in a tem-
perature build-up, fire, or accident.