C
M
J
CM
MJ
CJ
CMJ
N
vibe-watermark-bright.pdf 03/04/2009 16:07:52vibe-watermark-bright.pdf 03/04/2009 16:07:52
3 Connections
Follow the instructions below to use MIXVIBES DVS and the U-MIX44 with a pair of decks
and an external mixer.
1
If you are using vinyl,
plug the ground of your turntable to the ground
lug on the U-MIX44 or on your DJ mixer.
2Connect the outputs of your decks
(vinyl or CD)
to the RCA inputs of
your U-MIX44
plugging the left deck into the inputs 1/2 and right deck into the
inputs 3/4. Match the left channel (usually white) with the white RCA sockets on
the U-MIX44, and right (usually red) with the red sockets.
3Connect the outputs of your U-MIX44 to the line inputs of your mixer
.
Using the included RCA cables, connect the outputs 1/2 into a line input of your
mixer, then repeat for the outputs 3/4, into another available line input of your
mixer.
4Connect the U-MIX44 to a free USB slot of your computer.
line line
Mixer
(optional)
Classic turntable
or CD player
Classic turntable
or CD player
U-MIX44
C
M
J
CM
MJ
CJ
CMJ
N
connections_pack.pdf 08/10/2009 16:54:21connections_pack.pdf 08/10/2009 16:54:21
Connections
5
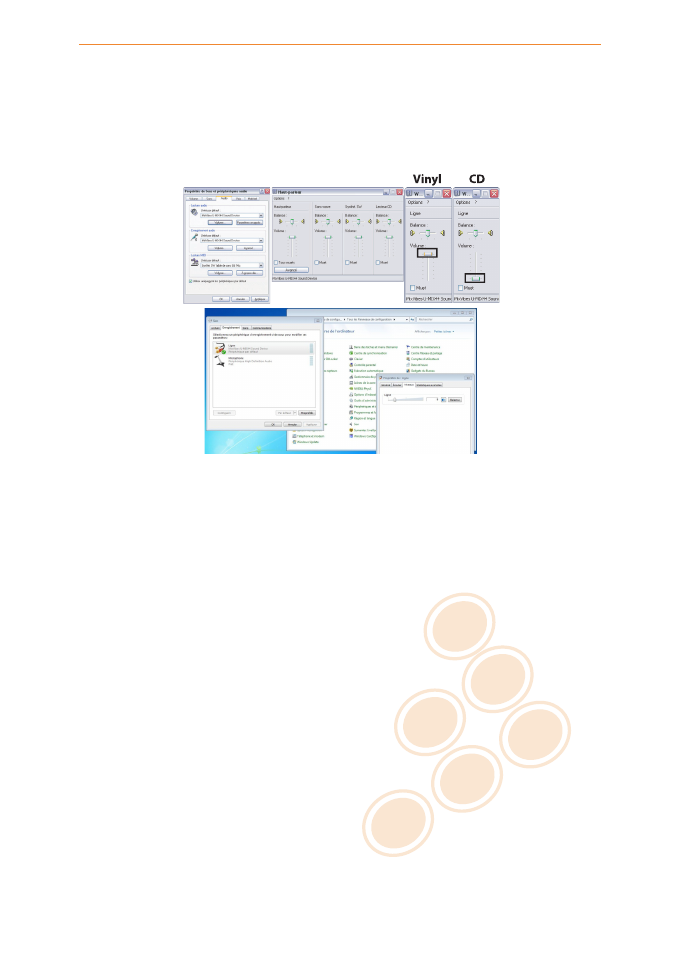
After the system has recognized and installed your U-MIX44 you should
adjust
the output and input volumes in the Windows audio settings
. Example
Windows XP: [Start > Control panel > Sounds and audio devices > ’Audio’ tab].
Select
MixVibes U-MIX44 Sound Device
in ’Sound Playback’ and ’Sound Recording’.
•
Set the output level: click on ’Volume’ under the item ’Sound Playback’
and maximise all faders.
5 / 19