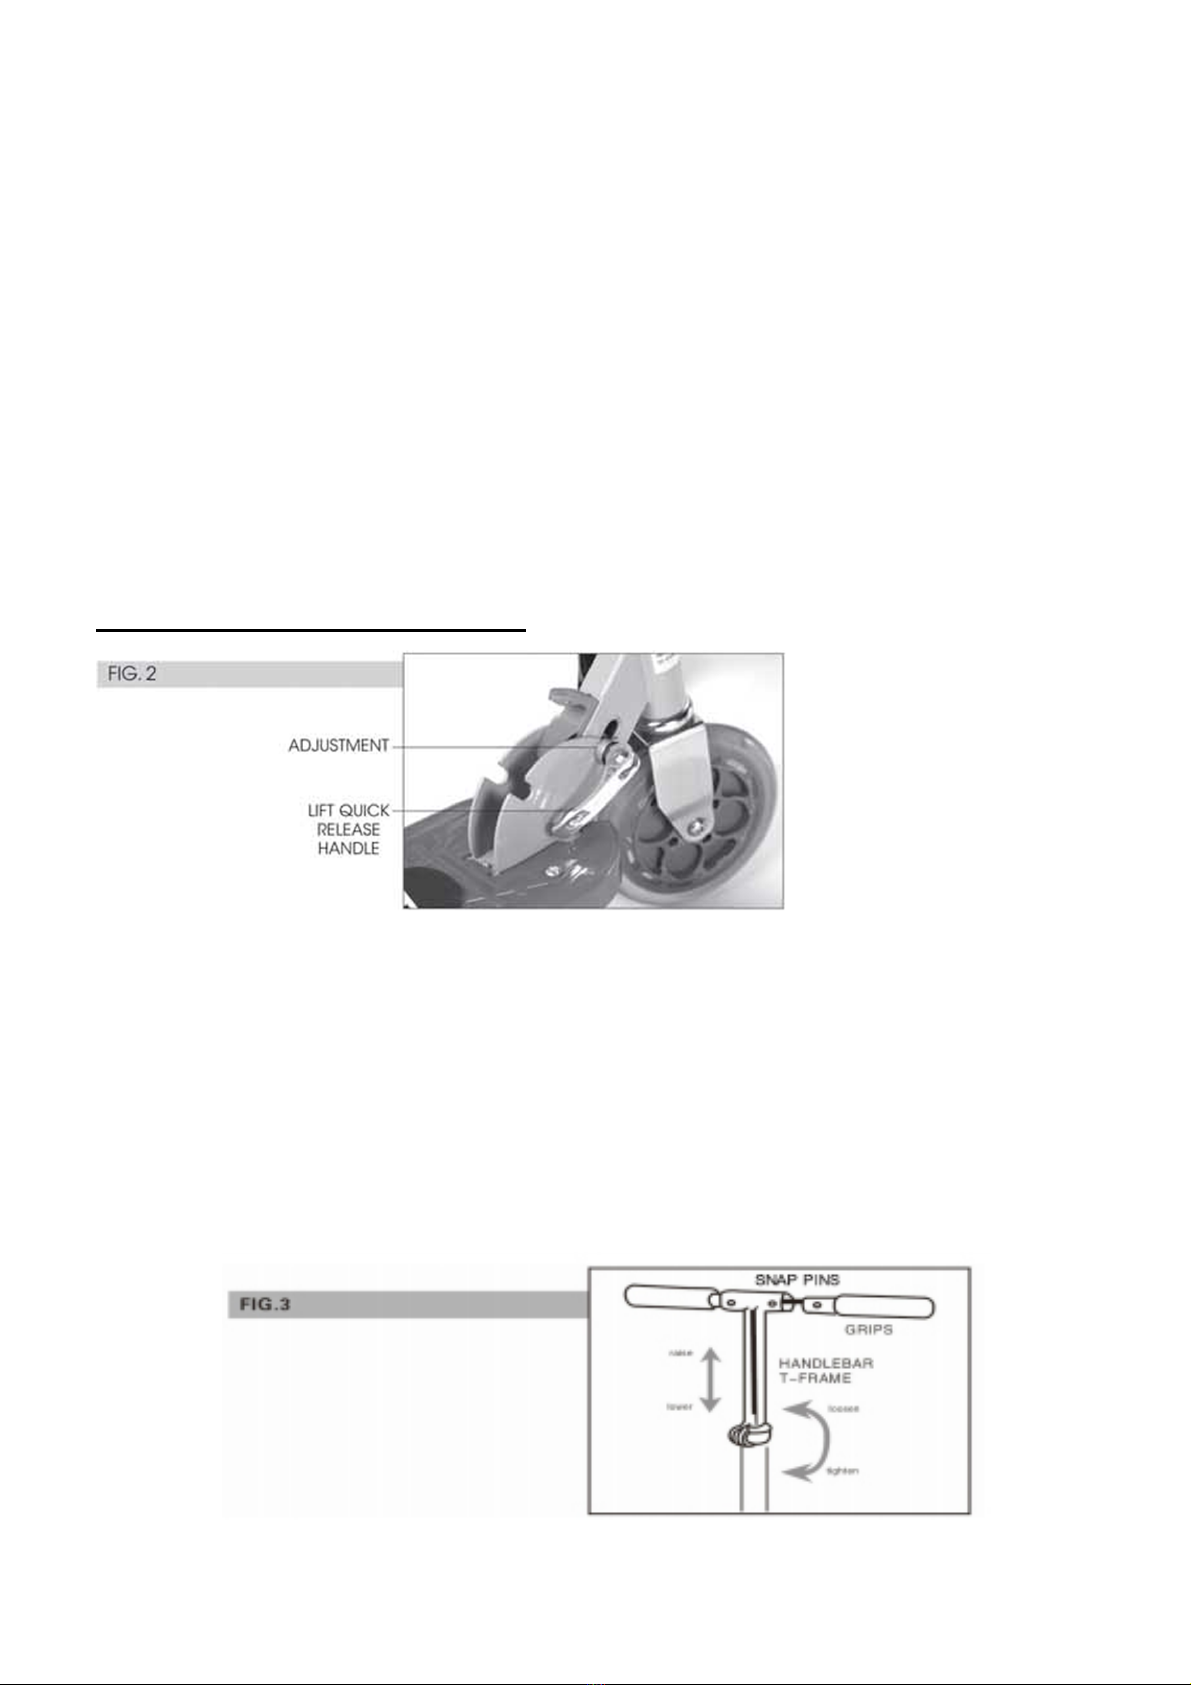
HANDLEBARS
Insert grips into handlebar T-Frame as shown in fig.3. Be sure that snap pins fit into, and
lock, the small holes located at the top of the T-Frame. With the handlebars in the upright
and locked position, and the rider standing on the platform with ONE FOOT on the brake,
adjust the handlebar height to just below the rider's waistline. This is accomplished by
loosening the height adjuster (fig.3) while holding and tightening height adjuster. Be sure
height adjuster is tight again.
POWER SWITCH
The scooter is equipped with a power switch located towards the front of the scooter
platform (fig.1).When depressed, the power is on, and the motor and rear wheels cause
the scooter to move forward.
HAND OPERATED ACCELERATION
This scooter is equipped with a hand-operated accelerator located on the right hand side
of the handlebars. Use four fingers to depress or release, with the other fingers placed on
the side of the handlebar, control the magnitude of the acceleration.
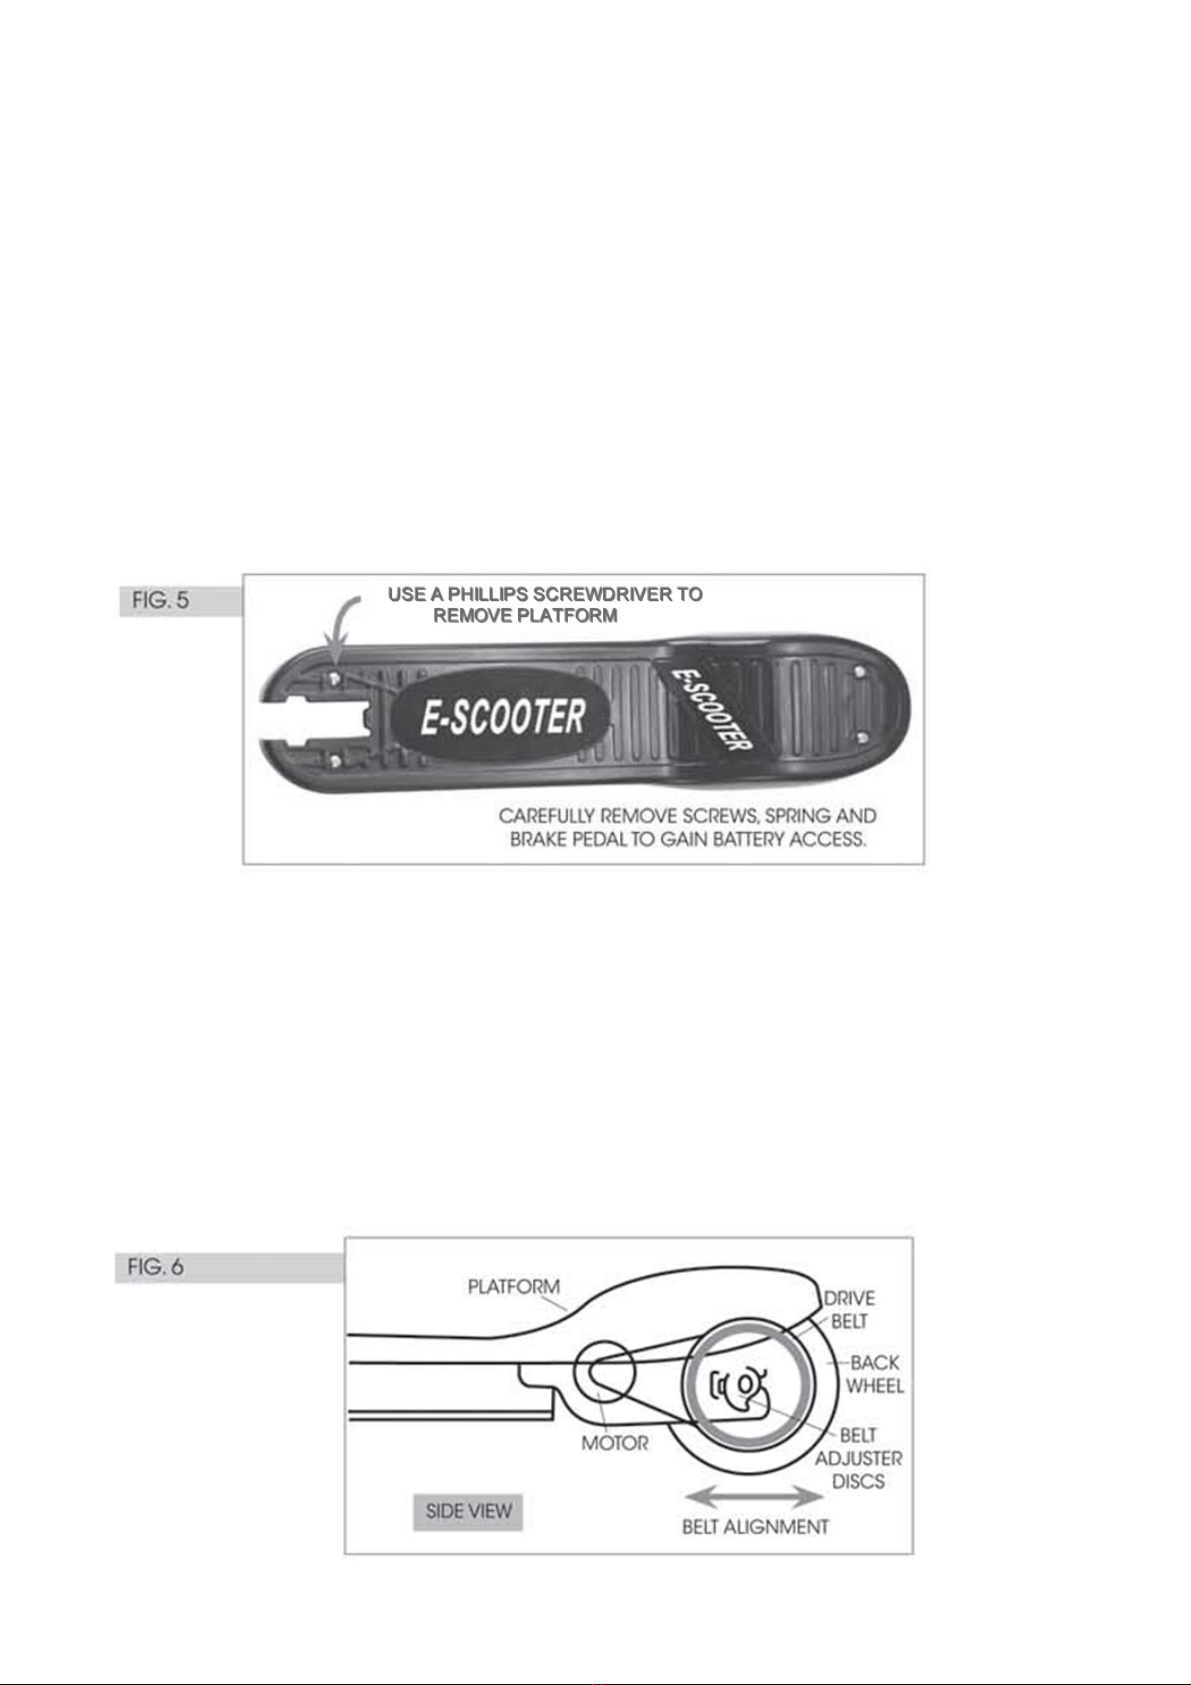
HAND OPERATED MECHANICAL BRAKE
The rear wheel brake is engaged by depressing the brake lever located on the left hand
side of the handlebar. This can be performed by using four fingers of the left hand, with
the thumb placed on the handlebar itself. This is a friction brake. The harder it is pressed,
the more "braking" action will be applied on the rear wheel. This brake has a micro
device that will deactivate the power of the motor simultaneously.
RANGE AND SPEED
When fully charged the scooter will cover approximately 15km on level ground, with a
70 kg rider. The top speed is approximately 15km/h with a 70kg rider on level ground
and calm winds. Please note that these figures are estimates only, thus they may vary.
STEERING ADJUSTMENT NUTS
You will need to periodically check the steering for looseness. The tightness of the
steering can be adjusted by turning the round nut clockwise and locking the hex nut
(fig.1).
CHARGING
When shipped, the batteries are fully charged. Charging the batteries after every use is
recommended. For extended battery life, avoid discharging batteries before they are
Page.6