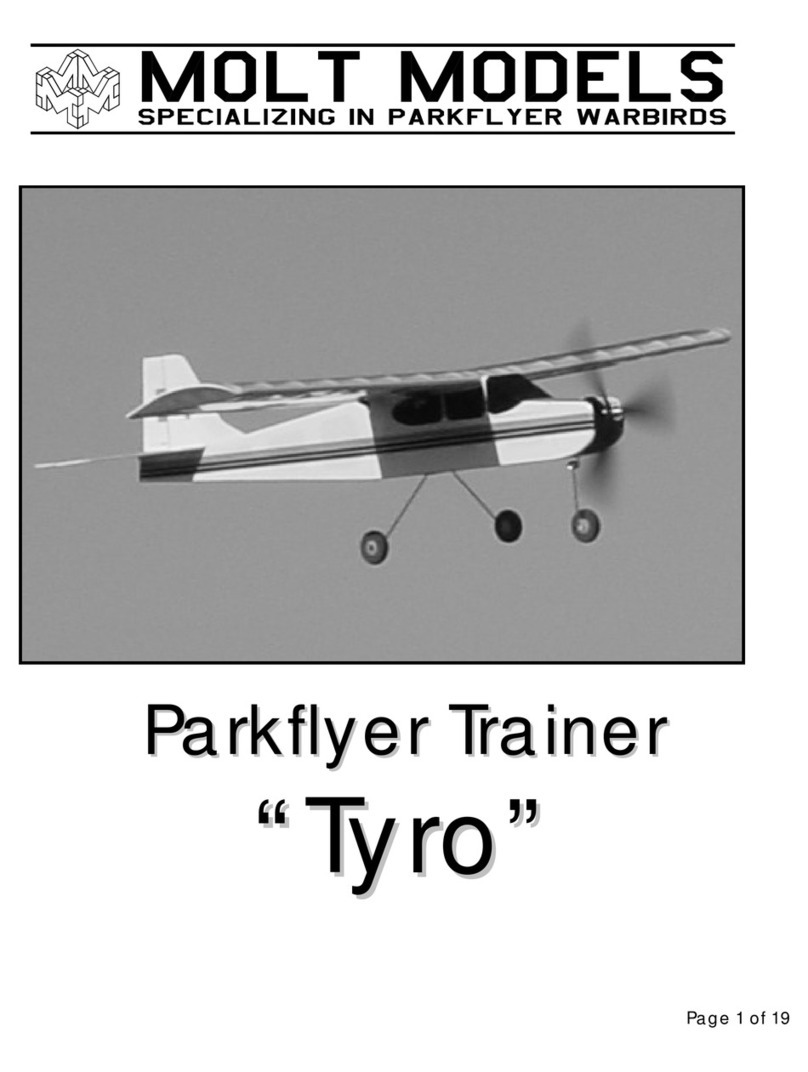
Molt Models Tyro150 Building Instructions
Components you will need to complete the Tyro150 kit:
• (1) Power system
Motor Type = Radial mount brushless outrunner
Power = 150~250 W
Kv = 1000~1250 RPM/Volt
Weight = 2.5~3.5 oz
Propeller size = 10x5~12x6
ESC Type = appropriate for selected motor
Battery connector = appropriate for selected motor
• (1) Receiver
4-channel receiver with Y-harness
Or
6-channel receiver (flaperon setup)
• (2) 12” servo extensions (for aileron lead extensions through wing)
• (4) Servos (HS-81, HS-81MG, HS-85BB, HS85MG or equivalent)
• (2) Rolls of Solarfilm covering
Supplies and tools you will need to complete the Tyro150 kit:
• Hobby knife and blades
• Ruler
• Covering iron
• Fine tip ink pen
• Fine/medium sand paper
• 5-minute epoxy
• Thin CA glue and fine extension tip
• 40W soldiering iron
• Soldier paste/flux
• Soldier
General model building tips, orientation, and how to use this manual
First and foremost, this kit is for the first time wood kit builder. However, it is still important that
you study this manual and get help from an experienced builder if you run into trouble.
Please be sure to read through the following instructions before attempting to build your
Tyro150. Having a good idea of what to expect as you progress will cut down on mistakes
and allow you to better organize your project. Checkboxes have been provided in front of
each step, allowing you to easily keep track of your work.
Thin CA glue is suitable for almost all the build sections of this model. If another type of glue
is necessary for a certain build section it will be recommended in that segment.
Standing behind the plane orients the left and right side of the model. These building
instructions refer to areas of the model in this manner. All dimensions are presented in English
units.
Each section of this manual is organized by showing portions of the plane being built from
general construction all the way to covering. However, most experienced builders prefer to
completely build each component to the point where it is ready to be covered, build the
next components, and then cover all the components at the end of the building process.
Feel free to use the checkboxes to help keep track of where you are in the building process
regardless of which method you choose to follow.
© Copyright 2007 Molt Models. All rights reserved. 3 of 47


