Initial Settings Using 2 Channel (L & R)
Stereo Inputs
Stereo L & R input may be required if using a 2-channel
stereoamplier,oranamplierwithnoLFEoutput.Connect
2xinterconnectcables(leftandright)fromanamplierto
connectionsmarkedLineInputsL&R.
Withyourpreampliersettoalowlevelsetthesubwoofer
up using the suggested guide below before playing any music/
test tones.
• RuntheLEOroomequaliser(seebelow)
• Setthevolumeto0dB(Page4/5)
• LFE should be set in accordance to you main speakers
(Page9)
• Phaseto0(Page9)
• EQtoOFF(Page9)
• LEOtoON(Page10).Leoturnsonautomaticallyafter
calibration
Running LEO
BeforeenablingtheLEOroomcorrection,itneedstobesetup.
To do this follow these simple steps.
1. Connect the jack lead of the microphone to the jack
socket next to the encode as in the illustration below.
2. Place the microphone at your listening position at
approximate ear height.
NOTE: Ensure there are no obstructions between the
Gold W15 and the microphone other than those normally
in the room.
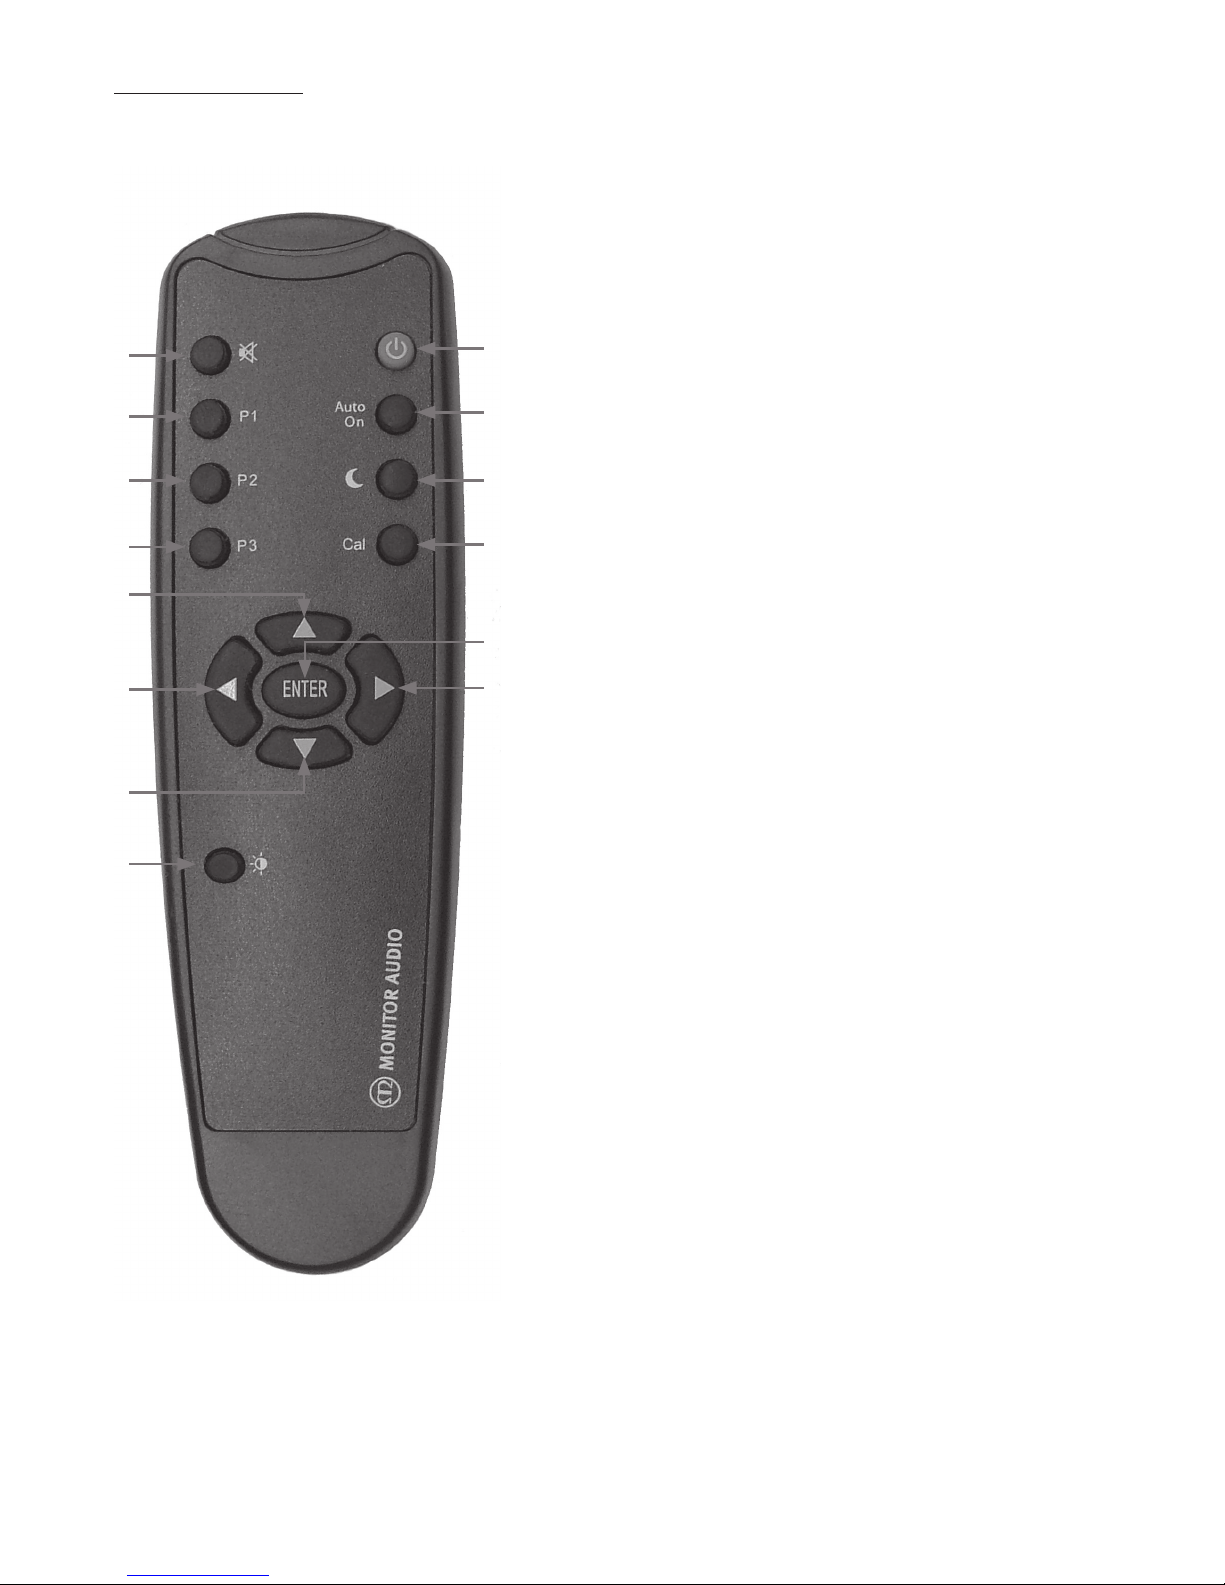
3. Holddownthe“Cal”buttonontheremotefor3seconds.
Whenitstarts,thedisplaywillshow“CAL”andatest
tone will be heard.
4. WhentheLEOcalibrationhasnished,thedisplaywill
revertbacktothehomescreen(singlereddotinthe
middleofthedisplay).TheLEOfunctionwillalsohave
been turned on.
MenuSystem
Low Pass Filter
TheLow PassFilter(LPF) setsthe crossover pointand the
slope angle with the main speakers. It is only enabled in
stereo mode. When using the LFE input, the crossover setting
optionisnotavailableasitiscontrolledbytheAVamplier/
receiver.
The table opposite gives suggested crossover points
dependant on the main speakers. The slope angle depends
on how sharply you want the high frequencies to roll o.
Thiscanbeadjustedin-6,-12,-18,-24dB/octavesteps.Itis
recommended that when partnering the Gold W15 with sealed
loudspeakers, a slope of -12dB/octave is used and when
partnering with ported loudspeakers, -24dB/octave is used.
However, experimentation is still advised.
Setting the LPF Using the Remote
With the Gold W15 powered up and out of standby mode, follow
the next steps to set the LPF:
1. Press the RIGHT arrow. The display will change to LPF
2. Press ENTER. The display will change to show the
current setting, eg. 60
3. PresstheUP/DOWNarrowstoadjustthesetting
4. PressENTERtoselectandsave.Thedisplaywillash
twicetoconrmselection,andthendisplaytheslope
angle, eg -1 2
5. PresstheUP/DOWNarrowstoadjustthesetting
6. PressENTERtoselectandsave.Thedisplaywillash
twicetoconrmselection,andthendisplayLPF
Setting the LPF Using the Control Panel
Encoder
With the Gold W15 powered up and out of standby mode, follow
the next steps to set the LPF:
1. Press the encoder down. The display will change to
LPF
2. Press the encoder again to enter the LPF menu. The
display will change to show the current setting, eg. 60
3. Rotate the encoder left or right to change the setting
4. Press the encoder to select and save. The display will
ashtwicetoconrmselection,andthendisplaythe
slope angle, eg -1 2
5. Rotate the encoder left or right to change the setting
6. Press the encoder to select and save. The display will
ashtwicetoconrmselection,andthendisplayLPF
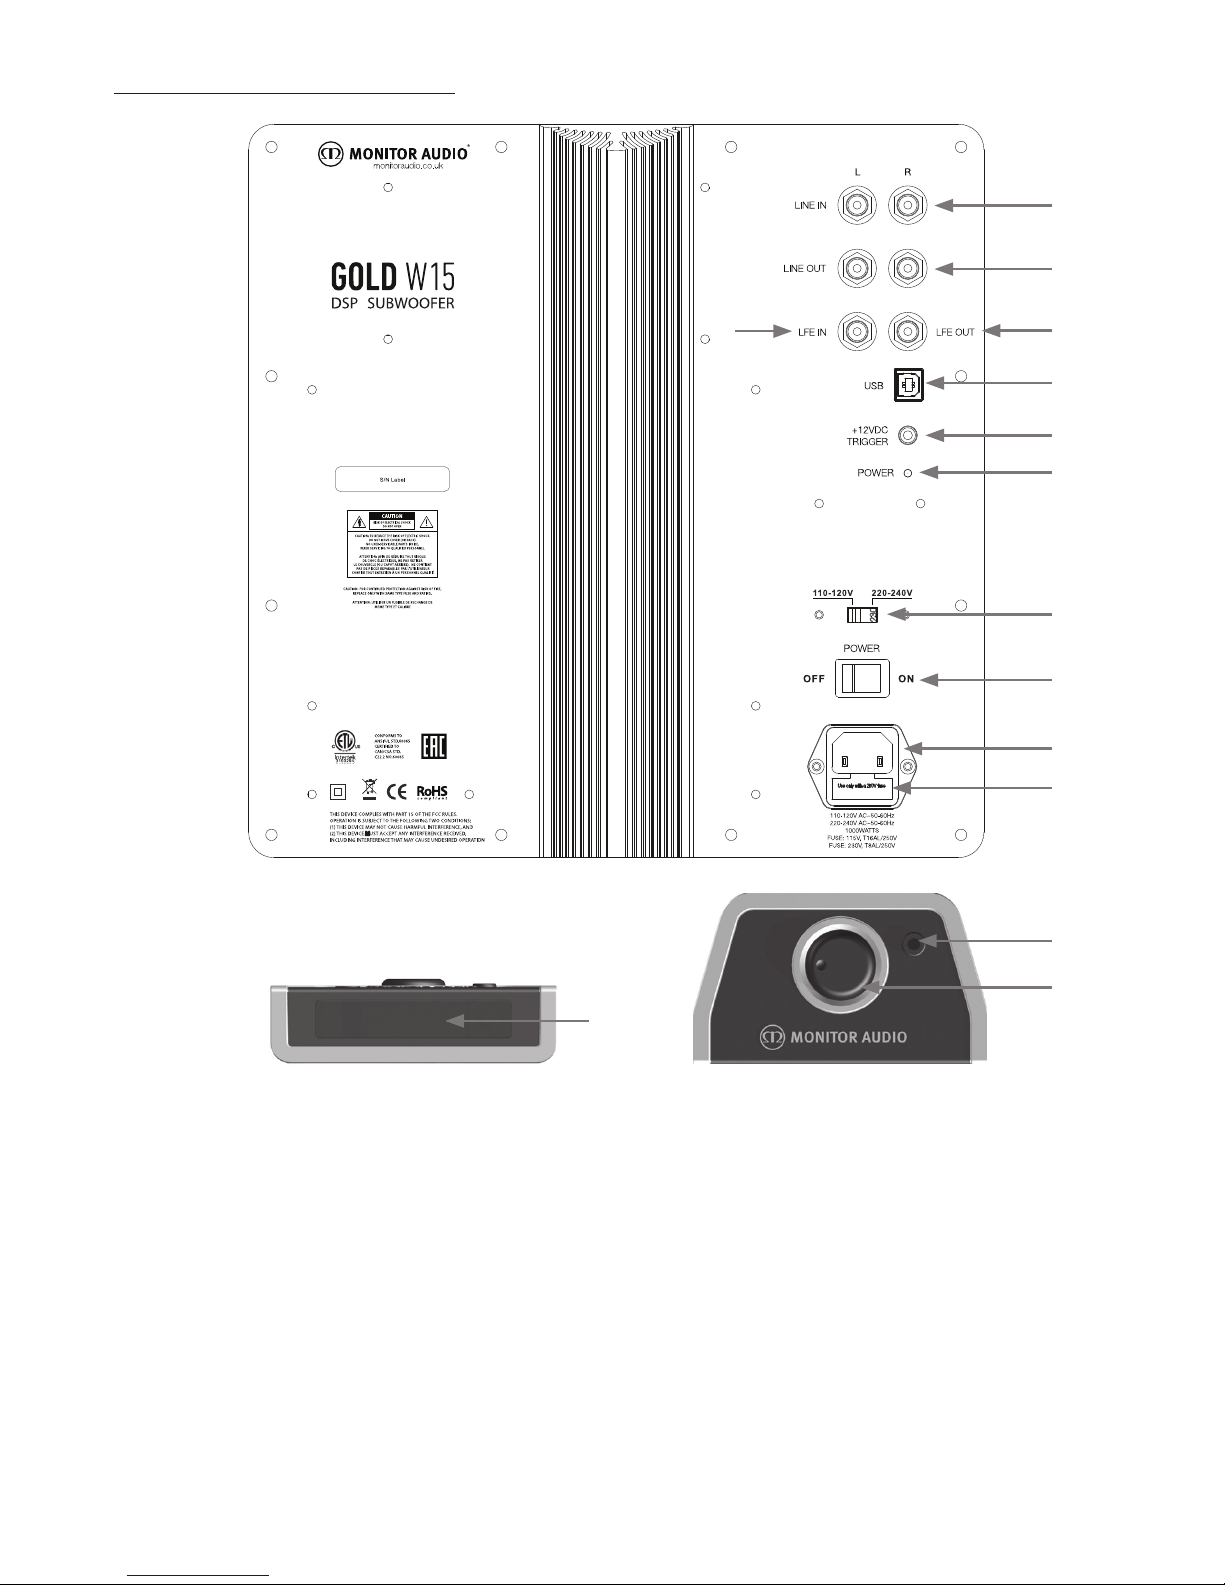
Connect microphone
here
GoldW15OwnersManual8