Montageanleitung KTB / Mounting Instructions KTB
8
®
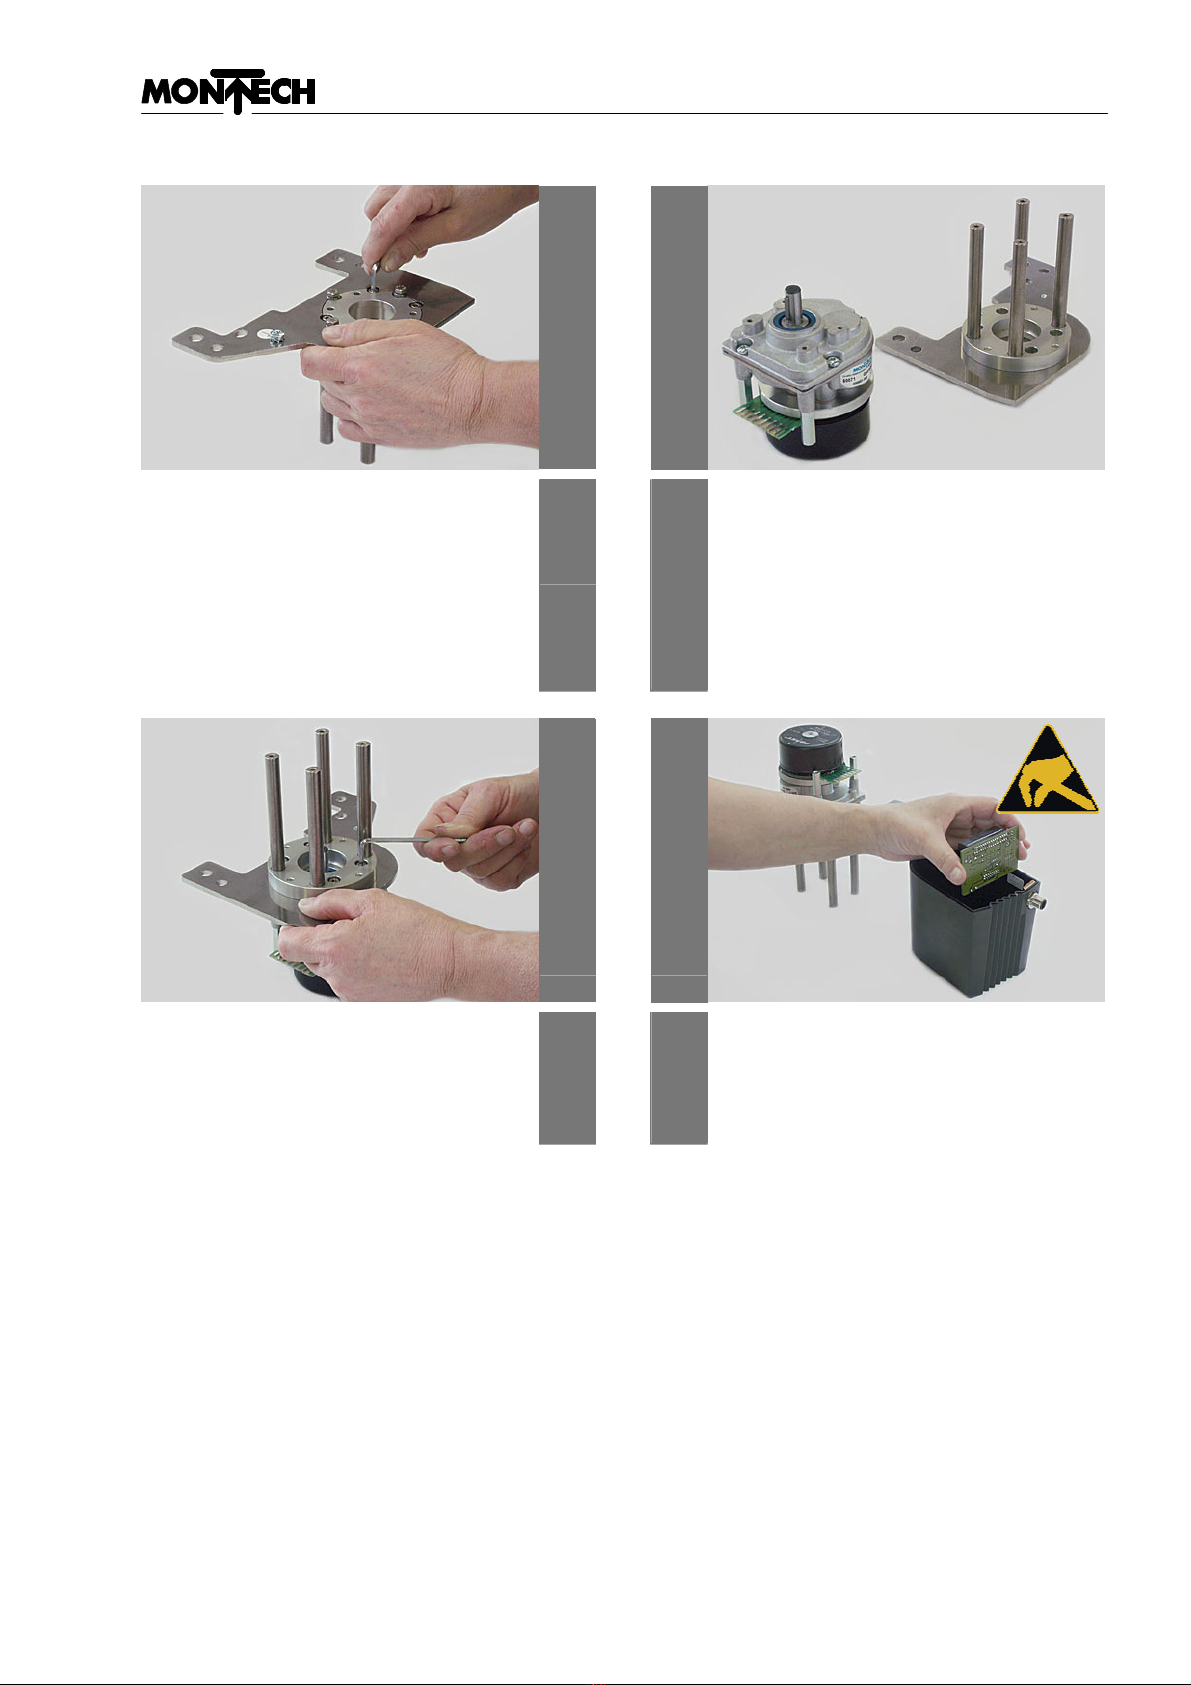
1.21
1.22
Senkschrauben mit Senkscheibe hinten,
Distanzscheibe vorne einfügen
Insert behind countersunk screws and
washer, in front the distance washer
Insérer en arrière les vis à têtes
conique et le rondelle, à l’avant le
rondelle distance
Inserire dietro i dadi con viti svasata e
rondelle, avanti anello di spallamento
D
E
F
I
D
E
F
I
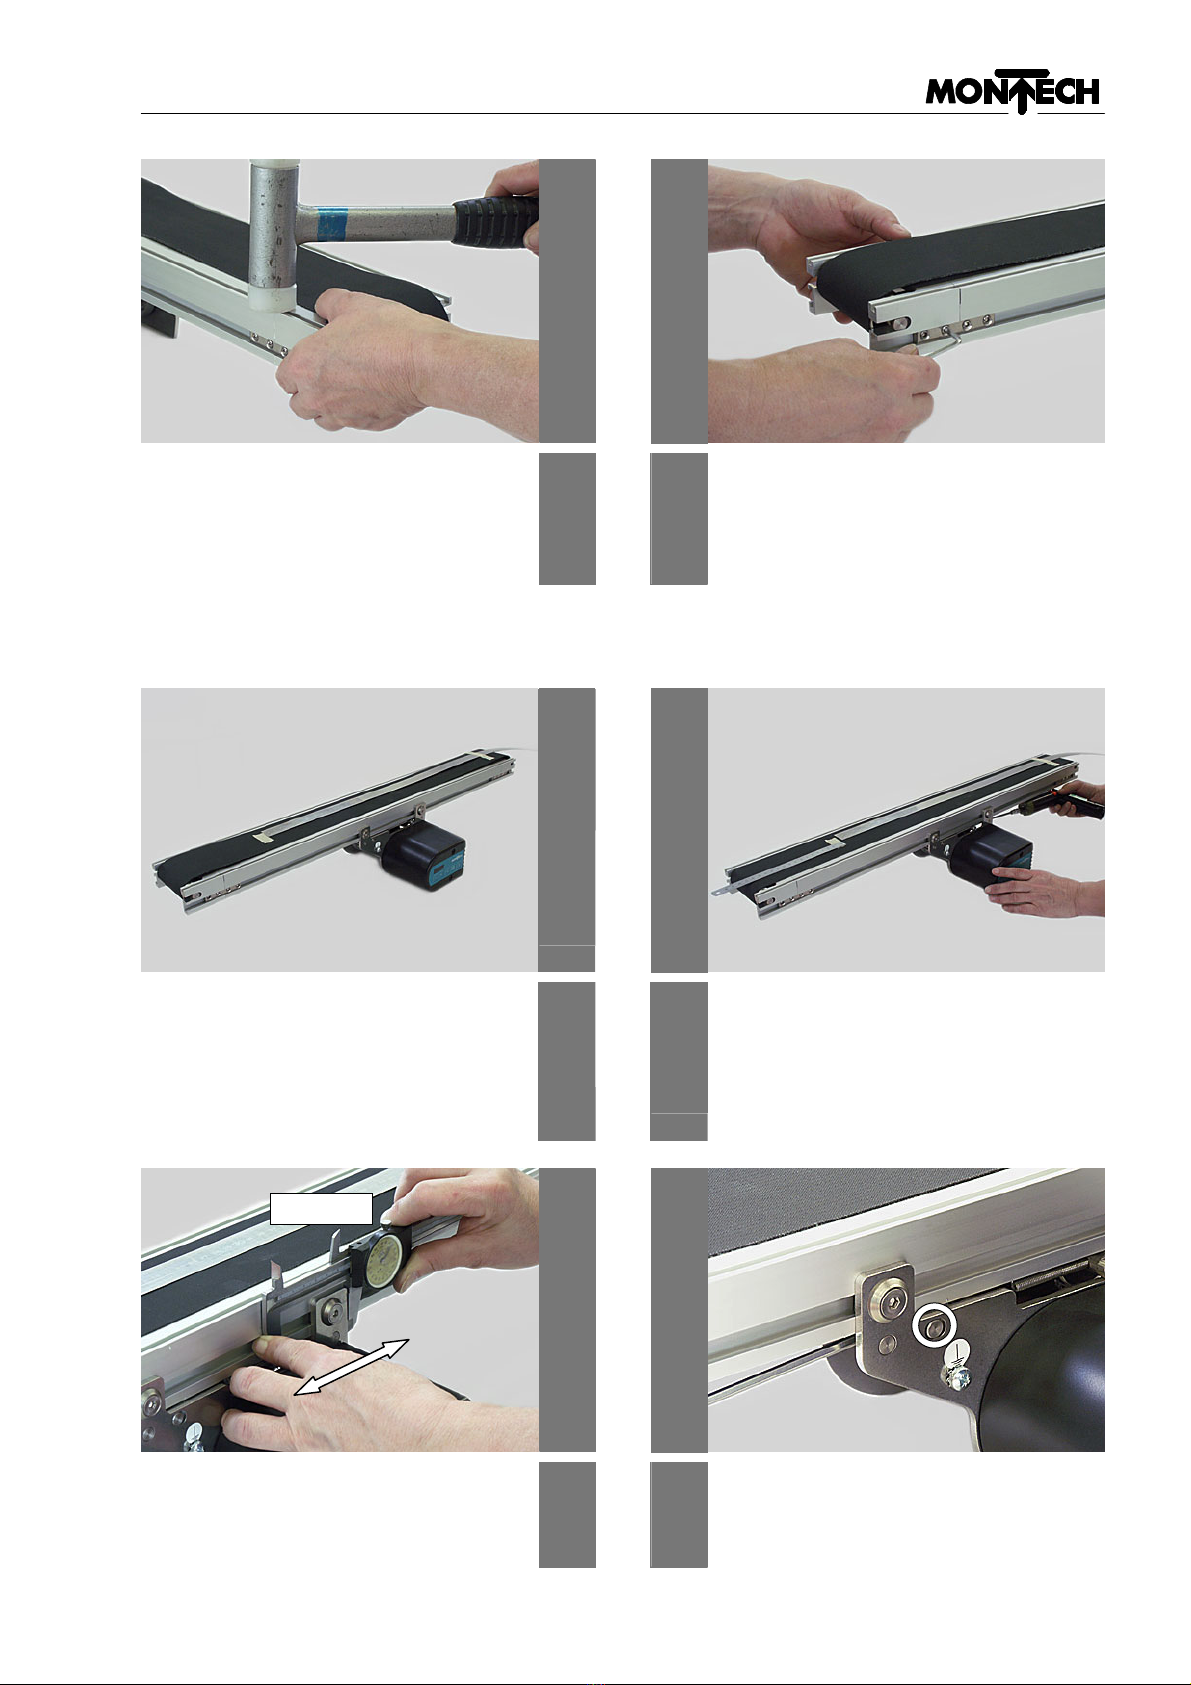
Seitenblech leicht anschrauben
Fix the side cover slightly
Visser légèrement la tôle latérale
Avvitare legermente la lamiera laterale
1.23
1.24
Nutensteine und Rollen ausrichten
Level the sliding blocks and rollers
Aligner les coulisseaux et les rouleaux
Livellare le chiocciole e i rulli
D
E
F
I
D
E
F
I
Seitenblech leicht anschrauben
Fix the side cover slightly
Visser légèrement la tôle latérale
Avvitare legermente la lamiera laterale
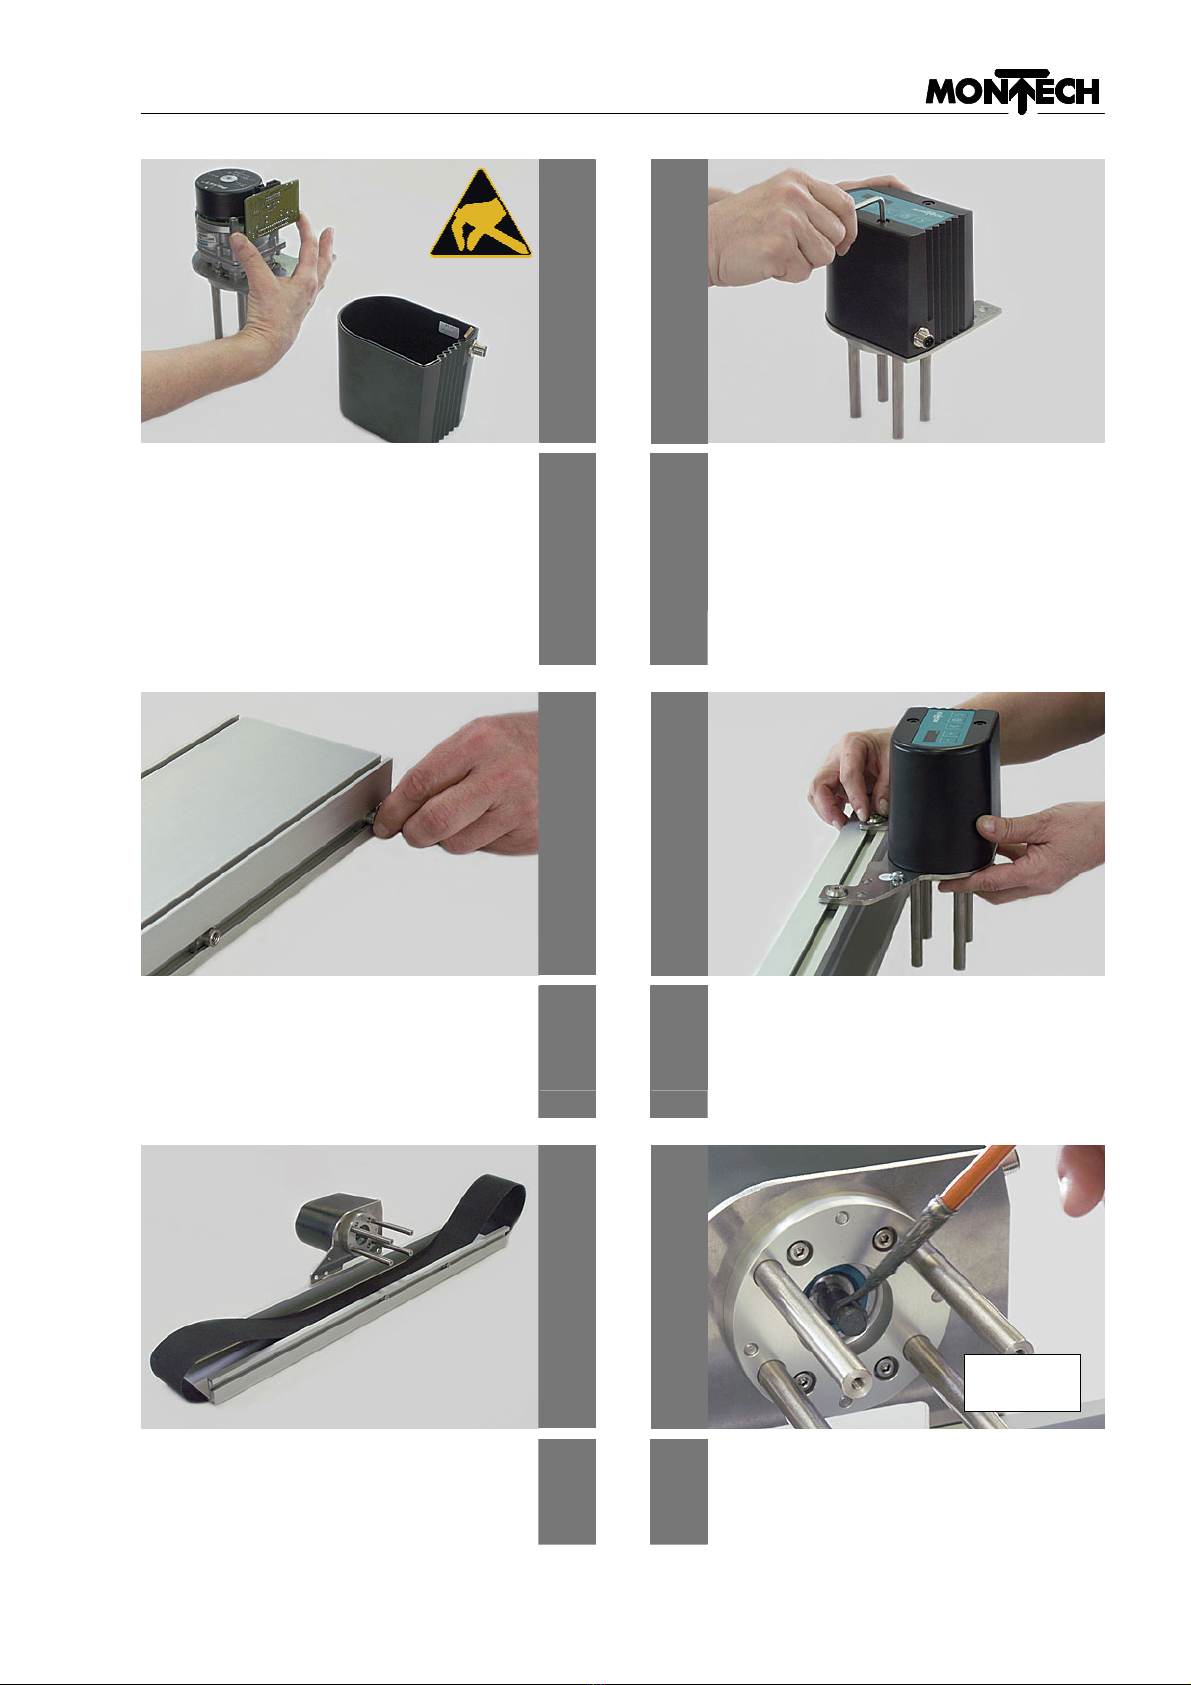
1.25
1.26
Antriebseinheit ausrichten
Level the drive unit
Aligner l’unité d’entraînement
Livellare il gruppo motore
D
E
F
I
D
E
F
I
Antriebseinheit festschrauben
Fix the drive unit tightly
Visser définitivement l’unité
d’entraînement
Avvitare bene il gruppo motore