Avantgard+, Distinction, Divine, Downtown, Elite, Free Spirit, Graffiti, Heritage 7, Legend, Liberty 3, Liberty 7, Lizard, Mini, Scount, Society, Status, Traveller, Turbo,
Villager 21, Villager 7, Voodoo, Voyager:
Max ...... Kg
The essentials
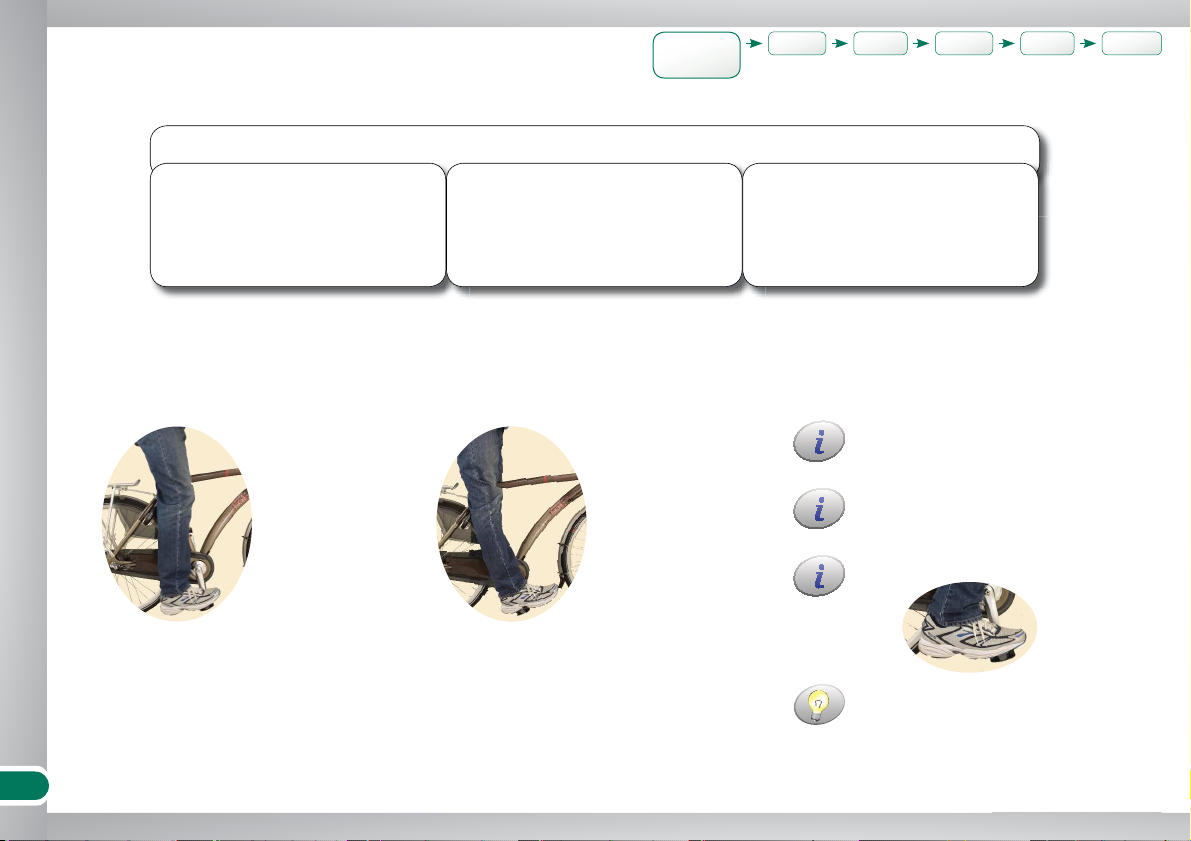
Braking
Basic knowledge
... to pedal and stop correctly.
Front + rear
pull the lever release the lever
Remember which lever operates the
front brake and which the rear brake.
Ideally use both front and rear brakes
simultaneously.
No grease, oil or wax on the brake
pads or rims.
Preferably brake short and hard
instead of long to prevent overheating
of the components.
Longer braking could cause the hub
brakes to overheat and subsequently
fail. As soon as you note the braking
force is getting weak, stop and let the
brakes cool down.
Braking Gear
shifting
Lights
on / off
slow down or
stop
Bike licence
(Page 32)
Respect maximum overall
weight
Use the bike for designed pur-
pose only
Only on streets, public roads and
tarred bicycle paths; not under
extreme conditions; no sport riding
or competitions.