1•888•557•3848
Wards.com
89
Recipes (cont.)
Recipes
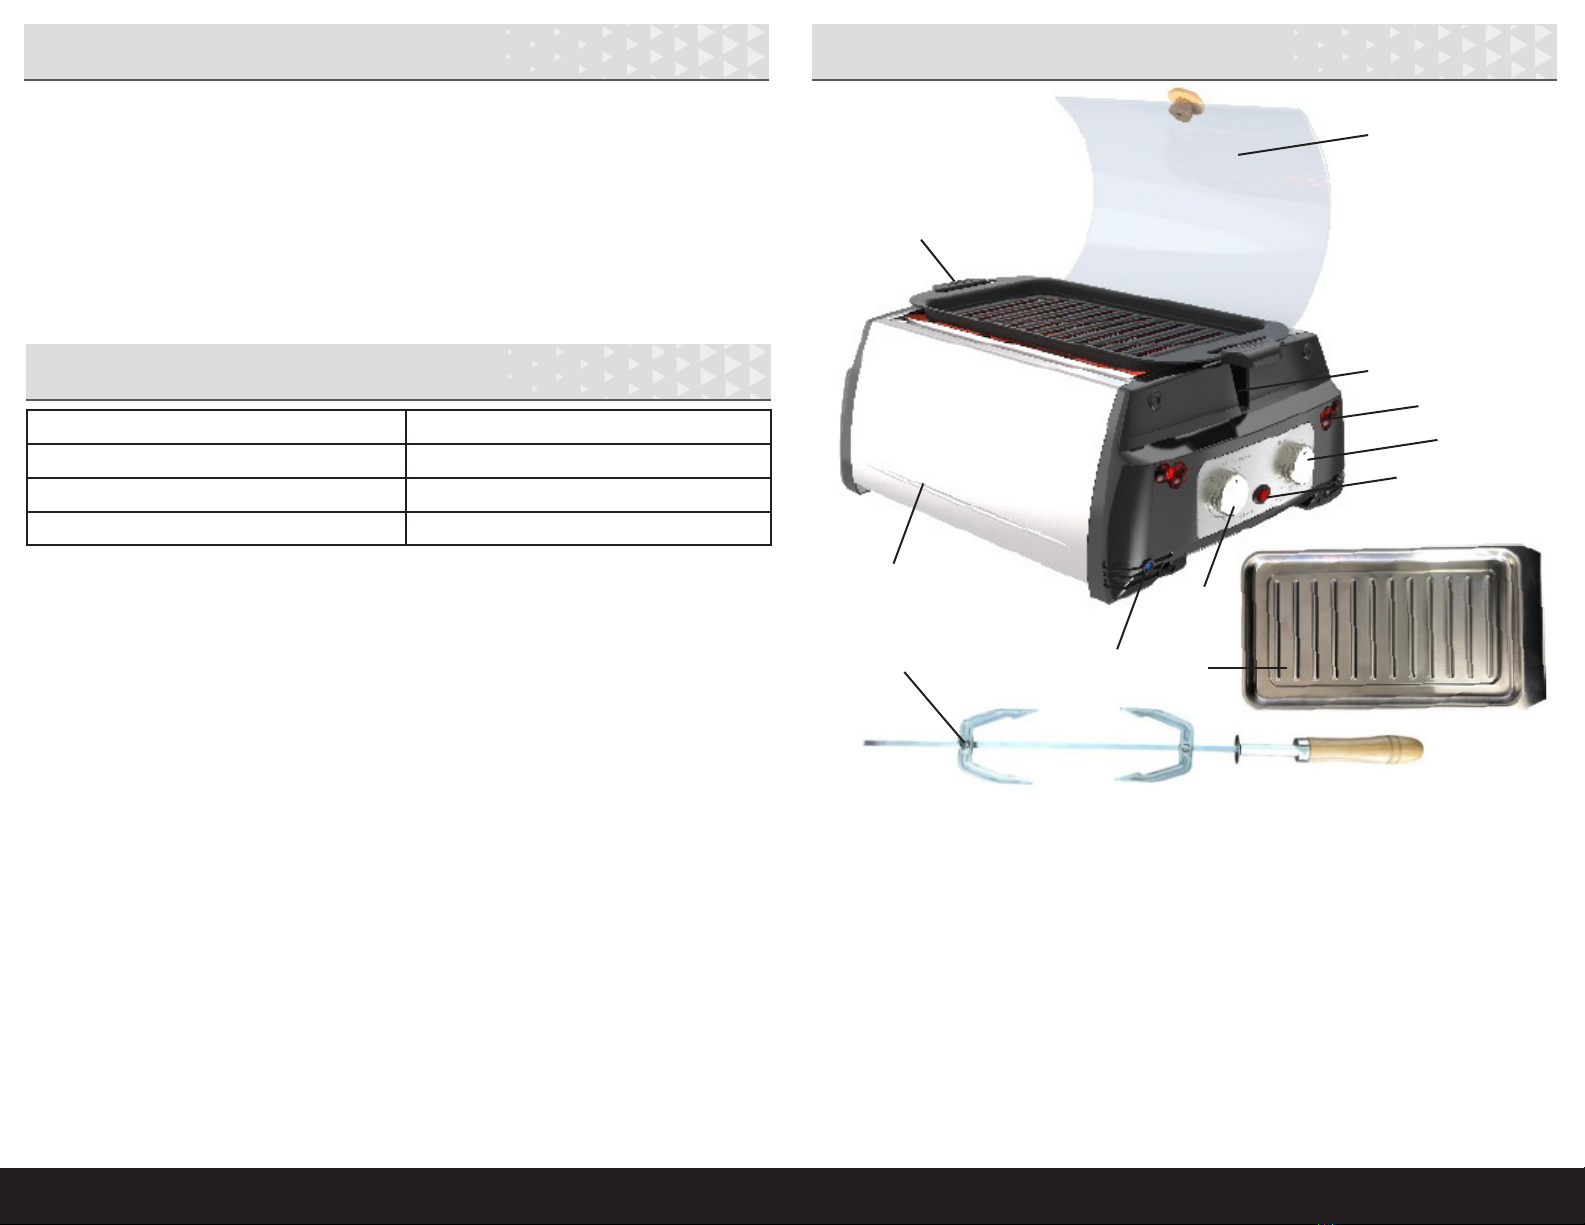
Cleaning & Care
1. Turn off and unplug the appliance.
2. Always allow the appliance to cool completely before cleaning.
3. The grill tray, drip tray and rotisserie assembly are all dishwasher safe (or they
may be washed by hand in hot, soapy water).
4. DO NOT use abrasive brushes or pads, or harsh cleaning solutions.
5. Use a soft cloth, sponge or rubber spatula to remove any stuck-on food
or residue.
6. Wipe the interior and the exterior of the base and lid with a damp cloth. The lid
may also be removed and hand washed. If the glass panels over the infrared
elements need scrubbing, use vinegar and baking soda and a damp cloth. Make
sure all residue is thoroughly wiped off before using the grill again.
7. DO NOT immerse any cord, plug or electrical appliance into water.
8. Ensure all parts are dried thoroughly before reassembling and using this
appliance.
Spice Rubs
Spice rubs are an excellent way to add avor and seal in juices when cooking on a
rotisserie. Store unused rub in a sealed container for next time.
1. Wash hands with soap and water. To avoid cross contamination, wash hands,
cutting boards, utensils, etc. after touching raw poultry or meat.
2. Mix all ingredients together and pat generously on the poultry or meat.
3. When done, let the meat rest 10 minutes before serving.
Chicken or Pork: makes about 2½cups
2 Tbsp. kosher salt 1½tsp. dried rosemary
2 Tbsp. brown sugar 1½½tsp. dry mustard
1 Tbsp. onion powder 1½tsp. ground cumin
1 Tbsp. garlic powder 1½tsp. dried thyme
1 Tbsp. smoked paprika 1½tsp. cayenne pepper
1½tsp. black pepper
Beef or Venison: makes about 2 cups
1 Tbsp. garlic powder 2 Tbsp. kosher salt
1 Tbsp. ground black pepper 1 Tbsp. ground coriander
1 Tbsp. smoked paprika 1 Tbsp. onion powder
Pesto and Olive Pizza
1–2 tsp. pesto 4–5 Kalamata olives, chopped
1 small premade atbread or naan ½Roma tomato, sliced thin
1 tsp. onion, minced ½cup mozzarella, shredded
small handful of baby greens, chopped
1. Spread the pesto onto the atbread.
2. Add the remaining ingredients on top of the pesto.
3. Lower the lid and cook at 350˚ F until the cheese is melted and the atbread
is crispy.
Serves 1–2
Flounder and Asparagus Packets
2 lg. (6–8 oz. ea.) frozen ounder llets cayenne pepper, to taste
1 bunch fresh parsley 1 lb. asparagus, trimmed
2 tsp. butter 1 lemon, cut into wedges
¼tsp. paprika salt & pepper, to taste
¼tsp. garlic powder
1. To avoid cross contamination, wash hands, cutting boards, utensils, etc. after
touching raw sh.
2. Lay out 2 squares of aluminum foil (large enough to loosely wrap 1 llet
in each).
3. Divide the parsley evenly on the foil pieces. Place 1 llet (still partially frozen is
ne) on top of the parsley and dot each with 1 tsp. butter.
4. Sprinkle each llet with paprika, garlic powder and cayenne pepper.
5. Divide the asparagus spears equally and place on top of the sh.
6. Seal the foil into 2 loose packets and place them on the grill.
7. Close the lid and set the temperature control to 375oF for 10 minutes. Fish is
ready when it akes easily with a fork. Serve with lemon and salt & pepper.
Serves 2