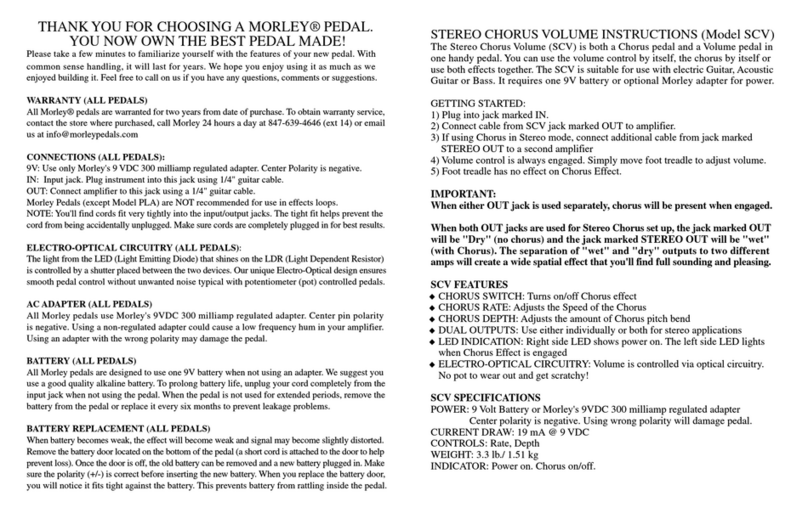
Please take a few minutes to familiarize yourself with the features of your new pedal. With
common sense handling, it will last for years. We hope you enjoy using it as much as we
enjoyed building it. Feel free to call on us if you have any questions, comments or suggestions.
WARRANTY (ALL PEDALS)
All Morley® pedals are warranted for two years from date of purchase. To obtain warranty service,
contact the store where purchased, call Morley 24 hours a day at 847-639-4646 (ext 14) or email
CONNECTIONS (ALL PEDALS):
9V: Use only Morley's 9 VDC 300 milliamp regulated adapter. Center Polarity is negative.
IN: Input jack. Plug instrument into this jack using 1/4" guitar cable.
OUT: Connect amplifier to this jack using a 1/4" guitar cable.
Morley Pedals (except Model PLA) are NOT recommended for use in effects loops.
NOTE: You'll find cords fit very tightly into the input/output jacks. The tight fit helps prevent the
cord from being accidentally unplugged. Make sure cords are completely plugged in for best results.
ELECTRO-OPTICAL CIRCUITRY (ALL PEDALS):
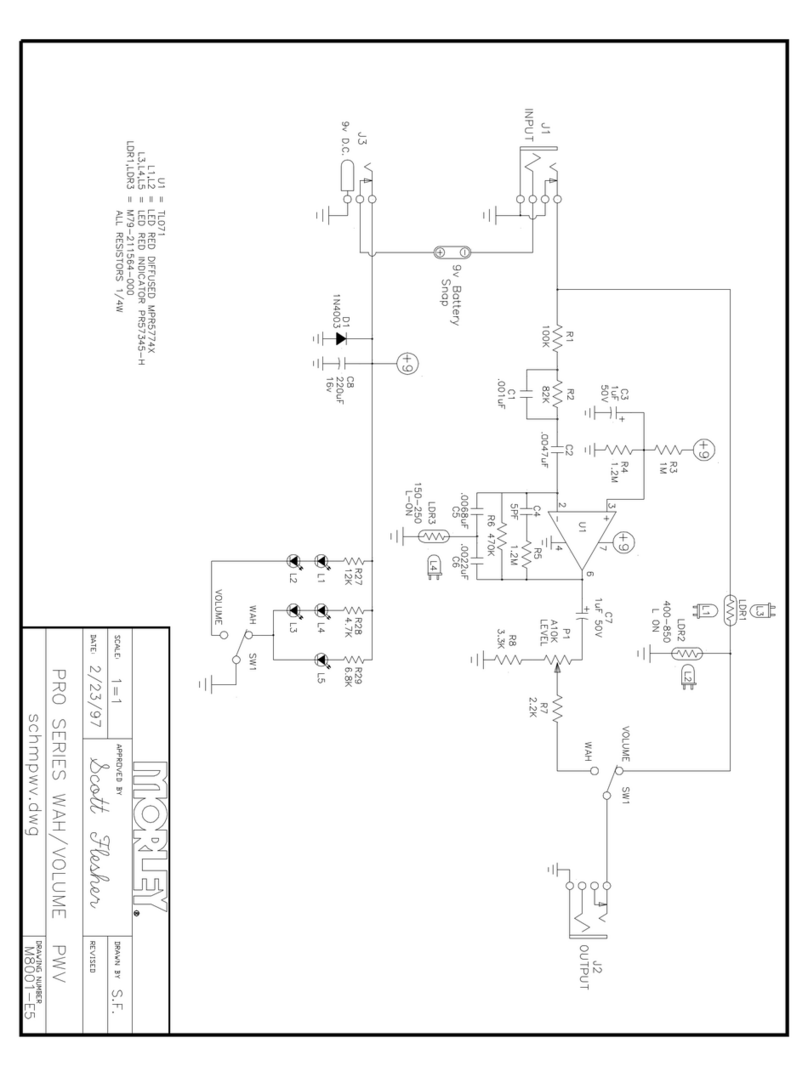
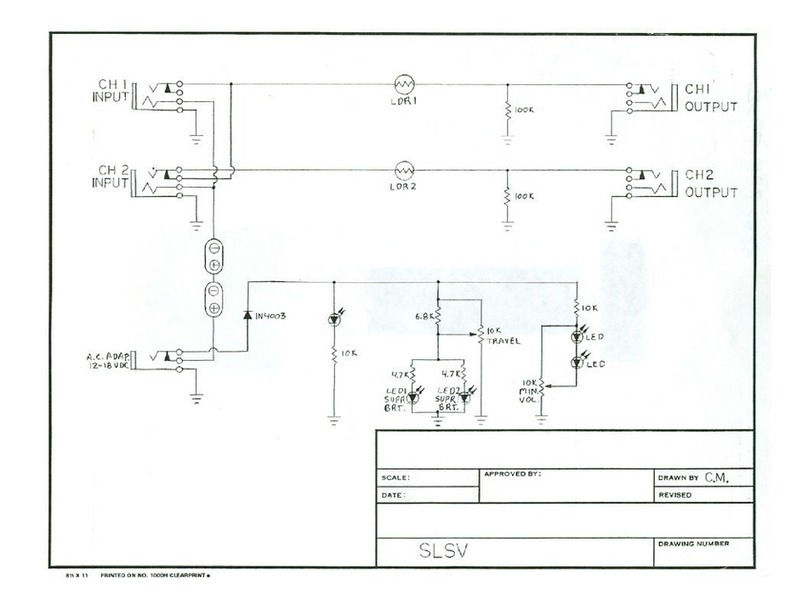
The light from the LED (Light Emitting Diode) that shines on the LDR (Light Dependent Resistor)
is controlled by a shutter placed between the two devices. Our unique Electro-Optical design ensures
smooth pedal control without unwanted noise typical with potentiometer (pot) controlled pedals.
AC ADAPTER (ALL PEDALS)
All Morley pedals use Morley's 9VDC 300 milliamp regulated adapter. Center pin polarity
is negative. Using a non-regulated adapter could cause a low frequency hum in your amplifier.
Using an adapter with the wrong polarity may damage the pedal.
BATTERY (ALL PEDALS)
All Morley pedals are designed to use one 9V battery when not using an adapter. We suggest you
use a good quality alkaline battery. To prolong battery life, unplug your cord completely from the
input jack when not using the pedal. When the pedal is not used for extended periods, remove the
battery from the pedal or replace it every six months to prevent leakage problems.
BATTERY REPLACEMENT (ALL PEDALS)
When battery becomes weak, the effect will become weak and signal may become slightly distorted.
Remove the battery door located on the bottom of the pedal (a short cord is attached to the door to help
prevent loss). Once the door is off, the old battery can be removed and a new battery plugged in. Make
sure the polarity (+/-) is correct before inserting the new battery. When you replace the battery door,
you will notice it fits tight against the battery. This prevents battery from rattling inside the pedal.
THANK YOU FOR CHOOSING A MORLEY® PEDAL.
YOU NOW OWN THE BEST PEDAL MADE!
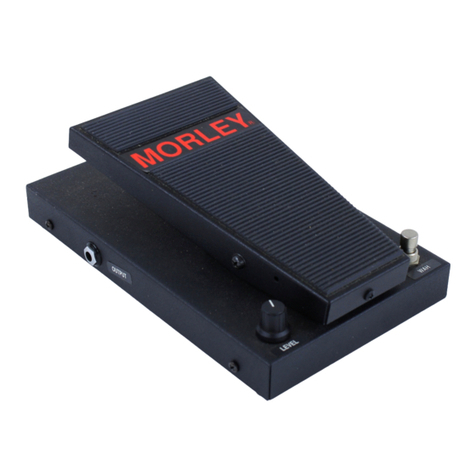
LITTLE ALLIGATOR VOLUME FEATURES (MODEL PLA)
The PLA is designed to have a Familiar Linear taper but with Optical control. It is also
suitable for use in front of the amp or in the FX loop (send and return).
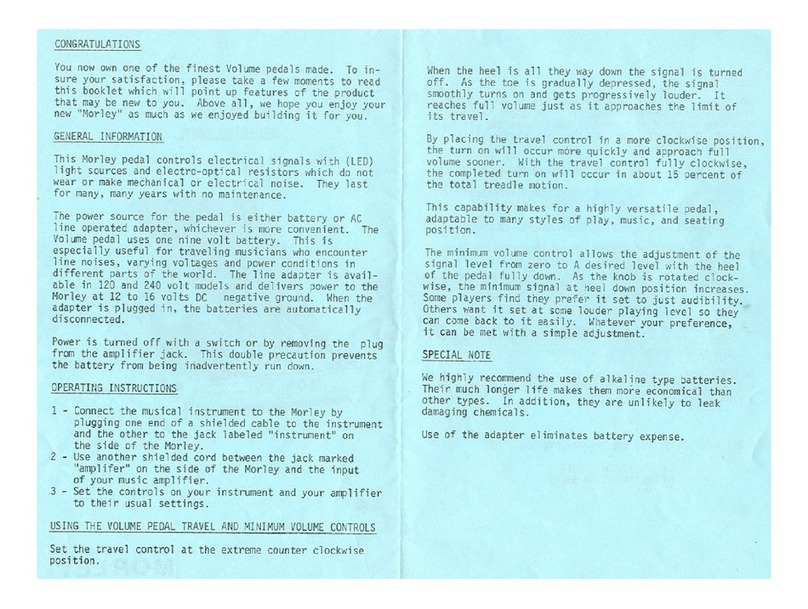
·Power On/Off Indicator: LED located above the Min Vol knob serves as power
on/off indicator.
·Minimum Volume Control: Used to create Rhythm and Lead volume settings *
* To set Rhythm and Lead volumes: With the pedal in the "off" position (toe up), turn
the minimum volume control clockwise (right) until you achieve a suitable rhythm volume
through your amp. The push the pedal to the toe forward position and compare volumes.
Continue to adjust the Min Vol control until suitable Rhythm and Lead Volumes are achieved.
Once set, you can play rhythm with the pedal "off" (toe up) and move the pedal forward (toe
down) for solos. When you return to rhythm, move the pedal back to "off" position. This
eliminates hunting for your original rhythm volume.
NOTE: Because of the many varieties of instruments, pickups and amps, the minimum volume
control may have no effect until it is turned half or more of its travel - this is normal.
PLA SPECIFICATIONS
POWER: 9V Battery or Morley 9VDC 300 mA regulated adapter (center pin is negative)
CURRENT DRAW: 2.5 mA @ 9 VDC
CONTROLS: Minimum Volume
TAPER: Linear
WEIGHT: 3.3 lb./ 1.51 kg
INDICATOR: Power LED on
PRO SERIES VOLUME FEATURES (MODEL PVO)
The main difference between the PLA and the PVO is the taper (PLA is linear and PVO is
audio) and the PLA is designed for use in front of amp or FX loop. The PVO is designed
for use in front input of amp only.
·Power On/Off Indicator: LED located above the Minimum Volume knob serves as
power on/off indicator.
·See above PLA instructions above for setting Minimum Volume.
PVO SPECIFICATIONS
POWER: 9V Battery or Morley 9VDC 300 mA regulated adapter (center pin is negative)
CURRENT DRAW: 2.5 mA @ 9 VDC
CONTROLS: Minimum Volume
TAPER: Audio
WEIGHT: 3.3 lb./ 1.51 kg
INDICATOR: Power LED on
