AIR COMPRESSOR
MANUAL
TROUBLESHOOTING
A. Ensure that the compressor door is open, and the power ON/OFF switch is toggled to the ON position.
B. Ensure that power is getting to the compressor.
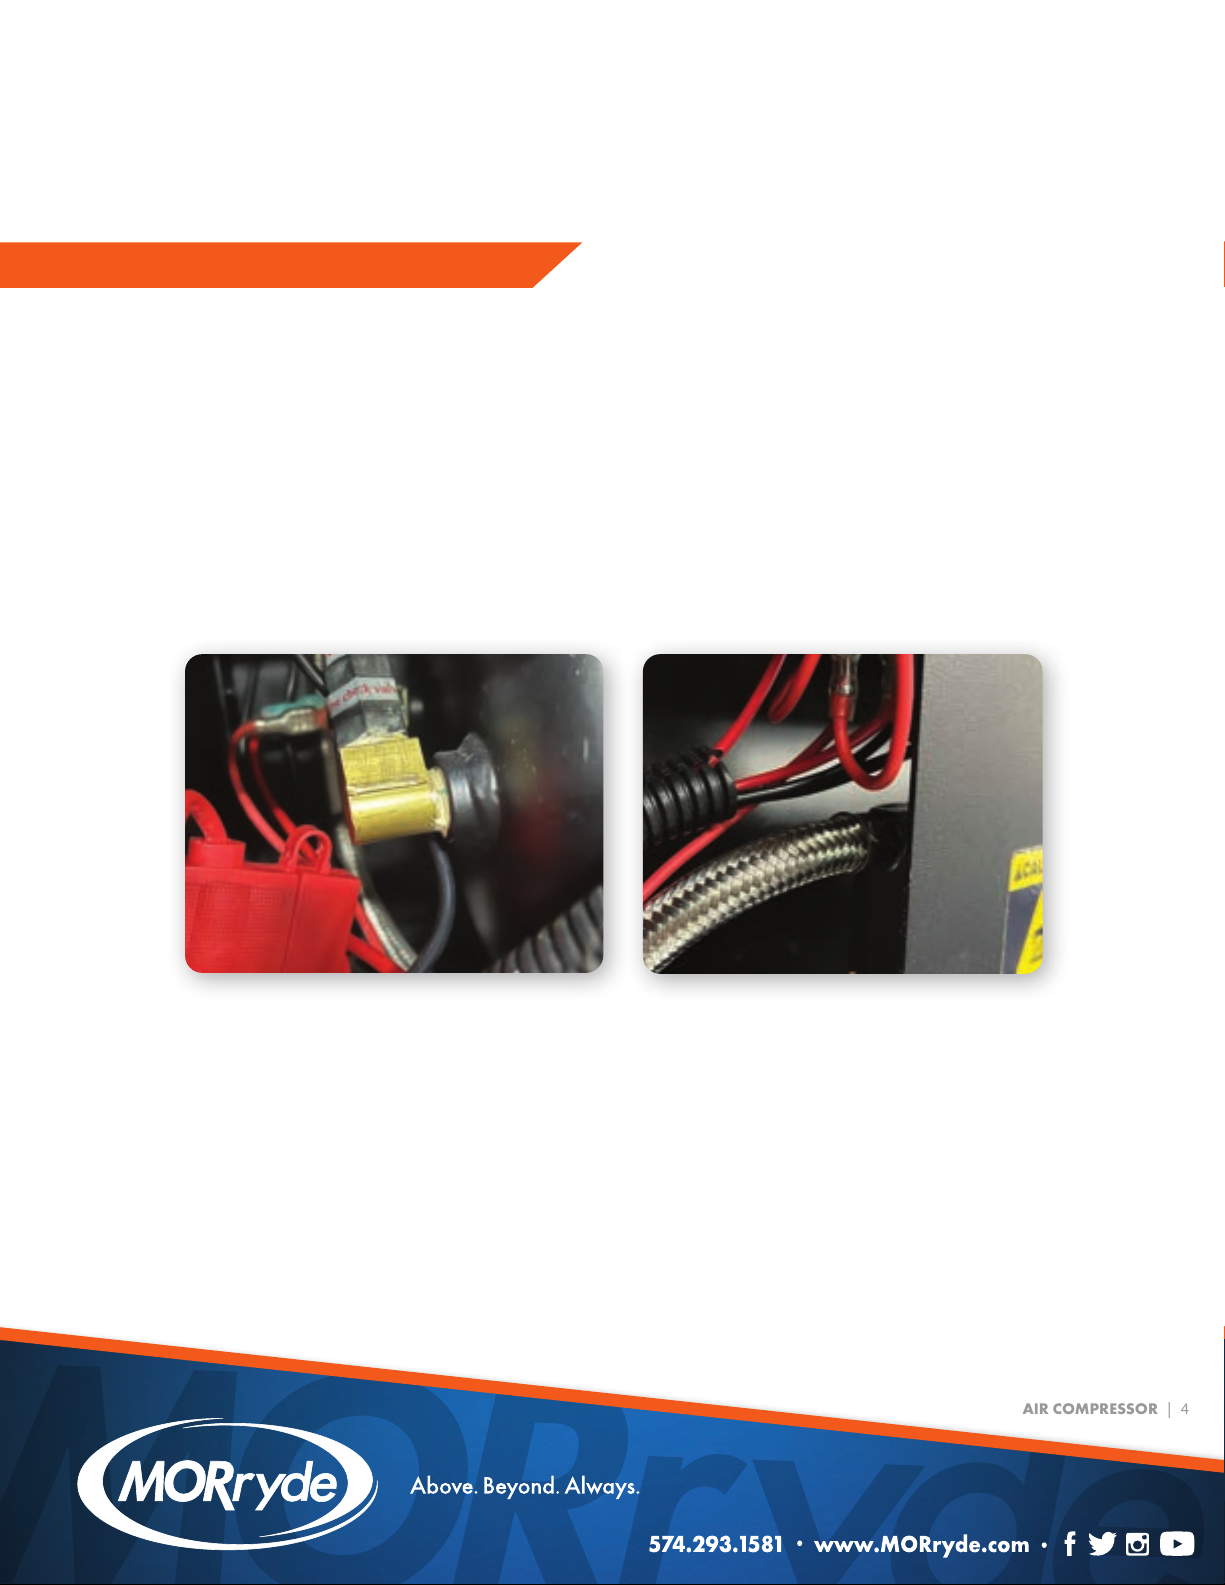
a. Find and inspect the fuse in the coach to ensure that it is not blown; if it is, replace with a
new fuse. If the fuse in the coach is not blown, find the positive (red) incoming power wire on
the compressor to determine whether it is equipped with an in-line fuse. If it is, remove
and inspect the fuse to determine whether it is blown. If it is, replace the fuse.
C. A multi-meter can be used to determine whether power is getting to the compressor. If it is determined
that the compressor is receiving enough power to operate but is failing to turn on, depress the door
safety switch (red button) several times to ensure that it depresses and rebounds appropriately. Lastly,
check to ensure that all wired connections to the back of the door safety switch and the power ON/
OFF toggle switch are properly seated and secure.
D. If all the above noted items have been checked and addressed and the compressor continues to not
COMPRESSOR WILL NOT TURN ON
A. Turn the power ON/OFF switch to the OFF position.
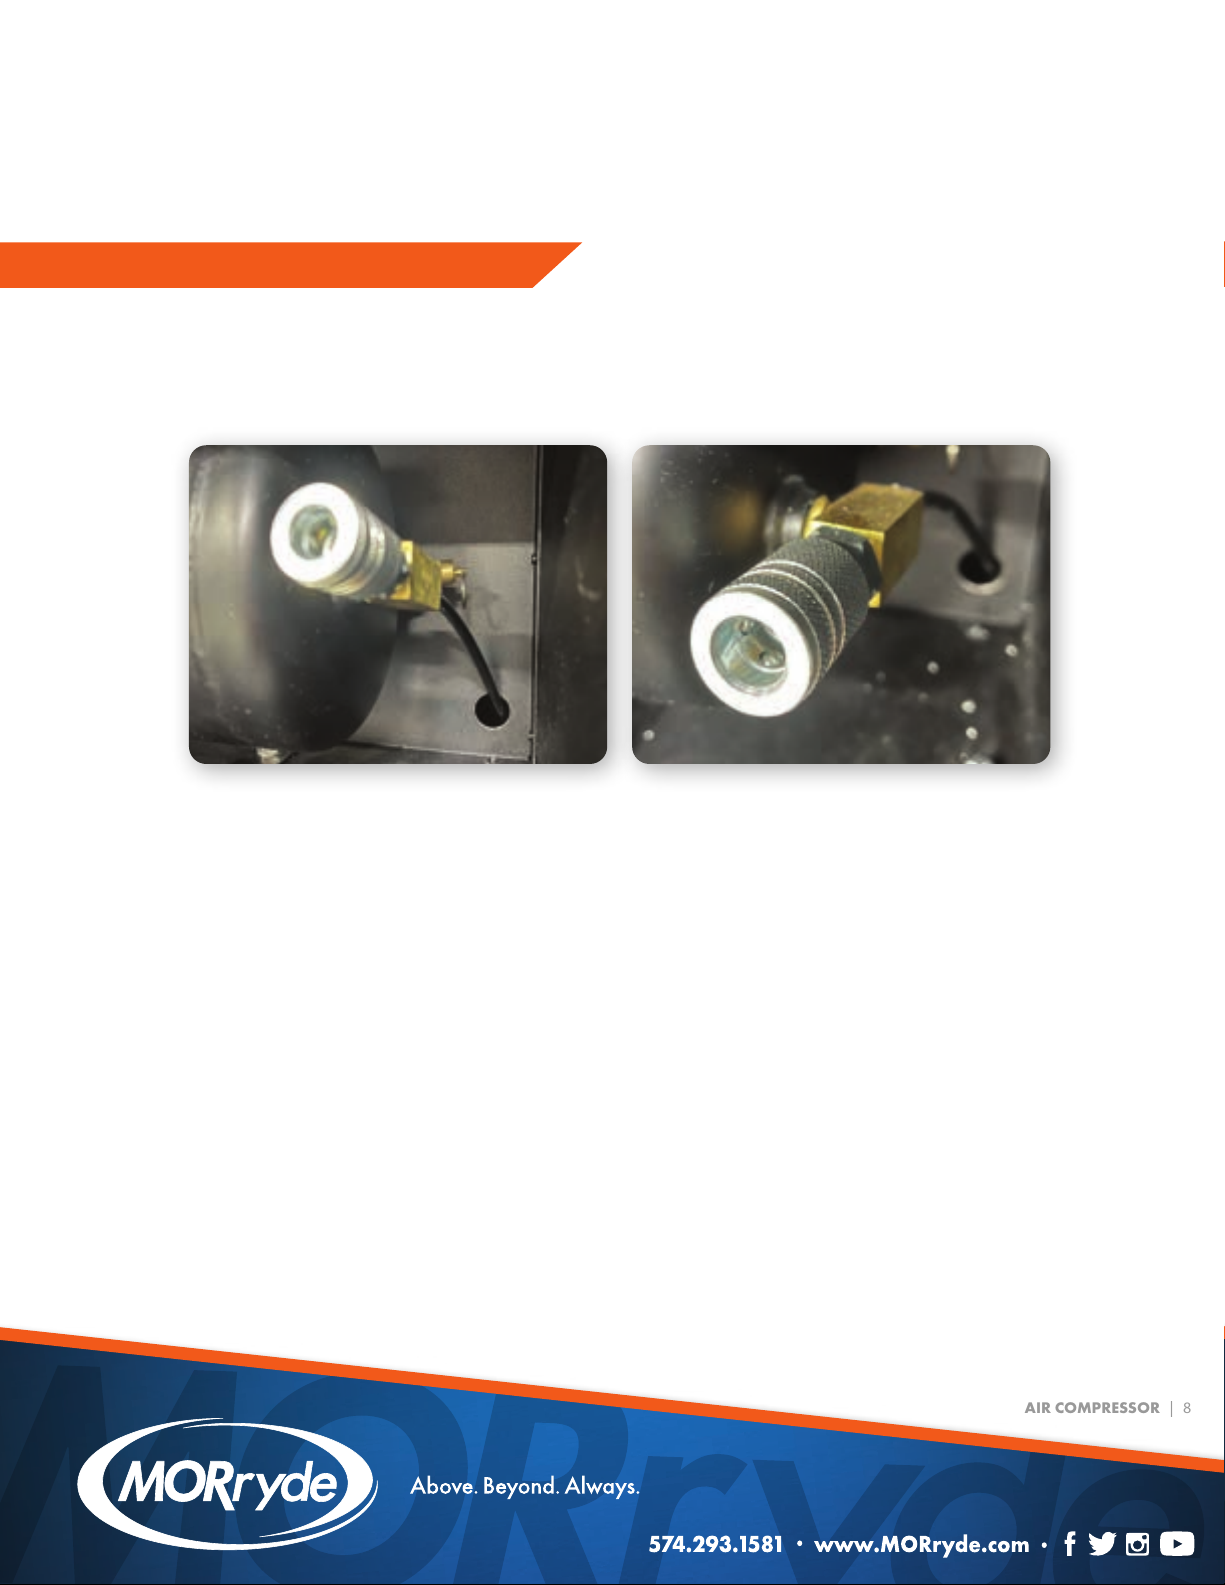
B. Turn the brass wing nut (located at the bottom of the compressor tank) in the clockwise direction to
open the drain valve.
C. Allow all air and water that may have accumulated in the tank to completely drain. Once it is
completely drained, turn the same brass wing nut in the counterclockwise direction until tight.
D. Toggle the power ON/OFF switch to the ON position and resume use.
COMPRESSOR BUILDS PRESSURE, BUT TANK
DOES NOT HOLD APPROPRIATE VOLUME OF AIR