DO NOT OPERATE IN WET
OR DAMP CONDITIONS
IMPORTANT SAFETY INFORMATION
BEFORE BEGINNING WORK:
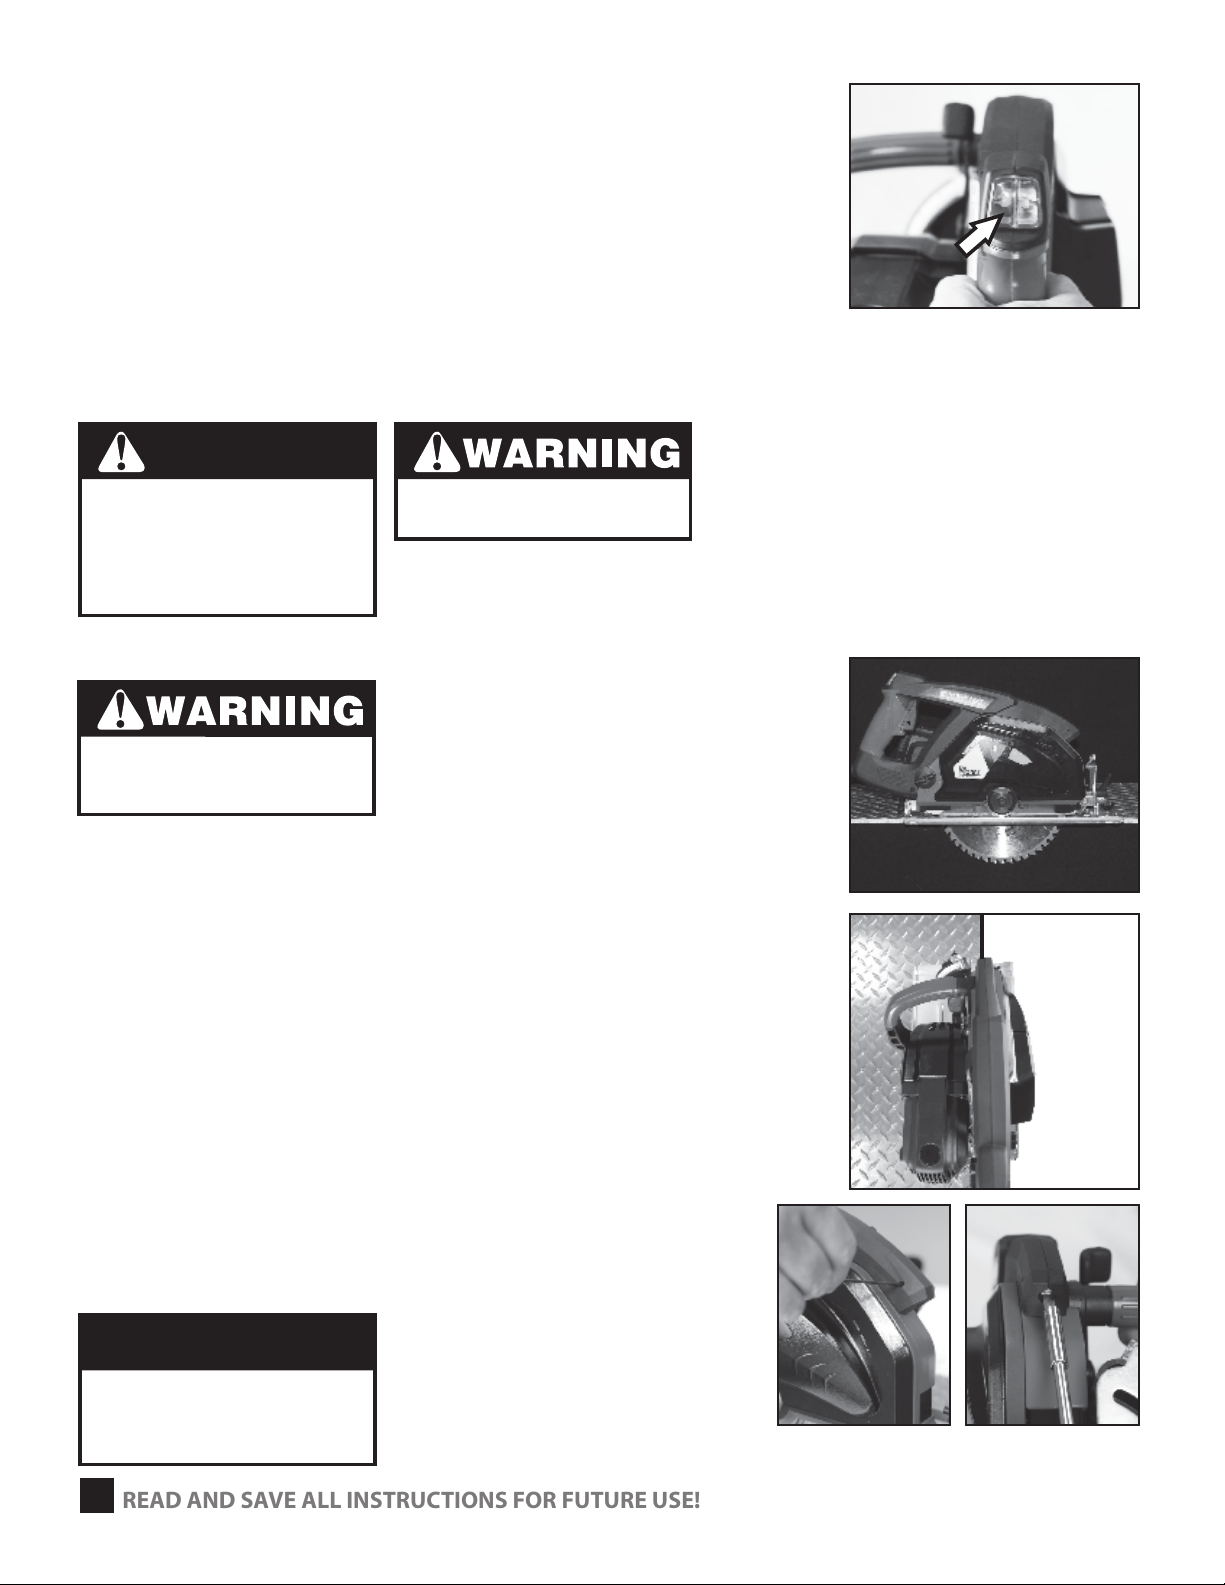
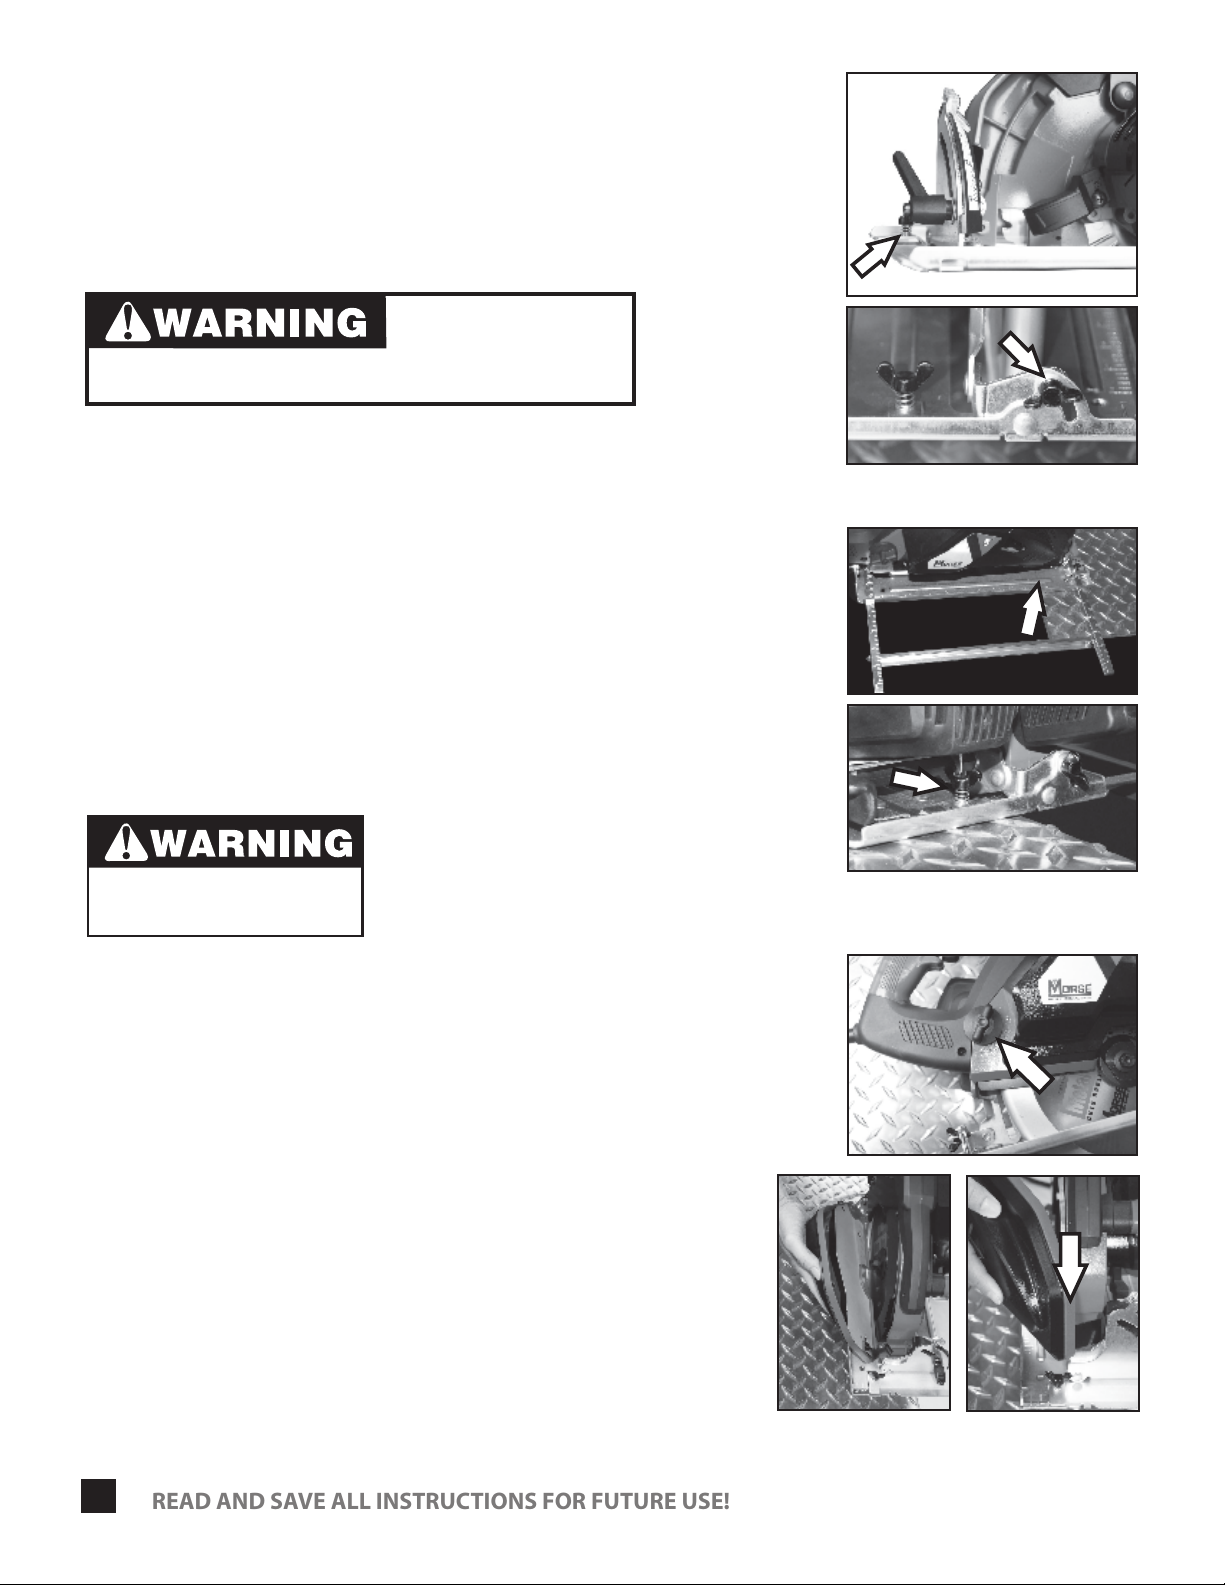
• Check that the voltage is correct and that all handles and
parts are rmly secured.
• This machine is designed for cutting steel. Operate it using
only the recommended M. K. Morse “Metal Devil” brand
TCT (tungsten carbide tipped) blades and accessories.
Do not use blades made of HSS or that do not comply with
the characteristics in these instructions.
• Ensure that the blade is the correct design for the material
being cut.
• Before using any accessories for the Metal Devil Metal
Cutting Machines, always ensure that the RPM of the
accessory matches the RPM of the tool.
• Inspect the machine and blades before each use.
Do not use deformed, cracked or damaged blades.
• Ensure that the blade is properly installed. The direction
arrow on the blade should match rotation of the arbor.
• Do not modify this saw.
• Do not use it for any job for which it was not intended.
Do not use it to power other equipment.
• This tool is equipped with an approved cord and plug for
its intended country of use. Do not try to use it in a country
where it will not be compatible. Never modify the plug.
• Ensure that total work area can be viewed from the
operating position. Make sure the work area is clutter-free.
• Use barriers to keep people away from the work area.
• Do not operate the tool in explosive environments.
Power tools create sparks that may ignite ammable
materials, dusts or gases.
• Do not operate in damp or wet conditions or areas –
electric sparks may occur. You could suffer serious injury,
or death from electrocution, burns or electrical shock.
• Do not wear loose clothing or jewelry when operating the
saw. Tie back long hair that might get into the blade.
• Always securely clamp the material to be cut.
• Never attempt to use this or any power tool while under
the inuence of alcohol or any drug that might aect your
perceptions or judgment.
• Be sure there are no children in the area where you will
operate this saw. Never allow children near a power saw.
RECYCLE MACHINE
PROPERLY
Some dust created by power
sanding, sawing, grinding, drilling,
and other construction activities
contains chemicals known [to the
State of California] to cause cancer,
birth defects or other reproductive
harm. Some examples of these
chemicals are:
• Lead from lead-based paints.
• Crystaline silica from bricks and
cement and other masonry
products.
• Arsenic and chromium from
chemicall-treated lumber.
Your risk from these exposures
varies, depending on how often you
do this type of work. To reduce your
exposure to these chemical: work in
a well ventilated area, and work with
approved safety equipment, such as
those dust masks that are specially
designed to lter out microscopic
particles.
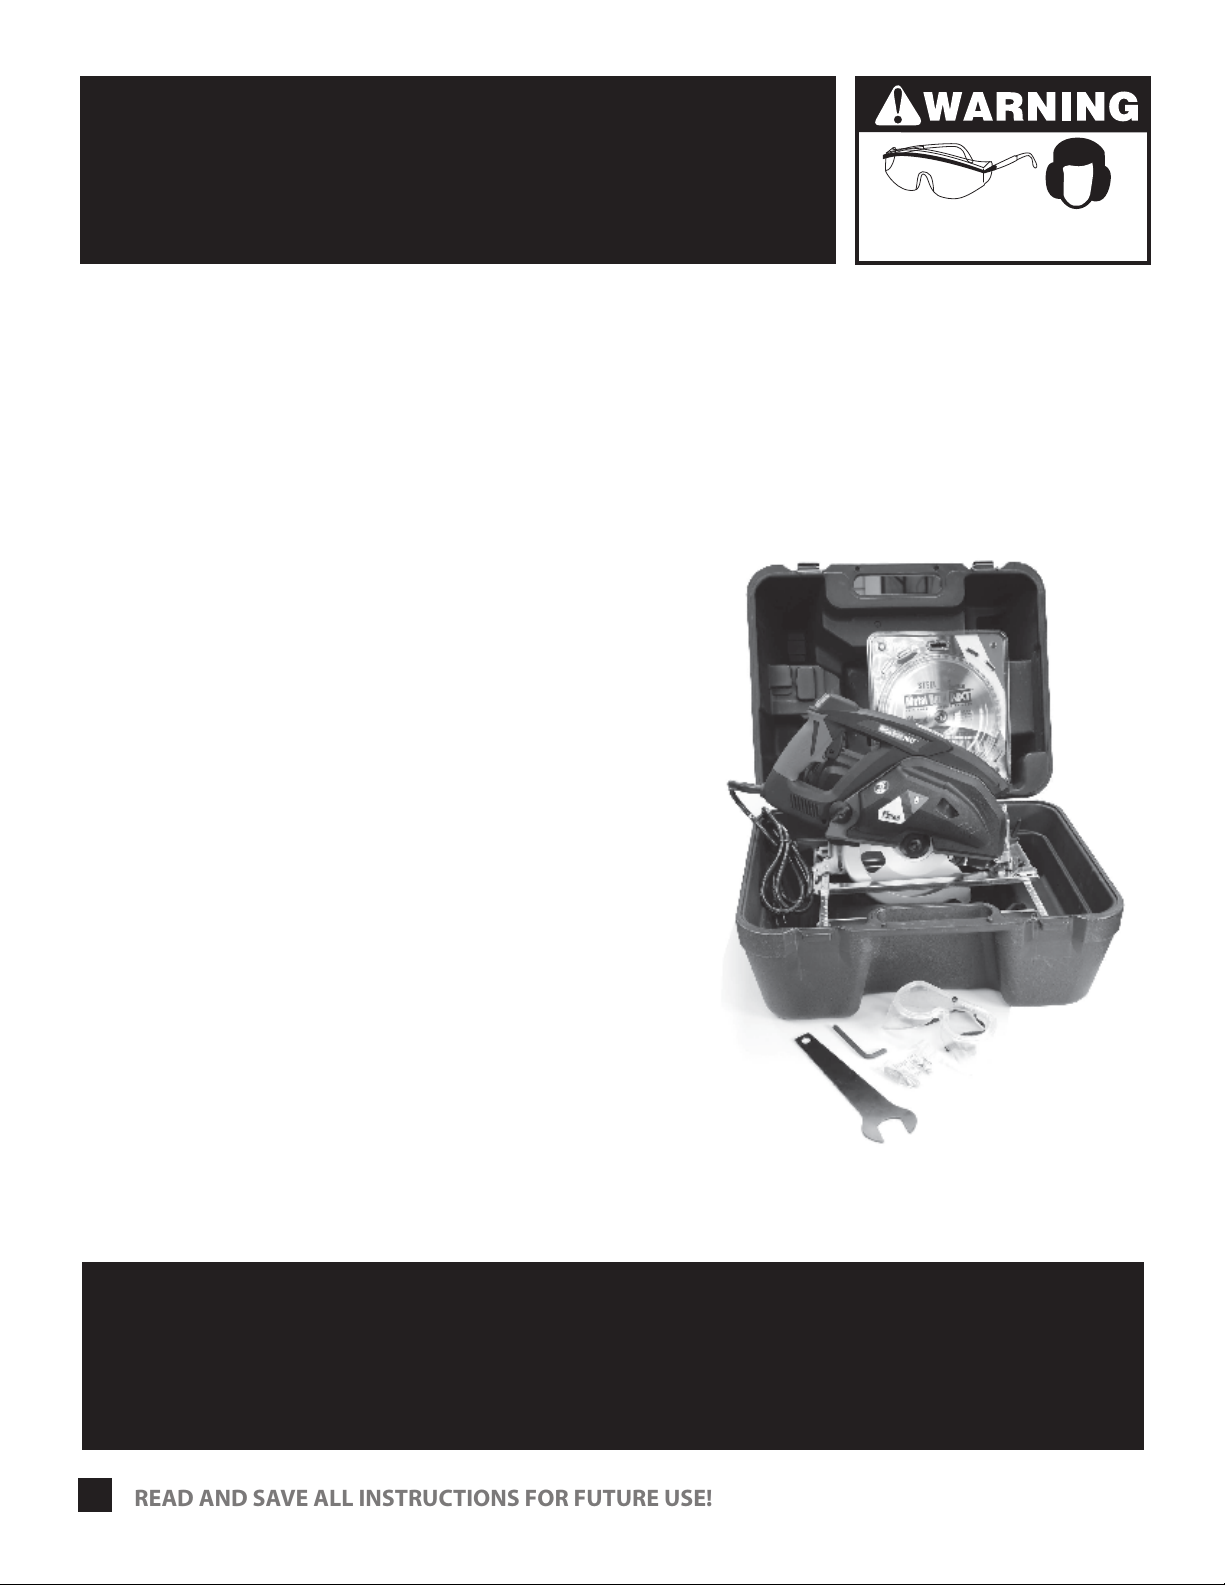
MACHINE IS
DOUBLE INSULATED
Ear and eye protection must be worn
while operating this equipment.
Improper use of this saw can result
in serious injury or death. Do not
use without proper training. READ,
UNDERSTAND AND FOLLOW ALL
INSTRUCTIONS & WARNINGS IN
THIS MANUAL AND ON THE SAW.
2
READ AND SAVE ALL INSTRUCTIONS FOR FUTURE USE!