manuals.online logo
Brands
  1. Home
  2. •
  3. Brands
  4. •
  5. MotionComposites
  6. •
  7. Wheelchair
  8. •
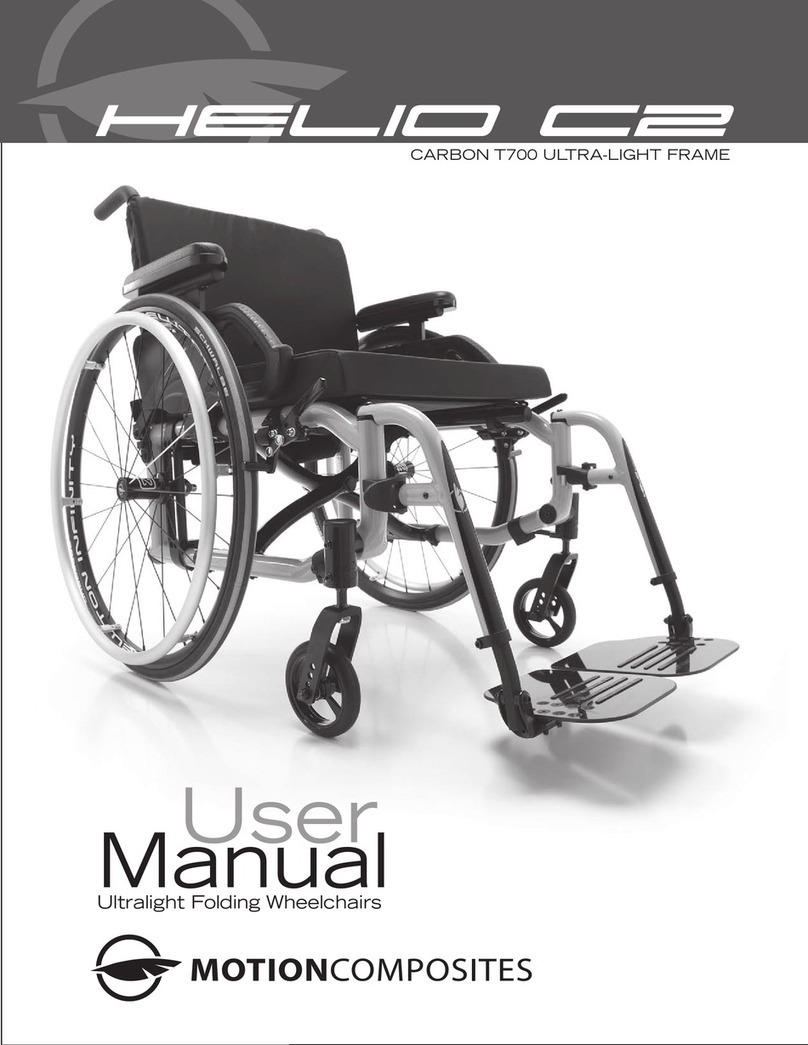
  9. MotionComposites Helio C2 User manual

MotionComposites Helio C2 User manual

MC-MTKG-WI-0009 Last revision: 2021-09-07 Page 1 of 4
INSTRUCTION SHEET
ADJUSTING THE T-TYPE AND FLIP BACK
ARMRESTS
This document explains how to adjust the removable T-Type armrests and the removable and retractable flip back armrests
on Motion Composites folding and rigid wheelchairs.
For information on how to remove, install, tilt or adjust the height of an armrest, refer to the User's Manual.
Wheelchair model(s)
Tool(s) and materials required
•HELIO C2/XC2/A6/A7/Kid/K
•VELOCE
•
APEX A/C/P
•CHRONOS
•PLATINUM 1/2
•
COBALT 1/2
•Hexagonal key (Allen key): 2 mm, 4 mm
•Medium or small flat or star (Phillips) head screwdriver
REMINDER
•Removable T-Type armrests (shown with 14" long pads or full length pads).
•Three sorts of T-Type armrests are available for folding and rigid chairs:
•Standard armrest with push-button height adjustment mechanism
•Standard armrest with bidirectional lateral button height adjustment mechanism
•Small armrest with button height adjustment mechanism
•Removable, retractable flip back armrest (shown with 14"
long pads or full length pads)
•Possibility to convert it into a T-Type armrest
•Armrest type not available for APEX line of rigid
wheelchairs
Standard push-button
Standard bidirectional lateral button
Small push-button
MC-MTKG-WI-0009 Last revision: 2021-09-07 Page 2 of 4
INSTRUCTION SHEET
ADJUSTING THE T-TYPE AND FLIP BACK
ARMRESTS
POSITIONING THE ARMREST RECEIVER
•Loosen the two screws (4 mm hex key) on the
receiver retaining ring.
•They are accessible from the outside of the chair
•Carefully move the receptacle on the frame tube to
avoid damaging the surface
•Tighten the two screws of the receiver
•Apply a torque of 7 Nm to the screws
•When the wheelchair is equipped with a removable
and retractable "U" shaped armrest, the receiver
can only be positioned w here it can accommodate
the armrest when folded down
•Note that there are 2 types of receiver:
•One-piece receiver ring
•Three-piece receiver ring*. Part of each of the
two rings can be removed for easy assembly and
disassembly
ADJUSTING THE ARMREST VERTICAL POST SLIDING FRICTION
•Tighten the four (4) set screws (2 mm hex wrenc h)
on the side of the receiver to increase sliding
friction when removing or inserting the armrest
•Loosen the screws to reduce sliding friction
•Tighten the screws so that there is no or minimal
play of the armrest post in the receiver. This
prevents vibration and noise from the armrest
•To prevent the user from removing the armrest,
tighten the screws to the maximum
•If the set screws are fully tightened and there is still
some play, the plastic guide is too worn
•Order and replace both parts of the plastic
guide
•They can be easily removed and inserted
manually by pressing on the sides.
•Remove the armrest post before and
unscrew the four (4) set screws
•Contact your sales representative or the
Motion Composites Customer Experience Team
to order the appropriate parts
* Receiver model introduced in September 2021 gradually in the different markets. The offer depends on the model of the wheelchair
Screw
Screw
Screw
Screw
One-piece receiver ring
Three-piece receiver ring
MC-MTKG-WI-0009 Last revision: 2021-09-07 Page 3 of 4
INSTRUCTION SHEET
ADJUSTING THE T-TYPE AND FLIP BACK
ARMRESTS
CHANGING THE REMOVAL MODE (FIXED OR REMOVABLE)OF A FLIP BACK ARMREST
•Raise the armrest all the way up to access the screw installed on the double hook trigger (red plastic part) of the pivot arm
•It is the orientation of the double hook trigger in relation to the screw that indicates whether the armrest is in fixed
mode (the user cannot remove the armrest) or in removable mode (the user can remove the armrest).
•Fixed mode: The double hook trigger is installed and screwed into the hole marked with a diamond
•Removable mode: The double hook trigger is installed and screwed into the hole without diamond
•To change the armrest removal
mode:
•Unscrew and remove the
screw
•Remove the double hook
trigger
•Change the side of the double
hook trigger and place it in
the pivot arm
•Install and screw in the screw
•When the double hook trigger is in the fixed mode, the
armrest can be removed by pressing on the level hook
with a screwdriver or another suitable object
•If the pivot arm is black, it is an old version.
•You can order the replacement kit (part # 0033561) which
includes a double hook trigger, spring and screw to replace
the single hook trigger of the old model and take advantage
of the two armrest removal modes
Removable
mode
Diamond
Fixed mode
Diamond
Single hook trigger
Old model
Double hook trigger
New model
Replacement kit
MC-MTKG-WI-0009 Last revision: 2021-09-07 Page 4 of 4
INSTRUCTION SHEET
ADJUSTING THE T-TYPE AND FLIP BACK
ARMRESTS
CONVERTING A FLIP BACK ARMREST INTO A T-TYPE ARMREST
•To convert a removable and retractable flip back
armrest into a T-Type armrest, simply remove the
pivot arm.
•Refer to the User's Manual (folding wheelchairs)
for assembly and disassembly instructions.
•Order shorter screws so that there are no exposed
threads when the pivot arm is removed
•The opposite is possible (converting a T-Type armrest
into a flip back armrest) only if the chair is equipped
with the standard armrest model with a bidirectional
lateral button height adjustment mechanism
REVERSE DESK LENGTH (SHORT)ARM PADS
•The latest T-Type
*
structures have height adjustment
holes on both sides.
•This improvement is particularly interesting for
desk length (short) arm pads. The user can install
the arm pad in the desired direction.
•For example, he can install the short end
forward to get closer to adesk or a table and
the long end forward for comfort and
support.
•Note: By reversing the direction (front and back),
you can also reverse the sides (left and right) not
to lose width between the two pads
•For full length (long) arm pads, this only allows
them to be installed in one direction or the other
* Design change introduced in September 2021 gradually in the different markets
Standard armrest with bidirectional
lateral button
Compatible with
T-Type and flip back
mount
Pad with a T-Type structure
Holes
on both sides (new)
Reversal of
direction

Other manuals for Helio C2

4

This manual suits for next models

12

Other MotionComposites Wheelchair manuals

MotionComposites Helio C2 User manual

MotionComposites

MotionComposites Helio C2 User manual

MotionComposites Helio Kids User manual

MotionComposites

MotionComposites Helio Kids User manual

MotionComposites Veloce User manual

MotionComposites

MotionComposites Veloce User manual

MotionComposites APEX A User manual

MotionComposites

MotionComposites APEX A User manual

MotionComposites Helio A7 User manual

MotionComposites

MotionComposites Helio A7 User manual

MotionComposites Helio C2 User manual

MotionComposites

MotionComposites Helio C2 User manual

MotionComposites MOVE User manual

MotionComposites

MotionComposites MOVE User manual

MotionComposites Helio Kids User manual

MotionComposites

MotionComposites Helio Kids User manual

MotionComposites NEWTON User manual

MotionComposites

MotionComposites NEWTON User manual

MotionComposites APEX Series User manual

MotionComposites

MotionComposites APEX Series User manual

MotionComposites Helio A7 User manual

MotionComposites

MotionComposites Helio A7 User manual

MotionComposites APEX A User manual

MotionComposites

MotionComposites APEX A User manual

MotionComposites Helio C2 User manual

MotionComposites

MotionComposites Helio C2 User manual

MotionComposites Helio A6 User manual

MotionComposites

MotionComposites Helio A6 User manual

MotionComposites Helio C2 User manual

MotionComposites

MotionComposites Helio C2 User manual

MotionComposites APEX User manual

MotionComposites

MotionComposites APEX User manual
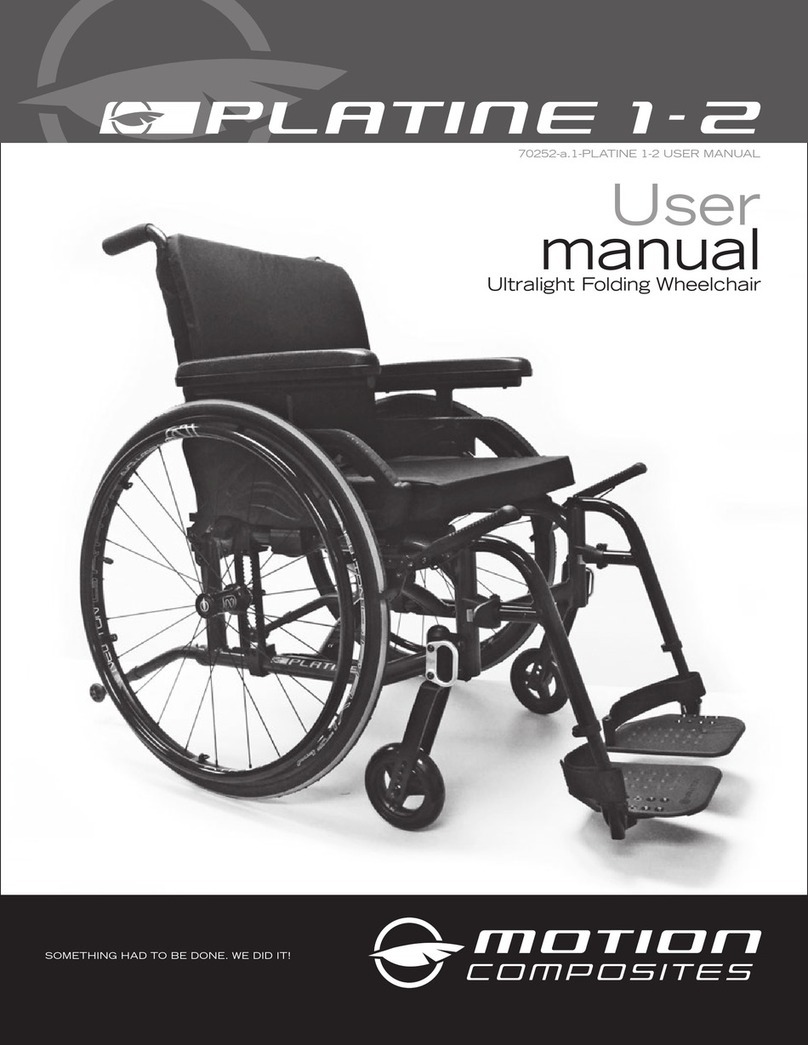
MotionComposites PLATINE 1 User manual
MotionComposites

MotionComposites PLATINE 1 User manual

MotionComposites Tension Adjustable Backrest User manual

MotionComposites

MotionComposites Tension Adjustable Backrest User manual

MotionComposites Veloce User manual

MotionComposites

MotionComposites Veloce User manual
Popular Wheelchair manuals by other brands

Quickie Puma 40 Instructions for use

Quickie

Quickie Puma 40 Instructions for use

Invacare TDX SP user manual

Invacare

Invacare TDX SP user manual

Harvest Healthcare HMS300B user manual

Harvest Healthcare

Harvest Healthcare HMS300B user manual

Breezy Ultra 4 owner's manual

Breezy

Breezy Ultra 4 owner's manual

Z-Tec ZT-600-600 user manual

Z-Tec

Z-Tec ZT-600-600 user manual

Pride STYLUS LS owner's manual

Pride

Pride STYLUS LS owner's manual

Drive Medical ENIGMA SD2 Owner's handbook

Drive Medical

Drive Medical ENIGMA SD2 Owner's handbook

Invacare TDX SC parts list

Invacare

Invacare TDX SC parts list

Permobil ROHO AGILITY CARBON Operation manual

Permobil

Permobil ROHO AGILITY CARBON Operation manual

Braun Under-Vehicle Lift NUVL604XB Service manual

Braun

Braun Under-Vehicle Lift NUVL604XB Service manual

progeo DUKE Service manual

progeo

progeo DUKE Service manual

Breezy UniX Directions for use

Breezy

Breezy UniX Directions for use

Invacare Comet Owner's operating and maintenance manual

Invacare

Invacare Comet Owner's operating and maintenance manual

Loopwheels Urban user manual

Loopwheels

Loopwheels Urban user manual

CareCo Lynx 4 user manual

CareCo

CareCo Lynx 4 user manual

Decon wheel MED3136 Assembly instructions

Decon wheel

Decon wheel MED3136 Assembly instructions

Sunrise Medical R-Net BLUETOOTH Guide

Sunrise Medical

Sunrise Medical R-Net BLUETOOTH Guide

Alber viamobil V15 Mounting instructions

Alber

Alber viamobil V15 Mounting instructions

manuals.online logo
manuals.online logoBrands
  • About & Mission
  • Contact us
  • Privacy Policy
  • Terms and Conditions

Copyright 2025 Manuals.Online. All Rights Reserved.