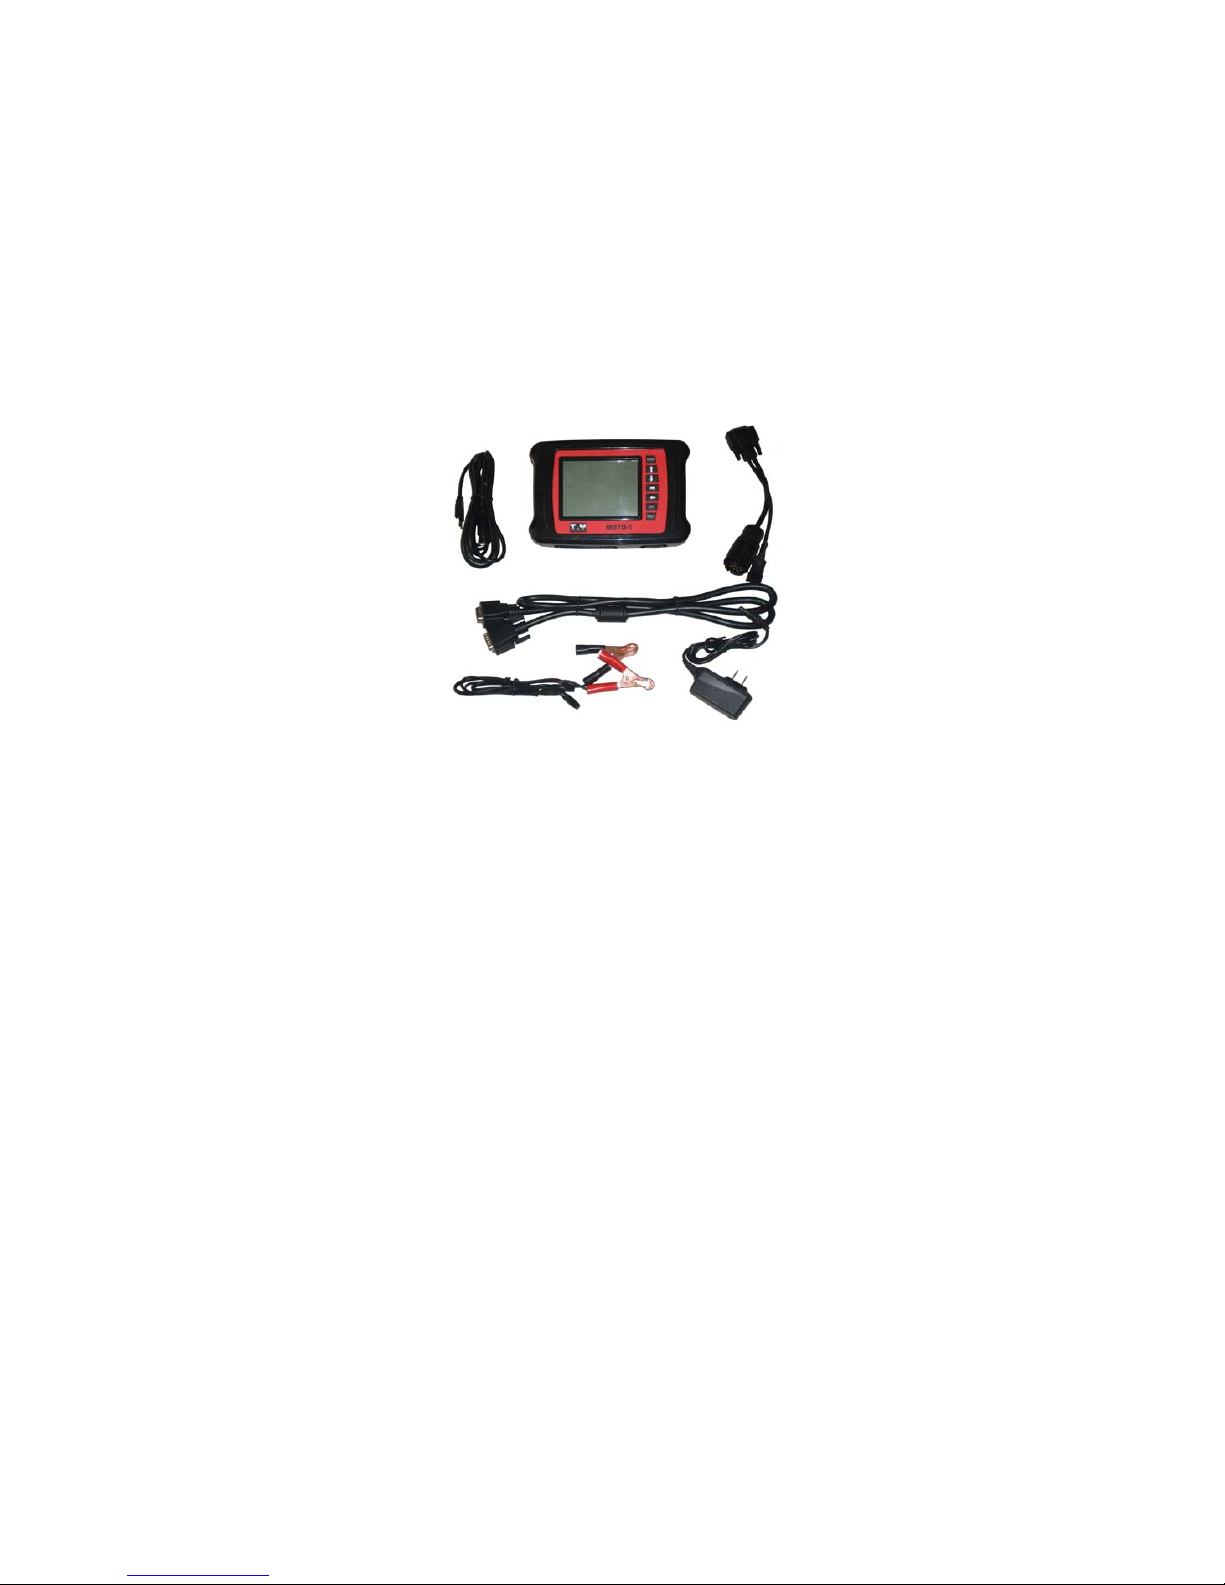
MOTO-1 BMW diagnostic scanner user manual
3
Thismanualisanundividedpartoftheproduct.Itdescribestechnicalfeaturesandfunctionsoftheproduct.
Please read these instructions carefully before using this tool and store it for future needs.
1.Whentheengineisrunning,pleaseinsuretheventilationorconnectingthebuildingexhaustfansystem
with the vehicle exhaust system to exhale the waste gas. Because the Carbon Monoxide, which ejected
by theengine, is acolorless andodorless gas. Onceinhaled toexcess, itcan causeserious physical injury
even death.
2.Beforeusing thediagnosticscanner, pleaseinsure thatyou haveparkedthe motorcyclesolidly.Please
don’t operate the diagnostic scanner during the driving process.
3.Whenyouoperatethediagnosticscannerduringtheenginerunning,pleasekeepenoughdistancefrom
anyrunningpartsoftheengineorthedriving belt.Becausetherunningpartsofengineor thedrivingbelt
mayengulfclothes,theconnecting lineofthediagnosticscanner oranypartoftheConner’sbody tolead
serious hurt.
4. Unless there is other operation direction, you must turn off the ignition when connecting or removing
the line of electronic circuit components.
5.Whentheengineisrunning,pleasedon’ttouchtheignitioncoil,theignitioncoilterminalsorthespark
plug, which can produce very high voltage.
6.Thisdiagnosticscannerhasasafedesignwhichcanpreventthebatteryfrombeingconnectedreversely,
butwestillrecommendusersstronglythatyoumustverify thepolarityofbatterybeforeconnecting with
the scanner.
7. Never put the diagnostic scanner on the battery. Because it is very likely to lead battery short-circuit,
and cause personnel hurt, equipment damage and vehicle trouble.
8. Please don’t touch the exhaust, engine or radiator system when it is running or just finished running.
If you have to touch the hot parts, please wear the tested heat-resistant gloves to avoid burn.
9. Please don’t expose the scanner in the flammable gas or steam.
10. This diagnostic scanner belongs to precise electronic product, please don’t unweave or repair it by
yourself.
11. If there is any adjustment during the actual producing, not separate informs even slightly.