manuals.online logo
Brands
  1. Home
  2. •
  3. Brands
  4. •
  5. Motorola
  6. •
  7. Tuner
  8. •
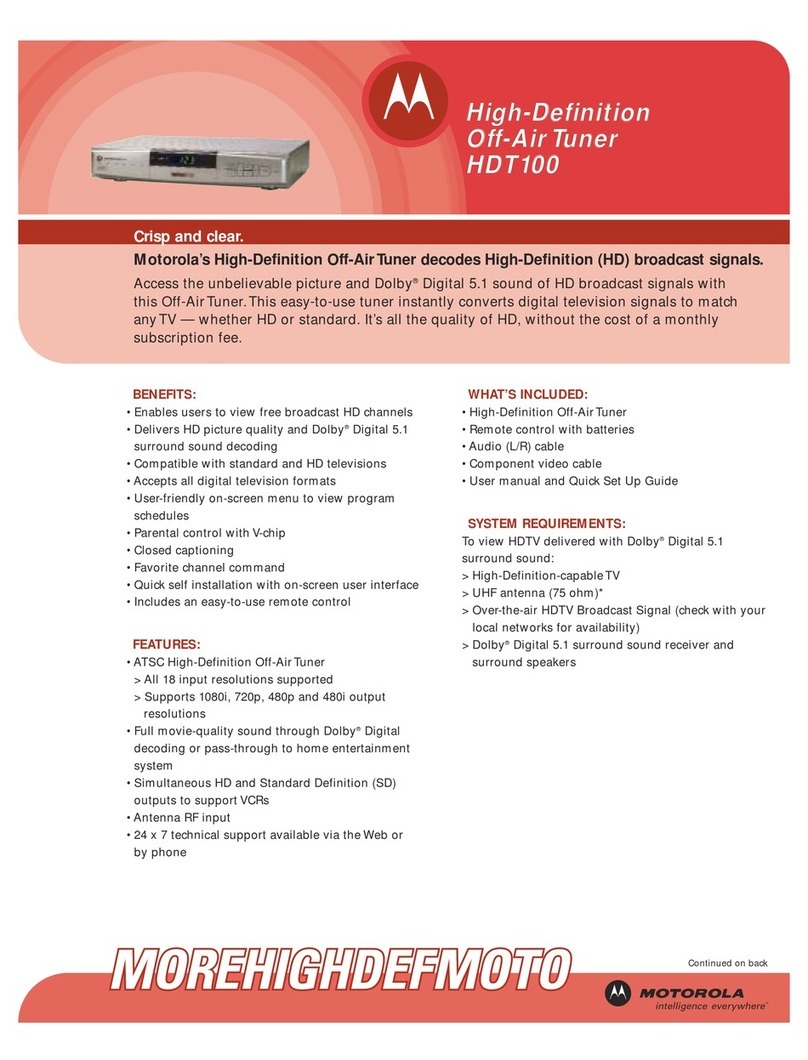
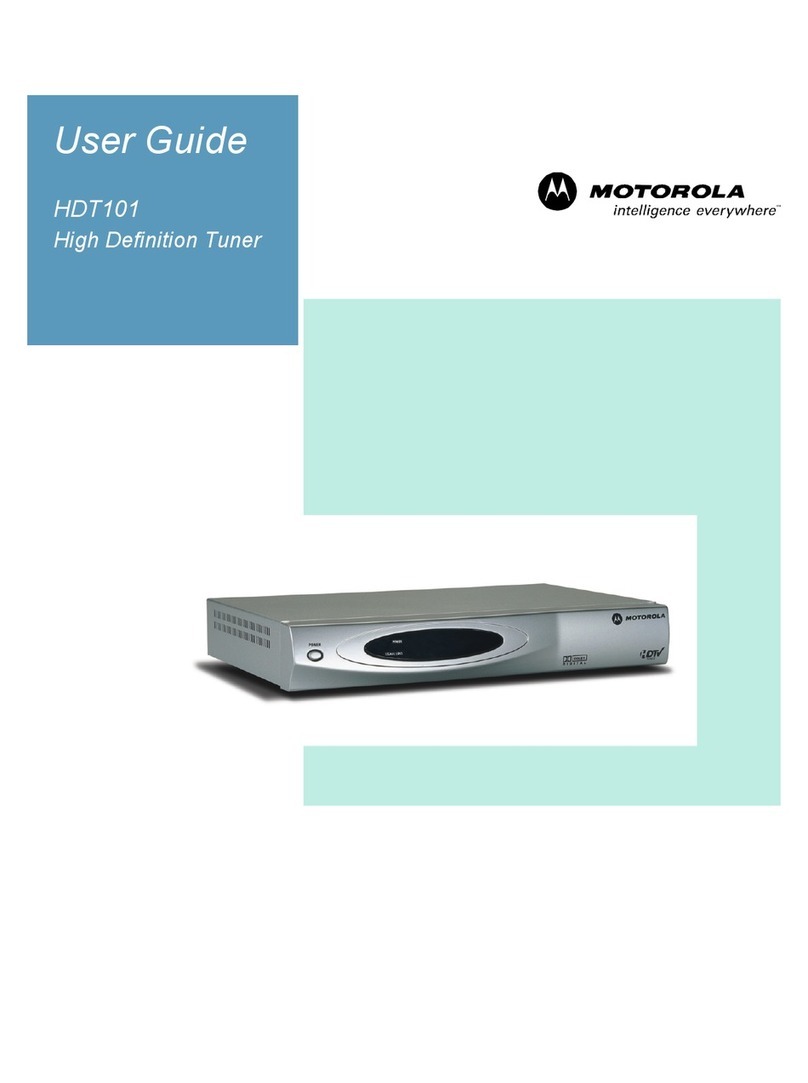
  9. Motorola HDT100 User manual

Motorola HDT100 User manual

Be sure to allow adequate ventilation and airflow around the HDT100 to prevent overheating.
-Do not place anything on top of the HDT100.
Do not block the slots and openings in the HDT100.-
Position the HDT100 with at least 2 inches of space above and on all sides.-
-Do not position the HDT100 near any external heat source that could raise the temperature around the unit.
-Do not position the HDT100 in an enclosed space that would restrict airflow around the unit.
Graphical symbols and supplemental warning marking locations on bottom of terminal.
WARNING
CAUTION
TO PREVENT FIRE OR SHOCK HAZARD, DO NOT EXPOSE THIS APPLIANCE TO RAIN OR MOISTURE.
TO PREVENT ELECTRICAL SHOCK, DO NOT USE THIS (POLARIZED) PLUG WITH AN EXTENSION CORD,
RECEPTACLE, OR OTHER OUTLET UNLESS THE BLADES CAN BE FULLY INSERTED TO PREVENT BLADE EXPOSURE.
REPAIRS
1-866-668-2271 1-866-MOT-BCS1If you find the unit in need of repair, call Motorola Support at or .
MGBI
504781-001
07/03
Visit our website at:
www.motorola.com
Motorola HDT100
High Definition Tuner
Important Safety Instructions
The lightning flash with arrowhead symbol, within an equilateral triangle, is intended to alert the user to the presence of uninsulated
“dangerous voltage” within the product's enclosure that may be of sufficient magnitude to constitute a risk of electric shock to persons.
The exclamation point, within an equilateral triangle, is intended to alert the user to the presence
of important operating and maintenance (servicing) instructions in the literature accompanying the appliance.
CAUTION
RISK OF ELECTRIC SHOCK
DO NOT OPEN
REFER SERVICING TO QUALIFIED SERVICE PERSONNEL.
TO REDUCE THE RISK OF ELECTRIC SHOCK,
DO NOT REMOVE COVER (OR BACK).
NO USER-SERVICEABLE PARTSINSIDE.
CAUTION:
Antennalead
inwire
Ground
clamp
Antenna
dischargeunit
(NECSection 810-20)
Groundingconductors
(NECSection 810-21)
Grounding
clamps
Powerservice grounding
electrodesystem
(NECArticle 250, Part H)
Electricservice
equipment
NEC=NATIONALELECTRICAL CODE
EXAMPLE OF ANTENNA GROUNDING
VENTILATE
2inch space
2
inch
2
inch
Quick Set-Up Guide
POWER SIGNALLOSS
POWER
ENTER
MENU
EXIT
POWER SIGNALLOSS
POWER
ENTER
MENU
EXIT
Component video provides the highest level of picture quality. If your television has component video inputs
(Y, Pb and Pr connectors), connect to the component video connections on your HDT100 instead of the VIDEO or
S-VIDEO connections. (To connect for S-Video or Composite Video, see the instructions in the HDT100 User Guide.)
Once you complete your video connections, proceed to the instructions for the audio connections.
-Connect the component video cable supplied with the HDT100 to the , , and connectors on your TV and HDT100.
To connect for component video:
YPb Pr
To hook up your audio connections:
L R INPUT AUDIO
LEFT RIGHT
- Connect the stereo audio cable supplied with your HDT100 to the and connectors on the HDT100 and the
and connectors on your TV.
Now proceed to the next step - connecting your antenna and power cord.
You can use an outdoor or indoor antenna to receive over-the-air high definition TV signals:
ANT IN
http://www.antennaweb.org/
- Connect your antenna's coaxial cable to the connector on your HDT100.
- Plug the power cord supplied with your HDT100 into the HDT100's power connector and then plug the cord into a wall outlet.
Now that you've completed hooking up your HDT100, log on to the following website to find the digital TV stations in
your area and view instructions for positioning your antenna:
After visiting the website, proceed to “Auto Scan” below to program your HDT100 with over-the-air digital TV stations.
Before you can start using the HDT100, you need to program it with the station numbers of the over-the-air digital TV stations available in
your area. This can be done by simply running from the HDT100's on-screen menu you have completed steps 1-3 above.
Press the button on the HDT100 front panel or remote control to turn on the receiver.
Press on the remote control or on the front panel. The Menu screen is displayed:
You can navigate the on-screen menu from the HDT100's front panel or by using the remote control:
- Use the and arrow keys to move up and down the on-screen menu
- Use the button to select the highlighted item on the on-screen menu
- Use the button to return to the main menu from a submenu or to leave the main menu
Auto Scan after
1 POWER
2 MENU MENU/ENTER
SELECT
EXIT
To run auto scan:
5 Auto Scan SELECTHighlight in the Installation menu and press .
The HDT100 starts scanning from Channels 2 to 69. The entire scan will take about four minutes. An indicator is displayed
showing the scan's progress:
As each digital TV signal is scanned, you'll see the signal's channel number and program name displayed
on the Program List:
The auto scan will end on channel 69.
Press to return to the main menu.
Press again to exit the main menu and start enjoying digital TV programs!
If the picture displayed on your TV is too small, use the (Aspect Ratio) button on your remote control
to change the picture size. Use the button to select the desired Video Format to match your TV.
If you have questions, see the HDT100 User Guide or contact the Motorola Customer Support Center at
1-866-668-2271 or 1-866-MOT-BCS1.
6 EXIT
7 EXIT
A. RATIO
V. FORMAT
123
Connecting for Component Video (YPbPr) Audio Connections Connecting the Antenna and Power Cord
D symbol are trademarks of Dolby Laboratories.
Component
Video Input
Y
Pb
Pr
TV
HDT100
Component video cable
Dolby and the double-
Manufactured under license from Dolby Laboratories.
Pr
Pb
YVIDEO
R
L
100~240VAC
50~60 Hz, 2A
RS - 232 S-VIDEO ANT IN
OPTICAL
D symbol are trademarks of Dolby Laboratories.
Input
Audio left
Audio right
TV
HDT100
Dolby and the double-
Manufactured under license from Dolby Laboratories.
Pr
Pb
YVIDEO
R
L
100~240VAC
50~60 Hz, 2A
RS - 232 OPTICAL S-VIDEO ANT IN
Audio cable
D symbol are trademarks of Dolby Laboratories.
HDT100
Dolby and the double-
Manufactured under license from Dolby Laboratories.
Pr
Pb
YVIDEO
R
L
100~240VAC
50~60 Hz, 2A
RS - 232 OPTICAL S-VIDEO ANT IN
To
wall outlet
To
antenna
3 Installation SELECTUsing the arrow key, highlight and press . The Password window is displayed.
AUTO SCAN
4 0000Enter the default password: The Installation menu is displayed:.

Other manuals for HDT100

2

Other Motorola Tuner manuals

Motorola F2265A User manual

Motorola

Motorola F2265A User manual

Motorola HDT100 User manual

Motorola

Motorola HDT100 User manual

Motorola HDT100 User manual

Motorola

Motorola HDT100 User manual

Motorola HF-SSB T1961A Reference guide

Motorola

Motorola HF-SSB T1961A Reference guide

Motorola HDT101 User manual

Motorola

Motorola HDT101 User manual

Popular Tuner manuals by other brands

Flanger FMT-208 owner's manual

Flanger

Flanger FMT-208 owner's manual

Technika DAB329I User handbook

Technika

Technika DAB329I User handbook

Marantz 2020 Service manual

Marantz

Marantz 2020 Service manual

Opus One A 2696 user guide

Opus One

Opus One A 2696 user guide

HH Scott 310E Service bulletin

HH Scott

HH Scott 310E Service bulletin

Raceme Ultra manual

Raceme

Raceme Ultra manual

Dual CT 5750 manual

Dual

Dual CT 5750 manual

Cambridge Audio T Series owner's manual

Cambridge Audio

Cambridge Audio T Series owner's manual

Kenwood KTC-SRSOI instruction manual

Kenwood

Kenwood KTC-SRSOI instruction manual

Harman Kardon HA160-0004-A owner's manual

Harman Kardon

Harman Kardon HA160-0004-A owner's manual

Yamaha CT-610 owner's manual

Yamaha

Yamaha CT-610 owner's manual

Pioneer TX-6800 Service manual

Pioneer

Pioneer TX-6800 Service manual

SABINE AX2000 Contact AutoTuner operating guide

SABINE

SABINE AX2000 Contact AutoTuner operating guide

NAD C 427 Quick setup guide

NAD

NAD C 427 Quick setup guide

Arcam Alpha 7 Handbook

Arcam

Arcam Alpha 7 Handbook

Bang & Olufsen Beomaster 6500 Service manual

Bang & Olufsen

Bang & Olufsen Beomaster 6500 Service manual

Pioneer F-91 Service manual

Pioneer

Pioneer F-91 Service manual

Korg CA-2 owner's manual

Korg

Korg CA-2 owner's manual

manuals.online logo
manuals.online logoBrands
  • About & Mission
  • Contact us
  • Privacy Policy
  • Terms and Conditions

Copyright 2025 Manuals.Online. All Rights Reserved.