MOULDPRO Precision Balance MPB410 User manual

____________________________________________________________
User Guide
Precision Balance MPB410

Contents
1.0 INTRODUCTION .......................................................................................................4
2.0 TECHNICAL SPECIFICATIONS....................................................................................5
3.0 UNPACKING THE BALANCE........................................................................................6
4.0 LOCATING THE BALANCE...........................................................................................7
5.0 SETTING UP THE BALANCE .......................................................................................8
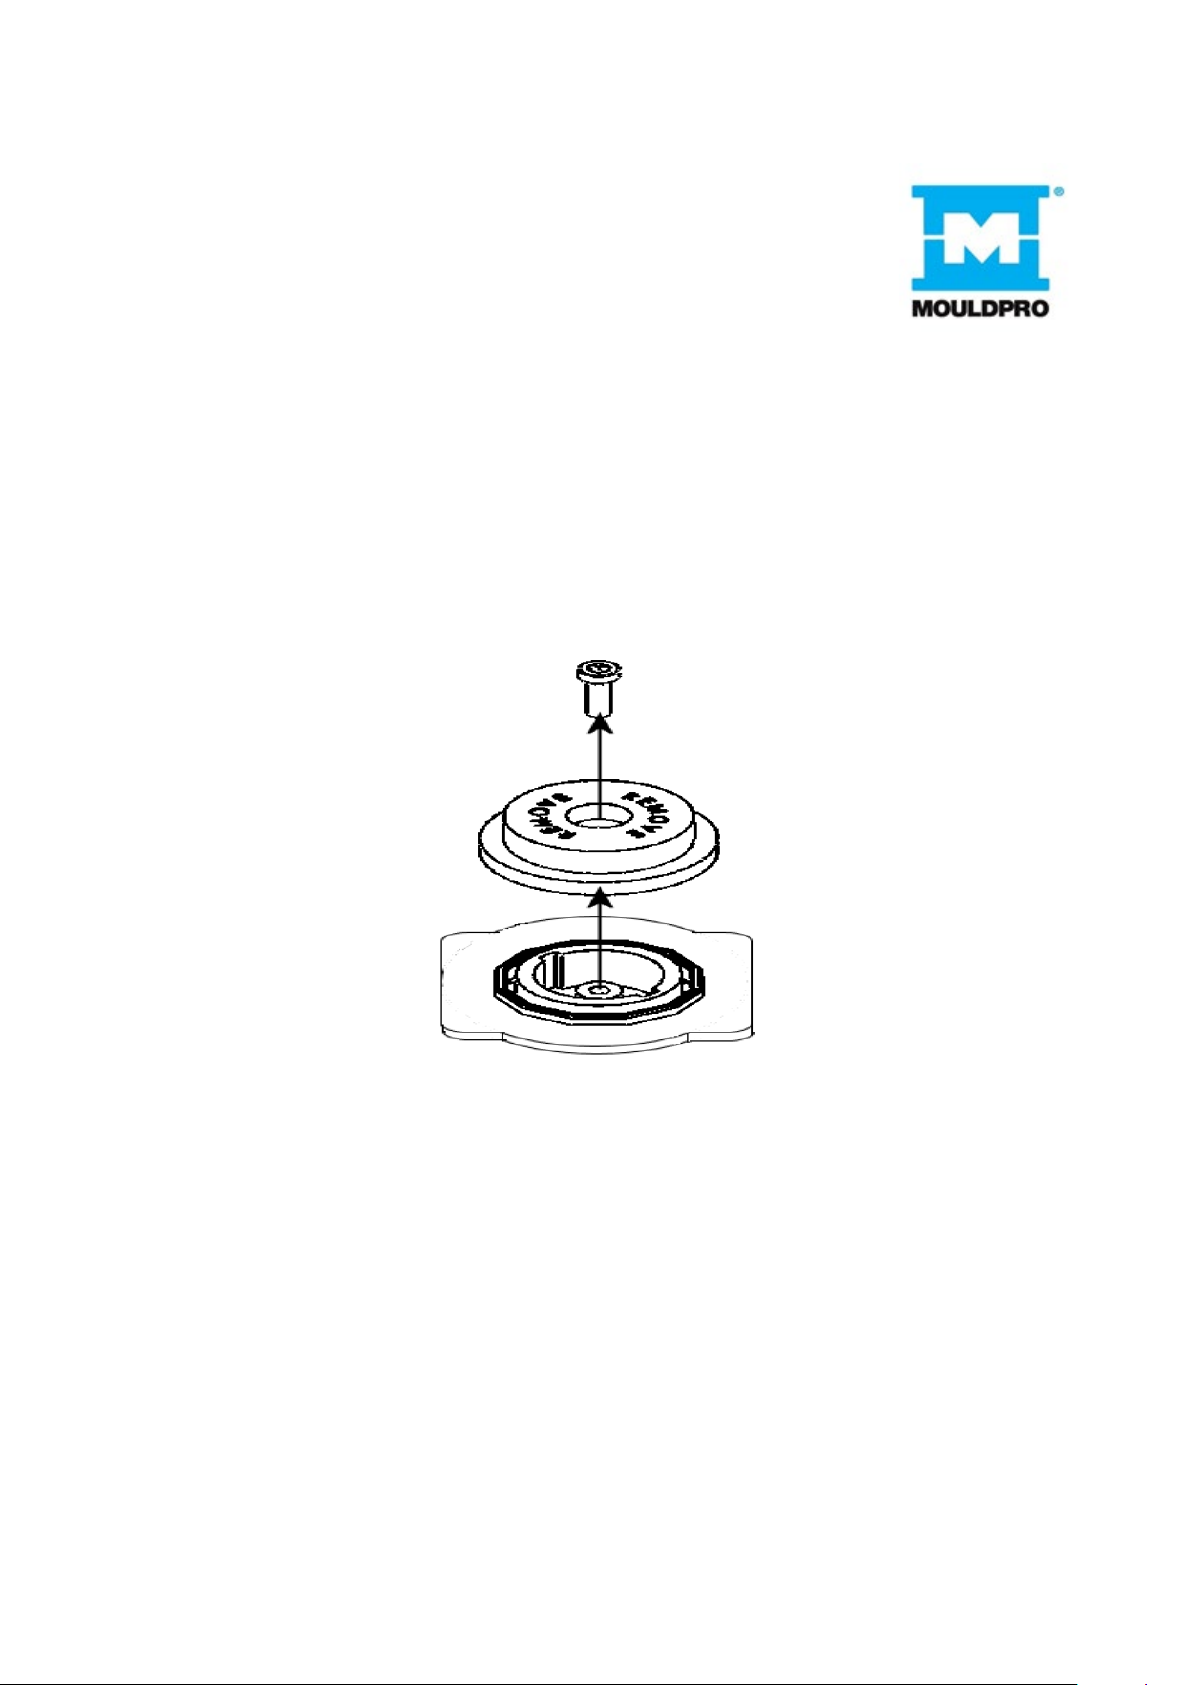
5.1 ASSEMBLING THE BALANCE......................................................................................8
5.2 LEVELLING THE BALANCE .........................................................................................9
5.3 WARM-UP TIME............................................................................................................9
6.0 DISPLAY......................................................................................................................10
7.0 KEYPAD ......................................................................................................................12
7.1 NUMERIC ENTRY METHOD ......................................................................................12
8.0 INPUT/OUTPUT ..........................................................................................................13
9.0 OPERATIONS .............................................................................................................14
9.1 INITIALISATION ..........................................................................................................14
9.2 PASSCODES ..............................................................................................................14
9.3 WEIGHING ..................................................................................................................15
9.3.1 Weighing Units..........................................................................................................15
9.4 FUNCTIONS................................................................................................................16
9.4.1 Parts Counting ..........................................................................................................16
9.4.2 Percent Weighing......................................................................................................17
9.4.3 Check Weighing........................................................................................................18
10.0 CALIBRATION...........................................................................................................20
11.0 RS-232 INTERFACE .................................................................................................21
12.0 ERROR CHECKING ..................................................................................................25
13.0 SUPERVISOR MENUS .............................................................................................26

13.1 ENABLE WEIGHING UNITS .....................................................................................26
13.2 ENABLE WEIGHING MODES ...................................................................................26
13.3 ENABLE SERIAL INTERFACE PARAMETERS ........................................................27
13.4 SETUP PARAMETERS .............................................................................................29
13.5 CALIBRATION SETUP ..............................................................................................30
13.6 PASSCODES ............................................................................................................31
13.6.1 Forgotten Passcodes..............................................................................................31
14.0 SAFETY AND MAINTENANCE .................................................................................32
15.0 TROUBLE-SHOOTING..............................................................................................32
16.0 BALANCE MENU STRUCTURE................................................................................36
Manufacturer’s Declaration of Conformity..........................................................................39

1.0 INTRODUCTION
Thank you for selecting the Precision Balance.
This Instruction Manual will familiarise you with the installation, troubleshooting, general
maintenance of the balance, etc. and will guide you through the various applications.
Please read this Manual thoroughly before starting the operation. If you need any
clarifications, feel free to contact your supplier.
PRODUCT OVERVIEW
This Precision Balance is ideal for laboratory and general purpose weighing.
FEATURES:
•Large easy to read LCD display with backlight
• Applications include weighing, parts counting, check weighing and percentage
weighing
• External calibration
•Bi-directional RS-232 interface
•Can be configured to print a GLP Compliant report after each calibration to include
the time, date, balance number and a verification of the calibration
• Automatic temperature compensation
•Display in 4 languages- English, French, German and Spanish
•Multiple weighing units
•Date and time
•Easy to use, sealed keypad
•Below balance weighing facility
•Password protection
•Security locking point
•Robust metal casing

2.0 TECHNICAL SPECIFICATIONS
MPB410
Maximum
capacity
410g
Readability
0.001g
Typical
Repeatability
0.002g
Linearity (±)
0.002g
Tare range
Full
Units of
measure
grams, milligrams, kilograms, carats, pennyweights, grains, troy
ounce, ounces
Interface
RS-232 bi-directional
Operating
temperature
10°C - 40°C
Power supply
12 VDC, 50/60 Hz, 800 mA
Calibration
External
(Selectable automatic calibration due to change in time or temperature)
Suggested
calibration
weight
200g
Display
Backlit LCD with dual digits (24 mm high)
Draught
shield
Standard for 0.001g units
Housing
Die cast aluminium housing
With glass draught shield
Pan size
125 mm x 145mm / 4.9” x 5.7”
Overall
dimensions
(w x d x h)
251 x 358 x 178
9.9”x 14.1” x 7”
with breeze shield fitted
Net weight
5.5 kg / 12 lb
Applications
Weighing, Parts counting, Percentage weighing, Check weighing

3.0 UNPACKING THE BALANCE
Remove the balance from the packing by carefully lifting it out of the box. Inside the box
you will find everything needed to start using the balance.
AC adapter
Plastic sub-pan
Stainless Steel Top Pan
Breeze / draught shield (For 0.001g models)
This User Manual

4.0 LOCATING THE BALANCE
•The balance should not be placed in a location that will reduce
the accuracy.
•Avoid extremes of temperature. Do not place in direct sunlight or
near air conditioning vents.
•Avoid unsuitable tables. The table or floor must be rigid and not
vibrate.
•Avoid unstable power sources. Do not use near large users of
electricity such as welding equipment or large motors.
•Do not place near vibrating machinery.
•Avoid high humidity that might cause condensation. Avoid direct
contact with water. Do not spray or immerse the balances in water.
•Avoid air movement such as from fans or opening doors. Do not
place near open windows or air-conditioning vents.
•Keep the balance clean. Do not stack material on the balances
when they are not in use.

5.0 SETTING UP THE BALANCE
5.1 ASSEMBLING THE BALANCE
•Locate the balance on a solid surface, free from vibration
•For the low capacity scales (0.001g) remove the shipping protection screw and transit
disc from the top of the balance and place the plastic top pan support on the balance. Do
not use excessive force when removing and installing the screw.
•Gently place the plastic pan support into the receptacle and secure with the supplied
screw. Do not over-tighten the screw. It should be finger tight only. Put the Stainless steel
pan on top of the pan support
•NOTE: The plastic pan support can be fitted in 2 orientations, place it in the orientation
that has the smallest gap between the front edge and the display.
•Place the draught shield frame and the top cover around the pan (for 0.001g models
only).
•Level the balance using the adjustable feet and spirit level.
•Connect power to the balance.

•For best performance, let the balance warm up for 15 minutes and calibrate before
using.
5.2 LEVELLING THE BALANCE
After placing the balance in a suitable place,
level it by using the spirit level on the rear of the
balance. To level the balance turn the two
adjustable feet at the rear of the balance until
the bubble in the spirit level is centered.
5.3 WARM-UP TIME
Attach the power supply cable to the connector
on the rear of the balance. Plug the power
supply module into the mains. The display will
indicate the balance serial number (if set) and
the software revision number followed by the
capacity of the balance.
Next the balance will run a self-test by
displaying all segments and then will show
zeroes accompanied by the zero symbol. If the
balance serial number is not set, the display will
show dashes.
Before you start weighing, you have to wait for the balance to achieve a stable internal
temperature. Typical initial warm-up time suggested for a balance already at room
temperature is about 15 minutes.

A stable sign ~ is shown when the balance is instable
condition. It will turn off if the balance is not stable.
Exact zero is shown when the “0“ symbol is on to
the left of the display area.
6.0 DISPLAY
The LCD has several areas-
- A large 7 digit area to display the weight with symbols for
common weighing units on its right and symbols for zero, tare (Net) and stability on
the left.
- A 10 digit area which allows a large amount of flexibility for displaying text
messages concerning menus, operation and
errors, for example to display the current weighing mode or to guide the user
through processes such as density determination.

SYMBOLS AND INDICATORS
The LCD has unique symbols to indicate the following:
0
Zero
Stable
g, oz, ozt, GN, dwt,
ct, Kg, mg, Pcs, %
Text is shown for the weighing units
and modes
“
CAL
”
When calibration is occurring or about
to occur
“
ºC
”
When a temperature is shown or a
calibration is requested due to change
in temperature
“
ti
”
For a time driven calibration
“
Net
”
When a net weight is shown

7.0 KEYPAD
The keypad has the following keys to operate the balance.
7.1 NUMERIC ENTRY METHOD
To set a value when required, use the keys as given below:
- [Up] and [Down] keys to increase or decrease the flashing digit,
- [Advance] and [Back] keys to advance or move back the digit and
- [Enter] key to accept the value
Keys
Primary function
Secondary function
To turn the balance to ON or
Standby
-
[
0/T
] or
[Esc]
A combined zero and
tare function
To escape from setup
functions and modes
[Unit] / or
[Down]
Selects weighing units
by cycling through a set
of enabled units
To decrement or change a
displayed value or scroll
through options backwards
[Mode] / or
[Advance]
Enters the Modes
To advance a flashing digit
by one position to the right.
To go back by one step
during setup functions
[Print] /
or
[Back]
Instructs the balance to
print data
To advance a flashing digit
by one position to the left
[Cal] / or
[Up]
Starts the calibration function
To increase or change a
displayed value or scroll
through options forward
[Setup]/
or [Enter]
Enters the Setup parameters
(Supervisor Menus)
Enters a function or saves
a value during setting up
such as entering unit
weight or check weighing
limits manually

8.0 INPUT/OUTPUT
The rear panel has connectors for RS-232 serial and a power input socket.
Required power input is a low-voltage external supply, 12VDC @ 800mA.

9.0 OPERATIONS
9.1 INITIALISATION
When the balance is first switched on, it
will display the balance serial number (if
set), software revision, model capacity
and then all segments on the display will
be shown. Overall the time taken is
usually 5 -10 seconds.
If an operator passcode has been set, the display will show “PASSCODE” and the main
display will show a zero. In this case you must enter the passcode to continue using the
numeric entry method (see section 7.1). A different passcode may be set for a Supervisor
to weigh or to have access to the selected User menus. If the passcode has not been set
the balance will continue as below.
The display will show zero reading along
with the zero symbol “0“ and the
weighing unit last used. If automatic time
calibration is enabled the balance will
calibrate 15 minutes after power up or
again after the pre-set time interval.
9.2 PASSCODES
If a passcode has been set to limit access to the weighing functions of the balance the
display will show “PASSCODES” with the main digit set to zero. Use the numeric entry
method (see section 7.1) to enter the code. The display will change to show 7 digits set to
zero with the rightmost digit flashing. Make sure to enter the correct passcode to continue.
See the Section 13.6 for details.

9.3 WEIGHING
•Press [Tare] to zero the balance, if required “0“ will be displayed
•Place a mass on the pan and the weight will be displayed
•If a container is used press [Tare] to tare the balance when the stable symbol “~” is on.
“Net” will be displayed to indicate that the balance is tared.
•When the display shows zero, place the item to be weighed. Only the net weight will be
displayed
•At any time the [Units] key can be pressed to select another unit. Use the [Up] or
[Down] key to scroll through the units and select the desired unit by pressing [Enter], the
display will change to show the weight in the selected weighing unit. The available
weighing units can be enabled or disabled by the user (see section 13.1). Only weighing
units that have been enabled will be cycled through when [Units] is pressed.
9.3.1 Weighing Units
You can select alternative weighing units to display the weight by pressing the [Units] key.
The available weighing units are:
Unit
Symbol Models
Conversion Factor
1g =
Conversion Factor
1 unit = grams
1
Grams
g
All
1
1.0
2
Milligrams
mg
not 0.01g units
1000
0.001
3
Kilograms
kg All 0.001 1000
4
Carats
ct
All
5
0.2000
5
Pennyweights
dwt All 0.643014865 1.555174
6
Grains
GN
All
15.43236
0.0647989
7
Troy ounces
ozt All 0.032150747 31.103476
8
Ounces
oz
All
0.035273962
28.349523
It is possible to set the balance to display only grams. Grams will always be one of the
units enabled, by default.

9.4 FUNCTIONS
When weighing, the user can access the applications that have been enabled
(see section 13.2).
The following applications are available in this version (2.43 & above):
•Parts counting
•Percent weighing
•Check Weighing
The functions can be enabled or disabled using a similar method to the Units above by
turning the functions to on or off.
9.4.1 Parts Counting
This allows the user to weigh a sample of parts to compute an average unit weight and
then determine the number of items being weighed by dividing the net weight by the unit
weight value. The result is always a whole number. The balance will have a preset number
of parts to be used as a sample. These values are 10, 25, 50 or 100 items.
Steps:
•Press [Mode] to show parts counting, “PARTS” will be displayed
•Enter parts counting by pressing [Enter]
•Press the [Up] or [Down] key to select the sample size, “REF QTY”, 10, 25, 50, 100,
etc., then press [Enter] to confirm
· When “LOAD XX Pcs” is shown place XX number of items on the pan and press [Enter]
to compute the average piece weight. Display will indicate the total weight in the last
selected unit and then show “XX Pcs” sounding a beep. A message “PARTS” will be
prompted on the top of the display to indicate that the balance is in the parts counting
mode
· Remove the sample and display will show “0 Pcs”.
· Place an unknown quantity on the pan. The balance will then compute the number of
parts based on the average piece weight. The display will show the result in Pcs.

•To count another item press [Mode] and continue as before
•Checks will be made to determine that the weight of the reference parts is large enough
for reasonably accurate counting (weight of each piece should be > 1d)
•To return to normal weighing, press [Esc]
9.4.2 Percent Weighing
Percent weighing will be done by defining a certain weight to be 100%. The weight to be
used can either be entered by the user or taken from a sample
•Press [Mode] and then the [Up] or [Down] key to select Percent weighing, “PERCENT”
will be displayed
•Press [Enter] to enter the function
•Display will show, “PERCENT SAMPLE”
•Press [Enter] to select the sample method or skip to manually enter the sample weight
as given below
•When “LOAD 100 %“ is shown, add the sample
•Press [Enter] to set this weight to be 100%. The display will show “REF WT” and the
sample weight in the last selected unit. After a while “100%” will be displayed. A message
“PERCENT” will be prompted on the top of the display to indicate that the balance is in the
percent weighing mode
•Remove the sample and “PERCENT 0.00%” will be displayed
•Place an unknown sample to display the percentage weight
•To set another weight as 100%, press [Mode] and continue as before
•To manually enter a value to be set as 100%, press [Up] or [Down] key when
“PERCENT SAMPLE” is shown to select “PERCENT Ent Wt”
•Press [Enter]. Display will show the value in the unit, last used in the weighing mode

•Enter the weight using the numeric entry method (see section 7.1).
•Place unknown sample to display the percentage weight
•To perform percent weighing with another sample press [Mode] and continue as before
•To return to normal weighing, press [Esc]
Note: Percentage will be displayed to the maximum number of decimal places based on
the resolution of the balance. To increase or decrease by one decimal place, press the
[Up] or [Down] key respectively.
9.4.3 Check Weighing
During weighing of a sample the balance can be set to show if the weight is
above or below an upper and a lower limit. The display will indicate when the
weight is below the lower limit, between the limits or above the upper limit.
The buzzer can be set to be active when the weight is outside the limits (below the lower
or above the upper) or within the limits (above the lower and below the upper limit), or
turned off. If desired, only one limit needs to be set. If only one limit is set the other limit is
considered to be zero (lower) or the maximum (upper).
The Check weighing is not active when the weight is less than 20d. This is the minimum
weight at which the indicator bars are displayed and the buzzer sounds, if it is not set to
OFF (see the next page).
Steps:
•Press [Mode] and then the [Up]or [Down] key to select Check Weighing. When
“CHECK” is displayed press the [Enter] key to enter Check Weighing mode
•Press [Up] or [Down] to set the “LOW LIMIT” to “On” or “OFF”

•Press [Enter] to proceed. If the “LOW LIMIT” was set to “On” the display will show the
current low limit in the unit last used in the weighing mode. You may change the limit using
the numeric entry method (see section 7.1).
•Press [Enter] to proceed
•If the “LOW LIMIT” was set to “OFF” or the setting of the low limit is complete, then the
display will change to “HIGH LIMIT”. Use [Up] and [Down] to set the “HIGH LIMIT” to “On”
or “OFF”
•Press [Enter] to proceed
•If the “HIGH LIMIT” was set to “On”, the display will show the current high limit in the last
selected unit which can be changed in the same way as in case of “LOW LIMIT”
•Press [Enter] to proceed
•Next the beeper setting is displayed. Press [Up] or [Down] to scroll through the options-
“BUZZER OFF” (Beeper set to off at all times)
“BUZZER In” (Beeper will sound when the weight on the pan is
stable and within the limit)
“BUZZER Out” (Beeper will sound when the weight on the pan is
stable and outside the set limits)
•Confirm the beeper setting by pressing [Enter]
•When a weight is placed on the pan now, the display will indicate whether the weight is
below the LOW LIMIT between the LOW and HIGH LIMITS or higher than the HIGH
LIMIT.
•To perform check weighing with another sample press [Mode] and continue as before
•To return to normal weighing, press [Enter]

10.0 CALIBRATION
The balances are calibrated using an external mass.
•Press the [Cal] key to start calibration.
•Pressing [Esc] will abort the calibration at any time
•Press the [Cal] key
•The display will show the balance setting a new Zero condition by showing “LOAD 0”.
Make sure the pan is empty then press the [Enter] key to continue
•The display will show the busy symbol and then will ask for the value of the calibration
mass to be entered sounding a beep and displaying the default calibration mass. For
example, for the 410g model the display will be “CAL MASS 200,000 g” where 200g is the
default calibration mass. Using the numeric entry method, the user may alter the displayed
value to any value ranging from one-third to full capacity of the balance. For example,
“CAL MASS 300,000 g”. Press [Enter] to continue
•The balance will then show the value of the calibration mass selected sounding a beep,
i.e., “LOAD 300,000 g”
•Place the selected mass on the balance. Press [Enter] to continue
•The display will show the busy symbol and after calibration is complete it will display
“UNLOAD” sounding a beep. Remove the weight. Another beep will be heard confirming
the unloading action. The balance will then return to normal weighing.
The balance will have the ability to ask for calibration when the following conditions occur.
This feature can be enabled or disabled by the user (see section 13.5). The conditions are:
1. Internal temperature change greater than a preset amount, typically 2ºC.
2. Time since last calibration exceeds a preset time, typically 4 hours or 15 minutes after
power is applied.
Table of contents