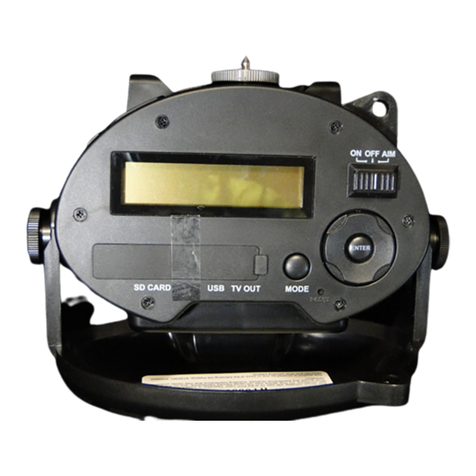
OFF / IR AIM / ON
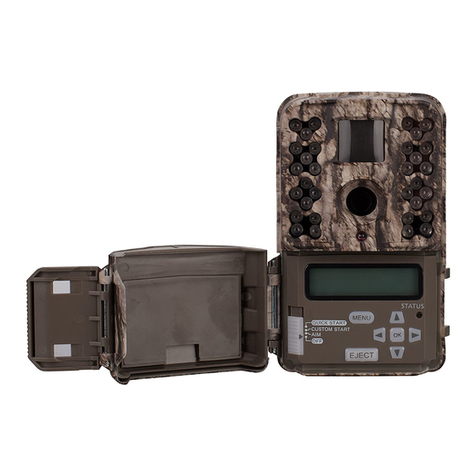
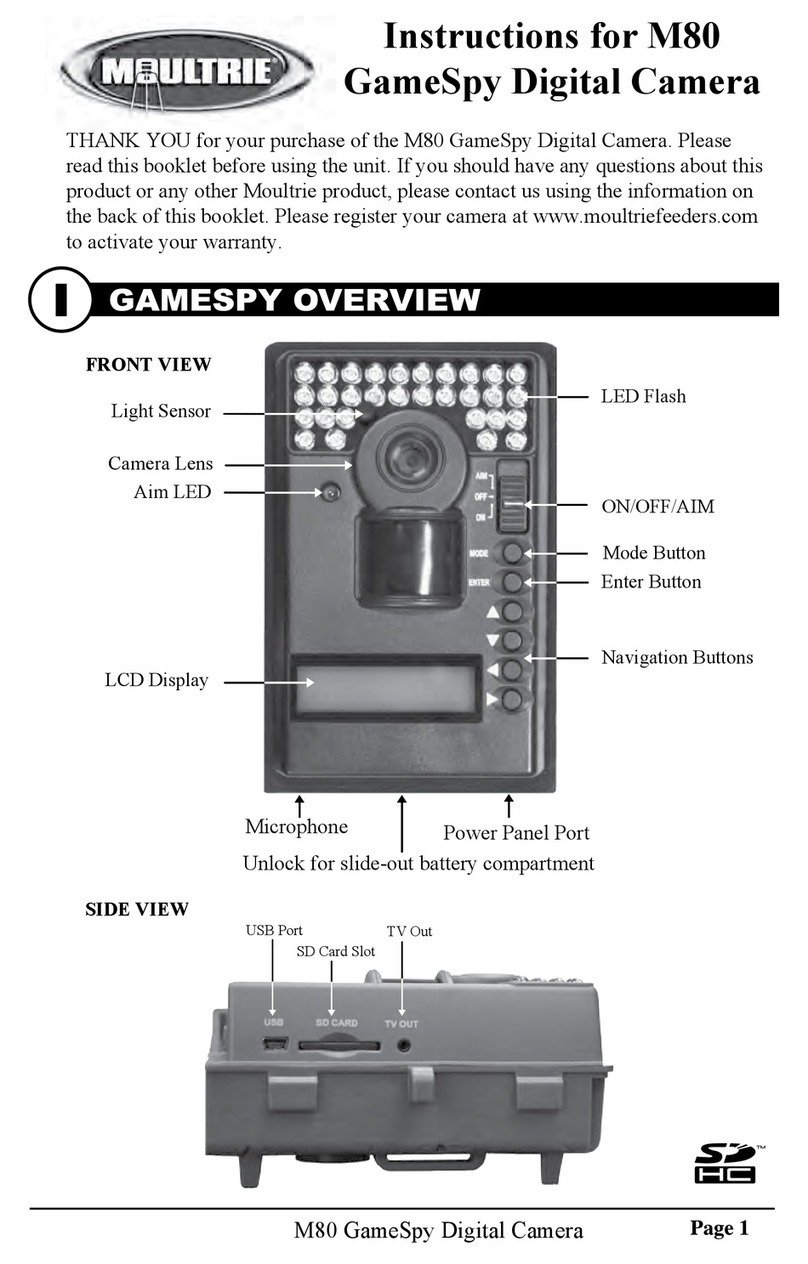
IR Aim - When IR Aim is ON and the PIR Motion Sensor detects motion, the Status Indicator’s red LED
on the front of the camera will come on and remain lit as long as motion is detected.
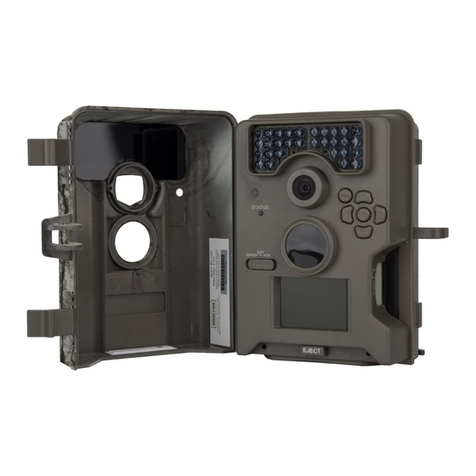
MENU BUTTON
The Menu Button selects Camera Setup or Main Screen. When camera mode is selected, the LEFT and
RIGHT buttons navigate through the menu options. The Menu Button is also used to wake-up the
camera and turn on the display when the camera is in power saving (or sleep) mode.
OK, UP/DOWN and LEFT/RIGHT BUTTONS
The OK button selects the item to be changed. The UP/DOWN and LEFT/RIGHT buttons are used
to step through and modify the menu options. Pressing the OK button again, selects the option
indicated on the display. The OK button is also used to manually take a picture.
BATTERY COMPARTMENT
The camera is powered by eight (8) AA alkaline or lithium batteries. Push the battery compartment
release button to eject the battery tray. Install batteries as indicated on the engravings on the battery
tray, taking care to note the correct polarity.
See Important Battery Information section on the back page of this manual.
SD CARD SLOT
Accepts up to a 32GB SD Card for photo and video storage.
NOTE: An SD Card must be installed for the camera to operate (sold separately).
USB PORT
Download still pictures and video onto your computer by connecting a micro-B to USB cable
(not included) to the USB port.
EXTERNAL POWER PORT
Accepts the Moultrie PowerPanel, Moultrie AC Adapter or Moultrie Battery Box accessories
(sold separately) only. Refer to www.moultriefeeders.com for more information.
NOTE: The use of any other power source will void your warranty and possibly harm your camera.
CAMERA OVERVIEW (cont.)
I
Page 4 M-550 Digital Game Camera Page 17
M-550 Digital Game Camera
VIEWING TIME LAPSE (cont.)
VIII
To turn photo sequences into Time Lapse Video
Reasons you may want to create a video with your images:
• Makes it easier to e-mail your image sequences.
• Allows you to select the range of images you want included, to eliminate uninteresting images.
• Allows you to store the images as a video rather than a large number of images.
1. Download time lapse images to Time Lapse Software.
(see section on downloading images).
2. Click on File. You will see the screen image to the right.
3. Choose a starting image (frame) and an ending
image (frame). Note: The frame limit is 300.
4. Choose the frame rate. Options include 1, 5, 10, 20,
and 30 frames per second (fps).
Note: The frame rate says how many images of a video are displayed every second a video is
played. The higher frame rate a video has the smoother movement appears in the video. However,
a higher frame rate video will create a larger le and will require more memory.
5. Choose the video resolution:
Note: The higher the resolution, the sharper the image. However, higher resolutions create
a larger file and will require more memory. VGA (640x480) / 720p / 1080p
6. Choose frame filter: None, Low, Medium, or High.
7. Click on Save the Video As. Name the video and choose the location file folder you wish
to save it in.
8. Click Start Video Export. The program will start to convert the images to video based on the
settings chosen above. The green bars will advance until the conversion is complete.
Note: Click on Cancel to abort the transfer.
To View Time Lapse Video
1. Find the video in the folder
you saved it into.
2. Click on the video.
3. The video will be open up
automatically in QuickTime
player. To install a free version
of QuickTime, follow the on screen
instructions at www.apple.com/quicktime/download.
4. Press play to view your time lapse video.
