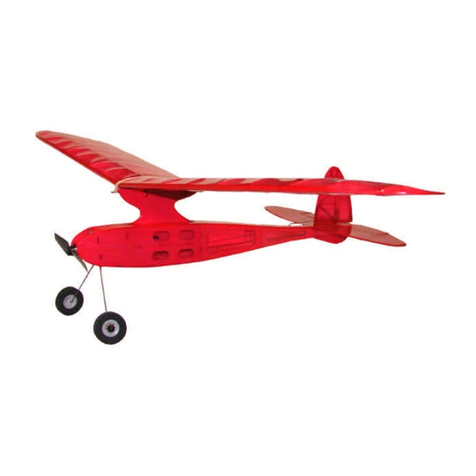
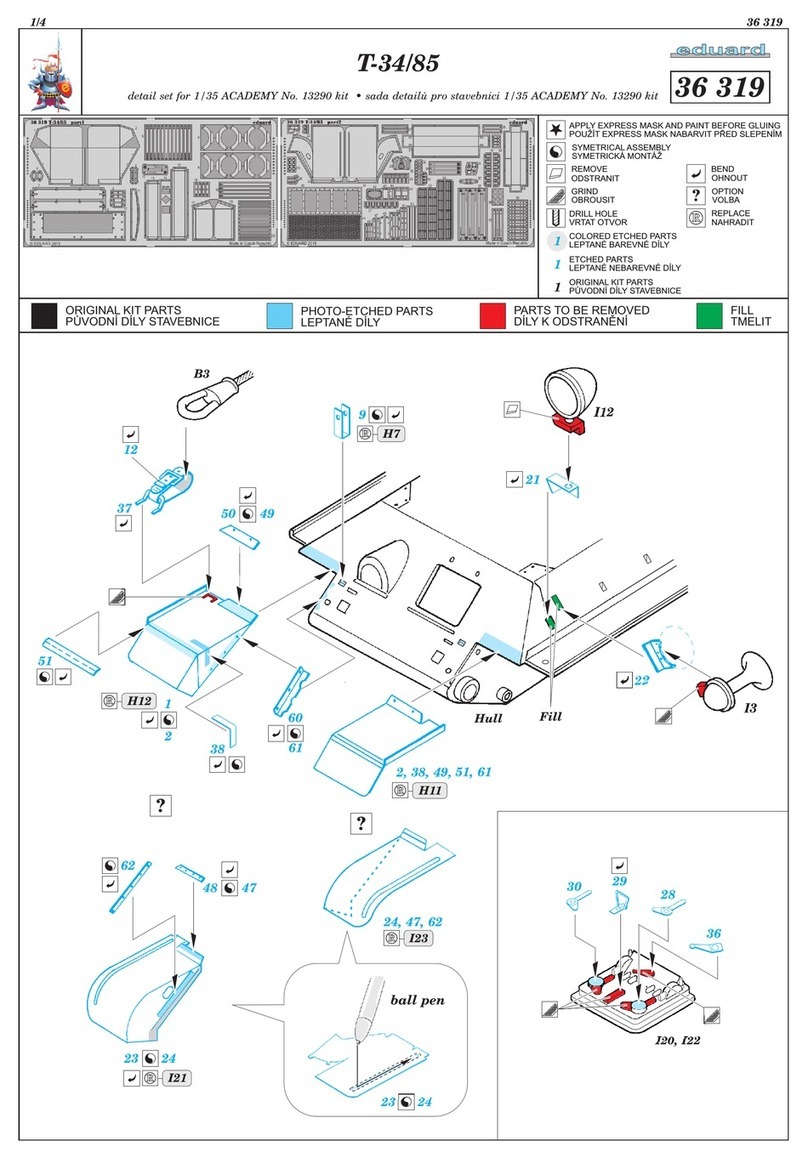
Mountain Models J-3 Cub User manual


Table of contents
Other Mountain Models Toy manuals
Mountain Models
Mountain Models DL50 DISCUS LAUNCH GLIDER User manual
Mountain Models
Mountain Models PeregrinE Micro User manual
Mountain Models
Mountain Models Fighter 22 User manual
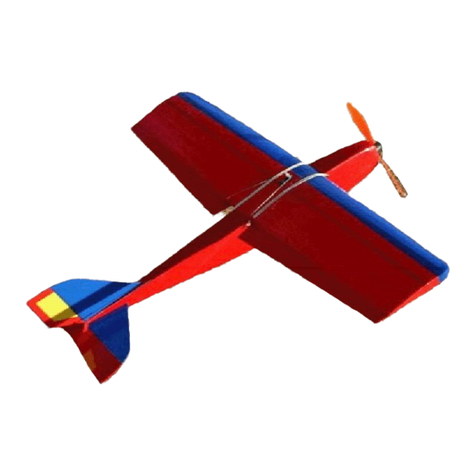
Mountain Models
Mountain Models Smooth E User manual
Mountain Models
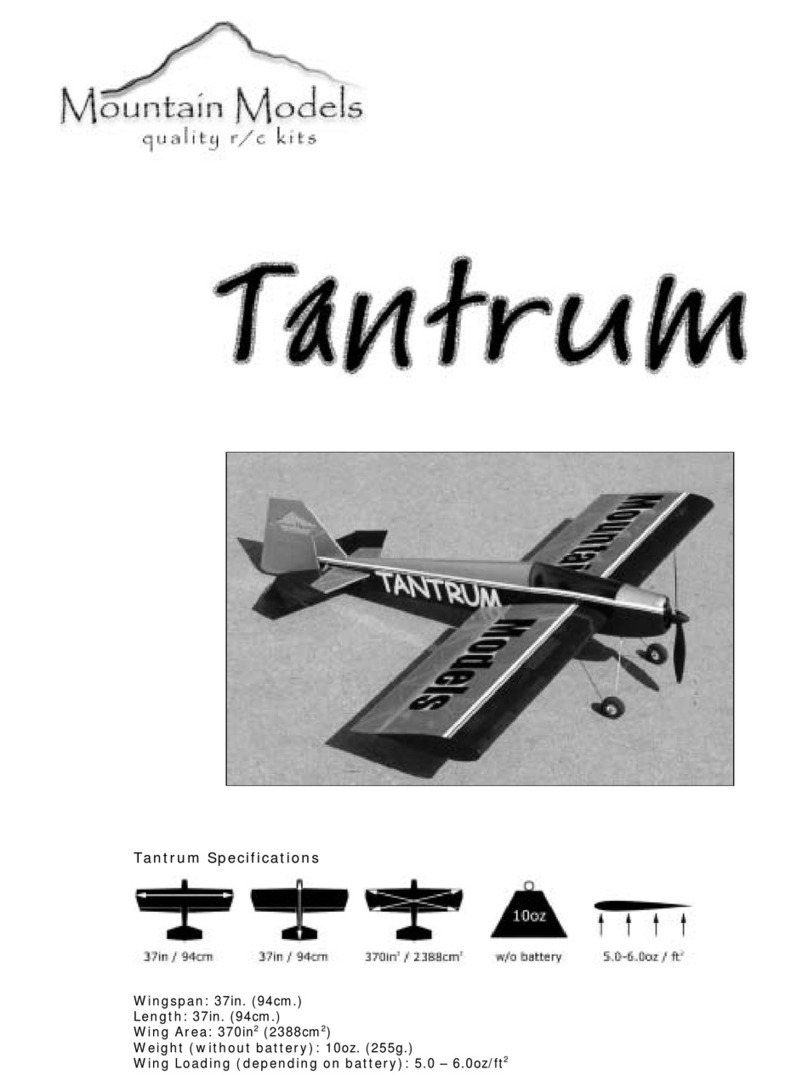
Mountain Models Tantrum User manual
Mountain Models
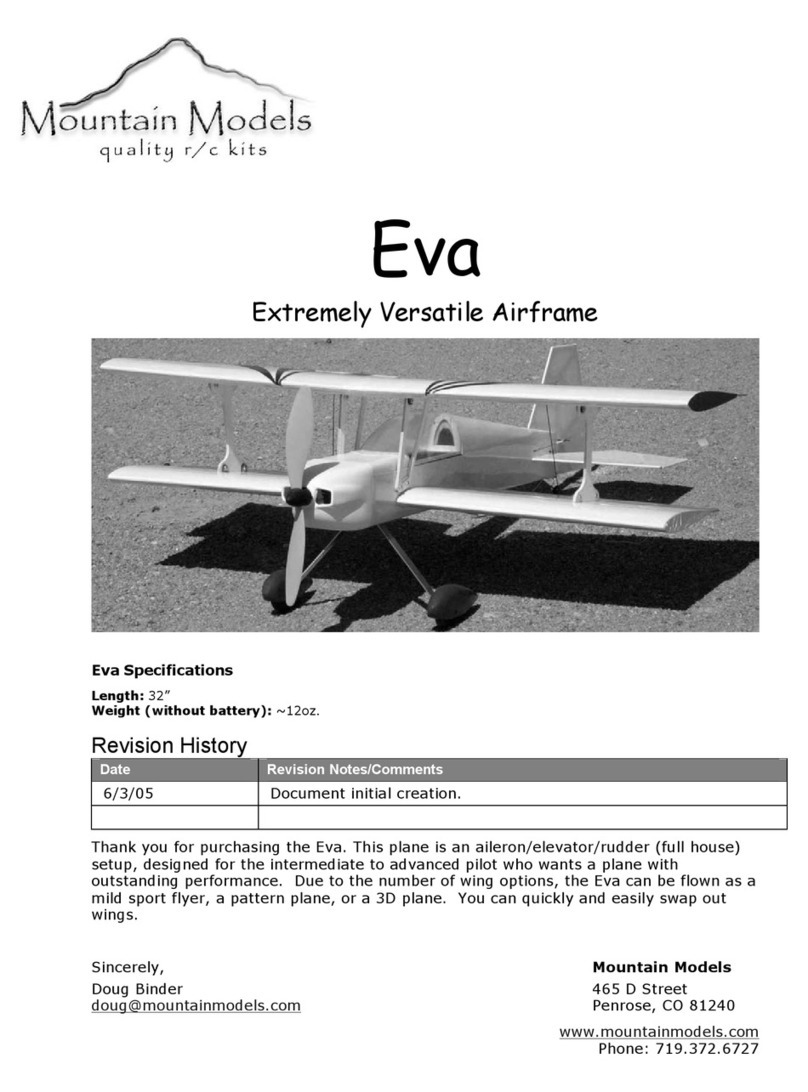
Mountain Models Eva User manual
Mountain Models
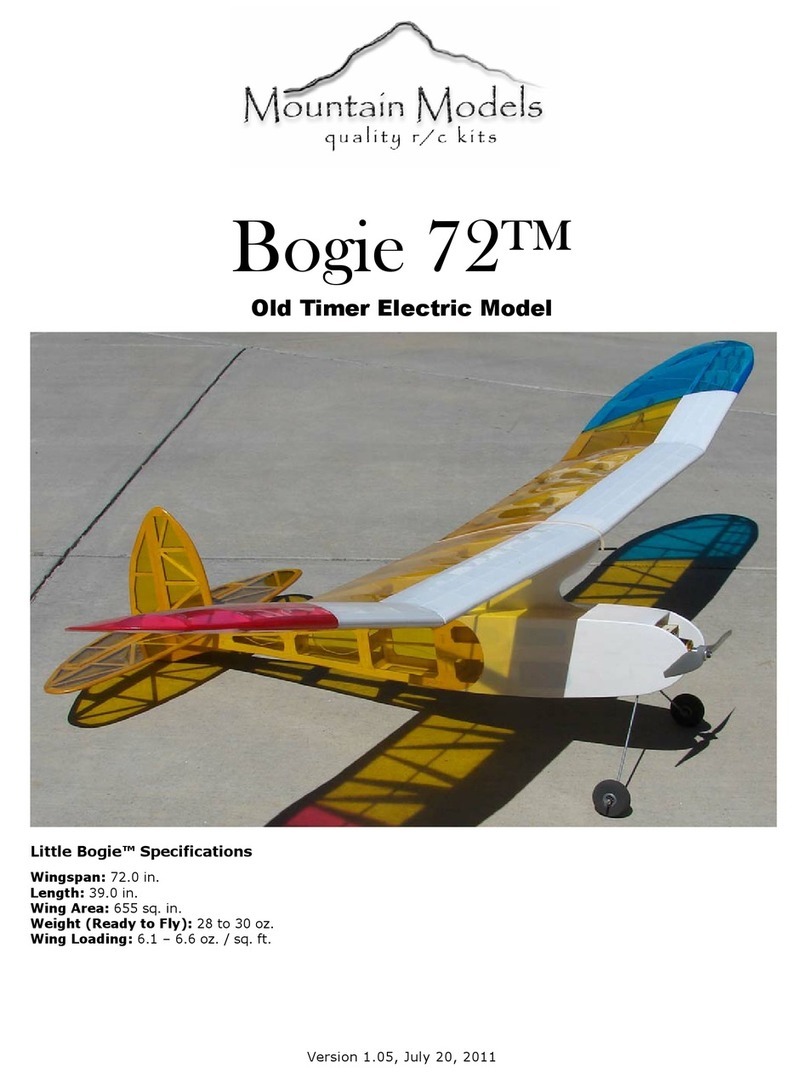
Mountain Models Bogie 72 User manual
Mountain Models
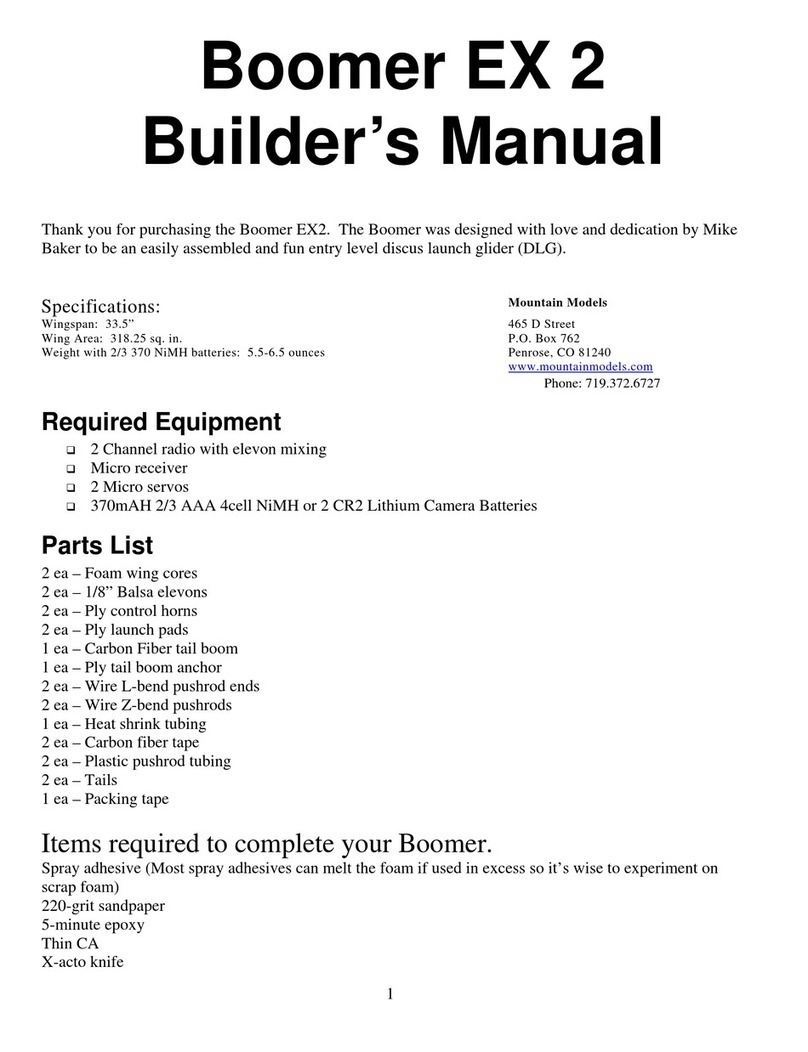
Mountain Models Boomer EX 2 User manual

Mountain Models
Mountain Models Switchback Sport User manual

Mountain Models
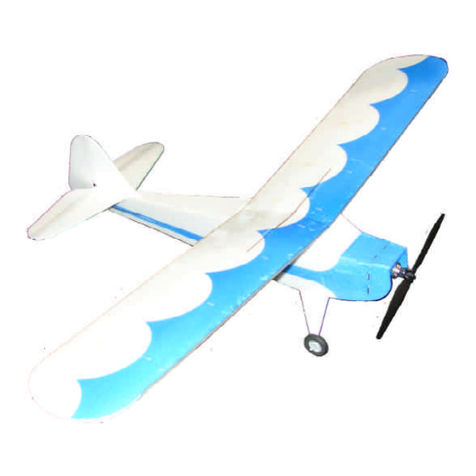
Mountain Models EZ CUB User manual
Mountain Models
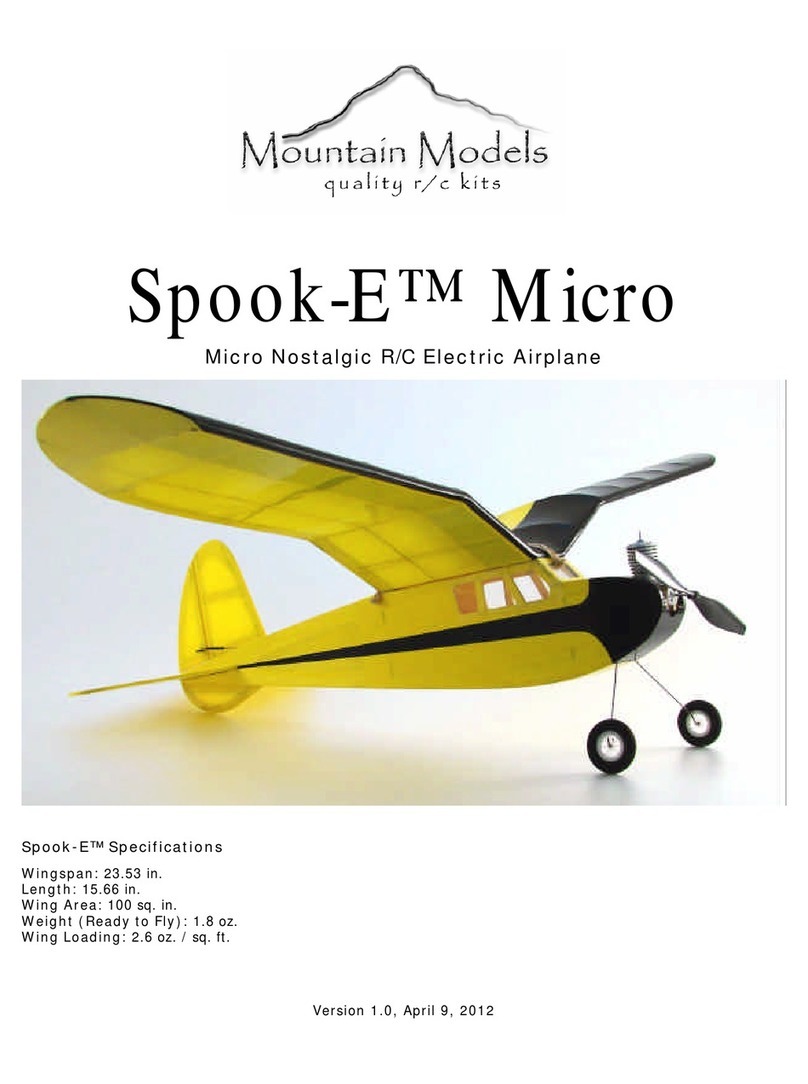
Mountain Models Spook-E Micro User manual
Mountain Models
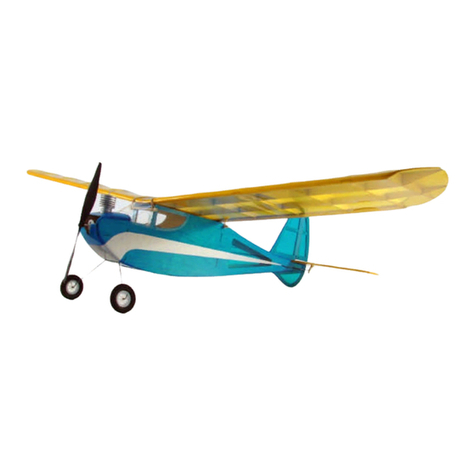
Mountain Models Taylorcraft User manual
Mountain Models
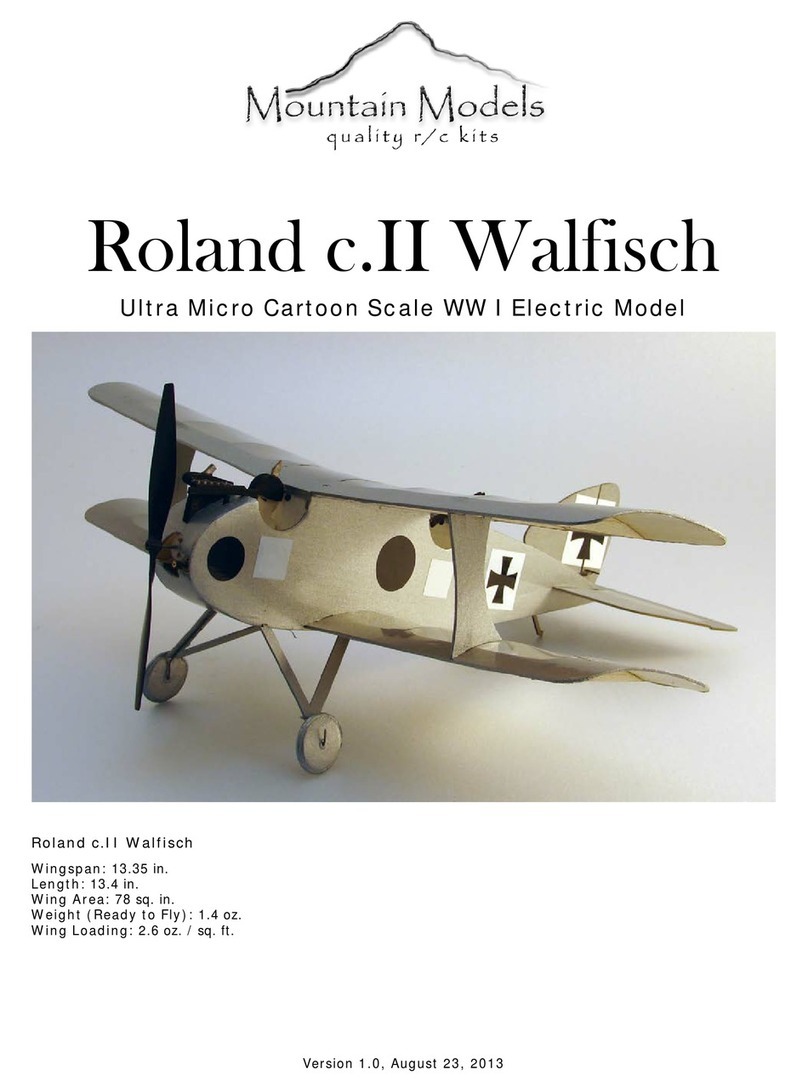
Mountain Models Tom-E-Boy Micro User manual
Mountain Models
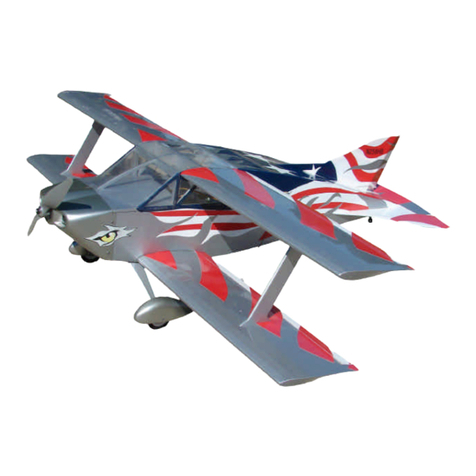
Mountain Models Roland c.II Walfisch User manual
Mountain Models
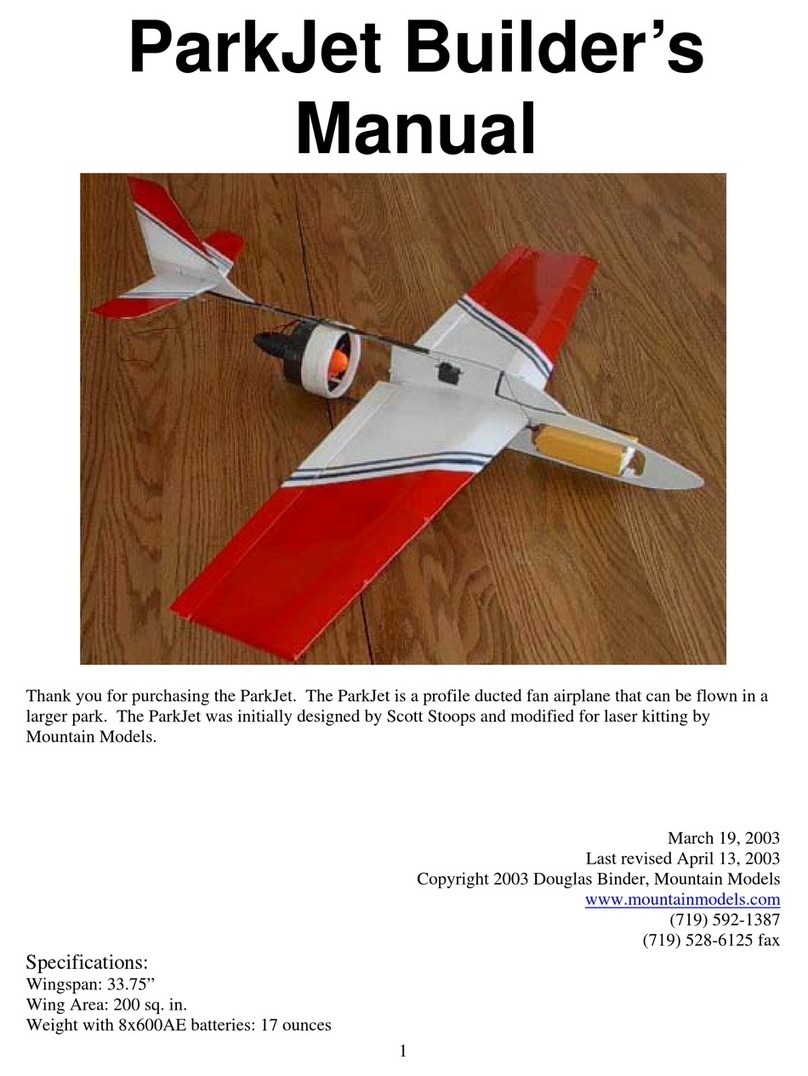
Mountain Models HiperBipe User manual
Mountain Models
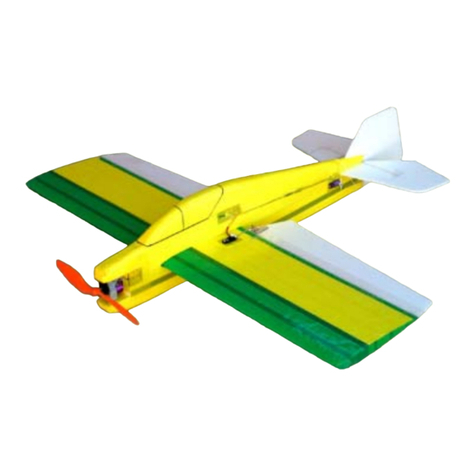
Mountain Models ParkJet Manual
Mountain Models
Mountain Models Panic User manual

Mountain Models
Mountain Models Tom-E-Boy 150 User manual
Mountain Models
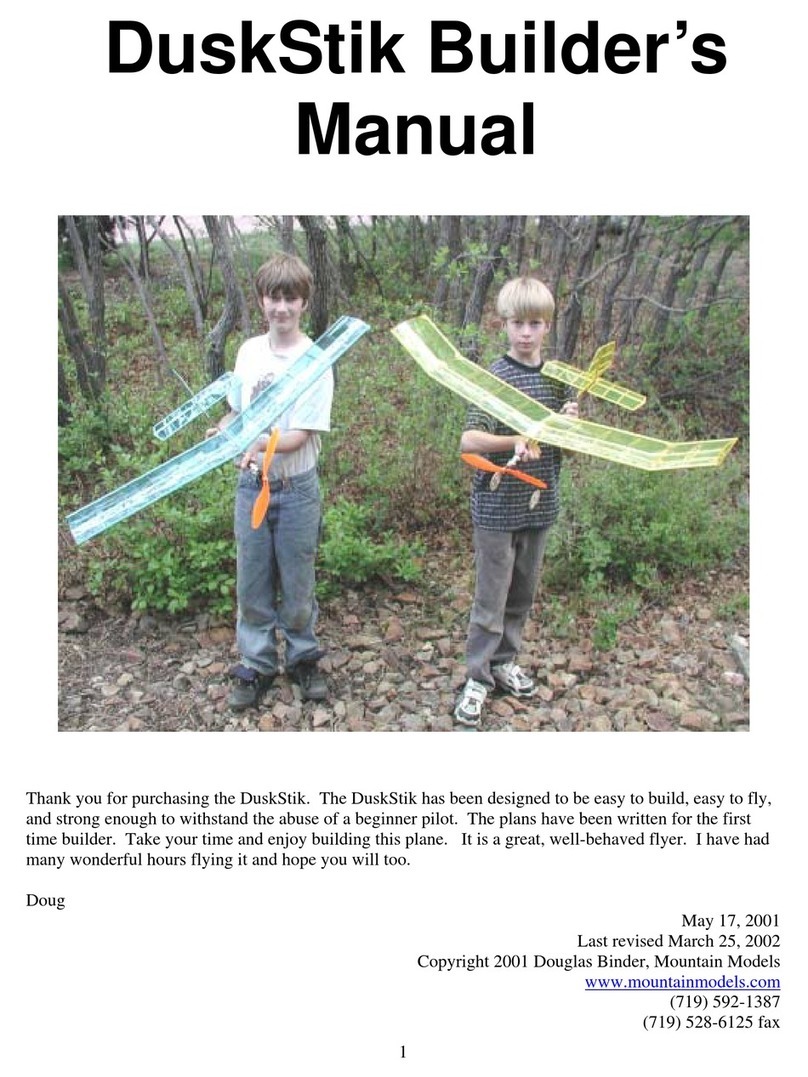
Mountain Models DuskStik User manual
Mountain Models
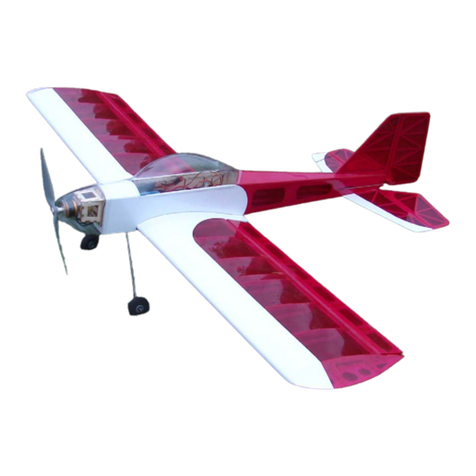
Mountain Models SwitchBack Senior User manual
Popular Toy manuals by other brands

DHK Hobby
DHK Hobby 8136 User instruction manual
Walkera
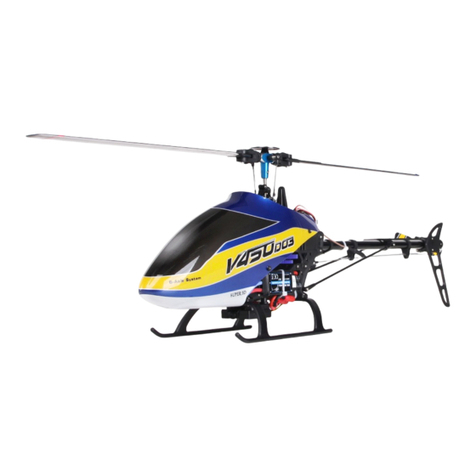
Walkera V450D03 User handbook
Dancing Wings Hobby
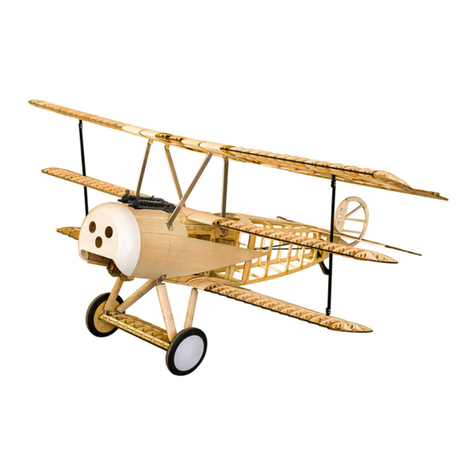
Dancing Wings Hobby S18 Fokker-DRI instruction manual
Bowser
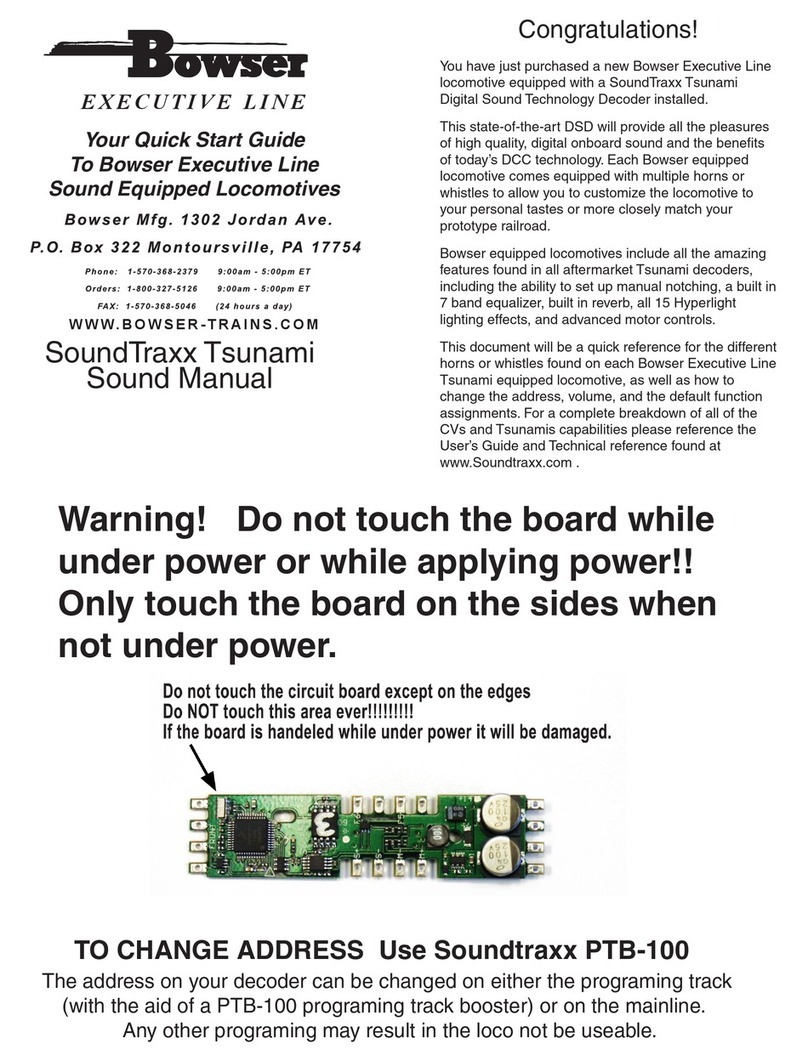
Bowser SoundTraxx Tsunami quick start guide

Rail King
Rail King NYC Dreyfuss 4-6-4 operating instructions
E-FLITE
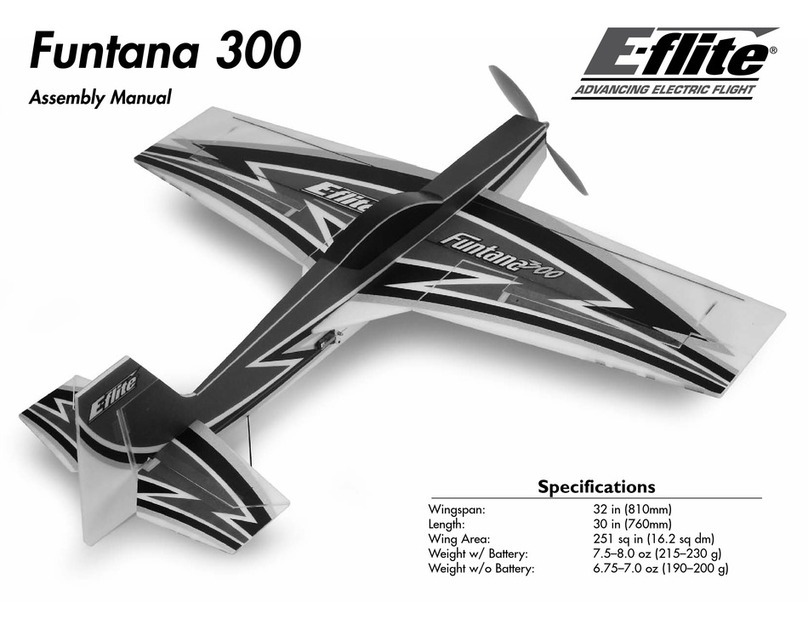
E-FLITE Funtana 300 AR Assembly manual

