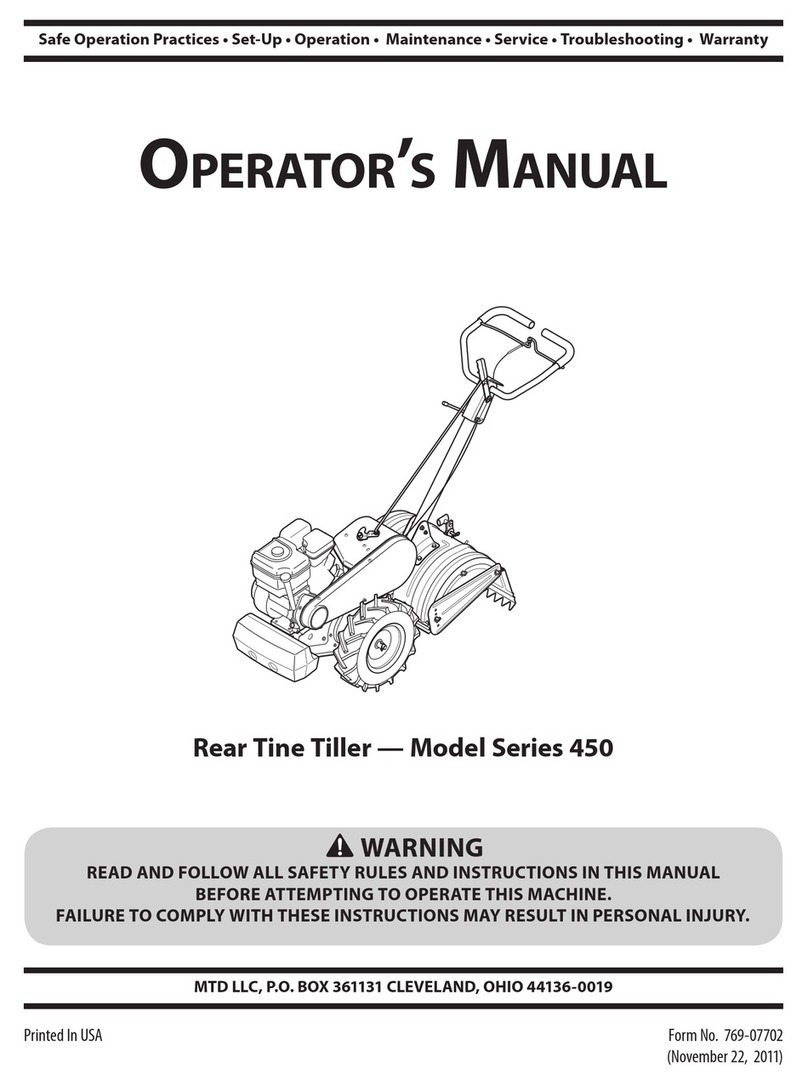
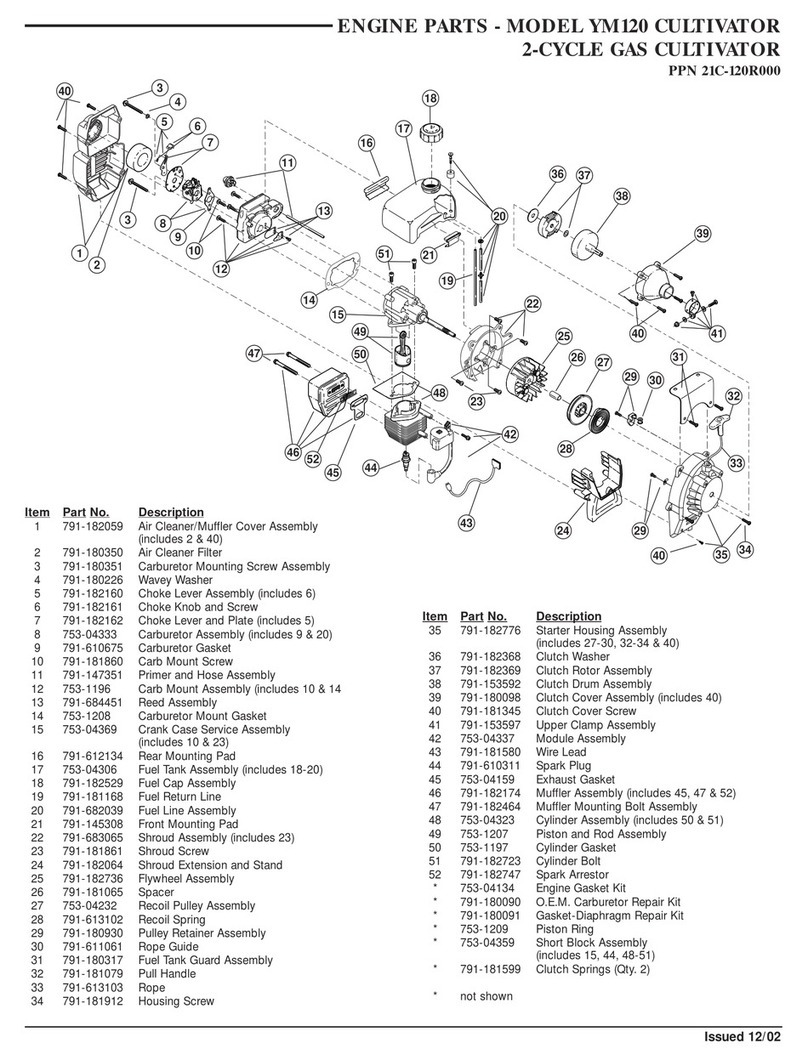
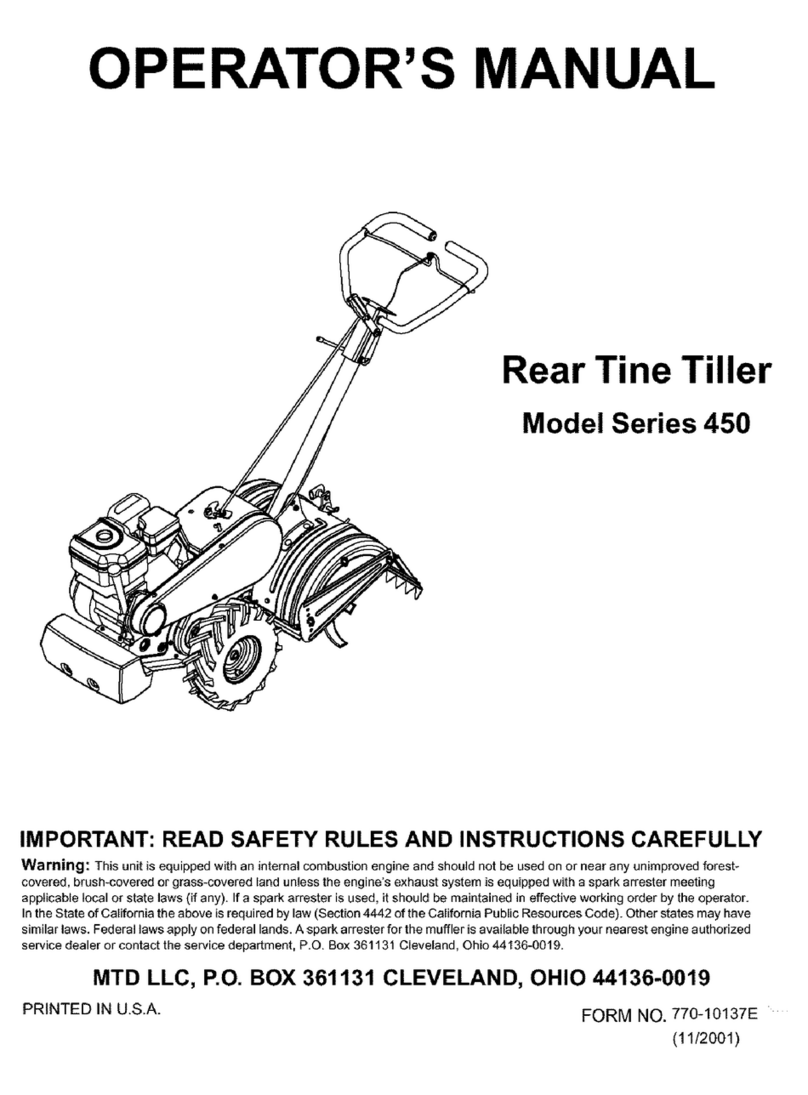
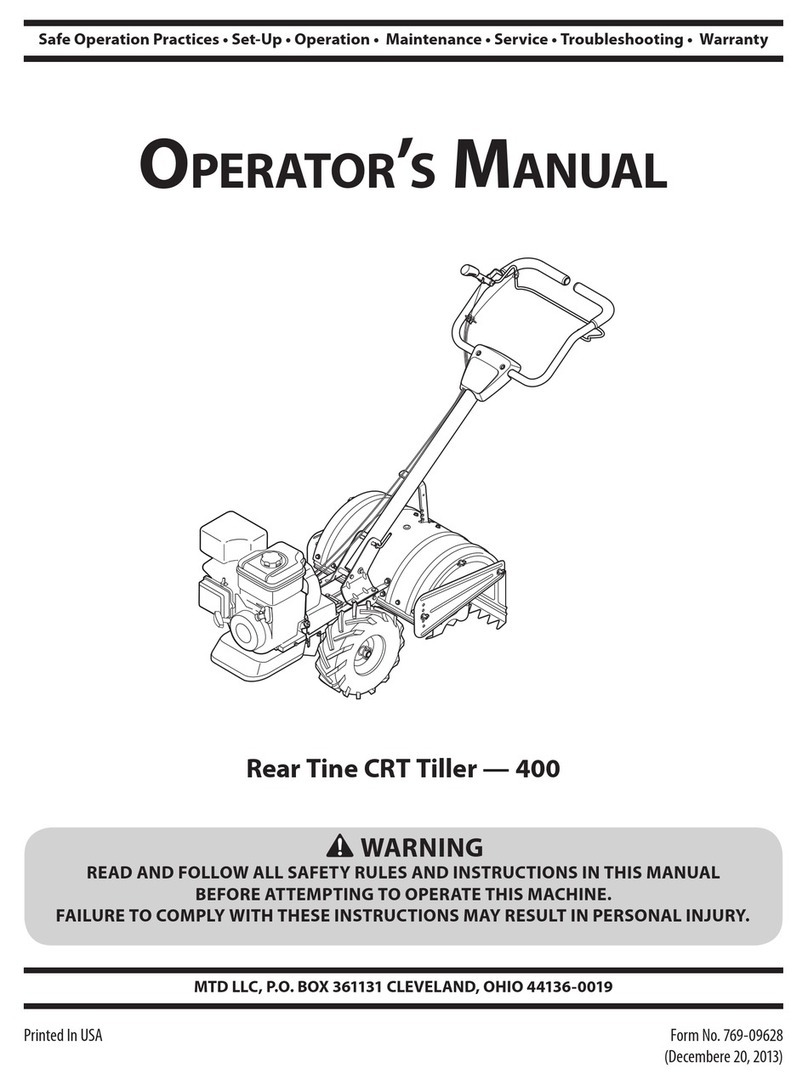
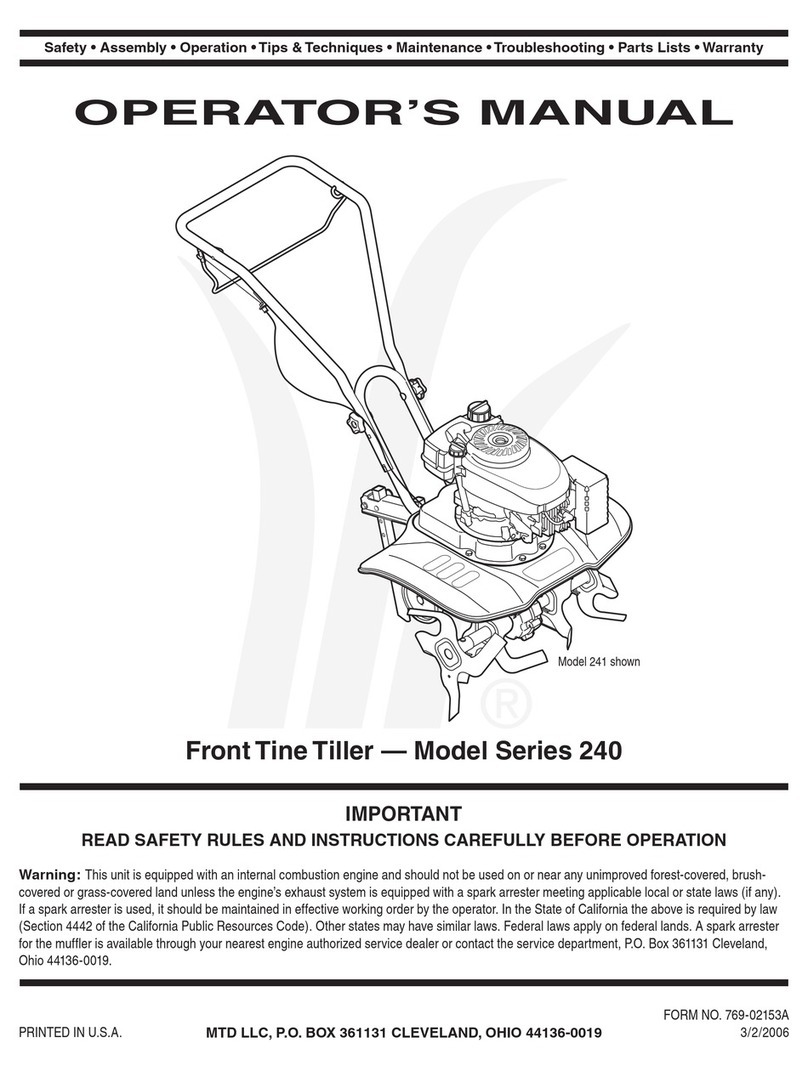
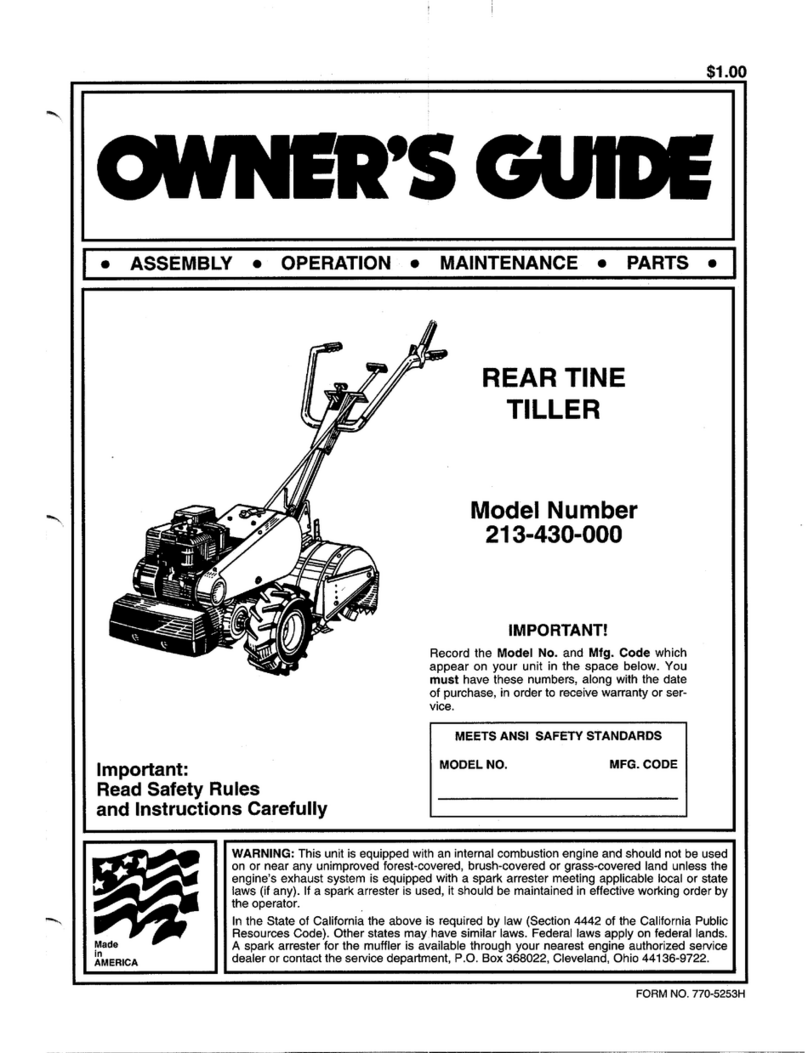
MTD Series 250 User manual

Safety oAssembly oOperation oTips &Techniques oMaintenance *Troubleshooting oParts Lists oWarranty
Front Tine Titter -- Model 250
READ SAFETY RULES AND mNSTRUCTmONS CAREFULLY BEFORE OPERATmON
Warning: This unitisequippedwithan internalcombustionengineandshouldnotbeusedon or nearanyunimprovedforest-covered,brush=
coveredor grass=coveredlandunlesstheengine'sexhaustsystemis equippedwitha sparkarrestermeetingapplicablelocalorstatelaws(ifany),
If a sparkarresterisused,itshouldbemaintainedineffectiveworkingorderbytheoperator,Inthe StateofCaliforniatheaboveisrequiredbylaw
(Section4442oftheCaliforniaPublicResourcesCode),Otherstatesmayhavesimilarlaws,Federallawsapplyonfederallands,A sparkarrester
forthemufflerisavailablethroughyournearestengineauthorizedservicedealeror contacttheservicedepartment,RO,Box361131Cleveland,
Ohio44136=0019,
FORMNO,769=01660
PRINTEDiN U,S,A, MTD LLC, P.O. BOX 361131 CLEVELAND, OHiO 44136-0019 1/13/2005

This Operator's Manual is an important part of your new tiller. It wHI help you assemble,
prepare, and maintain the unit for best performance. Please read and understand what it says.
Table of Contents
Setup and Adjustments ..................................... 5 Off Season Storage and Labels ...................... 12
Parts Lists ......................................................... 14
Maintenance ...................................................... 10 Warranty ............................................ Back Cover
Finding and Recording Model Number
BEFOREYOU BEGINASSEMBLINGYOUR NEW
EQUIPMENT,phase locatethe modelplate onthe equipment
and copythe informationto the sampb model plateprovided
to the right.You can locatethe modelplate by looking at
the rearof the fine shMd. Thisinformationis importantfor
usewhen visitingthe manufacturer'sweb site,obtaining
assistancefromthe CustomerSupportDepartment,or when
communicatingwith anauthorizedservice dealer.
f
Model Number
®
k,,www.mtd products.com
Sedal Number
MTD LLC
P.O. BOX 361131
CLEVELAND, ON 4413B
330-220-4683
800-800-731 0
Customer Support
Please do NOTreturn the unit to the retailer from which it was
purchased, without first contacting Customer Support.
Ifyou havedifficulty assemblingthis productor have anyquestions regardingthe controls,operation,or maintenanceof this
unit,youcan seekhelp from the experts.Choose from the options below:
, Visit mtdproducts.com Click onthe Service & Supportmenuoption.
, Phonea Customer Support Representative at 1-800-800-731&
, The engine manufacturer is responsiblefor all engine-relatedissueswith regardsto performance, power-rating,specificao
tions,warrantyand service. Pleasereferto the engine manufacturer'sOwner's/Operator's Manual,packedseparatelywith
your unit, for more information.
Product R.e gistratior_
2

WARNING: EngineExhaust, someof its constituents,and certain vehiclecompo- /
nentscontainor emit chemicalsknown to Stateof Californiato cause cancerand
birthdefects or other reproductive harm.
DANGER: This machinewas built to beoperatedaccordingto the rubs for safeoperationin this
manual.As with anytype of powerequipment,carelessnessor erroron thepart of theoperatorcan
resultin serious injury.Thismachine iscapable ofamputating handsand feet and throwingobjects.
Failuretoobserve the following safety instructionscould resultin seriousinjury or death.
Operation s. Neverallowchildrenunder14yearsoldto operatethis
Safe HandlingOf Gasoline:
1. Toavoidpersonalinjuryor propertydamageuseextreme
carein handlinggasoline.Gasolineisextremelyflammable
andthe vaporsareexplosive.Seriouspersonalinjurycan
occurwhengasolineisspilledonyourselforyourclothes
whichcanignite.
2. Washyourskinandchangeclothesimmediately.
3. Useonlyan approvedgasolinecontainer.
4. Neverfillcontainersinsideavehicleoron atruck ortrailer
bedwitha plasticliner.Alwaysplacecontainersonthe
groundawayfromyourvehiclebeforefilling.
5. Removegas-poweredequipmentfromthe truckor trailer
andrefuelit ontheground.Ifthisis notpossible,thenrefuel
suchequipmenton atrailer witha portablecontainer,rather
thanfromagasolinedispensernozzle.
6. Keepthe nozzleincontactwiththe rim ofthe fueltankor
containeropeningatall timesuntilfuelingiscomplete.Do
notuseanozzlelock-opendevice.
7. Extinguishallcigarettes,cigars,pipes,andothersources
of ignition.
8. Neverfuelmachineindoorsbecauseflammablevaporswill
accumulateinthe area.
9. Neverremovegascapor addfuelwhile engineis hotor
running.Allow enginetocoolat leasttwo minutesbefore
refueling.
10.Neveroverfillfueltank. Fill tanktono morethan_J2inch
belowbottomoffillernecktoprovideforfuel expansion.
11.Replacegasolinecapandtightensecurely.
12.Ifgasolineisspilled,wipeit offthe engineandequipment.
Moveunitto anotherarea.Wait5 minutesbeforestarting
engine.
13.Neverstorethe machineorfuelcontainernearan open
flame,sparkor pilotlightason a waterheater,spaceheater,
furnace,clothesdryer,or othergasappliances.
14.Toreducefire hazard,keepmowerfree ofgrass,leaves,
or otherdebrisbuild-up.Cleanup oilor fuelspillageand
removeanyfuelsoakeddebris.
15.Allowa mowerto coolatleast5minutesbeforestoring.
GeneralOperation
1. Read,understand,andfollowallinstructionsonthemachine
and in themanual(s)beforeattemptingto assembleand
operate.Keepthismanualinasafe placefor futureand
regularreferenceand for orderingreplacementparts.
2. Befamiliarwithall controlsandtheirproperoperation.Know
howtodisengagethemquicklyandstopthe machine.
4,<
5.
8<
9.
10.
11.
machine.Children14yearsoldandovershouldreadand
understandtheoperationinstructionsand safetyrulesin
thismanualandshouldbetrainedand supervisedbya
parent.
Neverallowadultstooperatethismachinewithoutproper
instruction.
Keepbystanders,helpers,pets,andchildrenat least75feet
fromthe machinewhileit is inoperation.Stopmachineif
anyoneentersthe area.
Thoroughlyinspectthe areawherethe equipmentisto be
used.Removeal stones,sticks,wire,andotherforeign
objectswhichcould betrippedoverandcausepersonal
injury.
Wearsturdy,rough-soledworkshoesandclose-fitting
slacksandshirts.Loosefittingclothes orjewelrycanbe
caughtin movableparts.Neveroperatethismachinein
barefeetorsandals.
Disengageclutchleversandshift(if provided)into neutral
(N) beforestartingthe engine.
Neverleavethis machineunattendedwith theengine
running.
Neverattempttomakeanyadjustmentswhileengineis
running,exceptwherespecificallyrecommendedinthe
operator'smanual.
Toavoidpersonalinjuryor propertydamageuseextreme
carein handlinggasoline.Gasolineisextremelyflammable
andthe vaporsareexplosive.Seriouspersonalinjurycan
occurwhengasolineisspilledonyourselforyourclothes
whichcan ignite.Washyourskinandchangeclothes
immediately.
a. Use onlyanapprovedgasolinecontainer.
b. Extinguishall cigarettes,cigars,pipes, andother
sourcesof ignition.
c. Neverfuel machineindoors.
d. [',leverremovegascap or addwhile the engineis
hot or running.
e. Allowengine tocool atleasttwo minutesbefore
refueling.
f. Neveroverfillfuel tank. Filltank to nomorethan
1/2 inch belowbottom offiller neckto provide
spacefor fuel expansion.
g. Replacegasolinecap andtighten securely.
h. Ifgasolineis spilled,wipe it offthe engine and
equipment.Movemachineto anotherarea.Wait5
minutesbeforestartingthe engine.
out important safety
instructionswhich, if
notfollowed,could
Readandfollow all
instructionsin this man-
ual beforeattempting to
operatethis machine,
Failureto comply with
resultin personalinjury,
When youseethis
symbol,
HEED ITS WARNING!
3
WARNING
notfollowed couUd
endangerthe personal
safetyand/or property
of yourself and others,
Readand follow all
instructionsin this man-
uaUbefore attemptingto
operatethis machine.
these instructionsmay
resultin personalinjury,
Whenyou seethis
symbol.
H EED iTS WARNING!
i. Neverstorethe machineorfuel containerinside
wherethere is anopenflame,spark, or pilotlight
(e.g.furnace,waterheater,space heater,clothes
dryer,etc.)
j. Toreducea fire hazard,keepmachinefree of
grass, leaves,or otherdebris build-up.Clean upoil
fuel spillageandremoveany fuel soakeddebris.
k. Allowmachineto cool atleast 5minutesbefore
storing.
12.Donot puthandsandfeetnearrotatingparts.Contactwith
the rotatingpartscanamputatefingers,hands,andfeet.
13.Donotoperatemachinewhileunderthe influenceofalcohol
or drugs.
14.Neveroperatethismachinewithoutgoodvisibilityorlight.
Alwaysbesureofyourfootingandkeepafirmholdonthe
handles.
15.Becarefulwhentillingin hardground.Thetines maycatch
in the groundand propelthe tillerforward.Ifthisoccurs,let
go ofthe handlebarsanddo notrestrainthe machine.
16.Exerciseextremecautionwhen operatingonor crossing
gravelsurfaces.Stayalertfor hiddenhazardsor traffic.Do
notcarry passengers.
17.Neveroperatethe machineat hightransportspeedson
hardor slipperysurfaces.
18.Exercisecautionto avoidslippingor falling.
19.Lookdown, behind,and usecarewhen in reverseor pulling
machinetowardsyou.
20.Startthe engineaccordingtothe instructionsfoundin this
manualandkeepfeet wellawayfromthetinesat alltimes.
21.Afterstrikinga foreignobject,stoptheengine,discon-
nectthe sparkplugwire andgroundagainstthe engine.
Thoroughlyinspectthe machineforanydamage.Repairthe
damagebeforestarting andoperating.
22. Disengageall clutchleversandstopenginebeforeyou
leavethe operatingposition(behindthe handles).Waituntil
thetines cometoa completestopbeforeuncloggingthe
tines,makinganyadjustments,or inspections.
23. Neverrunanengineindoorsorin a poorlyventilatedarea.
Engineexhaustcontainscarbonmonoxide,an odorlessand
deadlygas.
24. Mufflerand enginebecomehotandcancausea burn.Do
nottouch.
25. Usecautionwhentilling nearfences,buildingsand
undergroundutilities.Rotatingtinescancauseproperty
damageor personalinjury.
28. Donotoverloadmachinecapacityby attemptingtotill soilto
deepattofast ofa rate.
27. Ifthe machineshouldstart makinganunusualnoiseor
vibration,stopthe engine,disconnectthe sparkplugwire
and groundit againstthe engine.Inspectthoroughlyfor
damage.Repairanydamagebeforestartingandoperating.
28. Keepallshields,guards,and safetydevicesin placeand
operatingproperly.
29. Neverpick uporcarry machinewhilethe engineis running.
30. Useonlyattachmentsand accessoriesapprovedbythe
manufacturer.Failuretodo socan resultin personalinjury.
31. Ifsituationsoccurwhicharenotcoveredinthis manual,
usecareand goodjudgment.Phone 1-800-800-7310for
CustomerSupportandthenameofyournearestservicing
dealer.
Service
1. Nevertamperwith safetydevices.Checktheir proper
operationregularly.
2. Checkboltsandscrewsforpropertightnessat frequent
intervalsto keepthe machinein safeworking condition.
Also,visually inspectmachineforany damage.
3. Beforecleaning, repairing,or inspecting,stopthe engine
and makecertainthe tines andall movingpartshave
stopped.Disconnectthe sparkplugwireand groundit
againstthe engineto preventunintendedstarting.
4. Donot changethe engine governorsettingsor over-speed
the engine.The governorcontrolsthe maximumsafe
operatingspeedofthe engine.
5. Maintainor replacesafetyand instructionlabels,as
necessary.
6. Followthis manualfor safe loading,unloading,transport-
ing,and storageofthis machine.
7. Neverstorethe machineor fuel containerinsidewhere
there isan openflame, spark,or pilotlight suchas awater
heater,furnace,clothes dryer,etc.
8. Alwaysreferto the operator'smanualfor properinstruc-
tions on off-seasonstorage.
9. Ifthe fueltank needsto bedrained,do thisoutdoors.
10.Observeproperdisposal lawsandregulationsfor gas, oil,
etc.to protectthe environment.
4

fAssembly
1_Removethe handb adjustmentbver, Step 1
Figure 1.
2. Lift upthe upperhandleto raise intooperation
position,Step2 Figure 1.
3. Reinsertadjustmentleverthrough the front
or rear hob (dependingon desired setting),
and tightenthe leverinto the lock nut onthe
retainerbracket.
4. Once thelever has been inserted,the handle
can be movedto thedesired positionand
tightened.
Figure1-Assemblingthe UpperHandle
Making Adjustments
Warning: Disconnect the spark
plug wire and ground it against
the engine before performing
any adjustments.
Engine Adjustment
Refertothe separateengine manualfor engine
adjustmentinstructions.
Depth Stake Adjustment
Refertothe Operating sectionfor instructions
on adjustingthe depth stake.
Tine Width Adjustment
The tilling width ofthe unit is 22 inches.Tilling
width can increaseto 24 inchesby removing
the clevisand cotterpins, slidingeach outer
tine out one inch, and securing
with the pins. Forcultivation,reduce the tine
width to 13inchesby removingthe outer tines
completely,FigureZ
f
L
J24-inch
22_inch_
-_ 13-inch-_
Figure2-Tine widthadjustment J
\
5
NOTE: Stand behind
thetiller as ifyou were
going tooperate it.
Yourright handcor-
respondstothe right
to the left sideof the
tiller,
NOTE: This operator's
manual may covervari-
ousmodels oftiers.
The unitsillustrated
those instructions
which pertainto your
model number.
IMPORTANT
This unitis shipped
without gasoflneor
oil in the engine. Fill
up gasolineand oil
as instructedin the
accompanyingengine
manual BEFOREoper-
atingyour machine.

Know Your Titter
TineOfutch
HandleAdil
The tine clutch
control mechanism is
a safety device. Never
attempt to bypass its
operations.
Use extreme care
when handling
gasoline. Gasoline is
extremely flammable
and the vapors are
explosive. Neverfuei
the machine indoors
or while the engine
is hot or running.
Extinguish cigarettes_
cigars, pipes and
other sources of
ignition.
Keep hands and feet
_wayfrom the tines.
Refer to warning
[abe[ on the unit.
Depth
Figure3- Themajorpartsofthetiller
_ ARNING:Read,understand, and
follow a[[ instructionsand warnings
posted on the machine and inthis
manual beforeoperating.
Tine Clutch Control
Thedutch controlleverislocatedontheupperhandle,
Figure3, Squeezingtheleveragainstthehandleengages
thetinedrive,Releasethelevertostopthetinesfrom
turning,
Depth Stake
Thedepthstakeislocatedintherearofthetiller,It
controlsthetillingdepth,Figure3,
Handle Adjustment Lever
The handlemaybe adjustedtotheheightdesired,
Loosenthehandleadiustmentlevera fewturns,pivot
handleupor downtodesiredposition,thentightenthe
lever,Figure3,
Front Wheel
Thefrontwheelcanberaisedandloweredfortilling
or transport,RefertotheWheelPositionsectionfor
instructions,
FrontWheel
Throttle Control
Thethrottlecontrolleverislocatedontheengine,It
controlstheengine'sspeedandstopstheengine,
• Withthethrottlecontrolpushedcompletelyforward,
thecarburetoris inSTARTor FASTposition,Use
maximumenginespeedfordeeptilling,
• Pullthethrottlecontrolbacktoreduceenginespeed
to IDLE,Throttlecontrolshouldbeat IDLEfor
transportingthetiller,
, Pullthethrottlecompletelybackto stoptheengine,
Choke Lever
Thechokeleverislocatednearthethrottlecontrol it
isusedtoenrichthefuelmixturewhenstartinga cold
engine,
Starter Handle
Thestarterhandleislocatedontheengineandisused
to manuallystarttheengine,
Engine Controls
Seetheseparateenginemanualforadditionalinforma-
tionandfunctionsoftheenginecontrols,
6

Before Starting
Gas And 0iiFill-Up
Servicetheengine,withgasolineandoil asinstructedin
theseparateenginemanualpackedwithyourfiller.Read
instructionscarefully.
WARNING:Useextremecare when
handling gasoline. Gasoline is exo
tremely flammable andthe vapors are
explosive. Neverfuel machine indoors
or while the engine ishot or running.
Starting Engine
_b WARNING:Besure no one isstanding
infront of the tiller while the engineis
runningor being started.
1. Attachsparkplugwireto sparkplug.Makesurethe
metalcapontheendofthesparkplugisfastened
securelyoverthemetaltipon thesparkplug.
2. Makesurethatthefinedutch controlisdisengaged.
3. PlacethethrottlecontrolintheFASTposition.
4. MovechokelevertoCHOKEposition.A warmengine
requireslittleor nochoke.
5. Graspstarterhandleandpullropeoutslowlyuntil
enginereachesstartofcompressioncycle(ropewill
pullslightlyharderatthispoint).Lettheroperewind
slowly.
6. Pullropewitha rapid,continuous,fullarmstroke.
Keepa firmgripon starterhandle.Letroperewind
slowly.Donotletstarterhandlesnapbackagainst
starter.Repeatuntilenginestarts.
7. Whenenginestarts,movechokeleveron engine
halfwaybetweenCHOKEand RUN.Astheengine
warmsup,movethelevertoRUNposition.
Stopping Engine
1. MovethrottlecontrollevertoSTOPor OFFposition.
2. Disconnectsparkplugwirefromsparkplugand
groundagainsttheengine.
soilforplantingandcultivating,andto performmany
otherusefullaborsavingtasksin thegarden.
Wheel Position
Thetillerisshippedwiththewheelsadjustedsuchthat
theunitsitsleveLBeforetilling,thefrontwheelmust
be raised.Todothis,pullthewheelbracketassembly
forwardandlift up,Figure4.Thewheelwill moveinto
tillingposition.Fortransportingthetiller,reversethe
stepstolowerthewheel.
c..... -ii
\ J
Figure4- WheelPositionAdjustment
Depth Stake Adjustment
Thedepthstakeactsasa brakeforthetillerandcontrols
thedepthandspeedatwhichthemachinewilloperate.
Removetheclevispinandcotterpinto raiseor lower
depthstake,Figure5.
Byincreasingthedepthofthedepthstake,theforward
speedofthemachineisreducedandtheworkingdepth
is increased.Whenthedepthstakeisraised,theworking
depthofthemachineisreducedandtheforwardspeed
is increased.Theworkingdepthofthemachinemay
be predeterminedbysettingthedepthstakesothatthe
wheelsareaboutfourinchesfromthegroundwhenthe
tinesanddepthstakearerestingon theground.This
settingwillpermita workingdepthofaboutfourinches.
Whenpresettingtheworkingdepth,thehandlesshould
be adjustedsothehandgripsarea littleabovewaist.
Thetillerwillbe lowerwhenthetinesanddepthstake
penetratetheground.
than the operator is
Standing near the ti!!er
while starting engine
_poerly venti!ated
areas. Engine exhaust
contains carbon
monoxide, an odorless
and deadly gas, Keep
hands, feet, hair and
loose clothing away
from any moving parts
on engine and tiller. i
i
7

Figure5- DepthStakeAdjustment
/i
HandJe Pressure
Furthercontroloftillingdepthandtravelspeedcanbe
obtainedbyvariationofpressureonthehandles,
A downwardpressureonthehandleswillreducethe
workingdepthand increasetheforwardspeed,An
upwardpressureon thehandleswill increasethe
workingdepthand reducethe forwardspeed,
Thetypeof soilandworkingconditionswilldetermine
theactualsettingofthedepthstakeandthehandle
pressurerequired,
Transportingthe Tiller
Totransportthetiller,lowerthefrontwheel,Figure4,
andmovethedepthstakeintothehighestposition,
Figure7, With thethrottlecontrolin SLOWposition,the
unitwillwalkfreelyon thelawn,
Your Titler
ControlJing Speed and
TiJ ing Depth
Whentilling,leaveapproximately8 inchesofunfilledsoil
betweenthefirstandsecondtillingpaths,thenmakethe
thirdpathbetweenthefirstandsecond,Insomesoils,the
desireddepthisobtainedthefirsttimeoverthegarden,
in othersoils,thedesireddepthisobtainedbygoing
overthegardentwoorthreetimes,in thelattercase,the
depthstakeshouldbeloweredbeforeeachsucceeding
passoverthegarden,Passesshouldbemadeacrossthe
lengthandwidthof thegardenalternately,Rockswhich
areturnedupshouldbe removedfromthegardenarea,
Figure6- Recommendedtillerpaths.
/:
Figure7- Raisethe depthstakefortransport.
Cultivating
Forcultivating,atwo tothreeinchdepthisdesirable,
Settingthedepthstakesothatthewheelsareabouttwo
inchesabovethegroundwhilethetillerisrestingon the
tinesand depthstakewillallowthemachinetoworkat
cultivatingdepth,Thethrottleshouldbeset tocontrol
forwardmovementtoa slowwalkingspeed,With the
outertinesinstalled,theworkingwidthofthemachineis
22or 24inches,
Forcultivation,thismaybereducedto 13inches
byremovingtheoutertines,refertotheAdiustment
Section,Whenhying outplantrows,besuretoallow
enoughwidthto permitcultivationbetweentherows,In
growingcornor similarcrops,checbrowplantingwill
permitcrosscultivationand practicallyeliminatehand
hoeing,Figure8,
8

Thefillerhasmanyusesotherthanfillingandcultivating
a garden.Oneoftheseisthepreparationof lawnareafor
seeding.Thetillerwillpreparea deepseedbedwhichwill
be freeof harduntilledspots,allowinga betterstandof
grasstogrow.Thetillerisvery usefulfor looseninghard
soilforexcavationwitha shovel;Notedioushandworkwill
be necessary.Yourfillermaybe usedformixingcompost
in thepileor formixingitwiththesoilinyourgarden.This
shouldbedoneafterthesoilhasbeenbrokentothefull
workingdepth.Thecompostshouldbeworkedintoa
depthofsix toseveninches.This maybe donebywork_
ing thelengthof thegardenandthenbymakingseparate
passesacrossitswidth.Theadditionofdecayedorganic
matterwillsubstantiallyincreasethefertilityofyour
garden.Forproperdecayingaction,fertilizershouldbe
appliedandworkedin withthemulchmaterials.Breaking
up leavesandstrawandmixingitwithseveralinchesof
soilallowsproperaerationof theplantrootsystemand
retardsthegrowthof weeds.
f
(;4,15
(;4,15
q4. 5
Figure8- Allowenoughwidthbetweenrows.
\
9

Your Tiller
i i
disconnectspark
pjug,andground
against enginebefore
cleaning, lubricating
or doing any kind of
maintenanceonyour
MPOnTA.Y:. Vor
disconnect spark plug, and ground
against engine beforecleaning, lubri-
cating or performing any maintenance
on your machine.
Refertotheseparateenginemanualforengine
maintenanceinstructions,
• Maintainengineoilasinstructedin theseparate
enginemanualpackedwithyourunit, Readand
followinstructionscarefully,
. Serviceaircleanereverytenhoursundernormal
conditions,Cleaneveryhourunderextremelydusty
conditions,Poorengineperformanceand flooding
usuallyindicatesthattheaircleanershouldbe
serviced,Toservicetheair cleaner,refertothe
separateenginemanualpackedwithyourunit,
(_ IMPORTANT:Neverrun your engine without
air cleanercompletely assembled.
. Thesparkplugshouldbecleanedandthegapreset
every25 hoursofengineoperation,Sparkplug
replacementisrecommendedatthestartofeach
fillerseason;checkenginemanualforcorrectplug
typeandgapspecification,
• Cleantheengineregularlywitha clothor brush,
Keepthecoolingsystem(blowerhousingarea)clean
topermitproperair circulationwhichisessentialto
engineperformanceandlife,Becertaintoremoveall
dirtandcombustibledebrisfrommufflerarea,
Transmission
Thetransmissionis pre=lubricatedand sealedat thefac=
tory,It requiresnochecking,Seeanauthorizedservice
dealerforanyserviceissues,
Tine Shafts
Removefineassembliesandlubricatethetineshaftsat
leastoncea season,
Wheel Shafts
Removewheelassembliesandlubricatetheaxleshafts
atleastoncea season,
Cleaning Tine Area
Cleantheundersideofthefineshieldaftereachuse,
Thedirtwashesoff thetineseasierifrinsedoff im=
mediatelyinsteadofafterit dries,Alwaystoweldrythe
fillerafterwardsandapplya lightcoatofoilor siliconeto
preventrustingor waterdamage,
ix___._)IMPORTANT:Neverusea "pressure
washer"to cleanyour tiller. Watercan
penetratetight areasofthe tiller and its
Yourfillerhasbeenengineeredwitha beltmadeof
specialmaterialforlongerlifeand betterperformance,
It shouldnotbe replacedwithanoff=the=shelfbelt,See
theretailerfromwhichyoupurchasedyourtiller,an
authorizedMTDServiceDealer,or call1-800-800-7310
forinformationregardingpriceandavailability,
1, Removetheframeandenginebyremovingthesix
screwsandlocknutsholdingtheengineandframeto
theshield,Figure9,
Y
/
Figure9- Removeengineandframetogainaccesstothebelt.
2, Removetheshoulderscrew,carriagescrew,andnuts
fromtheidlerbracketassembly,Step1 Figure10,
3, Unloopthebeltfromthepulleys,Step2 Figure10,
4, Reassemblethenewbeltandreattachidlerpulleyto
securein place,
5, Reattachframeandengineusingthehardware
removedearlier, 1
10

Problem Cause
€Z Enginefi0od[ng."notprime(!fequ!Rped)
.
1, Sparkplugwireloose,
2, Unitrunningon CHOKE,
3, Blockedfuellineorstab fuel
4, Ventplugged,
5, Waterordirt infuelsystem,
6, Dirtyaircleaner,
7, Carburetoroutof adiustment,
Enginerunserratic 1, Connectandtightenspark
plugwire,
2, MovechokelevertoOFR
3, Cleanfuelline;filltankwithclean,
freshgasoline,
4, Clearvent,
5, Drainfueltank,Refillwith
freshfuel,
6, Cleanfollowingenginemanual,
7, Refertoenginemanual
1. Engineoil bve[ !OW. o!. R[[crankcasewith properoil
2. Dirtyairfilter. ,2. CleanaiEcbaner.
1, Foreignobiectlodgedin tines,
2, Tineclevispin(s)missing,
3, Beltwornand/orstretched,
4, Pulleyandidlernotincorrectadiust-
ment,
1, Stoptillercompletely,checkand
discardforeignobject,
2, Replacetineclevispin(s),
3, Replacebelt,
4, Takeunittoauthorizedservice
dealer,
Tinesdo noengage
For repairs beyond
the minor adjust-
ments fisted here,
contact an authorized
service dealer.
\
11

Off-Season Storage
If thetillerwillnotbeusedfora periodlongerthan30
days,thefollowingstepsshouldbetakentopreparethe
fillerforstorage,
, Cleantheexteriorof engineandtheentiretiller
thoroughly,Lubricatethefillerasdescribedinthe
lubricationinstructions,
Wedo notrecommendthe useofpressurewashers
tocleanyourunit,Theymaycausedamageto
spindles,pulleys,bearings,or theengine,Theuse
ofpressurewasherswillresultinshortenedlifeand
reduceserviceability,
Refertotheenginemanualforcorrectengine
storageinstructions,
• Wipetineswithoiledragtopreventrust,
• Storefillerina clean,dryarea,Donotstorenextto
corrosivematerials,suchasfertilizer,
• Whenstoringanytypeof powerequipmentin an
unventilatedor metalstorageshed,careshouldbe
takento rustprooftheequipment,Usinga lightoil
orsilicone,coattheequipmentandespeciallyany
springs,bearings,andcables,
NOTE: Whenstoring
anytype of power
equipment in an unven-
tilated or metal storage
shed. care should be
takento rustproofthe
the equipmentand
especiallyanyspNngs,
bearings,and cables.
12

Safety Labels Found On Your Tilter
TO AVOID SERIOUS mNJURY
1,READTHEOPERATOR'SMANUAL,
2,KNOWLOCATIONANDFUNCTIONSOFALL
CONTROLS.
3,KEEPALL SAFETYDEVICESANDSHELDS
IN PLACEANDWORKmNG.
4. NEVERALLOWCHmLDRENOR
UNINSTRUCTEDADULTSTOOPERATE
TILLER.
5.SHUT OFF ENGINE£EFORE UNCLOGGmNG
TINES ORMAKING REPNRS,
6,KEEP£YSTANDERSAWAYFROMMACHINE,
7. KEEP AWAY FRO[_IROTATING PARTS,
8. USEEXTREMECAUT{ONWREN
REVERSINGOR PULUNG THE MACHNE
TOWARDS YOU.
tiller for any reason.
13

@
@
14

1 747_04349 ClutchBail
2 786_04258 ClutchCrank
3 649@4029 HandleAssembly:Lower
4 649_04030 HandleAssembly:Upper
5 710@136 HexScrew:1/4-20:1,75:GR5:STD
6 710-0189 HexScrew:5/16q8:3,00:GR5:STD
7 710@4398 FlangeScrew:5/16q8:7,500:GR5
8 71b0324 HexLockNut: 1/4_20:GR8:NYL
9 712@4063 FlangeLockNut:5/16q8:GRF:NYL
10 716-0102 SnapRing:1,0dia,shaft
11 720@269 HandleGrip
12 720-0274 Grip:1,0IDx5,0LG
13 725@157 CaNeTie
14 731-05095 BaiIHolderLH
15 731-05096 BaiIHolderRH
16 736-0242 BellWasher:,340x ,872x,060
17 736@463 FlatWasher:,25x ,630x ,0515
18 738q023 ShoulderScrew:,375x ,280:1/4-20
19 746_04180 ForwardClutchCable
20 786_0340 HandleAdiustmentLever
21 786@341 RetainerBracket
22 J710@514 HexScrew:3/8q6:I,00:GR5:STD
23 710q315 TTScrew: 3/8q6:1,250
24 71b04065 FlangeLockNut:3/8q6:GRF:NYL
25 786-04222 Frame
26 686_04054 IdlerAssemblyForward
27 710-04396 CarriageScrew:3/8q6:1,25:GR5
28 710@4453 SocketScrew:3/8-24:1,0
29 73b0418 ExtensionSpring
30 749_041851-FrontBumper
31 738@4131 ShoulderScrew:,56x 1,87:3/8q6
t Ifequipped
33 754_04061 Belt
34 756_04145 FlywheelPulby
35 756_04163 Idbr Pulby
36 786_04256 TineShbld24 inch
37 GW@727 PipePlug:3/8 NPT
38 756_04155 Pulby
39 710@4453 SocketScrew:3/8_24:1,0
40 736_04184 BellWasher:,382x 1,500x ,109
41 748_04079 PulbyAdapter:,9875dia,w/dd
42 736@4175 FlatWasher:4,03x2,88x,09
43 710_0809 TTScrew: 1/4_20:1,250
44 642_0002 InnerTineAssemblyRH
45 642_0003 InnerTineAssemblyLR
46 642@004 OuterTineAssemblyRH
47 642_0005 OuterTineAssemblyLH
48 711_0415 ClevisPin
49 714_0149B lnternaICotterPin
50 710_0395 HexScrew:5/16q8:2,25:GR5:STD
51 710_0520 HexScrew:3/8q6:1,50:GR5:STD
52 710_3011 HexScrew:3/8q6:2,25:GR5:STD
53 710_3130 HexScrew:3/8q6:3,25:GR8:STD
54 714_3020 InternaICotterPin
55 732@384 ExtensionSpring
56 734q988 Wheel7x 1,8
57 749@4204 TubeSbeve
58 750@4380 Spacer:,383x ,750x,285
59 750_04432 Spacer:,525x,775x,835
60 786-04232 FrontWheeIBracket
61 786-04238 TailBracketRH
62 786_04239 TailBracketLH
63 786-04257 WheeIBracket
To order replacement
parts, call
1o800-800o7310
or visit
www.mtdproducts.com
iMPORTANT
Fora properworking
machine, useFactory
_,pprovedParts.
C-BELTSare specially
designedto engageand
disengagesafely. A
substitute (non OEM)
V-Beltcan be dangerous
by notdisengaging
compbtely,
15

MANUFACTURER'S LIMITED WARRANTY FOR
The limitedwarrantyset forthbelowisgivenbyMTDLLCwithrespectto
newmerchandisepurchasedandusedin theUnitedStates,its posses_
sionsandterritories.
"MTD"warrantsthisproductagainstdefectsin materialandworkmanship
fora periodoftwo (2)yearscommencingonthedateoforiginalpurchase
andwill,atits option,repairor replace,freeofcharge,anypartfoundto
bedefectivein materialsor workmanship.This limitedwarrantyshallonly
applyifthis producthasbeenoperatedandmaintainedinaccordance
withtheOperator'sManualfurnishedwiththeproduct,and hasnotbeen
subiectto misuse,abuse,commercialuse,negbct,accident,improper
maintenance,alteration,vandaBm,theft,fire,water,ordamagebecause
ofotherperilor naturaldisaster.Damageresultingfromtheinstallationor
useofanypart,accessoryor attachmentnotapprovedbyMTDforuse
withtheproduct(s)coveredbythis manualwillvoidyourwarrantyasto
anyresultingdamage.
Normalwearpartsarewarrantedtobefreefromdefectsinmaterialand
workmanshipfora periodofthirty(30)daysfromthedateofpurchase.
Normalwearpartsin@de, butare notlimitedto itemssuchas: batteries,
belts,blades,bladeadapters,grassbags,riderdeckwheels,seats,snow
throwerskidshoes,shaveplates,augerspiralrubberandtires.
NOW TO OBTAmNSERVICE: Warrantyservice is available,WITH
PROOFOF PURCHASE,through your local authorizedservice
deabr. Tolocate thedealer in yourarea, check yourYellowPages,or
contact MTD LLCat RO. Box361131,Cbveland, Ohio 44136-0019,or
call 1-800-800-7310or 1430-220-4683 or log on to our Website at
www.mtdproducts.com.
This limitedwarrantydoesnot providecoverageinthefollowingcases:
a. Theengineorcomponentpartsthereof.Theseitemsmaycarrya
separatemanufacturer'swarranty.Refertoapplbabb manufacturer's
warrantyfortermsandconditions.
b. Logsplitterpumps,valves,andcylindershaveaseparateoneyear
warranty.
c. Routinemaintenanceitemssuchaslubricants,filters,blade
sharpening,tune_ups,brakeadiustments,clutchadiustments,deck
adiustments,andnormaldeteriorationoftheexteriorfinishdueto use
orexposure,
d, Serviceeompbtedbysomeoneotherthanan authorizedservice
dealer,
e, MTDdoesnotextendanywarrantyforproductssoldor exported
outsideofthe UnitedStates,itspossessionsandterritories,except
thosesoldthroughMTD'sauthorizedchannelsofexportdistribution,
f, Replacementpartsthatare notgenuineMTDparts,
g, TransportationchargesandservicecaB,
Noimplied warranty, including anyimplied warrantyof merchant°
ability offitness for a particular purpose, applies after the applicable
period of express written warranty aboveasto the parts as identi-
fied. Noother express warranty,whether written or oral, exceptas
mentioned above,given by anyperson or entity, includinga dealer
or retailer, with respect to anyproduct, shall bind MTD.Duringthe
period of the warranty,the exclusive remedy is repair or replacement
of the product as set forth above.
The provisions as set forth in this warranty provide the sole and
exclusive remedyarising from the sale. MTDshall not be liable
for incidental or consequential loss or damageincluding, without
limitation, expensesincurred for substitute or replacementlawncare
services or for rental expensesto temporarily replacea warranted
product.
Somestatesdo notabw theexclusionor limitationofincidentalor
consequentialdamages,or limitationson howlonganimplbd warranty
lasts,sotheaboveexclusionsor limitationsmaynotapplytoyou.
in noeventshallrecoveryofanykindbegreaterthantheamountofthe
purchasepriceoftheproductsold.Alteration of safety features of the
product shall void this warranty. Youassumetheriskandliabilityfor
loss,damage,or iniurytoyouand yourpropertyand/ortoothersandtheir
propertyarisingoutofthemisuseor inabilitytousetheproduct.
This limitedwarrantyshallnotextendto anyoneotherthantheoriginal
purchaseror tothepersonforwhomitwaspurchasedasa gift.
HOWSTATELAWRELATESTOTHISWARRANTY: Thislimitedwar_
rantygivesyouspecificlegalrights,andyoumayalsohaveotherrights
whichvaryfromstatetostate,
IMPORTANT:OwnermustpresentOriginalProofofPurchasetoobtain
warrantycoverage,
MTD LLC, P.O. BOX 381131 CLEVELAND, OHIO 44138-0019; Phone: 1-800-800-7310, 1-330-220-4883
Other manuals for Series 250
6
Table of contents
Other MTD Tiller manuals

MTD
MTD H121GC Manual

MTD
MTD YARD MACHINES Y155 User manual

MTD
MTD Yard Machines 450 Series User manual

MTD
MTD World Tiller - Series 240 User manual

MTD
MTD 340 Thru 390 User manual

MTD
MTD 250 Series 2005 User manual

MTD
MTD MTD20V100 User manual

MTD
MTD Series 410 User manual

MTD
MTD 218-404-000 User manual

MTD
MTD Series 200 User manual

MTD
MTD 21A-241E052 User manual

MTD
MTD 21AA413H700 User manual

MTD
MTD World Tiller - Series 240 User manual

MTD
MTD 340 Series User manual

MTD
MTD 219-360 User manual

MTD
MTD 450 Series User manual

MTD
MTD 195-746-000 User manual

MTD
MTD 450 Series User manual

MTD
MTD 450 Series User manual

MTD
MTD 219-200 User manual