manuals.online logo
Brands
  1. Home
  2. •
  3. Brands
  4. •
  5. MULTI MEASURING INSTRUMENTS CO.,LTD.
  6. •
  7. Measuring Instrument
  8. •
  9. MULTI MEASURING INSTRUMENTS CO.,LTD. HCL-9000S User manual

MULTI MEASURING INSTRUMENTS CO.,LTD. HCL-9000S User manual

INSTRUCTION MANUAL
MODEL HCL-9000S
DIGITAL CLAMP TESTER
MULTI
1. FEATURES
* Safe AC current measurement on circuit having internal voltage from AC 80V
to AC 23KV.
* Provides wide range of current measurement from AC 0.01A to 600A.
* Useful analog signal data output for the recorder.
* Sealed to withstand water and contaminants
* Provides the smooth and easy clamping for the cable with special made
"PUSH TO OPEN" mechanism.
2. CAUTION
* Before operating this instrument, familiarize yourself with instruction outlined
in this manual. .
* Always check to make sure that the function switch is set to the proper position.
* To avoid electrical shock, operate this instrument very carefully, especially for
the measurement of the circuit with more than AC 1000V.
* As the high voltage circuit is very dangerous, those who do not have such
specialized knowledge must not use this instrument.
* Never make measurements for uninsulated conductors or bus bars.
* Do not use this instrument, if you find any damage on the instrument of CT and or
body case.
* Through this instrument is sealed to withstand water, avoid the operation of this
instrument under heavy rain and humidity for the safety.
* Do not disassemble this instrument.
* When [B] sign appears on the display during the use of this instrument, replace the
batteries to new ones, as the operation voltage gets below than normal use for the
measurement.
* This model is high precision measuring instrument.
It may cause defect, if the CT part receives damage.
3. CARRY AND STORAGE
* Take care not to drop down the instrument and or not to load heavy weight and
or strong shock to the instrument.
* Do not apply chemicals to this instrument.
* Do not leave this instrument on the road and or the place under the direct sunshine
during summer and also do not leave it in the high temperature place, such as
inside of the car, etc.
* Keep the instrument clean and chose the storage place where is dry and not getting
direct sunshine.
4. SPECIFICATION
Measuring method Dual integration mode
Measuring function AC line current
Structure Optically isolated between CT part and
display/grip part
Display 3.5 digit LCD, max, reading of 1999 with
annunciators
Range 0~20A/600A(50/60Hz)
Ranging 2 manual ranging
Accuracy 23℃±5℃, 80RH or less
Range
Resolution
Accuracy
20A
0.01A
±2.5% rdg ±8 dgt
600A
1A
0~400A±2.5% rdg ±8 dgt
400~600A±3.0% rdg ±8 dgt
Jaw opening capability 35mmφ
Low battery indication CT part: Red LED lamp
Display/Grip part: “B” mark on LCD readout
Optical transmission Infrared LED and photo diode
Over range indication Blanking of all digits except MSD1
(Except 600A range)
Sampling 2 times/sec
Data hold indication "DH” mark on LCD readout
Data Output DC 100mV full scale for 20A range
DC 30mV for 600A range
Output impedance 10kΩor less
Insulation resistance 100MΩor more by DC 1000V insulation tester
(Between operation handle and core of CT)
Withstanding voltage AC 48KV, 1 minute (Between handle and core of CT core)
Limitation of circuit voltage AC 80V to 23KV
Power supply CT part: 1.5V("AAA" size) x3
Display/Grip part: 1.5V(“AAA” size) x2
Power consumption CT part: 5mA Display/Grip part: 3mA
Construct Water resistance rankⅡ(Japanese standard)
Size 70(W) x 550(H) x 48(D)mm (When retracted)
70(W) x 1110(H) x 48(D)mm (When stretched)
Weight Approx. 800g
Accessories Carrying case…………..1
Instruction manual….…1
Batteries…………………5
5. DIMENTIONS & PANEL
①Current Transducer ⑨Range Select Switch for Body Part
②Open/Close Guide for CT ⑩Data Hold Switch
③Power Switch for CT ⑪LCD Display
④Range Select Switch for CT ⑫Output Terminal for Recorder
⑤Range Lamp ⑬Battery Box of Body Part
⑥Low Battery Sign Lamp ⑭Pipe Stopper
⑦Battery Box of CT (back side) ⑮Stretch/Retractable Pipe
⑧Power Switch for Body Part
6. METHOD OF MEASUREMENT
6-1. Preparation and Caution before Measurement
* Before making measurements, install the batteries.
* Check if there are no damage or unusualness on the instrument.
* Check the battery by switching the power on.
* Do not change the batteries, keeping clamp of the instrument on the wire.
* Remove the batteries, if the instrument will not be used for a long period
of time.
* Do not make measurement with the battery cover off.
6-2. Measurement
1) Push the power switch to ON of the both parts (CT & Body).
2) Set the range select switch to appropriate range to be measured (CT & Body).
3) Clamp CT to the conductor to be measured by pushing open/close guide.
4) In case of measurement in a dark place or in a place where it is difficult to
see the readings, use the data hold switch.
5) After measurement, draw out CT from the conductor.
6) Push the power switch to become OFF.
* If you want to make measurement continuously for long period, connect the
recorder by using φ2.5 pin jack at the terminal.
In this case, change the batteries to the new ones before measurement.
* When you make measurement to high voltage conductor, stretch the pipe before
the instrument. Do not draw the pipe too strongly. There is possibility for
pulling out the pipe, if you do it so much.
* The display value may not become "0" even when there is no input current
of the conductor but it is caused from the measuring method & design of
this instrument and such phenomenon will not effect on any accuracy of the
actual measurement value.
* Do not load any voltage to the terminal of recorder. It may destroy the instrument.
* The instrument may get heat and or damage if the over value current is
loaded to the CT. Do not load the current more than 600A.
* Avoid the measurement at the place where 2 wires contact with CT at the
same time.
* Do not touch other part of this instrument except grip of the body during
measurement.
6-3. Instalment/Replacement of Batteries
1) Confirm the power switch is OFF.
2) Remove the battery covers by the ◯
+driver. (Be careful not to miss the
screw cap).
3) Install the batteries according to the indication of battery case.
4) Set up the battery cover and make the screws tightened firmly.
5) Put the screw cap on.
* Do not use the batteries by mixing new & old ones or used ones.
7. TESTING OF WITHSTANDING VOLTAGE
We recommend the testing if withstand voltage by loading 46KV for
1 minute between operation handle and core of CT once a year for the safety.
Manufactured by
MULTI MEASURING INSTRUMENTS CO.,LTD.
Akihabara Murai Bldg., 7F, 1-26 Kanda Sakuma-cho
Chiyoda-ku, Tokyo, 101-0025 Japan
TEL : 81-3-3251-7016 FAX : 81-3-3253-4278
Home Page : http://www.mutimic.com/
E-mail : multi@multimic.com

Other MULTI MEASURING INSTRUMENTS CO.,LTD. Measuring Instrument manuals

MULTI MEASURING INSTRUMENTS CO.,LTD. MCL-500IRV User manual

MULTI MEASURING INSTRUMENTS CO.,LTD.

MULTI MEASURING INSTRUMENTS CO.,LTD. MCL-500IRV User manual

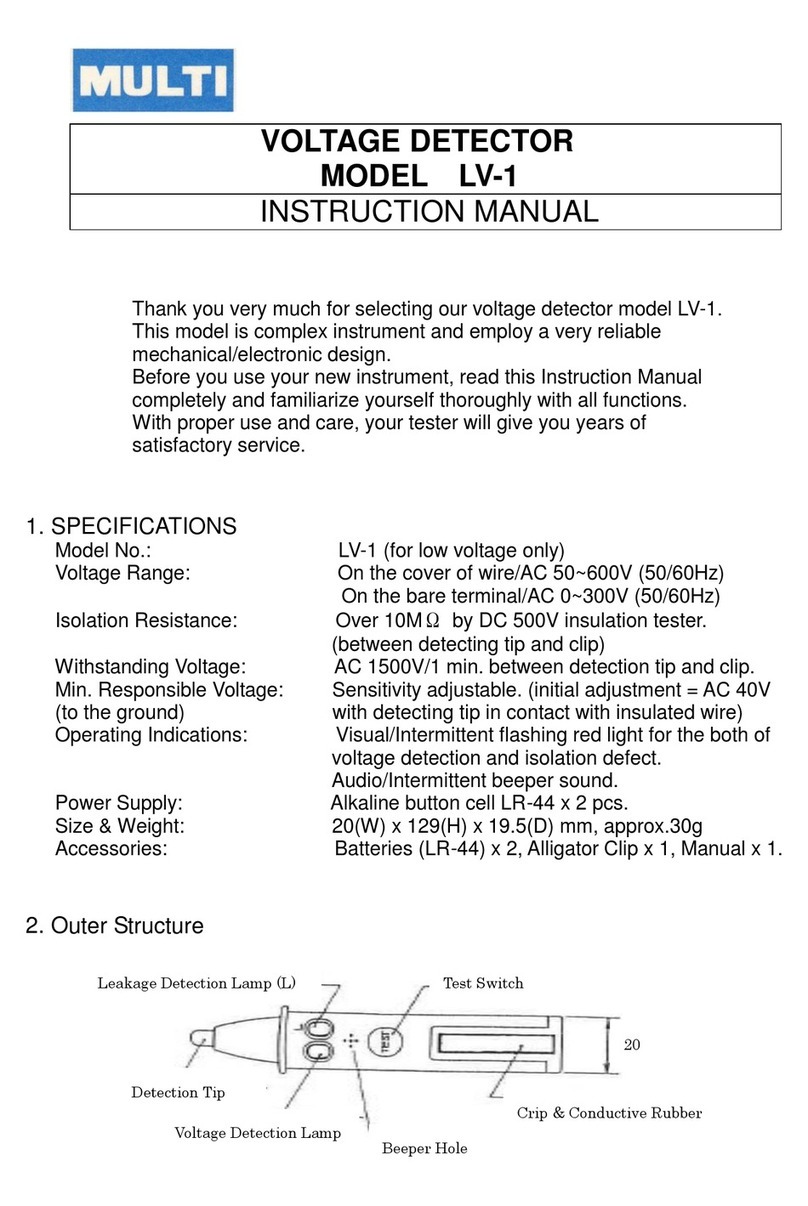
MULTI MEASURING INSTRUMENTS CO.,LTD. LV-1 User manual

MULTI MEASURING INSTRUMENTS CO.,LTD.

MULTI MEASURING INSTRUMENTS CO.,LTD. LV-1 User manual

MULTI MEASURING INSTRUMENTS CO.,LTD. MCL-4000F User manual

MULTI MEASURING INSTRUMENTS CO.,LTD.

MULTI MEASURING INSTRUMENTS CO.,LTD. MCL-4000F User manual

Popular Measuring Instrument manuals by other brands

Co2meter AZ-0002 Operation manual

Co2meter

Co2meter AZ-0002 Operation manual

Promax PROPOWER - 5 user manual

Promax

Promax PROPOWER - 5 user manual

phase II+ UTG-2900 manual

phase II+

phase II+ UTG-2900 manual

Valeport BFM001 operating manual

Valeport

Valeport BFM001 operating manual

Centech 96308 owner's manual

Centech

Centech 96308 owner's manual

Felix Storch F-950 Operation manual

Felix Storch

Felix Storch F-950 Operation manual

Raycus RFL-C30000M-CE user guide

Raycus

Raycus RFL-C30000M-CE user guide

Tektronix VM700T user manual

Tektronix

Tektronix VM700T user manual

Level Pro ULTRAPRO 1000 instruction manual

Level Pro

Level Pro ULTRAPRO 1000 instruction manual

Atal AT 505 user manual

Atal

Atal AT 505 user manual

NI cRIO-9038 Getting started

NI

NI cRIO-9038 Getting started

Fluke 700G01 user manual

Fluke

Fluke 700G01 user manual

Technifor TD412 OPERATING AND MAINTENANCE MANUAL INTEGRATION

Technifor

Technifor TD412 OPERATING AND MAINTENANCE MANUAL INTEGRATION

Rohde & Schwarz RT-ZP03S user manual

Rohde & Schwarz

Rohde & Schwarz RT-ZP03S user manual

Oldham BM25 operating manual

Oldham

Oldham BM25 operating manual

GREER Company Crane Systems BA 1510 Operator's manual

GREER Company

GREER Company Crane Systems BA 1510 Operator's manual

Trotec BX09 operating manual

Trotec

Trotec BX09 operating manual

Irradian UV203-3 user manual

Irradian

Irradian UV203-3 user manual

manuals.online logo
manuals.online logoBrands
  • About & Mission
  • Contact us
  • Privacy Policy
  • Terms and Conditions

Copyright 2025 Manuals.Online. All Rights Reserved.