manuals.online logo
Brands
  1. Home
  2. •
  3. Brands
  4. •
  5. Multimo
  6. •
  7. Indoor Furnishing
  8. •
  9. Multimo 513 User manual

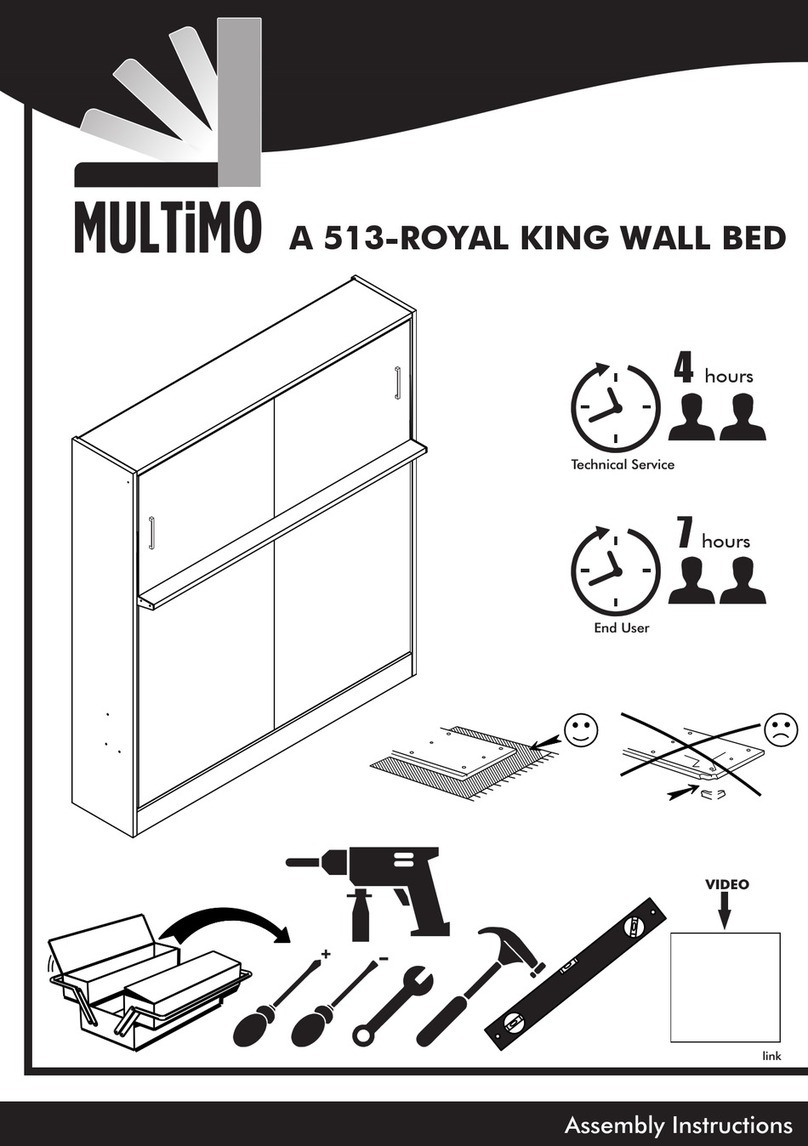
Multimo 513 User manual

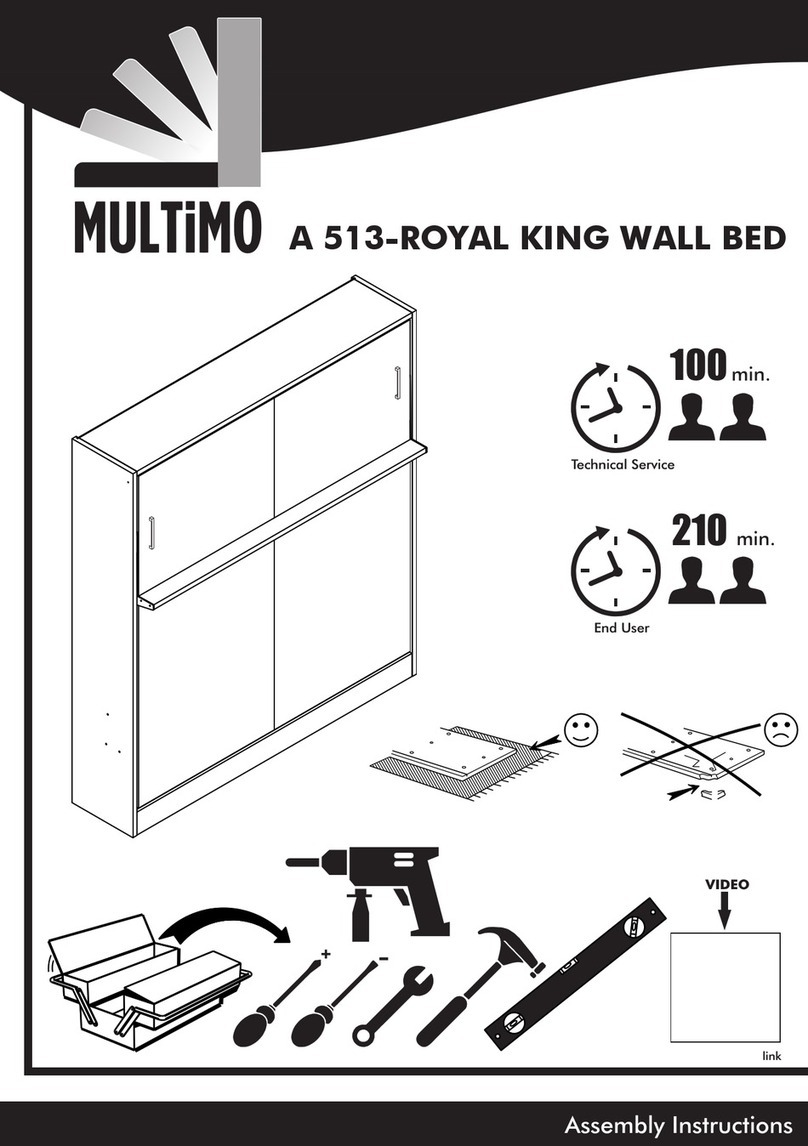
Assembly Instructions
+-
100 min.
210 min.
Technical Service
End User
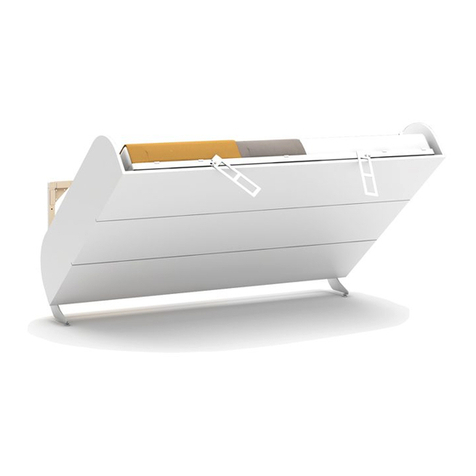
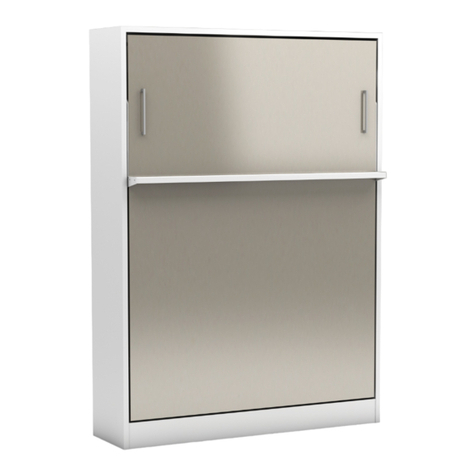
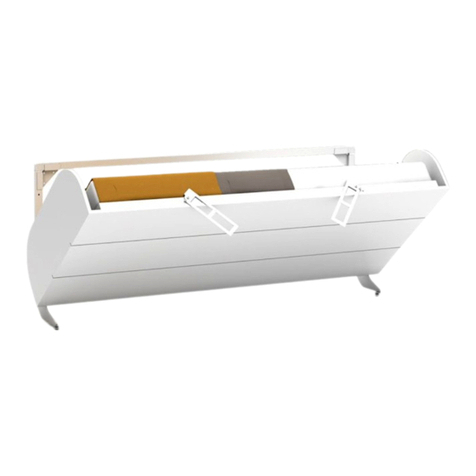
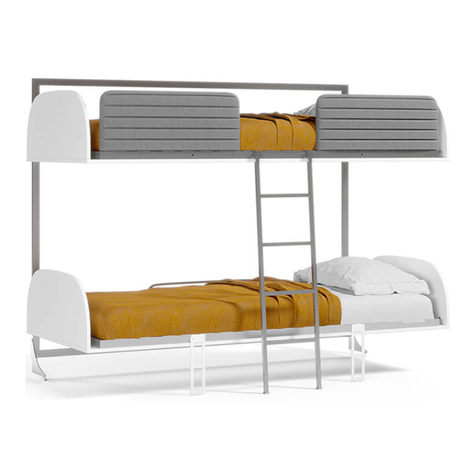
A 513-ROYAL KING WALL BED
Page 1 Page 2
TAP - 02
4 / piece
MNG - 01
34 / piece
CT - 01 ( 6x40 ) mm
2 / piece
IM - 01 (6x30) mm
4 / piece
DSE - 01 (40x90x32) mm
3 / piece
DD - 01 ( R10 )
3 / piece
PL - 02 (8x22x1) mm
3 / piece
VDA - 01 ( 6,5x50 ) mm
4 / piece
VTB - 01 (4,8x16) mm
12 / piece
KP - 01 ( 224 ) mm
2 / piece
VKP - 01 (22) mm
4 / piece
Accessories List
MNX 02
24 / piece
KVL 01
28 / piece
OT-054
2 / piece
VD - 02 (3,5x25) mm
40 / piece
SG - 01
2 / piece
TAP - 01
34 / piece
AVT - 01
6 / piece2 / piece
OT-056D
TFC - 01(8x70) mm
3 / piece
SC - 92
2 / piece
Piece T h ic k ne s s L e n g th Wid th Piece T hic k H e ig ht M o s t
A-R / A-L 21,18 89, 76 17,32 2 30 2280 440
B10,71 78, 35 16,54 1 18 1990 420
C11,18 78, 35 16,50 1 30 1990 419
D10,71 78, 35 11,81 1 18 1990 300
E40,31 89, 25 19,69 4 8 2267 500
F10,71 78, 35 5,67 1 18 1990 144
G20,71 81, 89 38,66 2 18 2080 982
H11,18 77, 48 4,33 1 30 1968 110
K (OPTIONAL HEADBOARD) 21,97 37, 87 78,15 2 50 962 1985
Track Title
(inch)
(m m )
CT - 02 ( 6x30 ) mm
2 / piece
H
A-R
A-L
B
C
D
F
G
K
K
E
VTB - 02 (4,2x16) mm
80 / piece
H 01
2 / piece
1 / piece
KMT-01
E
E
G
MKZ - 05/02
1 / piece
RL
5 / piece
MNX - 03
LTA - 01
26 / piece
1 / piece
PRF
KOR
1 / piece
YSB - 01 ( 3,9x16 ) mm
2 / piece
CTM - 02 ( 8x35 ) mm
2 / piece
CTA - 01 ( 8x15 ) mm
12 / piece
PL - 05 (8x16x2) mm
14 / piece
CTM - 05 ( 8x45 ) mm
2 / piece 2 / piece
OT-056PE
P
M
N
S
R
AL - 01 (4MM)
1 / piece
AL - 01 (4MM)
1 / piece
E
OPTIONAL
HEADBOARD
OPTIONAL
HEADBOARD
Page 3 Page 4
KVL-01 x 2
MNX-02 x 4
F VIDEO
link
STEP 1
MNX - 02
KVL 01
STEP 2 210°
210°
STEP 3
B F
D
A-R
B
F
C
D
MNG - 01 x 8
MNG - 01 x 8
MNG - 01
MNG - 01
A-R/A-L
MNX-02 x 8
KVL-01 x 8
MNX-02 x 4
B
KVL-01 x 4
C
KVL-01 x 8
D
Page 3 Page 4
KVL-01 x 2
MNX-02 x 4
F VIDEO
link
STEP 1
MNX - 02
KVL 01
STEP 2 210°
210°
STEP 3
B F
D
A-R
B
F
C
D
MNG - 01 x 8
MNG - 01 x 8
MNG - 01
MNG - 01
A-R/A-L
MNX-02 x 8
KVL-01 x 8
MNX-02 x 4
B
KVL-01 x 4
C
KVL-01 x 8
D
Page 5 Page 6
STEP 4 STEP 6
VIDEO
link
E
E
E
STEP 5
MNG - 01
A-L
210°
MNG - 01 x 8
VD - 02 X 6
AVT - 01X 6
VD - 02 X 8
25 cm
E
H 01
VD - 02 X 8
Page 5 Page 6
STEP 4 STEP 6
VIDEO
link
E
E
E
STEP 5
MNG - 01
A-L
210°
MNG - 01 x 8
VD - 02 X 6
AVT - 01X 6
VD - 02 X 8
25 cm
E
H 01
VD - 02 X 8
Page 7 Page 8
STEP 7 STEP 9
VIDEO
link
STEP 8
Ø 10 mm / 0,254 inch
DD - 01
TFC - 01
DSE - 01
VTB - 01
PL - 02
KVL 01
MNX - 03
MNX - 03 x 5
MNX - 02 x 6
G
STEP 10
MNG - 01
G
G
210°
MNG - 01 x 10
VD - 02x16
TAP - 01
K
K
OPTIONAL
HEADBOARD
K
K
Page 5
STEP 5
STEP 6
VIDEO
link
210°
A-L
STEP 8-1
VD - 02 X 6
AVT - 01X 6
VD - 02 X 6
VD - 02 X 6
25 cm
MNG - 01 x 6
MNG - 01
FİRST LOCATE THE STUDS BY USİNG ''STUD
FİNDER'' İN THE WALL AND DRİLL İT
ACCORDİNG TO THE HEİGHT MEASURMENTS
GİVEN ON THE SİDE.
UPPER HOLES SHOULD BE DRİLLED
FOR ATTACHİNG BED AT NEXT STEP.
WARNING:
Do not mount furniture on to paper-mache or sheetrock like material properly it to stud.
SUPPLY DRYWALL FASTENERS APPROPPRİATE
TO YOUR WALL TYPE. WE RECOMMEND
USİNG STEEL TOGGLE BOLT ANCHOR THAT
SHOWN BELOW
WALLS MADE OF DRYWALL WITH WOODEN OR METAL STUDS
NOT INCLUDED
Page 8
TAP - 01
Page 7
Page 9
STEP 7 STEP 9
VIDEO
link
STEP 8
Ø 10 mm / 0,254 inch
DD - 01
TFC - 01
DSE - 01
VTB - 01
PL - 02
KVL 01
MNX - 03
MNX - 03 x 5
MNX - 02 x 6
G
STEP 10
MNG - 01
G
G
210°
MNG - 01 x 10
VD - 02x16
TAP - 01
K
K
OPTIONAL
HEADBOARD
K
K
Page 10
Page 10
STEP 11 STEP 13
VIDEO
link
LTA - 01 x 26
M
N
P
R
S
STEP 12
P
R
S
STEP 14
N
M
P
R
P
S
VTB - 02 x 72
G G
CTA - 01
P
M
CTA - 01
PL - 05
24 mm
24 mm
PL - 05
22 mm 22 mm
Page 9
Page 11
STEP 11 STEP 13
VIDEO
link
LTA - 01 x 26
M
N
P
R
S
STEP 12
P
R
S
STEP 14
N
M
P
R
P
S
VTB - 02 x 72
G G
CTA - 01
P
M
CTA - 01
PL - 05
24 mm
24 mm
PL - 05
22 mm 22 mm
Page 12
Page 12
STEP 15 STEP 17
VIDEO
link
Unscrew the Screws
STEP 16 LTA - 01 x 26
G
G
G
G
STEP 18
IM - 01 x 1
AL - 02
PRF
PRF
A-R A-R
IM - 01 x 1
AL - 02
CT - 02 x 1
AL - 01
CAUTION
DO NOT UNLOCK BEFORE INSTALL
MKZ - 05-02 (R/L)
Page 11
Page 13
STEP 15 STEP 17
VIDEO
link
Unscrew the Screws
STEP 16 LTA - 01 x 26
G
G
G
G
STEP 18
IM - 01 x 1
AL - 02
PRF
PRF
A-R A-R
IM - 01 x 1
AL - 02
CT - 02 x 1
AL - 01
CAUTION
DO NOT UNLOCK BEFORE INSTALL
MKZ - 05-02 (R/L)
Page 14
Page 14
STEP 19 STEP 20
VIDEO
link
45-50
LET THE STOPPER LOCK MOVE DOWN !!!
AL - 01
CTM - 02
SG - 01
YSB - 01
VD - 02
OT - 056PE
SC - 92
OT - 056D
CTM - 05
PL - 05
KOR
Page 13
Page 15
STEP 19 STEP 20
VIDEO
link
45-50
LET THE STOPPER LOCK MOVE DOWN !!!
AL - 01
CTM - 02
SG - 01
YSB - 01
VD - 02
OT - 056PE
SC - 92
OT - 056D
CTM - 05
PL - 05
KOR
Page 16
Page 16
STEP 21 STEP 23
VIDEO
link
STEP 22
VTB - 02 X 4
OT - 054
CT - 01
AL - 01
KMT - 01
H
TAP - 02
VDA - 01
VDA - 01
AL - 01
HH
Page 15
Page 17
STEP 21 STEP 23
VIDEO
link
STEP 22
VTB - 02 X 4
OT - 054
CT - 01
AL - 01
KMT - 01
H
TAP - 02
VDA - 01
VDA - 01
AL - 01
HH
Page 18
Page 18
ATTENTION / HOW TO / READ ME / OWNER'S GUIDE
1. When mountng on a regular drywall, furnture must be fastened to wood or
metal studs. Sold walls made of brck, concrete or smlar strong materal are
also accaptable. Do not mount furnture to paper-mache or sheet rock lke
materal wthout properly aaxng to stud.
2. For safety and product longevty you must perodcally nspect the mountng
and mechancal connectons for ntegrty and tghtness. Confrm hardware
remans properly affxed and connectons snug.
3. Wall Bed mattress thckness may not exceed 8 nch. Take care to remove
pllows and excess blankets before closng. Dong so keeps mechansm free of
obstructon and unnecessary stress.
4. Do not lean or rest heavy objects on sde or top of furnture. Ths may cause
balance ssues and compromse the ntegrty of your mountng connectons.
5. Please use the furnture's beds, desks and shelvng as ntended. Not desgned
to be sat, stood, leaned, jumped (etc) on. Improper use may cause personal njury
and damage to property.
6. Wth seasonal humdty change you must nspect nteror and exteror of
furnture.
7. Sngle, Twn, Twn XL beds accommodate the weght of one person.
Improperly sleepng more than one person rsks njury to person and damage to
property.
8. Before any un-mountng or dsassembly please contact Multmo for techncal
support and nstructon. Falure to properly detach rsks njury to person and
damage to property.
9. For Bunk Beds:
a. Always use provded ladder when accessng top bunk.
b. Be slow, careful and aware of surroundngs when openng top bunk.
c. Do not horseplay. Beds are to be slept on only.
d. Some have legs that fully extend when open- be aware of where the leg s and
wll be.
STEP 24
KP - 01
VKP - 01
Page 17
Page 19
ATTENTION / HOW TO / READ ME / OWNER'S GUIDE
1. When mountng on a regular drywall, furnture must be fastened to wood or
metal studs. Sold walls made of brck, concrete or smlar strong materal are
also accaptable. Do not mount furnture to paper-mache or sheet rock lke
materal wthout properly aaxng to stud.
2. For safety and product longevty you must perodcally nspect the mountng
and mechancal connectons for ntegrty and tghtness. Confrm hardware
remans properly affxed and connectons snug.
3. Wall Bed mattress thckness may not exceed 8 nch. Take care to remove
pllows and excess blankets before closng. Dong so keeps mechansm free of
obstructon and unnecessary stress.
4. Do not lean or rest heavy objects on sde or top of furnture. Ths may cause
balance ssues and compromse the ntegrty of your mountng connectons.
5. Please use the furnture's beds, desks and shelvng as ntended. Not desgned
to be sat, stood, leaned, jumped (etc) on. Improper use may cause personal njury
and damage to property.
6. Wth seasonal humdty change you must nspect nteror and exteror of
furnture.
7. Sngle, Twn, Twn XL beds accommodate the weght of one person.
Improperly sleepng more than one person rsks njury to person and damage to
property.
8. Before any un-mountng or dsassembly please contact Multmo for techncal
support and nstructon. Falure to properly detach rsks njury to person and
damage to property.
9. For Bunk Beds:
a. Always use provded ladder when accessng top bunk.
b. Be slow, careful and aware of surroundngs when openng top bunk.
c. Do not horseplay. Beds are to be slept on only.
d. Some have legs that fully extend when open- be aware of where the leg s and
wll be.
STEP 24
VIDEO
link
KP - 01
VKP - 01

This manual suits for next models

1

Other Multimo Indoor Furnishing manuals
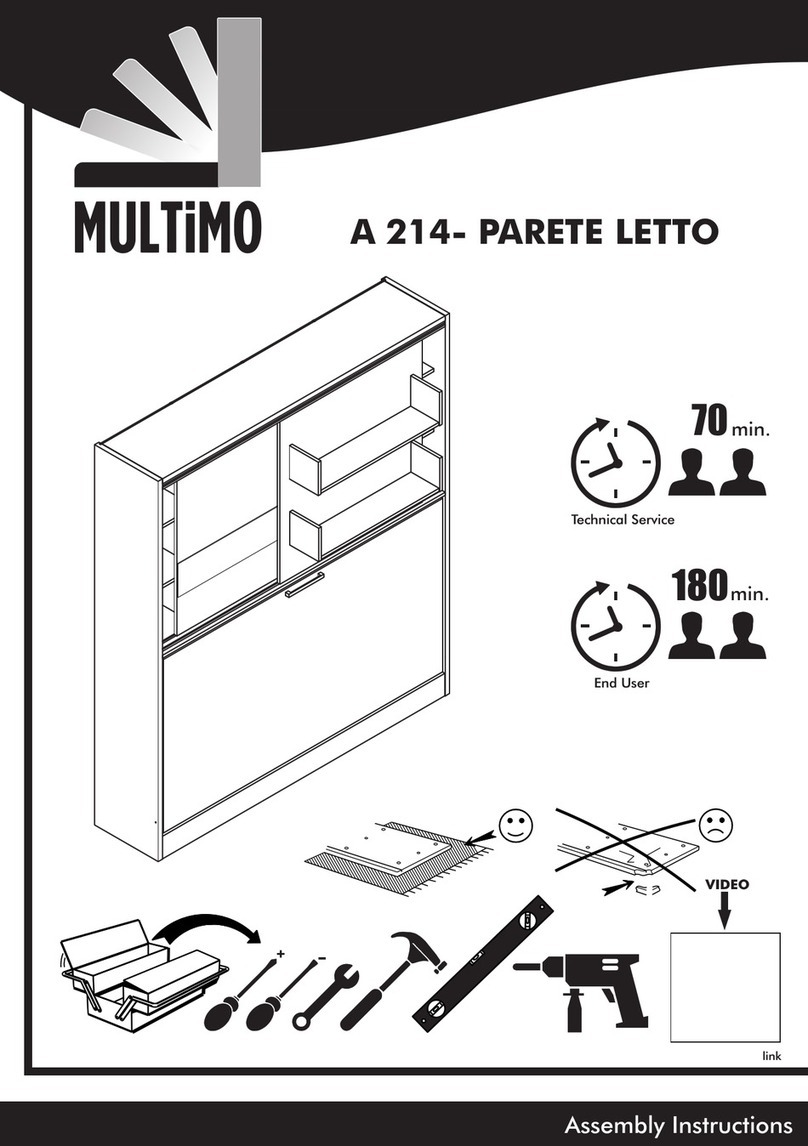
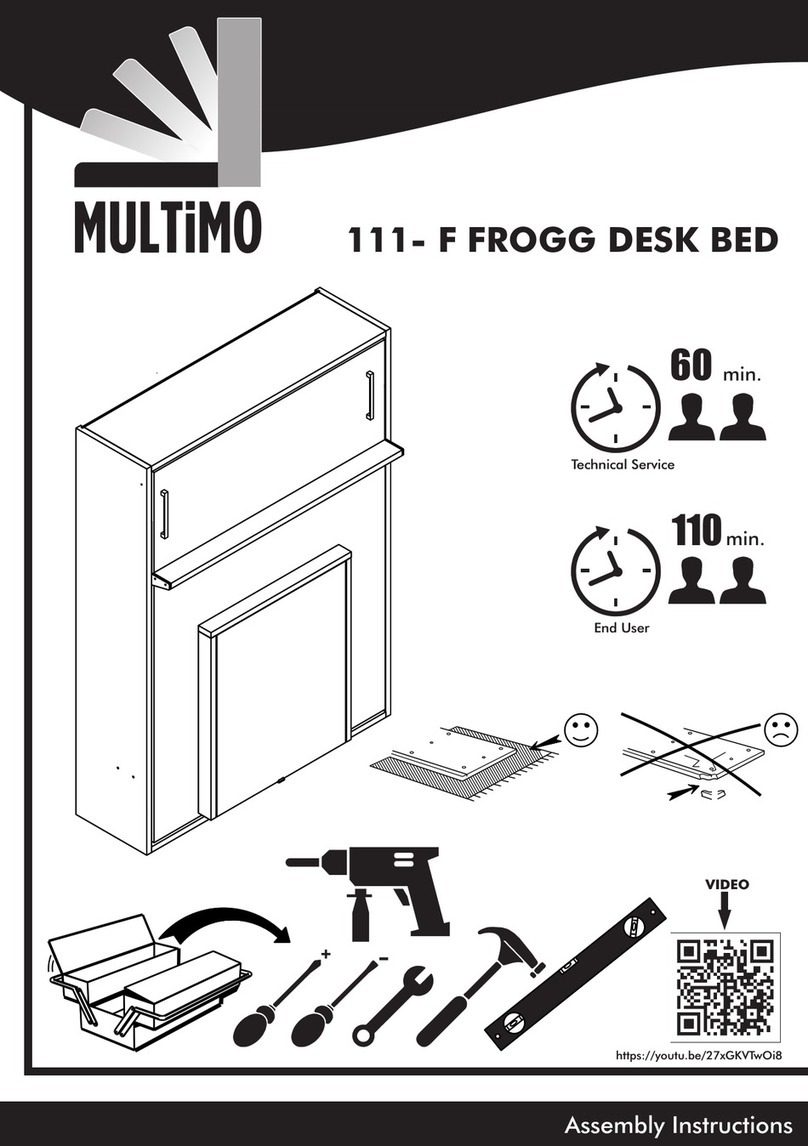
Multimo CAPSULE 215 User manual

Multimo

Multimo CAPSULE 215 User manual

Multimo A 211 SPAZIO QUEEN User manual

Multimo

Multimo A 211 SPAZIO QUEEN User manual

Multimo A 216 TWIN BED User manual

Multimo

Multimo A 216 TWIN BED User manual

Multimo ROYAL A 227 User manual

Multimo

Multimo ROYAL A 227 User manual

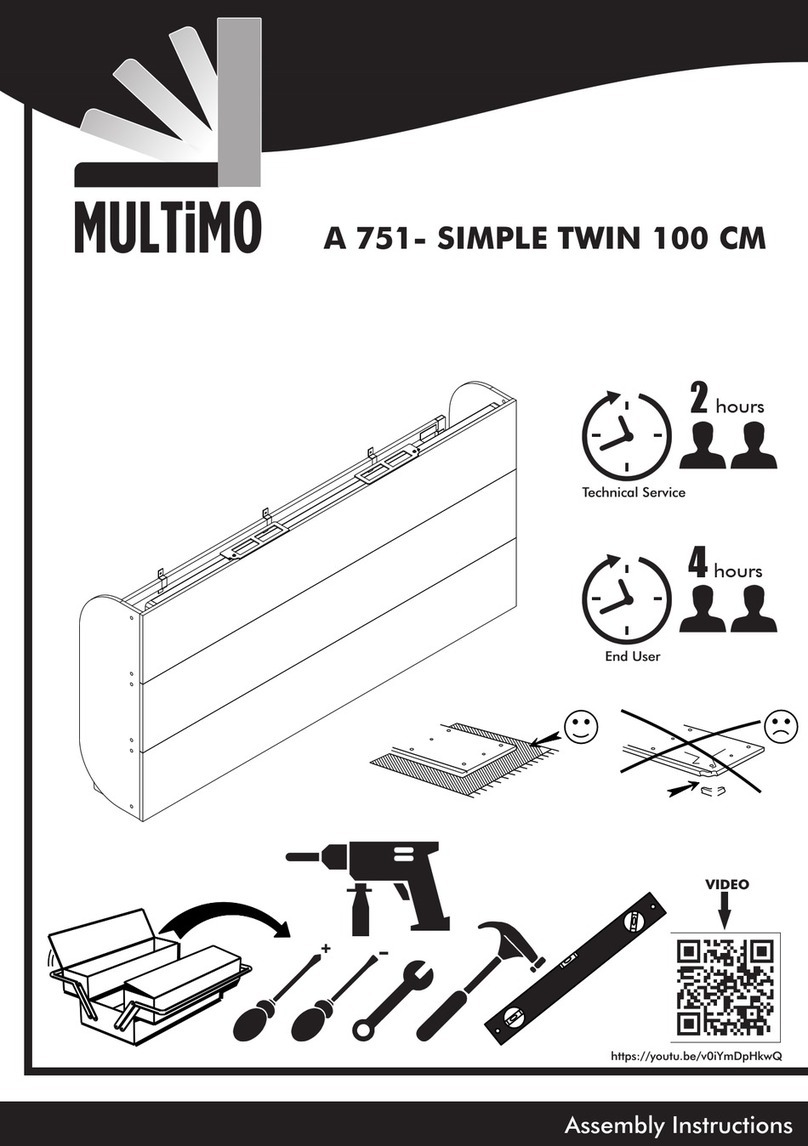
Multimo A 751 SIMPLE TWIN 100 CM User manual

Multimo

Multimo A 751 SIMPLE TWIN 100 CM User manual

Multimo 240 User manual

Multimo

Multimo 240 User manual

Multimo A 209-CAPSULE FOLDING SINGLE BED User manual

Multimo

Multimo A 209-CAPSULE FOLDING SINGLE BED User manual

Multimo A 219 User manual

Multimo

Multimo A 219 User manual

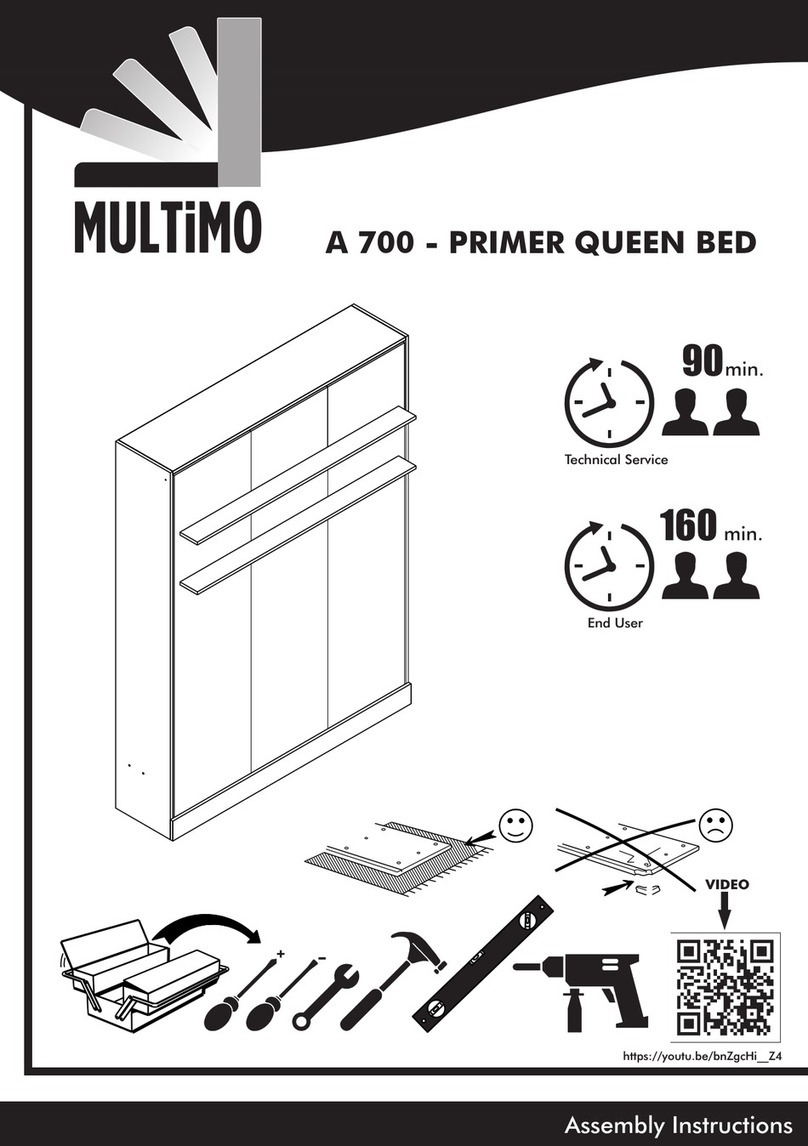
Multimo A 700 PRIMER QUEEN BED User manual

Multimo

Multimo A 700 PRIMER QUEEN BED User manual

Multimo A 216 User manual

Multimo

Multimo A 216 User manual

Multimo A 751 User manual

Multimo

Multimo A 751 User manual

Multimo A 506-ROYAL User manual

Multimo

Multimo A 506-ROYAL User manual

Multimo A 513-ROYAL KING WALL BED User manual

Multimo

Multimo A 513-ROYAL KING WALL BED User manual

Multimo A 511 User manual

Multimo

Multimo A 511 User manual

Multimo 750-SIMPLE BUNK User manual

Multimo

Multimo 750-SIMPLE BUNK User manual
Multimo SPAZIO A 202 User manual

Multimo

Multimo SPAZIO A 202 User manual

Multimo 1101D-HAPPY User manual

Multimo

Multimo 1101D-HAPPY User manual

Multimo A 502 User manual

Multimo

Multimo A 502 User manual
Multimo 225-ROYAL PLUS 160 User manual

Multimo

Multimo 225-ROYAL PLUS 160 User manual

Multimo A 207 SINGLE B.CASE User manual

Multimo

Multimo A 207 SINGLE B.CASE User manual

Multimo 115-NITRO User manual

Multimo

Multimo 115-NITRO User manual

Multimo A 511 User manual

Multimo

Multimo A 511 User manual

Multimo 753 SIMPLE 140 User manual

Multimo

Multimo 753 SIMPLE 140 User manual

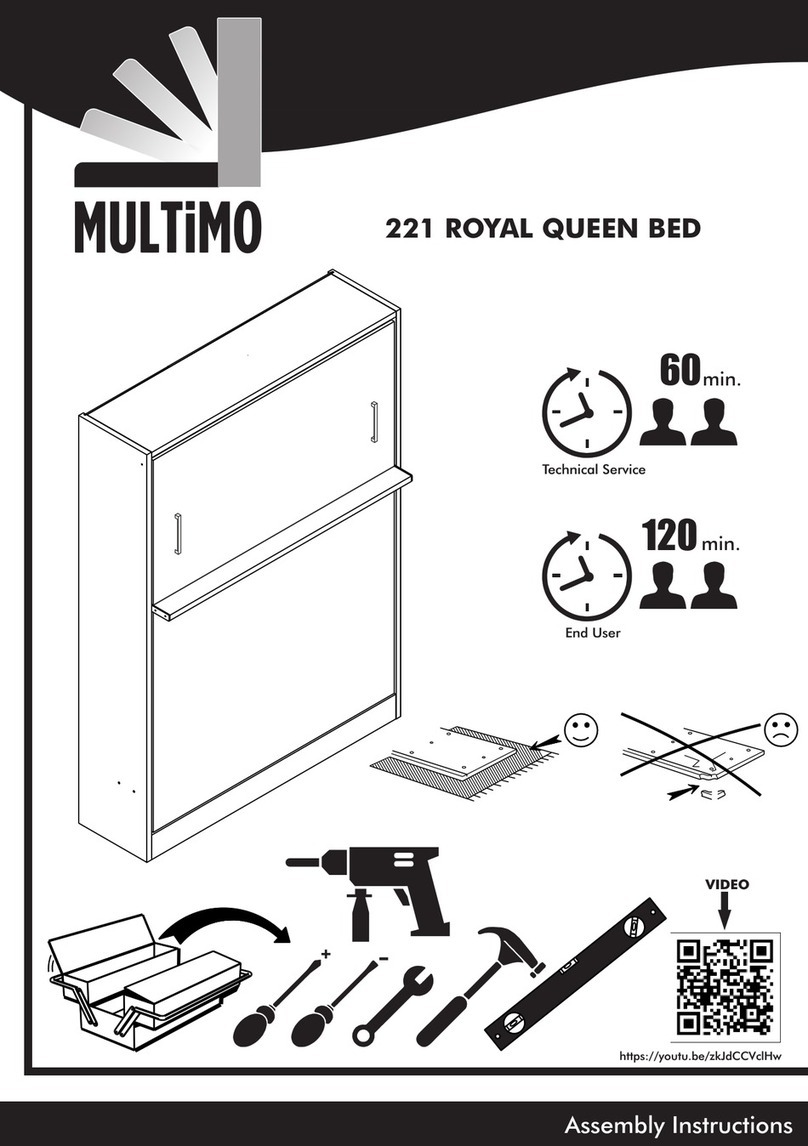
Multimo 221-ROYAL DUOBLE BED User manual

Multimo

Multimo 221-ROYAL DUOBLE BED User manual

Popular Indoor Furnishing manuals by other brands

Seconique DURHAM Assembly instructions

Seconique

Seconique DURHAM Assembly instructions

Southern Enterprises MS9350 manual

Southern Enterprises

Southern Enterprises MS9350 manual

Seville Classics UltraHD 20272 Assembly instructions

Seville Classics

Seville Classics UltraHD 20272 Assembly instructions

Costway Giantex HW61849 user manual

Costway

Costway Giantex HW61849 user manual

Stompa 80364528 Assembly instructions

Stompa

Stompa 80364528 Assembly instructions

BFM futureglass Ultimate Assembly instructions

BFM

BFM futureglass Ultimate Assembly instructions

Techni Sport TS83 Assembly instructions

Techni Sport

Techni Sport TS83 Assembly instructions

zieta G-CONSOLE MONO STEEL quick start guide

zieta

zieta G-CONSOLE MONO STEEL quick start guide

Tech Craft TCL5028 Assembly instruction

Tech Craft

Tech Craft TCL5028 Assembly instruction

adairs ORLANDO Assembly instructions

adairs

adairs ORLANDO Assembly instructions

Rona 20035062 Operator's manual

Rona

Rona 20035062 Operator's manual

Dorel AMERIWOOD 5596012PCOM manual

Dorel

Dorel AMERIWOOD 5596012PCOM manual

Rhino-Rack Slumber Chair with Foot Rest manual

Rhino-Rack

Rhino-Rack Slumber Chair with Foot Rest manual

AM.PM Minela 4734960 manual

AM.PM

AM.PM Minela 4734960 manual

OSP Home Furnishings CDR48 Assembly instructions

OSP Home Furnishings

OSP Home Furnishings CDR48 Assembly instructions

Intercon HI-TA-4076 Assembly instructions

Intercon

Intercon HI-TA-4076 Assembly instructions

pottery barn kids BELDEN CORNER UNIT manual

pottery barn kids

pottery barn kids BELDEN CORNER UNIT manual

Whalen Bayside CSC7PD-12 Assembly instructions

Whalen

Whalen Bayside CSC7PD-12 Assembly instructions

manuals.online logo
manuals.online logoBrands
  • About & Mission
  • Contact us
  • Privacy Policy
  • Terms and Conditions

Copyright 2025 Manuals.Online. All Rights Reserved.