manuals.online logo
Brands
  1. Home
  2. •
  3. Brands
  4. •
  5. Multimo
  6. •
  7. Indoor Furnishing
  8. •
  9. Multimo A 513 User manual

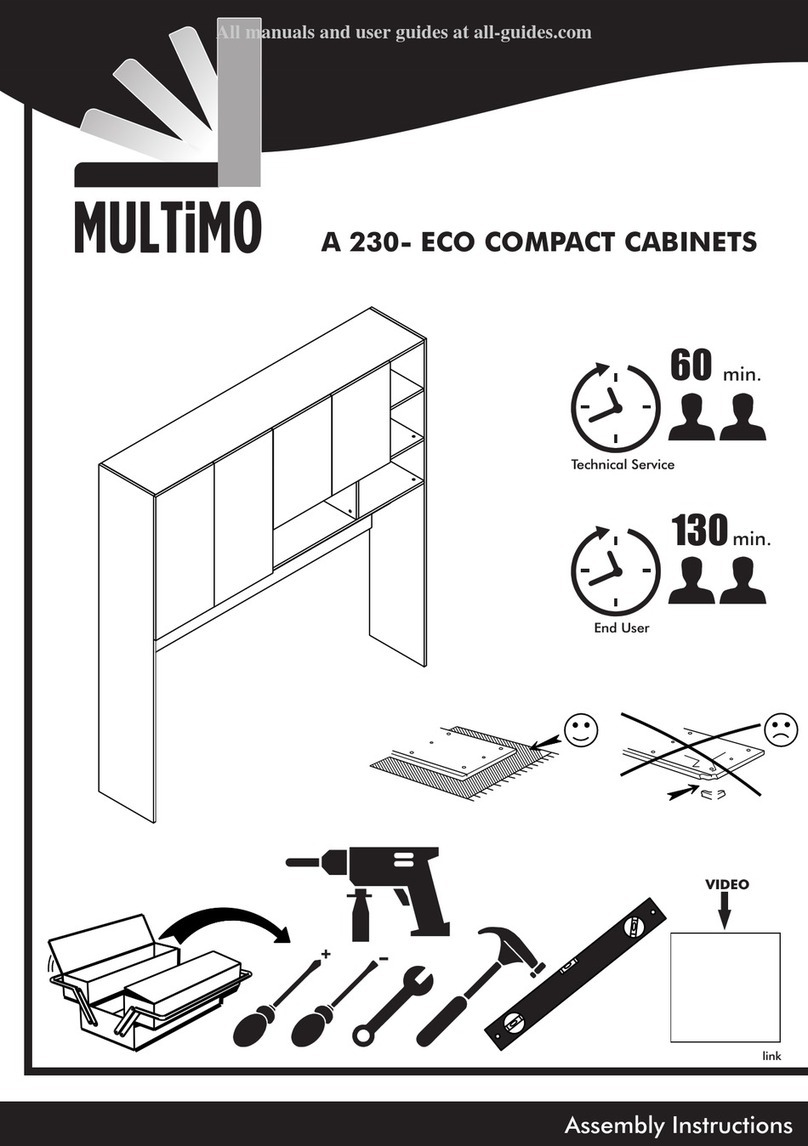
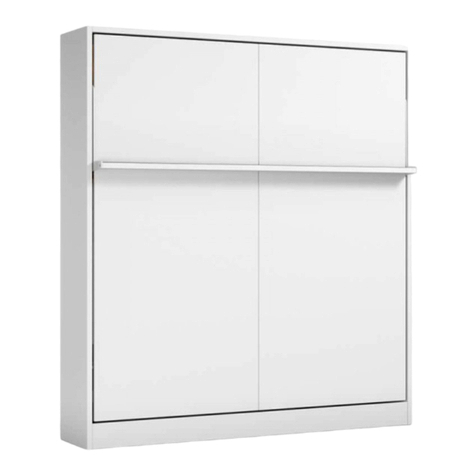
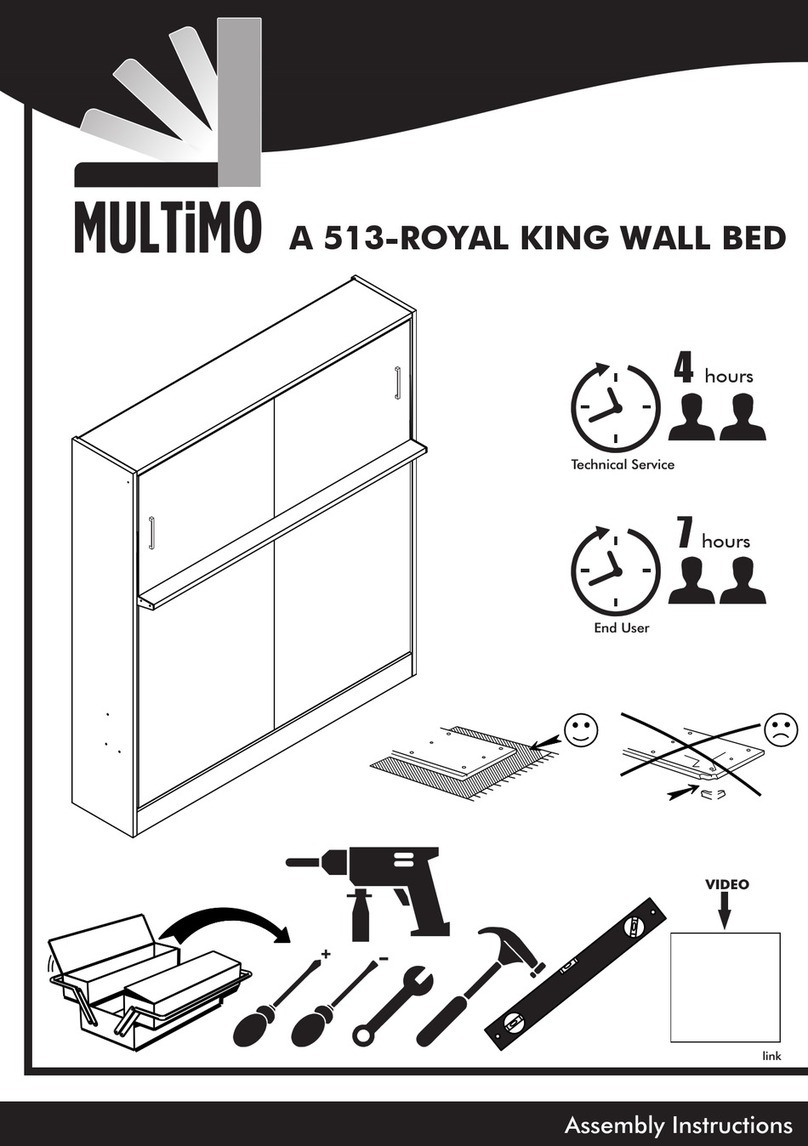
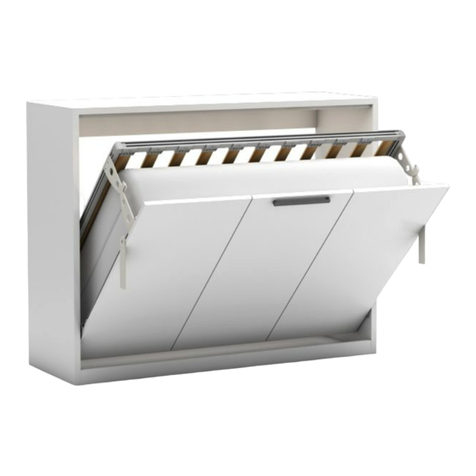
Multimo A 513 User manual

Assembly Instructions
+-
VIDEO
link
100 min.
210 min.
Technical Service
End User
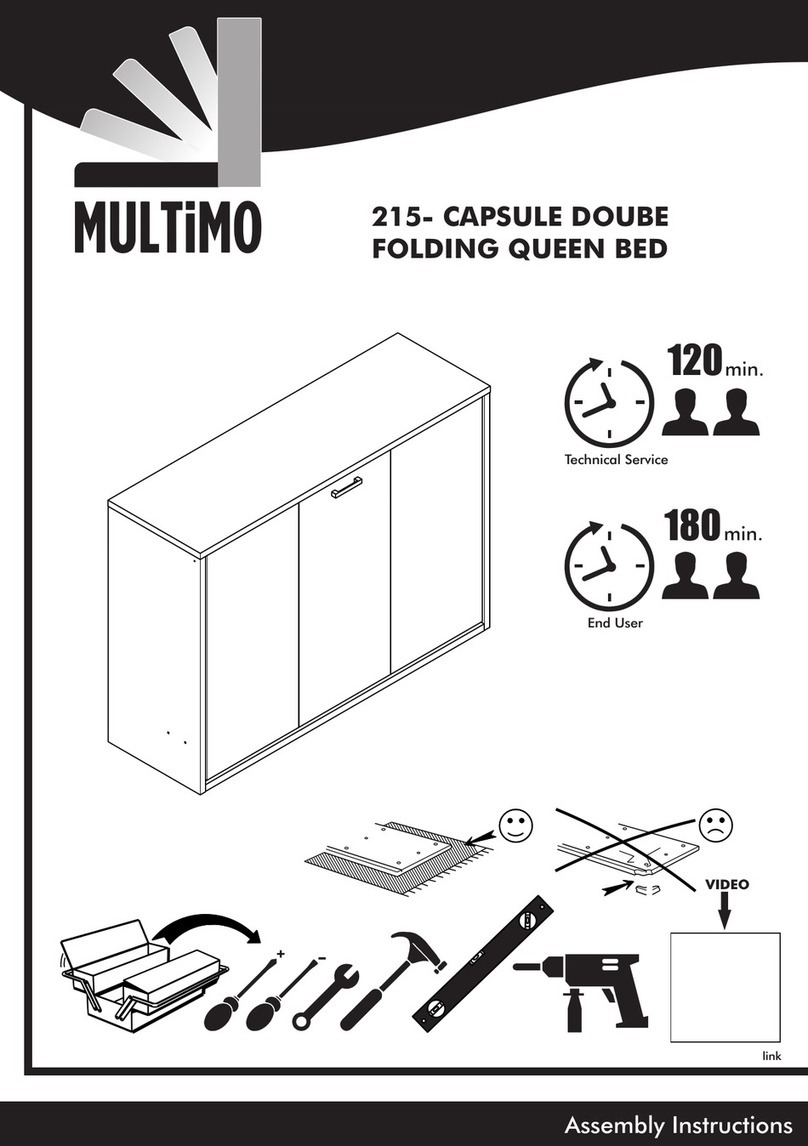
A 513-ROYAL KING WALL BED
Page 1 Page 2
TAP - 02
4 / piece
MNG - 01
34 / piece
CT - 01 ( 6x40 ) mm
2 / piece
IM - 01 (6x30) mm
4 / piece
DSE - 01 (40x90x32) mm
3 / piece
DD - 01 ( R10 )
3 / piece
PL - 02 (8x22x1) mm
3 / piece
VDA - 01 ( 6,5x50 ) mm
4 / piece
VTB - 01 (4,8x16) mm
12 / piece
KP - 01 ( 224 ) mm
2 / piece
VKP - 01 (22) mm
4 / piece
Accessories List
MNX 02
24 / piece
KVL 01
28 / piece
OT-054
2 / piece
VD - 02 (3,5x25) mm
40 / piece
SG - 01
2 / piece
TAP - 01
34 / piece
AVT - 01
6 / piece2 / piece
OT-056D
TFC - 01(8x70) mm
3 / piece
SC - 92
2 / piece
Piece T h ic k ne s s L e n g th Wid th Piece T hic k H e ig ht M o s t
A-R / A-L 21,18 89, 76 17,32 2 30 2280 440
B10,71 78, 35 16,54 1 18 1990 420
C11,18 78, 35 16,50 1 30 1990 419
D10,71 78, 35 11,81 1 18 1990 300
E40,31 89, 25 19,69 4 8 2267 500
F10,71 78, 35 5,67 1 18 1990 144
G20,71 81, 89 38,66 2 18 2080 982
H11,18 77, 48 4,33 1 30 1968 110
K (OPTIONAL HEADBOARD) 21,97 37, 87 78,15 2 50 962 1985
Track Title
(inch)
(m m )
CT - 02 ( 6x30 ) mm
2 / piece
H
A-R
A-L
B
C
D
F
G
K
K
E
VTB - 02 (4,2x16) mm
80 / piece
H 01
2 / piece
1 / piece
KMT-01
E
E
G
MKZ - 05/02
1 / piece
RL
5 / piece
MNX - 03
LTA - 01
26 / piece
1 / piece
PRF
KOR
1 / piece
YSB - 01 ( 3,9x16 ) mm
2 / piece
CTM - 02 ( 8x35 ) mm
2 / piece
CTA - 01 ( 8x15 ) mm
12 / piece
PL - 05 (8x16x2) mm
14 / piece
CTM - 05 ( 8x45 ) mm
2 / piece 2 / piece
OT-056PE
P
M
N
S
R
AL - 01 (4MM)
1 / piece
AL - 01 (4MM)
1 / piece
E
OPTIONAL
HEADBOARD
OPTIONAL
HEADBOARD
KKS - 01
2 / piece
Page 3 Page 4
KVL-01 x 2
MNX-02 x 4
F VIDEO
link
VIDEO
link
STEP 1
MNX - 02
KVL 01
STEP 2 210°
210°
STEP 3
B F
D
A-R
B
F
C
D
MNG - 01 x 8
MNG - 01 x 8
MNG - 01
MNG - 01
A-R/A-L
MNX-02 x 8
KVL-01 x 8
MNX-02 x 4
B
KVL-01 x 4
C
KVL-01 x 8
D
Page 3 Page 4
KVL-01 x 2
MNX-02 x 4
F VIDEO
link
VIDEO
link
STEP 1
MNX - 02
KVL 01
STEP 2 210°
210°
STEP 3
B F
D
A-R
B
F
C
D
MNG - 01 x 8
MNG - 01 x 8
MNG - 01
MNG - 01
A-R/A-L
MNX-02 x 8
KVL-01 x 8
MNX-02 x 4
B
KVL-01 x 4
C
KVL-01 x 8
D
Page 5 Page 6
STEP 4 STEP 6
VIDEO
link
VIDEO
link
E
E
E
STEP 5
MNG - 01
A-L
210°
MNG - 01 x 8
VD - 02 X 6
AVT - 01X 6
VD - 02 X 8
25 cm
E
H 01
VD - 02 X 8
Page 5 Page 6
STEP 4 STEP 6
VIDEO
link
VIDEO
link
E
E
E
STEP 5
MNG - 01
A-L
210°
MNG - 01 x 8
VD - 02 X 6
AVT - 01X 6
VD - 02 X 8
25 cm
E
H 01
VD - 02 X 8
Page 7 Page 8
STEP 7 STEP 8-1
VIDEO
link
STEP 8
Ø 10 mm / 0,254 inch
DD - 01
TFC - 01
DSE - 01
VTB - 01
PL - 02
VD - 02x16
TAP - 01
K
K
OPTIONAL
HEADBOARD
K
K
WALLS MADE OF DRYWALL WITH WOODEN OR METAL STUDS
FİRST LOCATE THE STUDS BY USİNG ''STUD
FİNDER'' İN THE WALL AND DRİLL İT
ACCORDİNG TO THE HEİGHT MEASURMENTS
GİVEN ON THE SİDE.
UPPER HOLES SHOULD BE DRİLLED
FOR ATTACHİNG BED AT NEXT STEP.
SUPPLY DRYWALL FASTENERS APPROPPRIATE
TO YOUR WALL TYPE. WE RECOMMEND
USING STEEL TOGGLE BOLT ANCHOR THAT
SHOWN BELOW
NOT INCLUDED
Ø 10 mm / 0,254 inc
Ø 10 mm / 0,254 inch
DD - 01
TFC - 01
DSE - 01
VTB - 01
PL - 02
TAP - 01
Page 9 Page 10
STEP 09 STEP 11
VIDEO
link
VIDEO
link
LTA - 01 x 26
M
N
P
R
S
STEP 12
P
R
S
P
S
CTA - 01
PL - 05
KVL 01
MNX - 03
STEP 10
MNG - 01
G
G
210°
MNG - 01 x 10
MNX - 03 x 5
MNX - 02 x 6
G
G G
Page 9 Page 10
STEP 09 STEP 11
VIDEO
link
VIDEO
link
LTA - 01 x 26
M
N
P
R
S
STEP 12
P
R
S
P
S
CTA - 01
PL - 05
KVL 01
MNX - 03
STEP 10
MNG - 01
G
G
210°
MNG - 01 x 10
MNX - 03 x 5
MNX - 02 x 6
G
G G
Page 11 Page 12
STEP 13 STEP 15
VIDEO
link
VIDEO
link
Unscrew the Screws
STEP 16 LTA - 01 x 26
G
G
G
G
STEP 14
N
M
P
R
VTB - 02 x 72
G G
P
M
CTA - 01
PL - 05
24 mm
24 mm
22 mm 22 mm
Page 11 Page 12
STEP 13 STEP 15
VIDEO
link
VIDEO
link
Unscrew the Screws
STEP 16 LTA - 01 x 26
G
G
G
G
STEP 14
N
M
P
R
VTB - 02 x 72
G G
P
M
CTA - 01
PL - 05
24 mm
24 mm
22 mm 22 mm
Page 13 Page 14
STEP 17 STEP 19
VIDEO
link
VIDEO
link
45-50
LET THE STOPPER LOCK MOVE DOWN !!!
STEP 18
IM - 01 x 1
AL - 02
PRF
PRF
A-R A-R
IM - 01 x 1
AL - 02
CT - 02 x 1
AL - 01
CAUTION
DO NOT UNLOCK BEFORE INSTALL
MKZ - 05-02 (R/L)
AL - 01
CTM - 02
Page 13 Page 14
STEP 17 STEP 19
VIDEO
link
VIDEO
link
45-50
LET THE STOPPER LOCK MOVE DOWN !!!
STEP 18
IM - 01 x 1
AL - 02
PRF
PRF
A-R A-R
IM - 01 x 1
AL - 02
CT - 02 x 1
AL - 01
CAUTION
DO NOT UNLOCK BEFORE INSTALL
MKZ - 05-02 (R/L)
AL - 01
CTM - 02
Page 15 Page 16
STEP 21
VIDEO
link
VIDEO
link
STEP 22
OT - 054
CT - 01
AL - 01
STEP 20
SG - 01
YSB - 01
VD - 02
OT - 056PE
SC - 92
OT - 056D
CTM - 05
PL - 05
KOR
KKS - 01 X 2
VTB - 02 X 4
KMT - 01
Page 15 Page 16
STEP 21
VIDEO
link
VIDEO
link
STEP 22
OT - 054
CT - 01
AL - 01
STEP 20
SG - 01
YSB - 01
VD - 02
OT - 056PE
SC - 92
OT - 056D
CTM - 05
PL - 05
KOR
KKS - 01 X 2
VTB - 02 X 4
KMT - 01
Page 17 Page 18
STEP 23
VIDEO
link
ATTENTION / HOW TO / READ ME / OWNER'S GUIDE
1. Wall beds must be securely attached to the wall. Hardware for mounting to
concrete, brick or similar strong material is included.
2. When mounting to drywall, wall beds must be attached to wooden or metal
studs in 2 or 3 points. Do not mount wall beds directly to drywall or paper-
mache type wall without properly attaching it to studs. Please choose
appropriate fasteners for the type of wall the bed will be mounted on.
Drywall mounting hardware is not included.
3. For safety and product longevity you must periodically inspect the integrity
and tightness of the mounting and mechanical connections. Confirm
hardware remains properly affixed and connections are snug.
4. Do not lean or rest heavy objects on sides or top of furniture. This may cause
balance issues and compromise the integrity of your mounting connections.
5. Please use wall beds and integrated shelves, desks and sofas as intended.
Do not jump and/or exceed supported weight limits. Do not sit or lean on
integrated shelves and desks. Improper use may cause personal injury and
damage to property.
6. With seasonal humidity change please inspect the interior and exterior of the
furniture for deformation and/or discoloration.
7. Before any un-mounting or disassembly please contact Multimo Beds for
technical support and instructions. Failure to properly detach may result in
personal injury and damage to property.
H
TAP - 02
VDA - 01
AL - 01
HH
KP - 01
VKP - 01
www.multmobeds.com

Other Multimo Indoor Furnishing manuals

Multimo 111M User manual

Multimo

Multimo 111M User manual

Multimo AFOS 124 User manual

Multimo

Multimo AFOS 124 User manual

Multimo 221-ROYAL DUOBLE BED User manual

Multimo

Multimo 221-ROYAL DUOBLE BED User manual

Multimo 113 STUDIO 5 RIGHT User manual

Multimo

Multimo 113 STUDIO 5 RIGHT User manual

Multimo ROYAL BOOKCASE 100 A 502 User manual

Multimo

Multimo ROYAL BOOKCASE 100 A 502 User manual

Multimo A 751 User manual

Multimo

Multimo A 751 User manual

Multimo ROYAL BOOKCASE 50 User manual

Multimo

Multimo ROYAL BOOKCASE 50 User manual

Multimo A 506-ROYAL User manual

Multimo

Multimo A 506-ROYAL User manual

Multimo 107-SINGLE WARDROBE User manual

Multimo

Multimo 107-SINGLE WARDROBE User manual

Multimo A 212 CASTELLO User manual

Multimo

Multimo A 212 CASTELLO User manual

Multimo A 216 User manual

Multimo

Multimo A 216 User manual

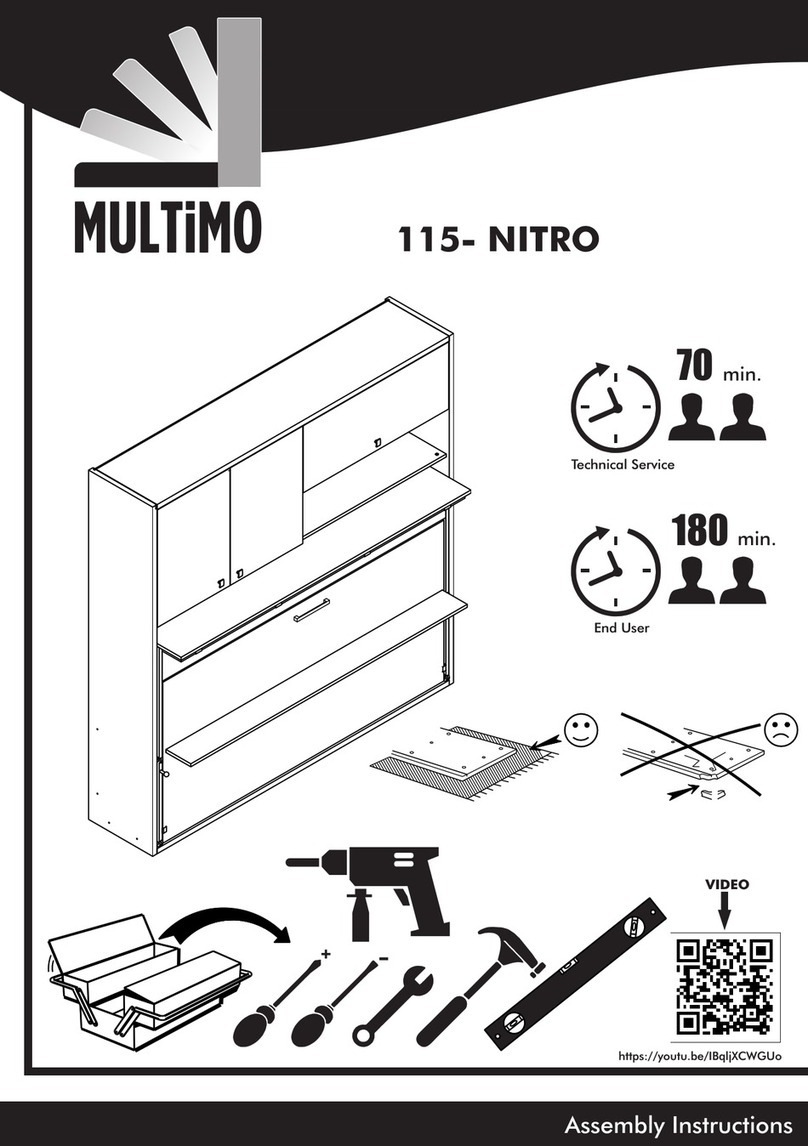
Multimo 115-NITRO User manual

Multimo

Multimo 115-NITRO User manual

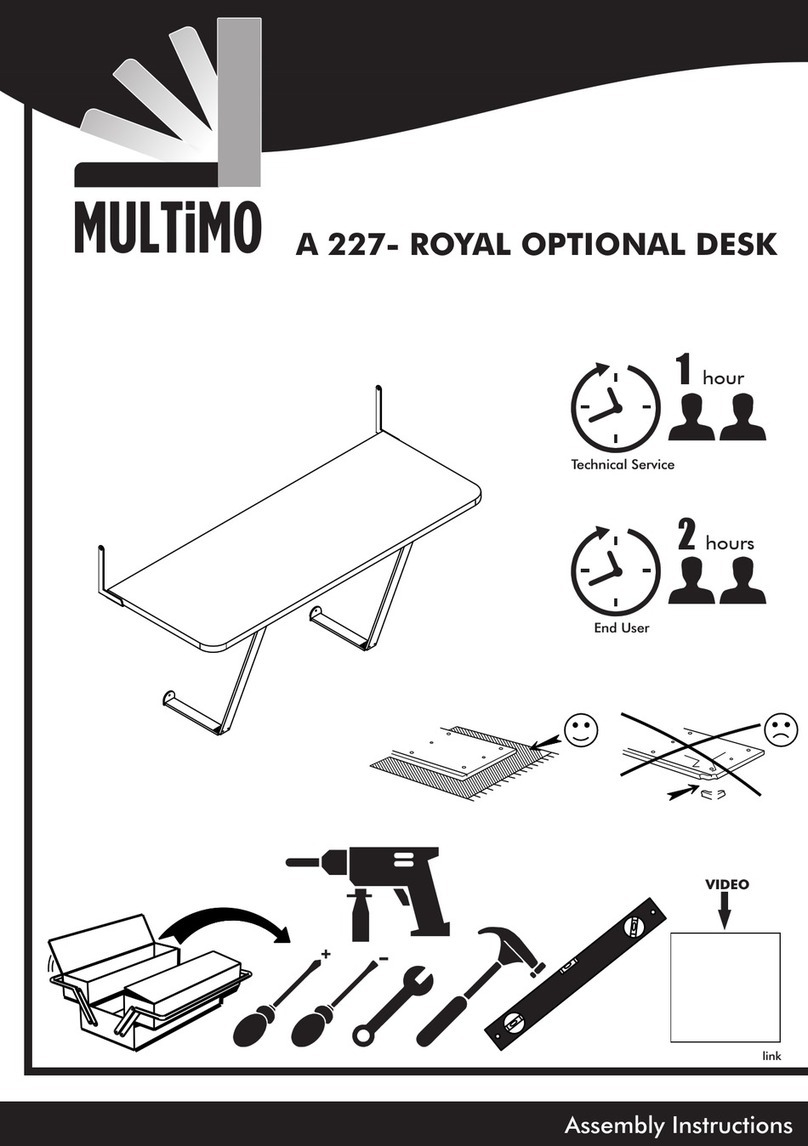
Multimo STUDIO 5 RIGHT A-213 User manual
Multimo

Multimo STUDIO 5 RIGHT A-213 User manual

Multimo 513 User manual

Multimo

Multimo 513 User manual

Multimo 218-ROYAL BOOKCASE 100 User manual

Multimo

Multimo 218-ROYAL BOOKCASE 100 User manual

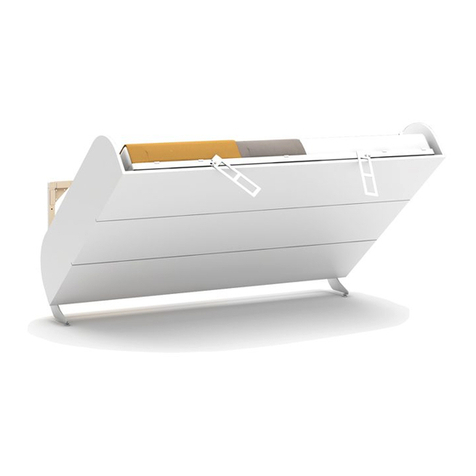
Multimo A 513-ROYAL KING WALL BED User manual

Multimo

Multimo A 513-ROYAL KING WALL BED User manual

Multimo NOVA A 250 User manual

Multimo

Multimo NOVA A 250 User manual

Multimo A 502- ROYAL BOOKCASE 100 User manual

Multimo

Multimo A 502- ROYAL BOOKCASE 100 User manual

Multimo ROYAL BOOKCASE 50 A 504 User manual

Multimo

Multimo ROYAL BOOKCASE 50 A 504 User manual

Multimo A 220 User manual

Multimo

Multimo A 220 User manual

Multimo 250-NOVA QUEEN BED User manual

Multimo

Multimo 250-NOVA QUEEN BED User manual

Multimo A 520 User manual

Multimo

Multimo A 520 User manual
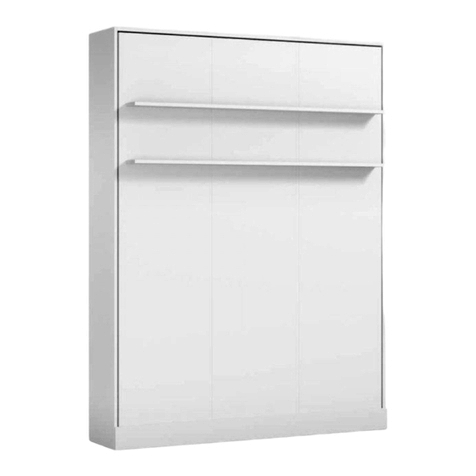
Multimo 104-TOP User manual

Multimo

Multimo 104-TOP User manual

Multimo A 222-H User manual

Multimo

Multimo A 222-H User manual

Popular Indoor Furnishing manuals by other brands

modway EEI-3348 manual

modway

modway EEI-3348 manual

MARCKERIC 2P1C Assembly instructions

MARCKERIC

MARCKERIC 2P1C Assembly instructions

Germania 1691 Assembly instruction

Germania

Germania 1691 Assembly instruction

VERTBAUDET Kana 1062748001 Assembly instructions

VERTBAUDET

VERTBAUDET Kana 1062748001 Assembly instructions

Mocka Canyon Assembly instructions

Mocka

Mocka Canyon Assembly instructions

Amart Furniture NORMANDY 69281 Assembly instruction

Amart Furniture

Amart Furniture NORMANDY 69281 Assembly instruction

GPM Corona CHT6DWGRY Assembly instructions

GPM

GPM Corona CHT6DWGRY Assembly instructions

Sanus Alabaster Collection ACV73 quick start guide

Sanus

Sanus Alabaster Collection ACV73 quick start guide

WB Manufacturing EPIC Assembly instructions

WB Manufacturing

WB Manufacturing EPIC Assembly instructions

Boraam RAFAEL Assembly instructions

Boraam

Boraam RAFAEL Assembly instructions

GFW JAK5DRMNG Assembly instructions

GFW

GFW JAK5DRMNG Assembly instructions

HELD MOBEL Matera 88119.523 Assembly instructions

HELD MOBEL

HELD MOBEL Matera 88119.523 Assembly instructions

Wittmann Spring Assembly instruction

Wittmann

Wittmann Spring Assembly instruction

Furniture Solutions 17CAE14SG instruction manual

Furniture Solutions

Furniture Solutions 17CAE14SG instruction manual

EXPEDO ONESIA 90 Assembly instruction

EXPEDO

EXPEDO ONESIA 90 Assembly instruction

Kvik H560-060 Assembly instructions

Kvik

Kvik H560-060 Assembly instructions

Walker Edison W52C2DW Assembly instructions

Walker Edison

Walker Edison W52C2DW Assembly instructions

IKEA KULLEN Assembly instruction

IKEA

IKEA KULLEN Assembly instruction

manuals.online logo
manuals.online logoBrands
  • About & Mission
  • Contact us
  • Privacy Policy
  • Terms and Conditions

Copyright 2025 Manuals.Online. All Rights Reserved.