manuals.online logo
Brands
  1. Home
  2. •
  3. Brands
  4. •
  5. Multimo
  6. •
  7. Indoor Furnishing
  8. •
  9. Multimo A 201 User manual

Multimo A 201 User manual

Assembly Instructions
VIDEO
link
+-
A 201- SPAZIO TWİN
45 min.
Technical Service
100 min.
End User
Page 1 Page 2
MNG - 01
18 / piece
KP - 01 ( 224 ) mm
1 / piece
VKP - 01 (22) mm
2 / piece
DD - 01 ( R10 )
2 / piece
VD - 01(6X70) mm
2 / piece
DSE - 02
2 / piece
VD - 03 ( 3,5x18 ) mm
6 / piece
Accessories List
MNX 02
18 / piece
TTC 01
4 / piece
SC-61
2 / piece
KVL 01
44/ piece
MKZ - 02
1 / piece 350N
R L
OT-054
2 / piece
TAP - 01
18 / piece
AL - 01 (4MM)
1 / piece
AL - 02 (5MM)
1 / piece
AVT - 01
10 / piece
H 01
3 / piece
VD - 02 (3,5x25) mm
16 / piece
Pie c e T h ic k n e s s L e n g t h W id t h Pie ce T h ic k H e i g h t M o s t
A11, 18 79, 45 17,40 1 30 2018 442
B10, 71 77, 01 16,54 1 18 1956 420
C10, 71 77, 01 5, 31 1 18 1956 135
D21, 18 47, 40 17,32 2 30 1204 440
E40, 31 47, 32 19,33 4 8 1202 491
F10, 71 75, 98 40,94 1 18 1930 1040
H10, 71 46, 69 4, 72 1 18 1186 120
H-R / H-L 20, 71 46, 69 4, 72 2 18 1186 120
J40, 71 25, 59 4, 65 4 18 650 118
Tra ck T it le
(inch)
(m m )
D-R
D-L
E
E
E
E
A
F
H-R
H
H-L
J
J
J
J
B
C
IM - 01 (6x30) mm
4 / piece
CT - 01 ( 6x40 ) mm
2 / piece
VTB - 02 (4,2x16) mm
8 / piece 1 / piece
KMT-01
KKS - 01
2 / piece
KBP - 01
2 / piece
KLF 02 (fabric cover)
1 / piece
KOR 02
1 / piece
YSB - 02 ( 4x20 ) mm
4 / piece
Page 1 Page 2
MNG - 01
18 / piece
KP - 01 ( 224 ) mm
1 / piece
VKP - 01 (22) mm
2 / piece
DD - 01 ( R10 )
2 / piece
VD - 01(6X70) mm
2 / piece
DSE - 02
2 / piece
VD - 03 ( 3,5x18 ) mm
6 / piece
Accessories List
MNX 02
18 / piece
TTC 01
4 / piece
SC-61
2 / piece
KVL 01
44/ piece
MKZ - 02
1 / piece 350N
R L
OT-054
2 / piece
TAP - 01
18 / piece
AL - 01 (4MM)
1 / piece
AL - 02 (5MM)
1 / piece
AVT - 01
10 / piece
H 01
3 / piece
VD - 02 (3,5x25) mm
16 / piece
Pie c e T h ic k n e s s L e n g t h W i d t h Pie c e T h i c k H e i g h t M o s t
A11, 18 79, 45 17,40 1 30 2018 442
B10, 71 77, 01 16,54 1 18 1956 420
C10, 71 77, 01 5, 31 1 18 1956 135
D21, 18 47, 40 17,32 2 30 1204 440
E40, 31 47, 32 19,33 4 8 1202 491
F10, 71 75, 98 40,94 1 18 1930 1040
H10, 71 46, 69 4, 72 1 18 1186 120
H-R / H-L 20, 71 46, 69 4, 72 2 18 1186 120
J40, 71 25, 59 4, 65 4 18 650 118
Tra ck T it le
(inch)
(m m )
D-R
D-L
E
E
E
E
A
F
H-R
H
H-L
J
J
J
J
B
C
IM - 01 (6x30) mm
4 / piece
CT - 01 ( 6x40 ) mm
2 / piece
VTB - 02 (4,2x16) mm
8 / piece 1 / piece
KMT-01
KKS - 01
2 / piece
KBP - 01
2 / piece
KLF 02 (fabric cover)
1 / piece
KOR 02
1 / piece
YSB - 02 ( 4x20 ) mm
4 / piece
Page 3 Page 4
KVL-01 x 4
HVIDEO
link
VIDEO
link
STEP 1 STEP 2
MNG - 01
STEP 3
A
MNX - 02
KVL 01
210°
210°
C
D-R
B C
B
MNG - 01 x 4
MNG - 01 x 2
C
KVL-01 x 4
B
KVL-01 x 8
MNX-02 x 7
D-L / D-R
MNX-02 x 2
KVL-01 x 2
MNX-02 x 3
MNX-02 x 4
Page 3 Page 4
KVL-01 x 4
HVIDEO
link
VIDEO
link
STEP 1 STEP 2
MNG - 01
STEP 3
A
MNX - 02
KVL 01
210°
210°
C
D-R
B C
B
MNG - 01 x 4
MNG - 01 x 2
C
KVL-01 x 4
B
KVL-01 x 8
MNX-02 x 7
D-L / D-R
MNX-02 x 2
KVL-01 x 2
MNX-02 x 3
MNX-02 x 4
Page 5 Page 6
STEP 4
MNG - 01
STEP 5
STEP 6
STEP 7
MNG - 01
210°
210°
H 01
210°
D-L
H
H-R
H-L
A
VIDEO
link
VIDEO
link
MNG - 01 x 2
MNG - 01 x 3
MNG - 01 x 4
E
E
E
E
Page 5 Page 6
STEP 4
MNG - 01
STEP 5
STEP 6
STEP 7
MNG - 01
210°
210°
H 01
210°
D-L
H
H-R
H-L
A
VIDEO
link
VIDEO
link
MNG - 01 x 2
MNG - 01 x 3
MNG - 01 x 4
E
E
E
E
Page 7 Page 8
J
J
STEP 9
STEP 8
VIDEO
link
VIDEO
link
KVL 01
KVL - 01 x 4
J
J
J
J
J
OT - 054
CT - 01
AL - 01
VD - 02 x 6
VD - 02 X 5
AVT - 01X 5
VD - 02 X 5
AVT - 01X 5
STEP 10 MKZ - 02 (L/R)
IM - 01
AL - 02
CAUTION
DO NOT UNLOCK BEFORE INSTALL
Page 7 Page 8
J
J
STEP 9
STEP 8
VIDEO
link
VIDEO
link
KVL 01
KVL - 01 x 4
J
J
J
J
J
OT - 054
CT - 01
AL - 01
VD - 02 x 6
VD - 02 X 5
AVT - 01X 5
VD - 02 X 5
AVT - 01X 5
STEP 10 MKZ - 02 (L/R)
IM - 01
AL - 02
CAUTION
DO NOT UNLOCK BEFORE INSTALL
Page 9 Page 10
VIDEO
link
Ø 10 mm / 0,254 inch
VD - 01
STEP 11
DSE - 02
DD - 01
VD - 03
ATTENTION!!!
Must be secured to the wall made of brick, concrete or similarly strong material.
Mounting to wooden or metal studs is also acceptable.
Do not mount directly to sheetrock or paper-mache type walls not supported by studs.
WALLS MADE OF DRYWALL WITH WOODEN OR METAL STUDS
FİRST LOCATE THE STUDS BY USİNG ''STUD
FİNDER'' İN THE WALL AND DRİLL İT
ACCORDİNG TO THE HEİGHT MEASURMENTS
GİVEN ON THE SİDE.
UPPER HOLES SHOULD BE DRİLLED
FOR ATTACHİNG BED AT NEXT STEP.
SUPPLY DRYWALL FASTENERS APPROPPRIATE
TO YOUR WALL TYPE. WE RECOMMEND
USING STEEL TOGGLE BOLT ANCHOR THAT
SHOWN BELOW
NOT INCLUDED
Ø 10 mm / 0,254 inc
STEP 11-1
VD - 03
DSE - 02 x 2
VD - 01
DSE - 02
DD - 01
DSE - 02 x 2
TAP - 01
TAP - 01
Page 11 Page 12
STEP 12 STEP 13
KP - 01
SC-61
VIDEO
link
VIDEO
link
45-50
LET THE STOPPER LOCK MOVE DOWN !!!
VTB - 02 X 4
KMT - 01
KMT - 01
VKP - 01 X 2
KKS - 01 X 2
Page 11 Page 12
STEP 12 STEP 13
KP - 01
SC-61
VIDEO
link
VIDEO
link
45-50
LET THE STOPPER LOCK MOVE DOWN !!!
VTB - 02 X 4
KMT - 01
KMT - 01
VKP - 01 X 2
KKS - 01 X 2
Page 13 Page 14
ATTENTION / HOW TO / READ ME / OWNER'S GUIDE
1. Wall beds must be securely attached to the wall. Hardware for mounting to
concrete, brick or similar strong material is included.
2. When mounting to drywall, wall beds must be attached to wooden or metal
studs in 2 or 3 points. Do not mount wall beds directly to drywall or paper-
mache type wall without properly attaching it to studs. Please choose
appropriate fasteners for the type of wall the bed will be mounted on.
Drywall mounting hardware is not included.
3. For safety and product longevity you must periodically inspect the integrity
and tightness of the mounting and mechanical connections. Confirm
hardware remains properly affixed and connections are snug.
4. Do not lean or rest heavy objects on sides or top of furniture. This may cause
balance issues and compromise the integrity of your mounting connections.
5. Please use wall beds and integrated shelves, desks and sofas as intended.
Do not jump and/or exceed supported weight limits. Do not sit or lean on
integrated shelves and desks. Improper use may cause personal injury and
damage to property.
6. With seasonal humidity change please inspect the interior and exterior of the
furniture for deformation and/or discoloration.
7. Before any un-mounting or disassembly please contact Multimo Beds for
technical support and instructions. Failure to properly detach may result in
personal injury and damage to property.
STEP 14
VIDEO
link
KBP - 01
KOR 02
KBP - 01
KBP - 01
YSB - 02 X 2
KOR 02
KLF 02
(fabric cover)
CAUTION !
MAKE SURE THAT HEADBOARDS
AND GUARDRAILS ARE FOLDED
BEFORE CLOSING THE BED
TTC 01 X 2
TTC 01 X 2
www.multmobeds.com

Other Multimo Indoor Furnishing manuals
Multimo A 230-ECO User manual

Multimo

Multimo A 230-ECO User manual

Multimo A 500 ROYAL QUEEN BED User manual

Multimo

Multimo A 500 ROYAL QUEEN BED User manual

Multimo A 513-ROYAL KING WALL BED User manual

Multimo

Multimo A 513-ROYAL KING WALL BED User manual

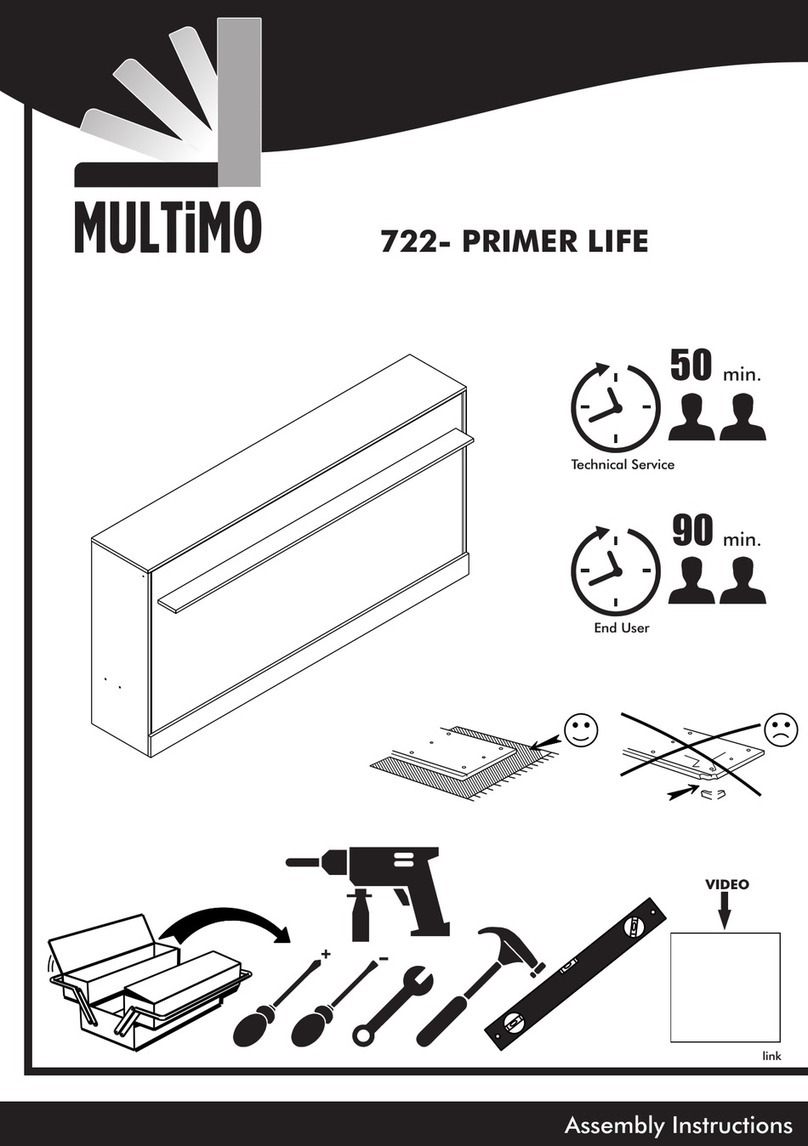
Multimo 722-PRIMER LIFE User manual

Multimo

Multimo 722-PRIMER LIFE User manual

Multimo A 235 User manual

Multimo

Multimo A 235 User manual

Multimo 751-SIMPLE 90 CM User manual

Multimo

Multimo 751-SIMPLE 90 CM User manual

Multimo A 211 SPAZIO QUEEN User manual

Multimo

Multimo A 211 SPAZIO QUEEN User manual

Multimo A 207 SINGLE B.CASE User manual

Multimo

Multimo A 207 SINGLE B.CASE User manual

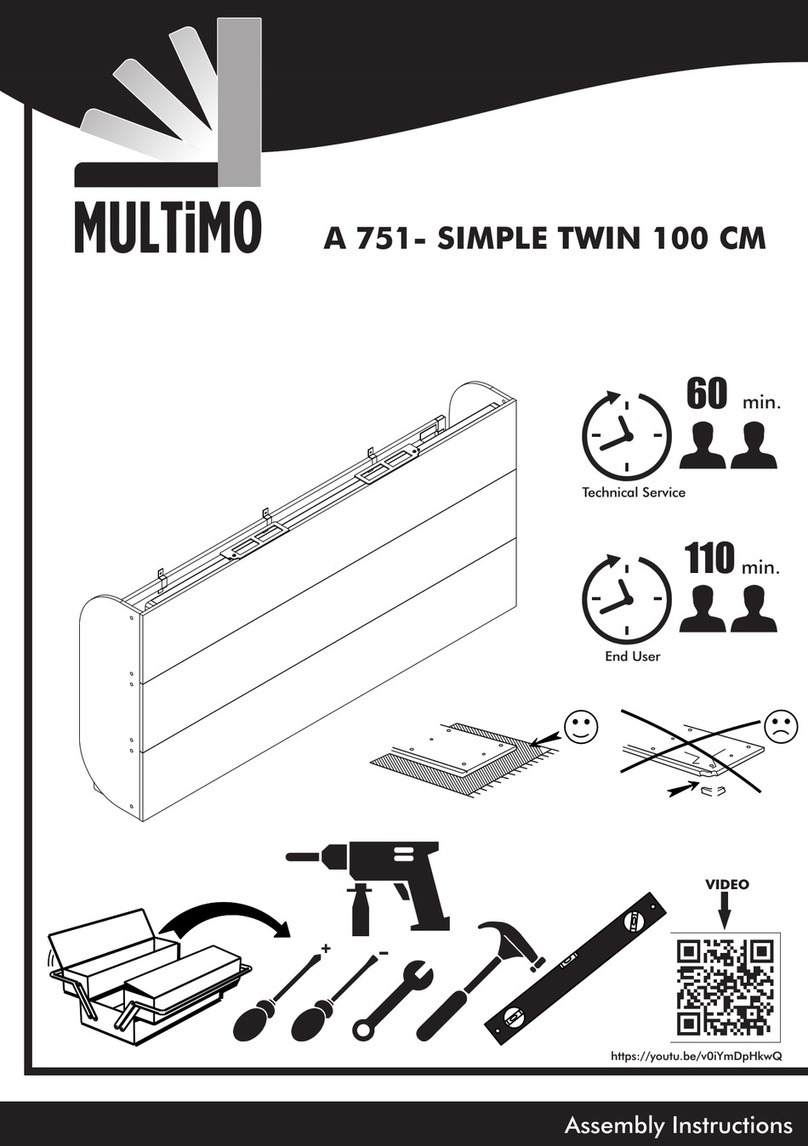
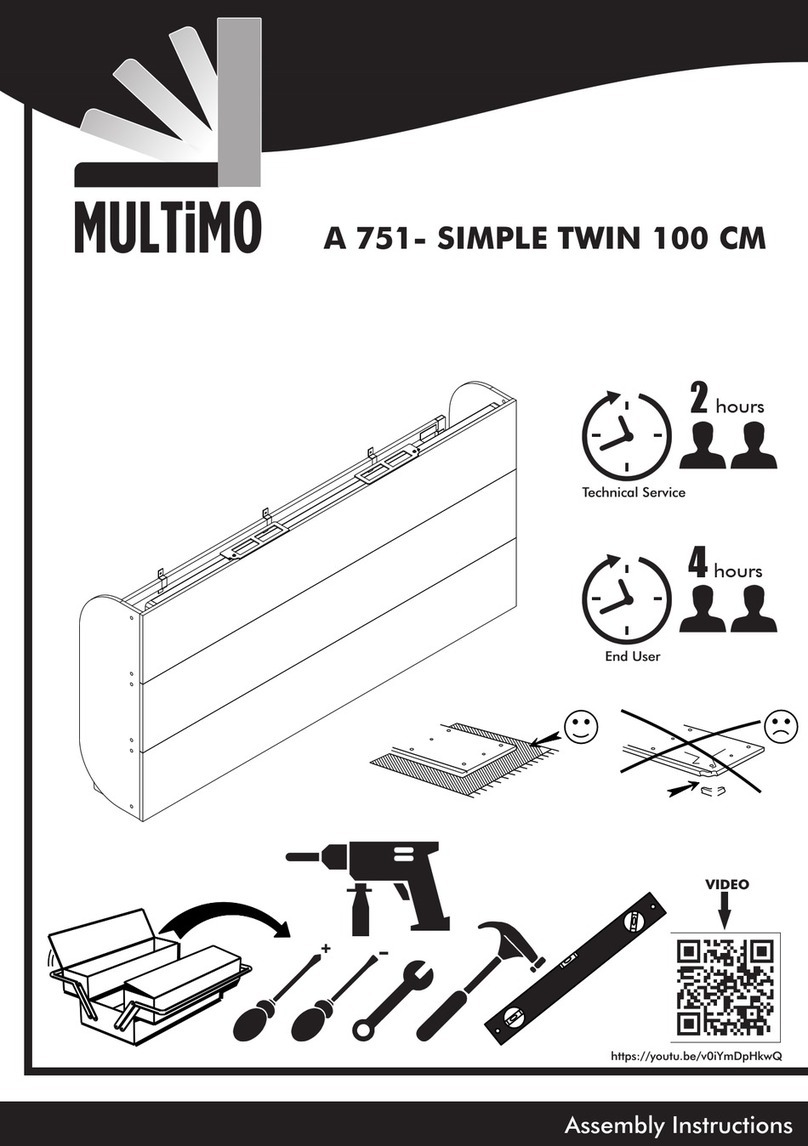
Multimo A 751 SIMPLE TWIN 100 CM User manual

Multimo

Multimo A 751 SIMPLE TWIN 100 CM User manual

Multimo 221 User manual

Multimo

Multimo 221 User manual

Multimo A 502 User manual

Multimo

Multimo A 502 User manual

Multimo A 207 User manual

Multimo

Multimo A 207 User manual

Multimo 221-ROYAL DUOBLE BED User manual

Multimo

Multimo 221-ROYAL DUOBLE BED User manual

Multimo NOVA A 250 User manual

Multimo

Multimo NOVA A 250 User manual
Multimo A 224 User manual

Multimo

Multimo A 224 User manual

Multimo 310-NOVA PLUS User manual

Multimo

Multimo 310-NOVA PLUS User manual

Multimo A 750 User manual

Multimo

Multimo A 750 User manual

Multimo 123-HORIZONTAL OPENING DUBLE User manual

Multimo

Multimo 123-HORIZONTAL OPENING DUBLE User manual

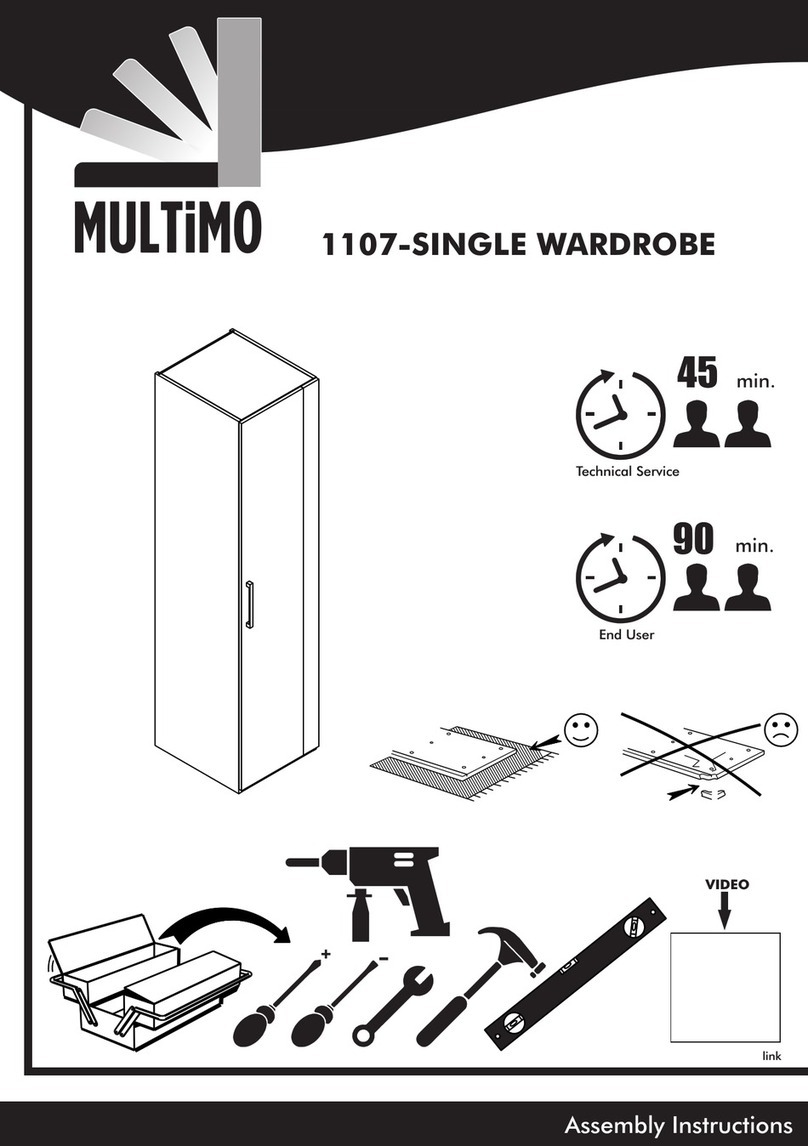
Multimo 1107 User manual

Multimo

Multimo 1107 User manual

Multimo A 215 User manual

Multimo

Multimo A 215 User manual
Multimo 102-HORIZONTAL OPENING SINGLE User manual

Multimo

Multimo 102-HORIZONTAL OPENING SINGLE User manual

Multimo 1111 User manual

Multimo

Multimo 1111 User manual

Multimo 312-NOVA PLUS User manual

Multimo

Multimo 312-NOVA PLUS User manual

Multimo A 220 User manual

Multimo

Multimo A 220 User manual

Popular Indoor Furnishing manuals by other brands

displayit E20A Assembly instructions

displayit

displayit E20A Assembly instructions

WASHTOWER 70-183-17 Assembling Instruction

WASHTOWER

WASHTOWER 70-183-17 Assembling Instruction

Forte BLKV621L Assembling Instruction

Forte

Forte BLKV621L Assembling Instruction

Whittier Wood Furniture McKenzie 1316GACf Assembly instructions

Whittier Wood Furniture

Whittier Wood Furniture McKenzie 1316GACf Assembly instructions

BCP SKY 4655 Assembly instruction

BCP

BCP SKY 4655 Assembly instruction

Molteni&C 505 Instructions for assembly

Molteni&C

Molteni&C 505 Instructions for assembly

Saint Birch FL1025 Assembly instructions

Saint Birch

Saint Birch FL1025 Assembly instructions

LDI Spaces Safco 4214 Assembly instructions

LDI Spaces

LDI Spaces Safco 4214 Assembly instructions

hairway Astra 56089 quick start guide

hairway

hairway Astra 56089 quick start guide

Cooper Lighting MAUI 1502 Specification sheet

Cooper Lighting

Cooper Lighting MAUI 1502 Specification sheet

Go Displays Omega Screens installation instructions

Go Displays

Go Displays Omega Screens installation instructions

Home Decorators Collection MERRYFIELD 19112-VS49-AG Assembly instructions

Home Decorators Collection

Home Decorators Collection MERRYFIELD 19112-VS49-AG Assembly instructions

Rauch M2574 Assembly instructions

Rauch

Rauch M2574 Assembly instructions

OAKWORKS Spa OAKWORKS ProLuxe Series user manual

OAKWORKS Spa

OAKWORKS Spa OAKWORKS ProLuxe Series user manual

Bell'O AVS-4601HG Assembly instructions

Bell'O

Bell'O AVS-4601HG Assembly instructions

JR Home Walter 10067 manual

JR Home

JR Home Walter 10067 manual

GoodHome perma 5059340018157 manual

GoodHome

GoodHome perma 5059340018157 manual

Northbeam WNR0032200010 Care Instructions

Northbeam

Northbeam WNR0032200010 Care Instructions

manuals.online logo
manuals.online logoBrands
  • About & Mission
  • Contact us
  • Privacy Policy
  • Terms and Conditions

Copyright 2025 Manuals.Online. All Rights Reserved.