manuals.online logo
Brands
  1. Home
  2. •
  3. Brands
  4. •
  5. Multitech
  6. •
  7. Accessories
  8. •
  9. Multitech MTCDTIP2 Manual

Multitech MTCDTIP2 Manual

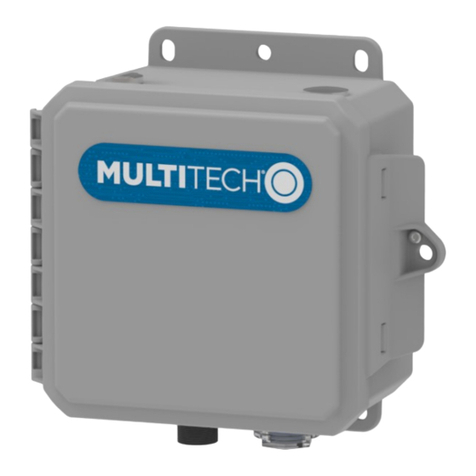
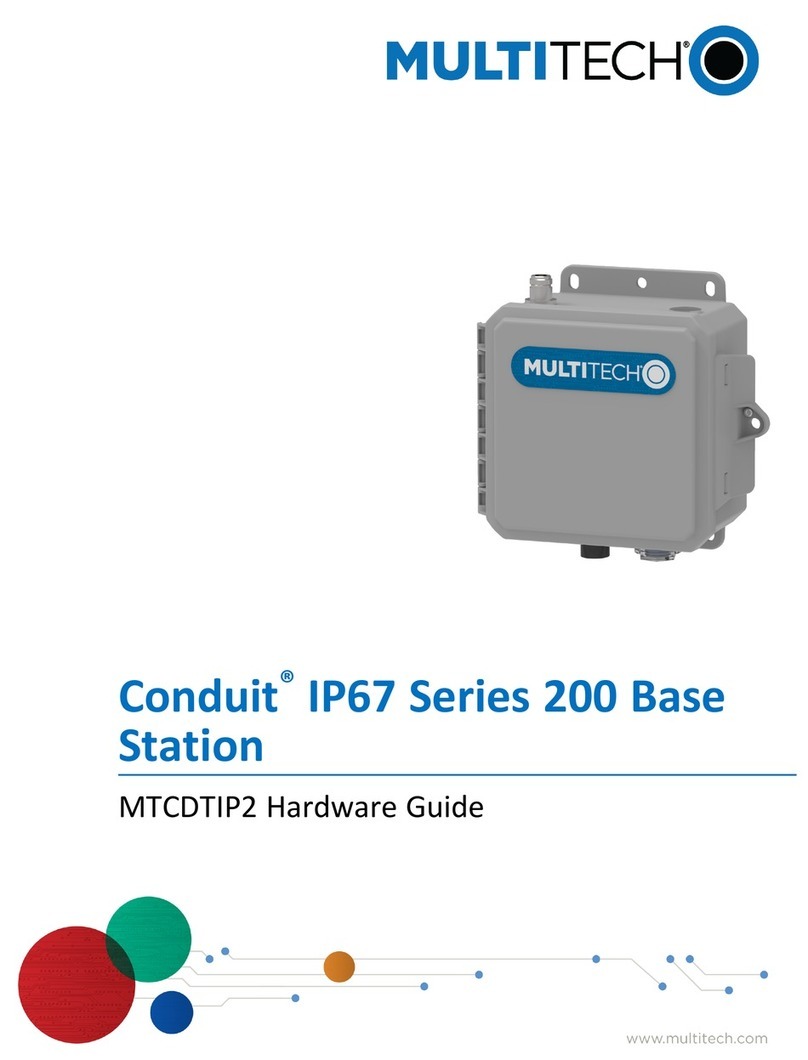
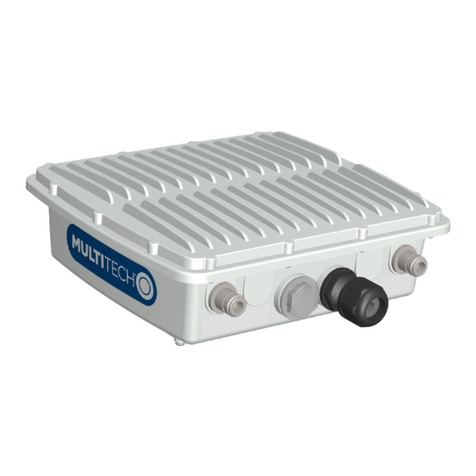
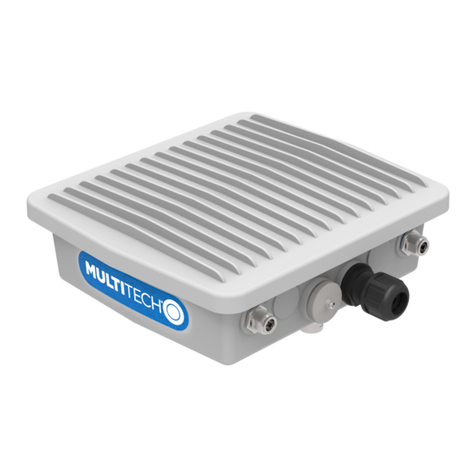
Conduit IP67 Base Station 200 Series
CAUTION: Read installation instructions and safety information before starting Base Station installation. Do not connect power until
directed to do so. If you do not install the accessories when you install the Base Station, cover the LoRa connectors to keep them dry.
IMPORTANT: Do not attempt to disassemble the Base Station. There are no serviceable parts. Opening the enclosure without
authorization may void the warranty.
Package Contents
Note: Package contents vary by model.
Item Description Quantity
1MTCDTIP2 Base Station 1
2LoRa antennas 1
3Installation Guide 1
Warning and Caution
Warning and Caution symbols mean potential danger. You are in a situation that could cause bodily injury. Before working on any equipment, be aware of
hazards in the installation area and be knowledgeable about electrical circuitry. Be familiar with standard practices for preventing accidents.
Pour une traduction en français, reportez-vous à PoE Safety dans le Guide du matériel. For other translations of key cautions and warnings, refer to the
Conduit IP67 Series 200 Base Station MTCDTIP2 Hardware Guide for your model available at www.multitech.com/brands/conduit-ip67-200.
WARNING: Only trained and qualified personnel should install, replace, or service this equipment. Installation must comply with local and national
electrical codes.
 When installing or replacing the unit, the ground connection must always be made first and disconnected last.
 Disconnect PoE power (Ethernet PoE port) before servicing the Base Station.
 Do not work on the system or connect or disconnect cables during periods of lightning activity.
 This device is not designed or approved to be used in any Hazardous Locations. Do not install or operate device if area is known to be an explosive
environment.
 Externally ground this equipment using a customer-supplied ground wire before applying power. Contact an electrician if you are uncertain that suitable
grounding is available. Refer to Installing the Ground Wire instructions.
 All wall mounting installations are subject to the acceptance of local jurisdiction. Do not locate antenna near overhead power lines or other electric light or power
circuits, or where it can come into contact with such circuits. When installing the antenna, take extreme care not to come into contact with such circuits, because they may
cause serious injury or death. For proper installation and grounding of the antenna, please refer to national and local codes.
CAUTION:
 Power over Ethernet (PoE) Certification does not apply or extend to voltages outside of standard PoE range. PoE range for the MTCDTIP2 is 42.5-
57 VDC. Any PoE voltages outside this range have not been evaluated by UL or MULTITECH. The end user supplies the PoE cable. This cable must
be suitable for an outdoor location. This is an 802.3at Type 2 device. For more information, refer to the Conduit IP67
Base Station PoE Application Note (S000678).
 Ethernet port is not designed to be connected to a public
telecommunication (PSTN) or any other connection other than
IEEE 802.3-2012 Power over Ethernet devices.
 Do not remove product labels.
Conduit IP67 Base Station 200 Series
Models: MTCDTIP2-EN-B11EKP-LEM, MTCDTIP2-EN-B11EKP-LEL,
MTCDTIP2-L4E1-B11EKP-LEM, MTCDTIP2-L4E1-B11EKP-LEL
Part Number: 82130900L
Copyright © 2021 by Multi-Tech Systems, Inc.
Additional Documentation
For additional documentation, find your model on this page: www.multitech.net/developer/basestation. If this document has been up-
dated, the update will be available at that location.
 Conduit IP67 Base Station Hardware Guide: Model specific, includes hardware, regulatory, and safety information.
 AT Command Reference Guide: For LTE models only, model specific. Lists the commands and parameters used to com-
municate with your device.
 mPower Software Guide: For mPower models only. Includes steps for configuring and using devices using the mPower
platform.
 mLinux Developer Resource: For mLinux models only, includes information for the mLinux platform, advanced mPower infor-
mation, and LoRa. Go to multitech.net/developer/software/mlinux/.
 POE Application Note: Includes standards, recommendations, and troubleshooting.
Multi-Tech Systems, Inc.
2205 Woodale Drive
Mounds View, Minnesota 55112
Phone: 763-785-3500 or 800-328-9717
Support
Portal: support.multitech.com Knowledge Base: multitech.com/kb.go
Europe, Middle East, Africa:
support@multitech.co.uk
+(44) 118 959 7774
U.S., Canada, all others:
support@multitech.com
(800) 972-2439 or (763) 717-5863
Safety Instructions
For safety and to achieve a good installation, please follow these safety precautions:
 Consider safety and performance when selecting an installation site. Remember electric power lines and phone lines look alike.
Assume that any overhead line can cause bodily harm or death.
 Call your power company and ask them to look at your proposed installation. This is important if raising a mast or tower.
 When installing the device:
 Do not use a metal ladder.
 Do not work on a wet or windy day.
 Dress properly—shoes with rubber soles and heels, rubber gloves, long-sleeved shirt or jacket.
 If any part of the antenna system comes in contact with a power line, do not touch it or try to remove it yourself. Call your local
power company. They will remove it safely. If an accident occurs, call for emergency help immediately.
IMPORTANT: Refer to Warnings and Cautions on the back page for additional information.
Conduit® IP67 Base Station 200 Series
MTCDTIP2 Hardware Installation Guide
Requirements
In addition to the Base Station and included accessories, you will need:
1 - PoE Injector. For requirements, refer to Conduit IP67 Base Station PoE Application Note (S000678).
1 - Cat 5 or greater Ethernet cable rated for outdoor use.
1 - Micro SIM (3FF) card (LTE models only). MultiTech recommends using a SIM card rated for the climate where the device will be installed.
1 - 14 AWG or larger ground wire with a closed loop terminal. For details, go to Installing a Ground Wire in this document.
1 - Phillips screwdriver.
Related Accessories
PoE injectors, mounting kits, lightning arrestors, and accessories are available through https://www.multitech.com/brands/conduit-ip67-200
Note: The LoRa antenna can be directly mounted on the Base Station or up to 5 feet away if necessary for your location.
Installing a Ground Wire
Proper grounding of the enclosure is required to ensure safety. There is a grounding lug located on the
bottom of the enclosure (#2 in Connector Locations). Connecting the grounding lug to an earth ground is
the recommended method. Refer to the National Electric Code or your local codes for additional
information or contact a licensed electrician for assistance in grounding an installation.
WARNING: When installing or replacing the unit, the ground connection must always be made first and disconnected last.
Ground wire (not provided) must be suitable for outdoor location and meet a minimum wire gauge of 14 AWG or larger. Ground
wire terminal (not provided) must be closed loop (ring type, see image right) and corrosive free in design.
1. Remove the nut on the grounding lug.
2. Put the loop terminal on the grounding lug.
3. Replace the nut and tighten to 10 in-lbs (11.5 kg.cm) or firmly by hand.
Attaching the Antenna
Note: Antenna should be finger-tightened plus a quarter turn.
To attach the LoRa antenna directly to the device:
 Attach the antenna to the connector at the top of the Base Station.
To attach the a LoRa antenna via a cable:
1. Use an antenna hose clamp to attach the antenna bracket to a LoRa antenna.
2. Attach the lightning arrestor (optional) to the antenna as shown (right).
3. Attach coaxial antenna cable to the lightning arrestor.
4. For a pole mount, use hose clamps to mount the antenna mounting bracket to the pole. For a wall mount, attach the
antenna bracket to the wall using the four tabs on the bracket.
5. Attach the antenna cable to the LoRa connector.
Best Practices
We recommend covering all connections with a rubber insulating tape, such as 3M’s130C. Although the Base Station is rated IP67, tap-
ing provides additional protection against environmental particulates.
Next Steps
Connect the Ethernet cable to the PoE injector. After connecting and powering up the Base Station:
 For mPower models, refer to S000727 mPower Software Guide available at www.multitech.net/developer/basestation
 For mLinux models, refer to Getting Started at www.multitech.net/developer/software/mlinux/getting-started-with-conduit-mlinux
Regulatory Information
MultiTech declares that this device is in compliance with the essential requirements and other relevant provisions of Directive 2014/53/
EU. The declaration of conformity may be requested at https://support.multitech.com.
Installing a Micro SIM Card (Cellular models only)
To install a SIM card:
1. Remove the SIM cover.
2. Gently push the micro SIM card into the holder with the cut corner to the left and the SIM
contacts facing down as shown.
3. Reattach the plastic cover and tighten to 10.5 lbf.in (12 kgf.cm).
Connector Locations
#Connector Description
1Ethernet Port Ethernet port with IP67 rated cable gland.
2Grounding Lug Connector for ground wire.
3SIM Slot and
LEDs
Under a plastic cover, for all models, LEDs and
reset button. For cellular models, a SIM holder.
4LoRa Connector for LoRa antenna.
Connecting the Ethernet Cable
To connect the Ethernet cable to the device:
Note: For power, the Ethernet cable needs to be connected to a POE injector.
CAUTION: Disconnect power before mounting or working on the device.
1. Slide the cable gland nut and the cable gland body onto the cable and plug the
cable into the Ethernet port as shown.
2. Install the cable gland body and then tighten to a torque specification of 10 in-lbs
(11.5 kg.cm) or firmly by hand.
3. Pull the cable gland seal apart at the split line and install it onto the cable as shown.
4. Push the cable gland seal into the cable gland body on the end with the tines.
5. Install the cable gland nut onto the cable gland body threads and then hold the cable gland body while tightening the cable gland nut
to a torque specification of 10 in-lbs (11.5 kg.cm) or firmly by hand.
Note: Do not over tighten the cable gland body or the cable gland nut. A seal that is overtightened will aid in water
ingress. Follow the recommended torque specifications.
#Connector #Connector
1Cable Gland Body 3Cable Gland Nut
2Cable Gland Seal 4Ethernet Port Threads
LEDs
LoRa only models Cellular models
Label Description
LAN Lights when Ethernet is connected
LORA Lights when LoRa software is active.
SYS Blinks when operating system is fully loaded.
CELL Cellular models only. Lights when there is power to the radio. Blinks when the SIM is
registered with the carrier.
Mounting on a Pole
You will need a mounting kit. MultiTech has mounting kits for a variety of pole sizes.
The pole should be made of a corrosive free material with UV protection and able to
support four times the weight of the MTCDTIP2 with accessories attached.
1. Attach band clamp brackets (G) through slots in strut rails (B) and secure with pan
head screws (D), fender washers (C), and nylon nuts (E) (x4).Torque to 32 in-lbs
(36.8 kg-cm) max.
2. Install pan head screws (F) through slots in enclosure base (x4). Align spacers (A) and fender washers (C) over 7/8” screw
length sticking through at the rear of the MTCDTIP2. Attach strut rail sub assembly to MTCDTIP2 securing with fender wash-
ers (C) and nylon nuts (E). Torque to 32 in-lbs (36.8 kg-cm) max.
3. Feed hose clamp (H) through slots in band clamp (G) (x2).
4. Wrap hose clamps around pole and tighten.
Description QTY Description QTY
ASpacer, ¼” 4E Nylon Nut, ¼-20 8
BStrut Rails 2FPan Head Screws, ¼-20 X ⅞” 4
CFender Washer, ¼”12 GBand Clamp Bracket 2
DPan Head Screws,¼-20 X ½” 4HHose Clamp 2
Mounting on a Wall
The location should be able to support four times the
weight of the MTCDTIP2 with accessories attached.
To mount the device on a wall:
 Use ¼ inch x 1¼ inch (minimum length) screws in the
mounting holes tabs on the chassis. Use with wall an-
chors if necessary.
A
G E
BASE
D C
C

Other manuals for MTCDTIP2

1

This manual suits for next models

1

Other Multitech Accessories manuals

Multitech Conduit IP67 User manual

Multitech

Multitech Conduit IP67 User manual

Multitech RBS301-DWS-US User manual

Multitech

Multitech RBS301-DWS-US User manual

Multitech RBS306-US10M-US User manual

Multitech

Multitech RBS306-US10M-US User manual

Multitech REVEAL RBS301-VOLT User manual

Multitech

Multitech REVEAL RBS301-VOLT User manual

Multitech RBS3010NA01BN00 User manual

Multitech

Multitech RBS3010NA01BN00 User manual

Multitech Conduit IP67 200 Series Installation instructions

Multitech

Multitech Conduit IP67 200 Series Installation instructions

Multitech Conduit Series User manual

Multitech

Multitech Conduit Series User manual

Multitech Reveal User manual

Multitech

Multitech Reveal User manual

Multitech Conduit IP67 200 Series Installation instructions

Multitech

Multitech Conduit IP67 200 Series Installation instructions

Multitech Conduit MTCDTIP-L4E1-266 868 Series Installation instructions

Multitech

Multitech Conduit MTCDTIP-L4E1-266 868 Series Installation instructions

Multitech REVEAL RBS304-1 User manual

Multitech

Multitech REVEAL RBS304-1 User manual

Multitech REVEAL RBS301-DWS User manual

Multitech

Multitech REVEAL RBS301-DWS User manual

Multitech MultiConnect Conduit Series User manual

Multitech

Multitech MultiConnect Conduit Series User manual

Multitech Reveal RBS301-TILT-US User manual

Multitech

Multitech Reveal RBS301-TILT-US User manual

Multitech RBS306-TILT-HP-US User manual

Multitech

Multitech RBS306-TILT-HP-US User manual

Multitech REVEAL RBS301-ABM User manual

Multitech

Multitech REVEAL RBS301-ABM User manual

Multitech RBS3010NA19BN00 User manual

Multitech

Multitech RBS3010NA19BN00 User manual

Multitech RBS306-420MA-US User manual

Multitech

Multitech RBS306-420MA-US User manual

Multitech Reveal User manual

Multitech

Multitech Reveal User manual

Multitech RBS301-WAT-US User manual

Multitech

Multitech RBS301-WAT-US User manual

Multitech SocketSLIC TBR21 User manual

Multitech

Multitech SocketSLIC TBR21 User manual

Multitech 200 Series Manual

Multitech

Multitech 200 Series Manual

Multitech Conduit User manual

Multitech

Multitech Conduit User manual

Multitech Reveal RBS301-TILT-US User manual

Multitech

Multitech Reveal RBS301-TILT-US User manual

Popular Accessories manuals by other brands

earline 30212 User information

earline

earline 30212 User information

Hisense HRBC140 Use & care guide

Hisense

Hisense HRBC140 Use & care guide

Politec GAPID INSTALLATION AND MOUNTING MANUAL

Politec

Politec GAPID INSTALLATION AND MOUNTING MANUAL

YOKOGAWA FU20-FTS instruction manual

YOKOGAWA

YOKOGAWA FU20-FTS instruction manual

ASL INTERCOM TR-2 user manual

ASL INTERCOM

ASL INTERCOM TR-2 user manual

Modena Finestra Series User manual book

Modena

Modena Finestra Series User manual book

DOCOL 00503806 manual

DOCOL

DOCOL 00503806 manual

PAW 705610 Assembly instructions

PAW

PAW 705610 Assembly instructions

Dinel CLS-23 instruction manual

Dinel

Dinel CLS-23 instruction manual

Elvaco CMa20 quick start guide

Elvaco

Elvaco CMa20 quick start guide

PCB Piezotronics IMI SENSORS M640B12 Installation and operating manual

PCB Piezotronics

PCB Piezotronics IMI SENSORS M640B12 Installation and operating manual

Montech TB30 Assembly instructions

Montech

Montech TB30 Assembly instructions

MOBILE-ALERTS MA10230 quick reference

MOBILE-ALERTS

MOBILE-ALERTS MA10230 quick reference

Valeport uvSVX operating manual

Valeport

Valeport uvSVX operating manual

iseeBell WF100 user manual

iseeBell

iseeBell WF100 user manual

Guzzie+Guss Hitch instruction manual

Guzzie+Guss

Guzzie+Guss Hitch instruction manual

Ellia REJUVENATE ARM-580 instructions

Ellia

Ellia REJUVENATE ARM-580 instructions

Fiem SMART Manual for use

Fiem

Fiem SMART Manual for use

manuals.online logo
manuals.online logoBrands
  • About & Mission
  • Contact us
  • Privacy Policy
  • Terms and Conditions

Copyright 2025 Manuals.Online. All Rights Reserved.