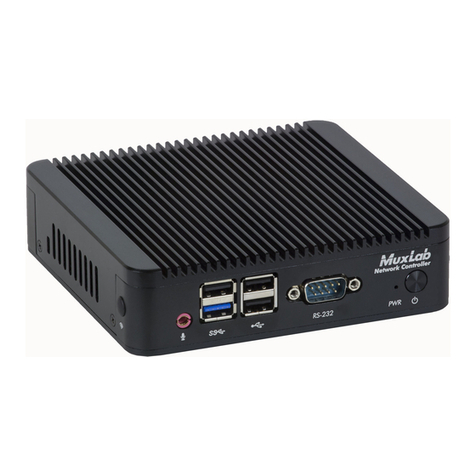
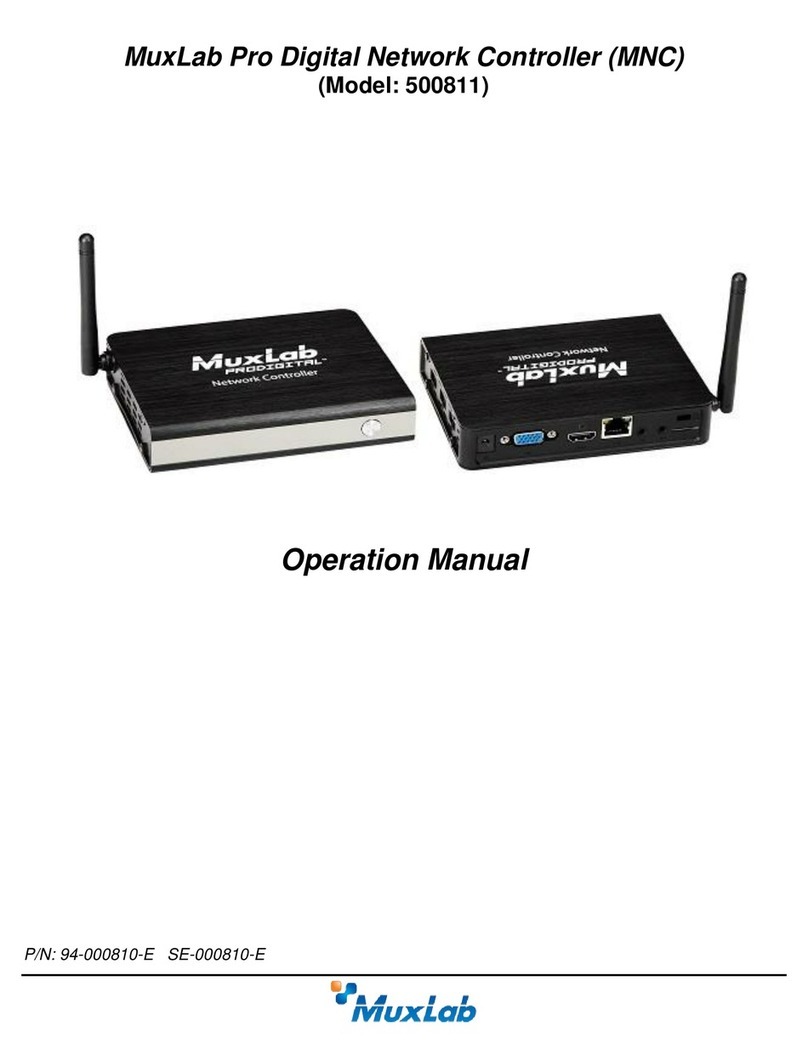
MuxLab 500811 User manual

P/N: 94-000785-B SE-000785-B
MuxLab Pro Digital Network Controller (MNC)
(Model: 500811)
Operation Manual

© MuxLab Inc. ProDigital Network Controller (MNC)
Page 2
Copyright Notice:
Copyright © 2014 MuxLab Inc. All rights reserved.
Printed in Canada. No part of this publication may be reproduced, stored in a retrieval system, or
transmitted in any form or by any means, electronic, mechanical, photocopying, recording or
otherwise without prior written permission of the author.
Trademarks:
MuxLab is a registered trademark of MuxLab Inc.

© MuxLab Inc. ProDigital Network Controller (MNC)
Page 3
Table of Contents
1. Overview.....................................................................................................................................4
1.1. Description...............................................................................................................................4
1.2. Features....................................................................................................................................5
2. Technical Specifications ............................................................................................................6
3. Installation and Use ...................................................................................................................7
3.1. Part List....................................................................................................................................7
3.2. Product Overview ....................................................................................................................8
3.3. Installation Procedure ..............................................................................................................9
3.4. Ethernet Web Interface –Device Management .....................................................................23
3.5. Mobile Interface.....................................................................................................................34
4. Troubleshooting .......................................................................................................................38
5. Appendix...................................................................................................................................39
A. IP Commands.........................................................................................................................39
6. Product Warranty Policy........................................................................................................46

© MuxLab Inc. ProDigital Network Controller (MNC)
Page 4
1.
Overview
1.1.
Description
The MuxLab Pro Digital Network Controller is a Linux-based PC that allows users to
control hub-installed MuxLab products.
When installed on a local area network (LAN), the MuxLab Pro Digital Network
Controller can scan the LAN for MuxLab products and allows the user to configure
and control these products through an Ethernet Web interface.
Figure 1: System Overview
Applications include but are not limited to commercial and residential AV systems,
classroom projector systems, digital signage, video wall systems, boardroom systems,
multi-room systems, classroom training, retail systems, collaborative PC systems, and
medical information systems.
TX
TX
TX
RX
RX
RX
Pro Digital
Network Controller
Router (w/WiFi)
PoE (PSE) Ethernet Switch
Tablet or
Smartphone

© MuxLab Inc. ProDigital Network Controller (MNC)
Page 5
1.2.
Features
(Front View) (Rear & Side View)
Figure 1: Pro Digital Network Controller
Front Panel
Power LED
Power button
Back Panel
VGA video port
HDMI video port
LAN port (RJ-45 jack)
Audio in (3.5 mm)
Audio out (3.5 mm)
Micro SD memory slot
K lock
Power connector
Side Panel
Three (3) USB 2.0 ports

© MuxLab Inc. ProDigital Network Controller (MNC)
Page 6
2.
Technical Specifications
MuxLab ProDigital Network Controller
CPU
Intel Z3735F
Memory
2GB DDR3
BIOS
AMI BIOS
VGA
Resolution up to 1920 x 1200
Keyboard and Mouse
USB keyboard and mouse (sold separately)
Peripherals
• USB 2.0 ports (3x)
• micro SD slot (1x)
• Network interface (1x)
•Audio in and out
Operating System
Ubuntu 15.04
Operating Temperature
5 ºC to 50 ºC
Dimensions
4.52 x 4.52 x 1.4 inch (115 x 115 x 35 mm)
Weight
1.1lbs (0.5kg)
Accessories Included
External Power Adaptor
Regulatory
FCC, CE, RoHS, WEEE
Order Information
500811 Pro Digital Network Controller
Table 1: Technical Specifications

© MuxLab Inc. ProDigital Network Controller (MNC)
Page 7
3.
Installation and Use
3.1.
Part List
The MuxLab Pro Digital Network Controller comes with the following parts:
• Base unit (1x)
• External Power Adapter (1x)
Please verify that both parts are present before proceeding.
Figure 2: Base Unit
Figure 3: External Power Adaptor

© MuxLab Inc. ProDigital Network Controller (MNC)
Page 8
3.2.
Product Overview
The external connections and connection indicators of the MuxLab Pro Digital
Network Controller are detailed in
A1A2A3A4A5A6A7A9
A8
Figure 4: Rear Panel and Figure 5: Side Panel. Please familiarize yourself with them
before installing the unit.
A1A2A3A4A5A6A7A9
A8
Figure 4: Rear Panel
A1= DC Power
A2= VGA video
A3= HDMI video
A4= RJ45 Ethernet
A5= Audio in
A6= Audio out
A7= Micro SD Memory Slot
A8 = K Lock
A9 = Wifi antenna

© MuxLab Inc. ProDigital Network Controller (MNC)
Page 9
B1B2B3
Figure 5: Side Panel
B1= USB 2.0 #1
B2= USB 2.0 #2
B3= USB 2.0 #3
3.3.
Installation Procedure
Note that the examples below assume that the Ethernet Switch used does not support
WiFi, and a Router with WiFi capability is required in order to communicate with
smartphones and tablets for control purposes.
Setting the Ethernet Switch & Router to the same Subnet as MuxLab Devices:
The MuxLab Pro Digital Network Controller comes with a default static IP address of
192.168.168.50 (with DHCP disabled). The MuxLab AV over IP Transmitters and
Receivers are set to support DHCP by default. When no DHCP server is available the
AV over IP Transmitters and Receivers fallback to a static IP address of
192.168.168.55 (for the 500752, 500753, 500754 and 500756 Transmitters) and
192.168.168.56 (for the 500752, 500753, 500754 and 500756 Receivers), and
192.168.168.58 (for the 500758 and 500759 Transmitters) and 192.168.168.59 (for the
500758 and 500759 Receivers).
These MuxLab products (MNC, and the AV over IP Transmitters & Receivers) work
in conjunction with a PoE (PSE) Ethernet Switch (MuxLab recommends the Cisco
SG300 Series) and a Router of your choice with WiFi capability to be able to
communicate with a smartphone or tablet. The use of a smartphone or tablet to
manage the MuxLab devices with third party software applications is optional but is
the most common method of control and generally preferred, however MuxLab
devices may also be managed via the Pro Digital Network Controller web interface.
In order for the DHCP server within the Ethernet Switch to support the MuxLab
device subnet, set the static IP of the Ethernet Switch to 192.168.168.1 (recommended
setting). Refer to the Ethernet Switch manual for instructions on how to accomplish
this. MuxLab also has a guide specific to the Cisco SG300 Series, see document SE-
000819-A (Configuring Network Setting of the Ethernet Switch & MuxLab AV over

© MuxLab Inc. ProDigital Network Controller (MNC)
Page 10
IP Devices), which can be found on MuxLab’s website under any of the AV over IP
product pages (as a download under the Operation Manual sub-category).
The Router with WiFi capability, must also be placed on the same subnet as the
MuxLab devices and it should be set with a Static IP address, we recommend using a
Static IP address of 192.168.168.2. Refer to your Router documentation on how to
accomplish this.
Setting MuxLab Devices, Ethernet Switch and Router to an Existing Subnet:
If the MuxLab AV over IP devices are being installed in an existing environment that
has a working subnet already configured that cannot be easily changed, then the
subnet of the MuxLab devices, the Ethernet Switch (if a new Ethernet Switch is
required), and the Router with Wifi (if a new Router is required) must be changed in
order to match the existing subnet. For this case we will use 192.168.2.x as an
example subnet already in place and which must be supported. Note that this is only
an example and may not necessarily reflect your actual subnet address.
If the Ethernet Switch does not already reside in the example subnet of 192.168.2.x,
then set the static IP of the Ethernet Switch to a free static IP address (for the sake of
this example we will use an IP address of 192.168.2.1). Refer to the Ethernet Switch
manual for instructions on how to accomplish this. MuxLab also has a guide specific
to the Cisco SG300 Series, see document SE-000819-A (Configuring Network Setting
of the Ethernet Switch & MuxLab AV over IP Devices), which can be found on
MuxLab’s website under any of the AV over IP product pages (as a download under
the Operation Manual sub-category).
If the Router with WiFi does not already reside in the example subnet of 192.168.2.x,
then set the static IP of the Router to a free static IP address (for the sake of this
example we will use an IP address of 192.168.2.2). Refer to your Router
documentation on how to accomplish this.
The MuxLab AV over IP Transmitters and Receivers are set by default to support
DHCP, and will automatically be set to the subnet specified by the DHCP Server.
These units need only be physically connected into the network as described in their
respective Installation Guides and by using the 500811 Pro Digital Network Controller
to discover them. But before the MNC can be used, the new MNC subnet must also be
set.
To change the subnet of the MNC requires a two-step process:
Process 1: Configuring the IP address of the MNC
Process 2: Physically installing the MNC in the network
Note:
• An example subnet address of 192.168.2.x of the existing network on which the MNC will
be installed is assumed for this example process.

© MuxLab Inc. ProDigital Network Controller (MNC)
Page 11
• The MNC comes with a static IP address of 192.168.168.50 and with DHCP disabled. This
process explains how to change it to the example subnet of 192.168.2.x.
Process 1: Configuring the IP address of the MNC
Refer to
A1A2A3A4A5A6A7A9
A8
Figure 4: Rear Panel and Figure 5: Side Panel.
1. On the back panel of the MNC:
A. Plug the supplied power adaptor into the DC power jack. Ensure that the other
end of the power adaptor is plugged into a power socket.
B. Ensure that the power switch on the front of the unit is in the ON position
(front button • pressed in).
C. Connect one end of an Ethernet cable to the Ethernet port. Ensure that the
other end of the Ethernet cable is connected to a computer.
Refer to Figure 6: Internet Browser Entry.
2. On the computer to which the MNC is connected, open up an Internet browser
(Explorer, Chrome, Firefox, etc.) and type the following address in the address bar
near the top of the screen:
http://192.168.168.50/mnc/
NOTE: mnc must be written in lower case
Figure 6: Internet Browser Entry
3. Press Enter on the keyboard. If the browser connects to the MNC, go to Step 7.

© MuxLab Inc. ProDigital Network Controller (MNC)
Page 12
4. If the browser fails to connect to the MNC, a failure message will appear. Perform
the following steps (steps 4 through 6) in order to set the computer to the same
subnet as the MNC, to be able to then change the MNC subnet (from step 7
onward) to match the subnet of the existing installation (refer to Figure 7:
Determining Computer IP Address):
A. Move the mouse to the bottom of the screen and click on the Start button at
the lower left.
B. Click into the Search programs and files field just above the Start button and
type cmd. Press Enter on the keyboard.
C. A DOS window will appear. Type ipconfig and press Enter on the
keyboard.
Step 4A
Step 4B
Step 4C
Figure 7: Determining Computer IP Address

© MuxLab Inc. ProDigital Network Controller (MNC)
Page 13
The following screen will appear (See
Figure 8: Computer IP Address).
Figure 8: Computer IP Address
5. If the IPv4 Address (shown in the red box of Figure 8) does NOT begin with
the numbers 192.168.168.x, then perform the following steps (refer to Figure
9through Figure 12):
A. Type exit and press Enter on the keyboard.
B. Move the mouse to the bottom of the screen and click on the Start button at
the lower left.

© MuxLab Inc. ProDigital Network Controller (MNC)
Page 14
C. Click on Control Panel
D. Click on Network and Internet
E. Click on Network and Sharing Center
F. Click on Local Area Connection
G. Click on Properties
H. Click on Internet Protocol Version 4 (TCP/IPv4). It will turn blue.
I. Click on Properties
J. Click the Use the following IP address radio button.
K. In the IP address field, type the following:
192.168.168.x
Where xcan be any number from 2 to 254 except for 50 (since 50 is the MNC
address). The example in Figure 12 has the PC set to a Static IP address of
192.168.168.12
L. In the Subnet mask field, type the following:
255.255.255.0
M. Click on OK.
Step 5A

© MuxLab Inc. ProDigital Network Controller (MNC)
Page 15
Steps 5B-5C
Figure 9
Step 5D

© MuxLab Inc. ProDigital Network Controller (MNC)
Page 16
Step 5E
Step 5F
Figure 10

© MuxLab Inc. ProDigital Network Controller (MNC)
Page 17
Step 5G
Steps 5H-5I
Figure 11

© MuxLab Inc. ProDigital Network Controller (MNC)
Page 18
Steps 5J-5K-5L-5M
Figure 12
The computer is now ready to communicate with the MNC.
Refer to Figure 13: Internet Browser Entry.
6. Open up an Internet browser (Explorer, Chrome, Firefox, etc.) and type the
following address in the address bar near the top of the screen:
http://192.168.168.50/mnc/
NOTE: mnc must be written in lower case
Figure 13: Internet Browser Entry

© MuxLab Inc. ProDigital Network Controller (MNC)
Page 19
Refer to Figure 14 Login Screen
7. The MuxLab Pro Digital Network Controller Web interface Login Screen will
appear.
Figure 14 Login Screen
8. In the User Name field, type admin. Use lower case.
9. In the Password field, type admin. Use lower case.
10. Click Log in.

© MuxLab Inc. ProDigital Network Controller (MNC)
Page 20
Refer to
Figure 15 Network Settings Screen
11. Click the Settings tab. The Network Settings screen will appear.
12. Next to Use DHCP, ensure that the No radio button is selected.
13. In the IP address field, type the first 3 entries of the IP address of the network
subnet on which the MNC will be installed, which in our example is 192.168.2.x.
For example, type the following in the MNC IP address field:
192.168.2.x
Where xin our example can be any number from 3 to 254, and since “1” was used above
for the Ethernet Switch and “2” was used for the Router, then for this example we will
Other manuals for 500811
3
Table of contents
Other MuxLab Controllers manuals
Popular Controllers manuals by other brands

Toshiba
Toshiba V Series manual

HK Instruments
HK Instruments DPT-Ctrl Series installation instructions

Siemens
Siemens SIPART DR20 Project planning manual

Bay Technical Associates
Bay Technical Associates 5218H owner's manual

Norac
Norac UC4.5 Operator's manual

Pentair
Pentair GOYEN IS Series Products Installation Instructions

Allen-Bradley
Allen-Bradley MicroLogix 1100 Instruction set reference manual

Redarc
Redarc Solar SRPA0120 instruction manual

Novar
Novar Savvy Service manual

ComAp
ComAp IL-NT MRS15 reference guide

Johnson Controls
Johnson Controls FX-PCA3611 installation instructions

National Instruments
National Instruments NI PXIe-8840 manual