Amplifier
Section
1
.
Power outputoffset adjustment
a
.
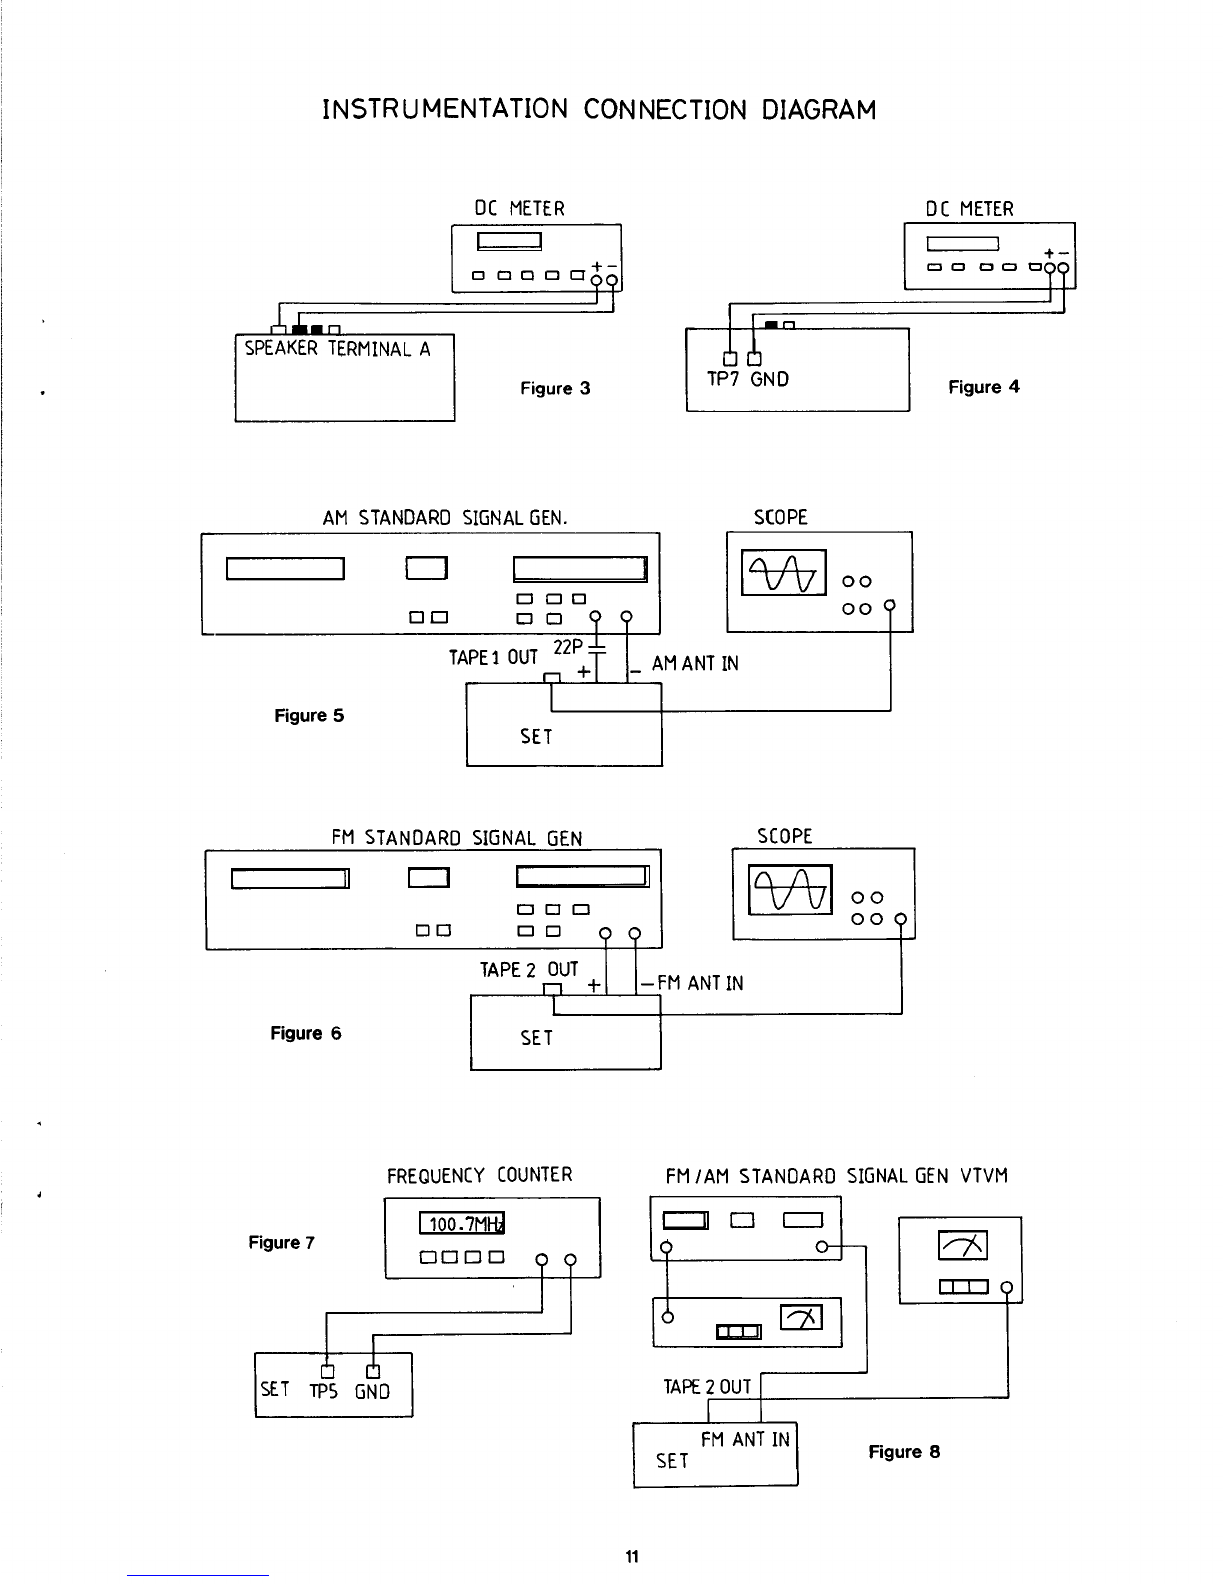
At
open
load,
DC
meter
connected
speaker
switch
to
"A"
position
.
b
.
Adjust SFR101,let
the
reading
as
c
.
Adjust SFR102,let
the
reading
as
b
.
c
.
d
.
e
.
At
open
load,DC
meter
Adjust SFR103,let
the
At
open
load,DC
meter
Adjust SFR104,let
the
MAIN
ADJUSTMENT
POINTS
Figure
2
.
to
speaker
terminal
A,
0+-25mV
.(L-channel)
.
(Fig
.
2)
0+-25mV
.(R-channel)
.
(Fig
.
2)
2
.
QuiesentCurrent
Adjustment
a
.
Allow
at
least
3
minutes
burn
in
before
performing
this
adjustment
.
connected
to
CN-15
base
.
(Fig
.
2)
reading
as
4
.4mV
.
(I=20mA,+-5mA),(L-channel)
(Fig
.
11)
connected
to
CN-14
base
.
(Fig
2)
reading
as
4
.4mV
.
(I=20mA,+-5mA),
(L-channel)
(Fig
.
11)