Nahita ZFD014 User manual

1
Versión/Version referencia/Code ZFD014 11/07/2017
FUENTE DE ALIMENTACIÓN
POWER SUPPLY
Manual de uso / User´s manual
Referencia/Code
ZFD014
Este manual es parte inseparable del aparato por lo que debe estar disponible para
todos los usuarios del equipo. Le recomendamos leer atentamente el presente manual
y seguir rigurosamente los procedimientos de uso para obtener las máximas
prestaciones y una mayor duración del mismo.
This manual should be available for all users of these equipments. To get the best
results and higher duration of this equipment it is advisable to read carefully this
manual and follow the processes of use.

2
Versión/Version referencia/Code ZFD014 11/07/2017
Castellano ..................................................................................................................................... 3
Inglés ............................................................................................................................................ 8
1. Cuidado y seguridad.............................................................................................................. 3
2. Introducción. ......................................................................................................................... 3
3. Ajustes y operación ............................................................................................................... 4
4. Errores................................................................................................................................... 6

3
Versión/Version referencia/Code ZFD014 11/07/2017
1. Cuidado y seguridad
La fuente de alimentación para electroforesis utiliza altos voltajes y por eso están aisladas y con
toma de tierra para minimizar el riesgo eléctrico para el usuario. Además todo personal que vaya
a utilizar el equipo debe leer las instrucciones de uso.
La fuente de alimentación debe de utilizarse en ambientes con temperatura entre 0ºC y 40ºC y
la humedad relativa entre 0% y 95% pero sin condensación.
Trabajar fuera de estas condiciones no está recomendado e invalidaría la garantía del equipo.
1. Para asegurar un enfriamiento adecuado de la fuente de alimentación, asegúrese que
tiene un perímetro de 6 cm libre a su alrededor. No bloquee los ventiladores del equipo.
2. Conecte a la fuente de alimentación siempre con tres clavijas, utilizando siempre el
cable de alimentación de tres clavijas que viene con el equipo.
3. No utilice el equipo en situación de humedad elevada, mayor del 95% o si considera que
puede haber condensación.
4. Cuando entre el equipo a una habitación más fría que la de origen, el equipo puede
utilizarse directamente. Por el contrario, cuando se pasa de una habitación más fría a
otra menos fría, hay que dejar que el equipo se estabilice al menos dos horas antes de
usarlo.
5. Nunca conecte un conductor de salida de alto voltaje a tierra. Esto derrota el aislamiento
eléctrico flotante de la fuente de alimentación y expone al usuario a riesgos mayores.
Este equipo solo debe utilizarse en laboratorios.
Este producto está conforme a los estándares de clase A para las emisiones electromagnéticas,
para los equipos de uso de laboratorio. Es posible que las emisiones de este producto interfieran
con otros. El usuario tiene que tener en cuenta esta posibilidad de interferencia para evitar
problemas.
2. Introducción.
Fuente de alimentación intuitiva y fácil de utilizar.
Pantalla en el frontal con cinco botones:
-Run /stop
-Edit
-Enter

4
Versión/Version referencia/Code ZFD014 11/07/2017
-Flechas subir o bajar
Especificaciones técnicas
Tipo de salida: voltaje constante, corriente o potencia
Incremento: 1V, 1mA, 1W.
Rango de tiempo 1 min-99hr,59 min
Pantalla: LCD con retroiluminación.
Salidas: 4 juegos de salidas.
Voltaje de salida: 10-600v
Corriente de salida: 1-500mA
Energía: 1-300W
Alimentación: 220V+/- 10 , 50Hz
Fusible de 5A
Características
-Moldura de cascara , teclas táctiles, microprocesador de doble núcleo
-Control inteligente
-Indica el valor ajustado y el valor de salida actual al mismo tiempo
-Puede memorizar 10 métodos de electroforesis
-Con función de memoria automática
-Con función estandar de operación de temporización.
-Con el voltaje constante, la corriente constante, la energía constante,
-Detección automática de carga en vacío, sobrecarga, cortocircuito cambio de
resistencia rápida, fuga a tierra y sobrecalentamiento del sistema.
3. Ajustes y operación
a. Encienda el equipo conectándolo a la corriente eléctrica, al encender el interruptor se
mostrara en pantalla lo siguiente, tendrá que seleccionar las cantidades de voltios,
miliamperios y vatios y también el tiempo que desea.
EDIT[ 0 ]
0V
U= 100V
0mA
I= 500mA
0W
P= 300W
Valores posibles:
U: desde 10 hasta 600 V
I: desde 1 hasta 500 mA
P: desde 1 hasta 300 W
Tiempo: desde 1 minuto hasta 99 horas y 59 minutos
Intervalo de incremento para todas las unidades, de uno en uno.

5
Versión/Version referencia/Code ZFD014 11/07/2017
b. El cursor parpadeará a un valor “U=□□□V”. Ajuste el valor del voltaje presionando
“▲”o“▼”.
c. El cursor parpadeara “I = □□□mA” cuando presione el botón ENT. Ajuste el valor de
corriente deseado presionando los botones “▲”o“▼”.
d. El cursor parpadeara “P = □□□W” cuando presione el botón ENT., ajuste el valor de P
presionando “▲”o“▼”. El rango va desde 1 hasta 300W. El cursor volverá a “U”y
parpadeará “U = □□□V” cuando presione “ENT”. Ajuste el valor de nuevo.
e. Presione “RUN/STOP” para ejecutar con los datos ajustados y o parar.
EDIT[0]
RUN! 00:01
▼
100V
U= 100V
350mA
I= 500mA
35W
P= 300W
f. Presione de nuevo el botón “RUN/STOP” para volver a la pantalla de configuración.
g. En ajustes, presione el botón “EDIT” para editar, se mostrará en pantalla las distintas
funciones en la esquina superior izquierda; guardar, cargar, selección de temperatura,
volver….
“SAVE [□]” → “LOAD [□]” → “T= □□:□□” → “QUIT” → “SAVE [□]”…
EDIT[ 0 ]
0V
U= 100V
0mA
I= 500mA
0W
P= 300W
h. En “SAVE □”, presione “▲”o “▼” para seleccionar el número del programa guardado. El
rango es de 1-9. Luego presione “ENT” para guardar el método actual.
i. En “LOAD” presione “▲”o “▼” para seleccionar el número que necesita. El rango es
también del 1-9. Luego presione el botón “ENT” para cargar el programa.
j. En “T=…..” presione las flechas para ajustar el tiempo que desea.
k. El rango de tiempo va desde 1 minuto hasta 99 horas y 59 minutos. Luego presiona
“ENT” para guardarlo.
l. En “QUIT” presiona “ENT” para salir del modo de edición y volver a ajustes.

6
Versión/Version referencia/Code ZFD014 11/07/2017
4. Errores
Tipo 1: Cuando la fuente de alimentación se enciende con sobrecarga, empezará a pitar la
alarma y mostrara “Error 1” en pantalla. No dejará de pitar hasta que no apague la fuente de
alimentación, hágalo rápidamente.
Tipo 2: Cuando la fuente de alimentación se pone en marcha sin carga, y empieza a pitar,
mostrará en pantalla “Error 2”. Apague el equipo rápidamente.

7
Versión/Version referencia/Code ZFD014 11/07/2017
Power supply
1. Safety..................................................................................................................................... 8
2. Introduction .......................................................................................................................... 8
3. Setup and Operation ............................................................................................................. 9
4. Error Alarm.......................................................................................................................... 11

8
Versión/Version referencia/Code ZFD014 11/07/2017
1. Safety
Electrophoresis power supplies use high output voltages that are electrically isolated from earth
ground through a protective impedance to minimize the risk of electrical shock to the user. The
following guidelines should be observed and followed when using a power supply.
Electrophoresis power supplies have passed test for operation at temperatures between0° and
40°C, with relative humidity between 0 and 95% non-condensing.
Operating the power supply outside these conditions is not recommended by our company and
will void the warranty.
1. To ensure adequate cooling of the power supply, be sure that there is at least 6 cm clearance
around the power supply. Do not block the fan vents at the rear of the unit.
2. Always connect the power supply to a 3-prong, grounded AC outlet, using the3-prong AC
power cord provided with the power supply
3. Do not operate the power supply in extreme humidity (less than 95%) or where condensation
can short the internal electrical circuits of the power supply.
4. When taking the power supply into a cold room, the unit can be operated immediately.
However, when removing the power supply from the cold room, let the unit equilibrate to room
temperature for a minimum of 2 hours before using it.
5. Never connect a high voltage output lead to earth ground. This defeats the floating electrical
isolation of the power supply and exposes the user to potentially lethal high voltages.
This instrument is intended for laboratory use only.
This product conforms to the class A standards for Electromagnetic Emissions, intended for
laboratory equipment applications. It is possible that emissions from this product may interfere
with some sensitive appliances when placed nearby or on the same circuit as those appliances.
The user should be aware of this potential and take appropriate measures to avoid interference.
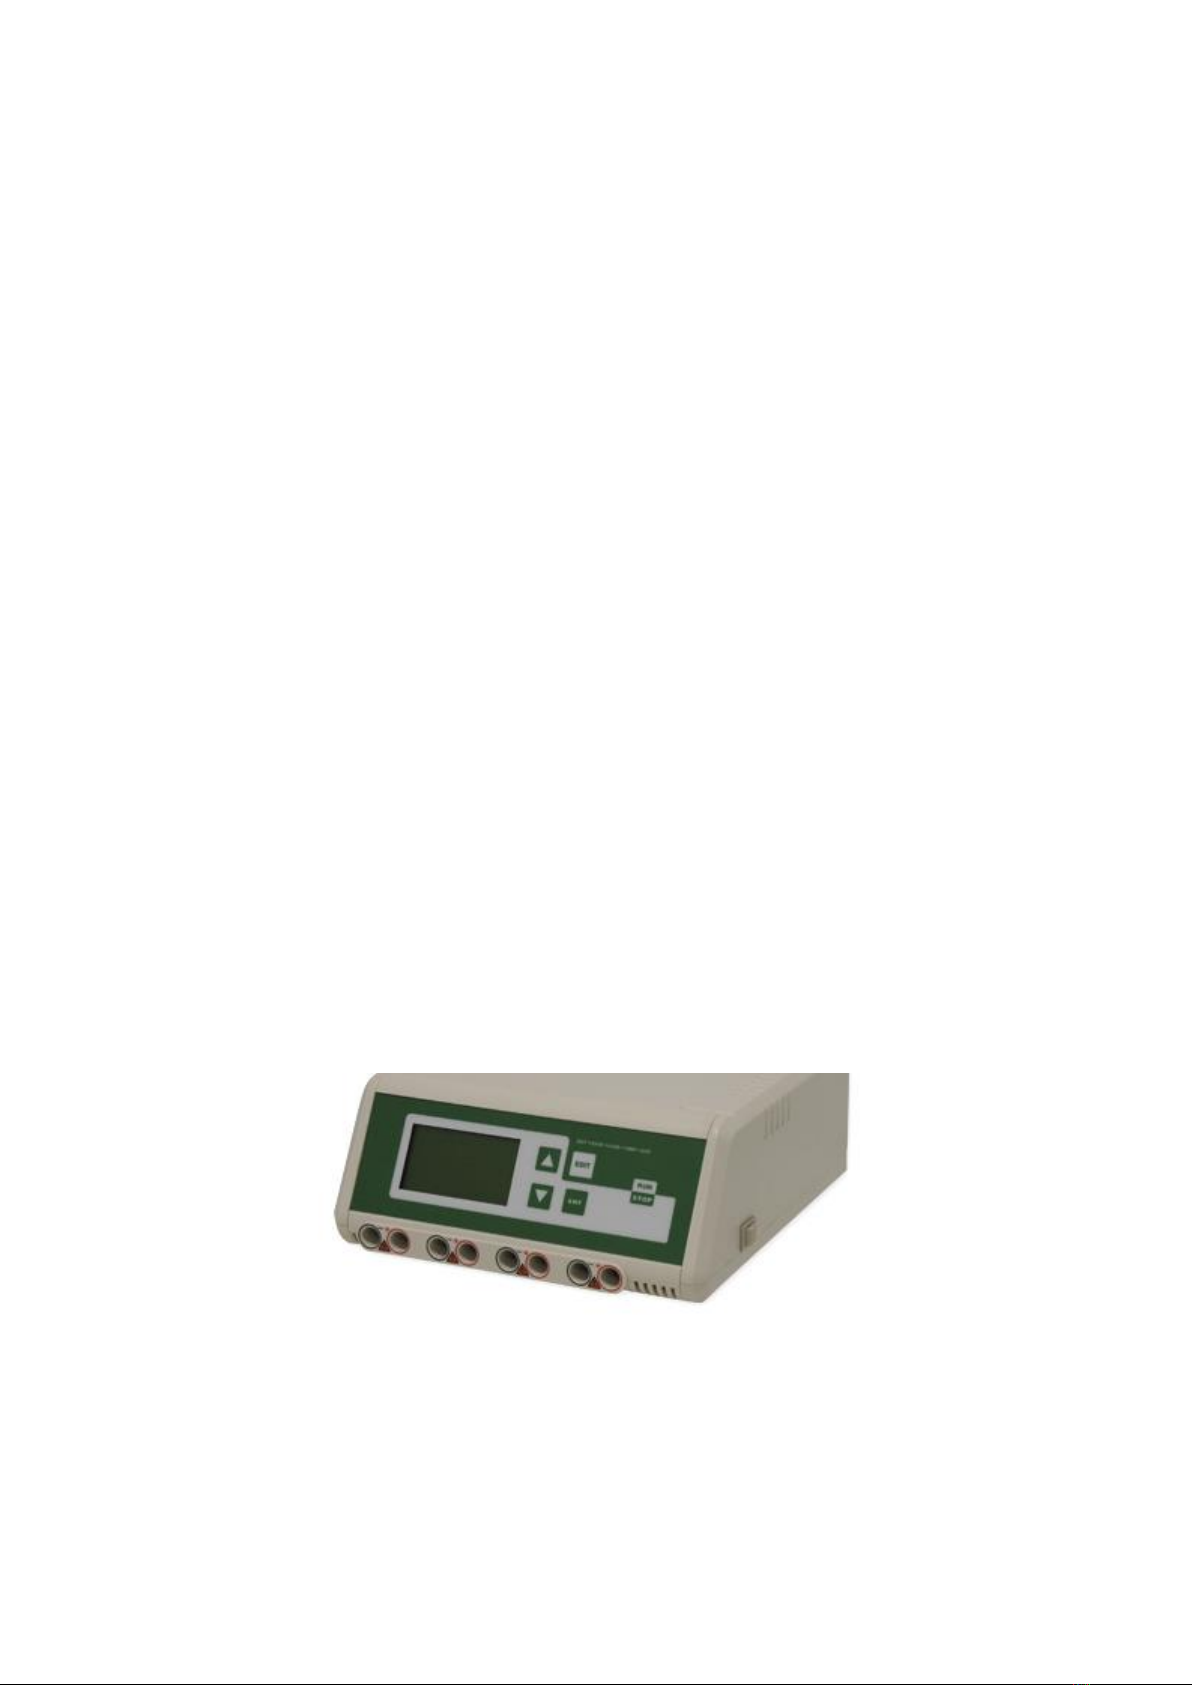
2. Introduction
The C series Power supply has the following Technical specifications and Characteristic
features:

9
Versión/Version referencia/Code ZFD014 11/07/2017
You can switch on the equipment with the bottom located in the right face of the equipment.
There are five bottoms on the frontal face: run/stop, edit, enter and two arrows to increase or
decrease the numbers.
Technical specifications
•Type of Output: Constant-Voltage, Current or Power
•Increment: 1V, 1mA, 1W
•Time Range: 1min~99hr, 59min
•Display: LCD display with backlight
•Output jacks: Four sets of output jacks
•Output voltage: 10-600V
•Output current: 1-500mA
•Energy: 1-300W
•Supply: 220+-10V, 50Hz
Characteristic features
•Molding shell, touch keys, dual core microprocessor
•intelligent control;
•Indicate the preset value and the actual output value at the same time;
•It can store 10 electrophoresis methods;
•With automatic memory function;
•With standard, timing operation function;
•With constant voltage, constant current, constant power, misoperation, fault
intelligent prompt functions;
•Automatic detection of no-load, over-load, short circuit, rapid resistance change,
ground leak and system overheating.
3. Setup and Operation
a. Turn on the power switch, enter into Setting State.
EDIT[ 0 ]
0V
U= 100V
0mA
I= 500mA
0W
P= 300W
Possible values:
U: 10-600V
I:1-500mA
P:1-300W
Time: 1seg- 99hr 59min
Increment 1 unit.

10
Versión/Version referencia/Code ZFD014 11/07/2017
b. The cursor will flash at “U=□□□V”. Set the value of constant voltage by pressing
“▲”or“▼”button.
c. The cursor will flash at “I = □□□mA” when press “ENT” button. Set the value of constant
current by pressing “▲”or“▼”button.
d. The cursor will flash at “P = □□□W” when press “ENT” button. Set the value of constant power
by pressing “▲”or“▼”button. The range of power can be set from 1 to 300W.
The cursor will return and flash at “U = □□□V” when you press “ENT” button. Set the value of
constant voltage again by pressing “▲”or“▼”button.
e. Power supply in Setting State now:
Press “RUN/STOP” button, it will enter into Operating State.
EDIT[0]
RUN! 00:01
▼
100V
U= 100V
350mA
I= 500mA
35W
P= 300W
f. Power supply in Operating State now:
Press “RUN/STOP” button, it will stop output and return to Setting State.
g. In Setting State, continue to press “EDIT” button, it will enter into Editing State and display:
“SAVE [□]” → “LOAD [□]” → “T= □□:□□” → “QUIT” → “SAVE [□]”…
EDIT[ 0 ]
0V
U= 100V
0mA
I= 500mA
0W
P= 300W
h. At “SAVE □”, press “▲”or “▼” button to select number of memory program. The range of
number is from 1 to 9. Then press “ENT” button to save current method into this program.
i. At “LOAD [□]”, press “▲” or “▼” button to select number that needed. The range of number
is from 1 to 9. Then press “ENT” button to load the current method from program.
j. At “T= □□:□□”, press “▲”or “▼” button to set operating time.
k. The range of timer is from 1minto 99hs and 59mins. Then press “ENT” button to save it.
EDIT[ 0 ]
0V
U= 100V
0mA
I= 500mA
0W
P= 300W
l. At “QUIT”, press “ENT” button to quit Editing state, and return to Setting State.

11
Versión/Version referencia/Code ZFD014 11/07/2017
4. Error Alarm
Type 1: When the power supply run with Over-load, it will stop automatically and alarm with
buzzer, then display “ERROR1!”.Turn off the switch immediately.
Type 2: When the power supply run with No-load, It will stop automatically and alarm with
buzzer, then display “ERROR 2!”.Turn off the switch immediately.
Table of contents
Languages: