NanoEnTek ADAMII-CD34 User manual

User manual
For ADAMIITM-CD34
Bench-top Fluorescence Cell Counter

2
All the materials in this user manual are protected by Korean and international copyright laws. They
cannot be reproduced, translated, published or distributed without the permission of the copyright
owner.
Every effort has been made to ensure that all the information contained in the ADAMII™ User
Manual is correct at the time of printing. However, NanoEntek Inc. reserves the right to make any
changes necessary without notice as part of ongoing product development.
ADAMII™ User Manual
Website: www.nanoentek.com
E-mail: [email protected]
Manufactured by NanoEntek, Inc.
851-14, Seohae-ro, Paltan-myeon, Hwaseong-si, Gyeonggi-do, 18531, Korea
Tel. +82-2-6220-7942 Fax. +82-2-6220-7999
MT Promedt Consulting GmbH
Altenhofstrasse 80, 66386 St. Ingbert, Germany
NanoEntek America, Inc.
220 Bear Hill Road, Suite 102, Waltham, MA 02451, USA
Tel. +1-781-472-2558 Fax. +1-781-790-5649
Copyright © 2016 NanoEntek Inc. All rights reserved.
Published in Korea.
Documentation: NESMU-AD2-001E (V.0.5)
Revision history: V.0.0 Date: MAR 2017
V.0.5 Date: AUG 2020

ADAMII™ © 2016 NanoEntek, Inc. 3
Table of contents
Introduction ....................................................................
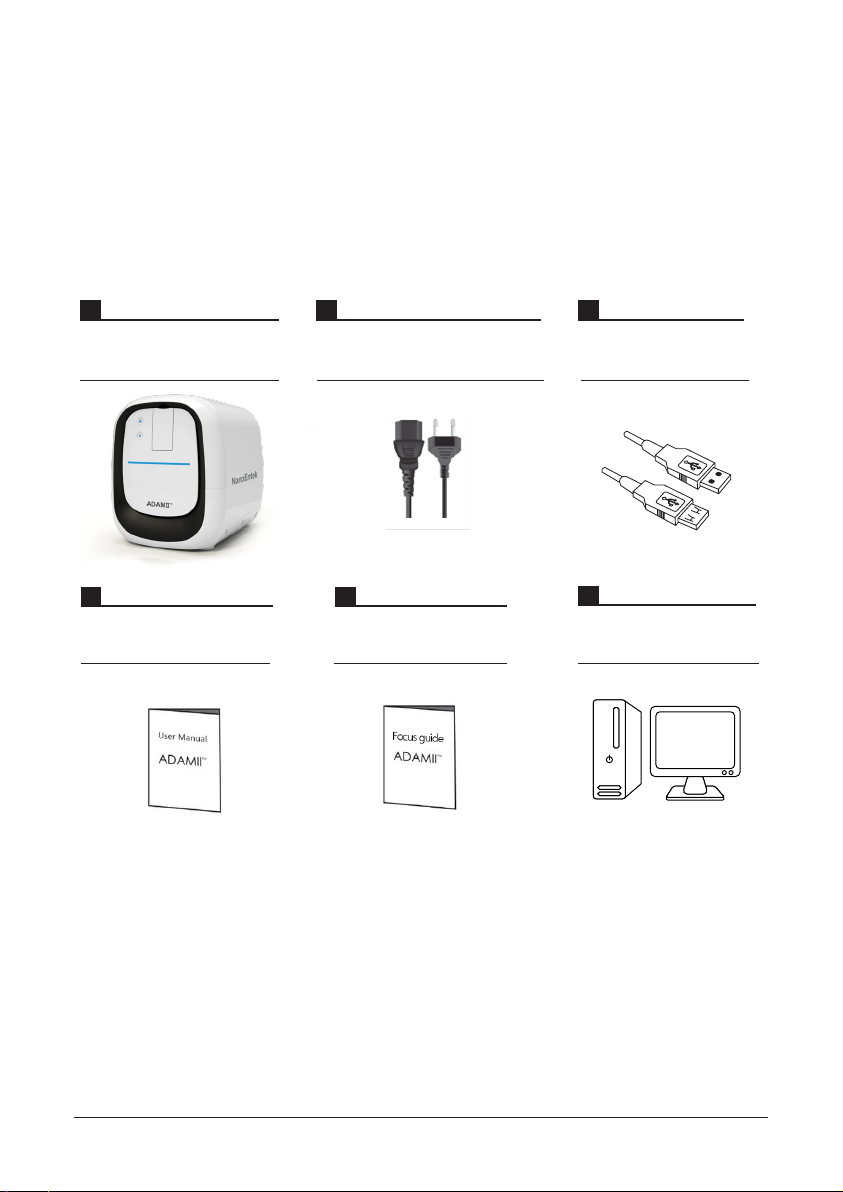
Product components......................................................
Product description........................................................
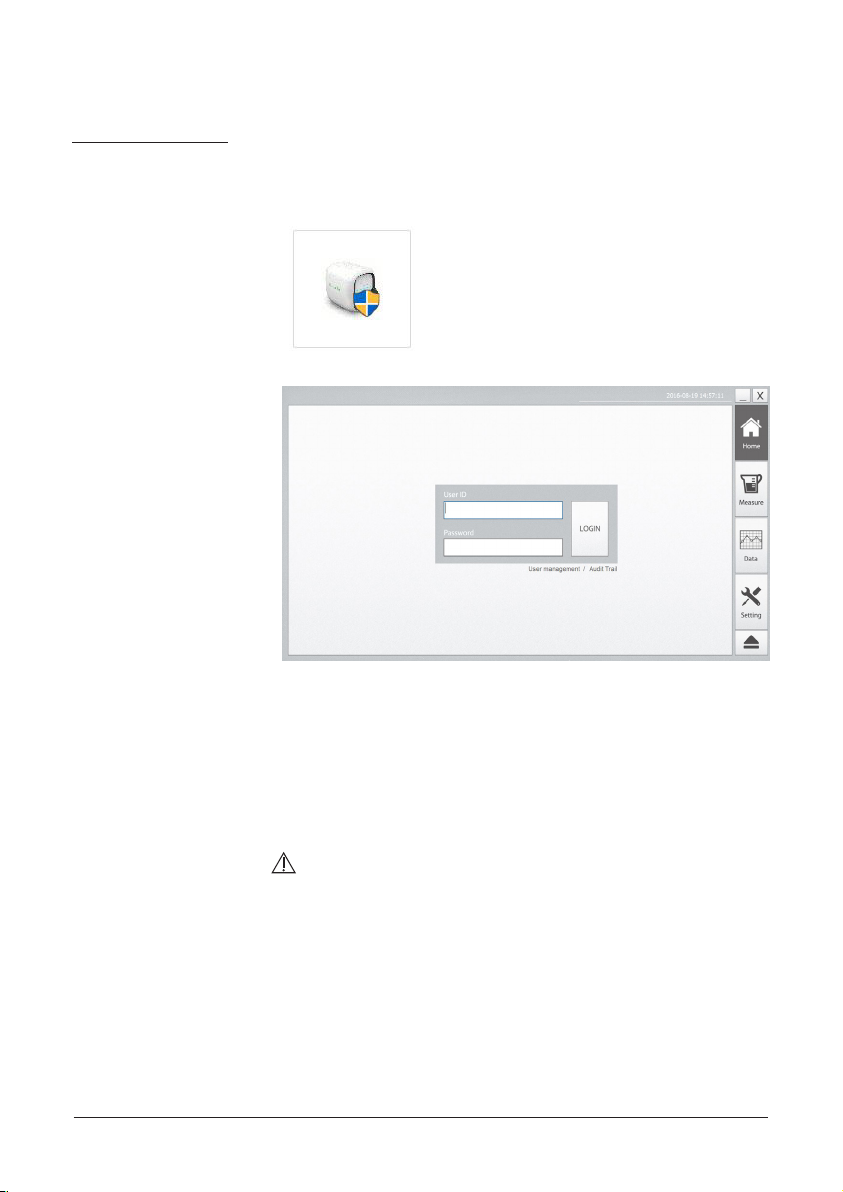
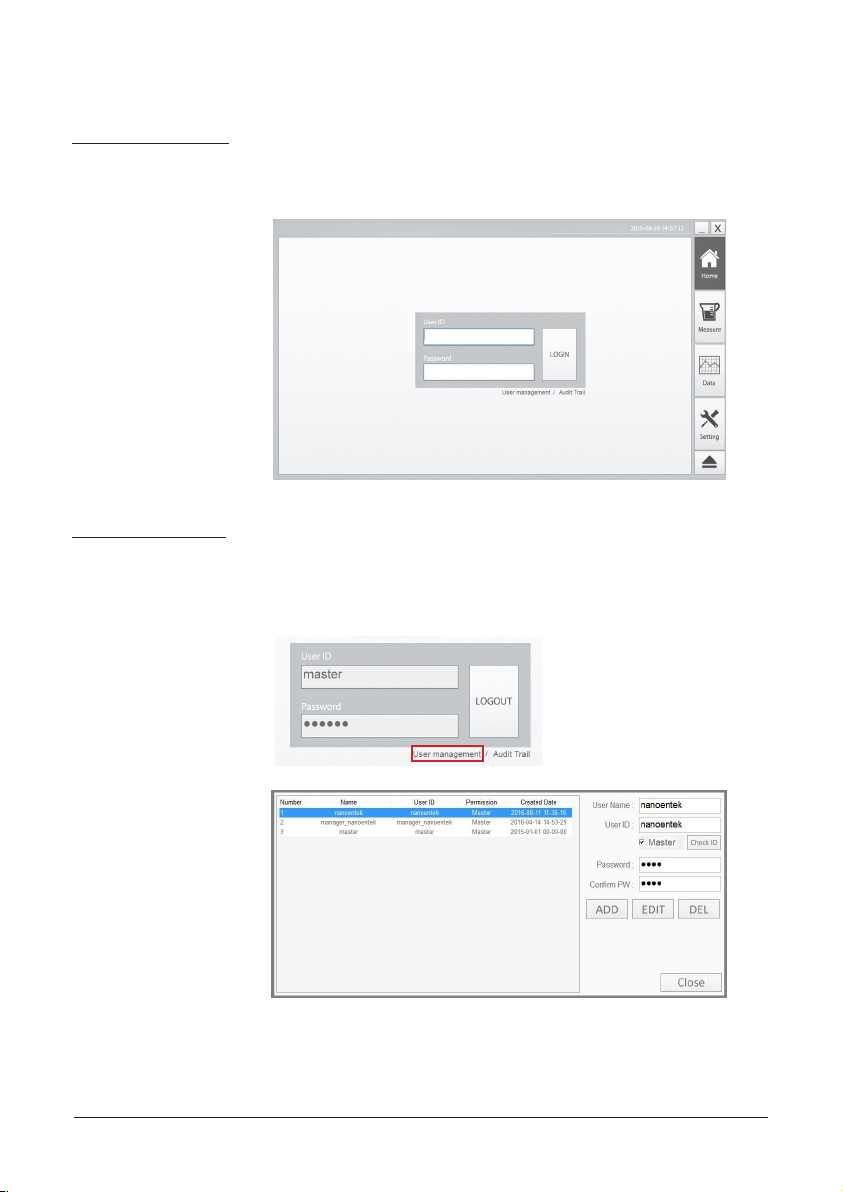
Installation ....................................................................
Home menu.....................................................................
Sample loading................................................................
Operation.........................................................................
Insert assay slde...............................................................
Measure menu – Initial mode, Focusing mode.. ..............
-Initial mode....................................................................
-Focusing mode..............................................................
Deta menu.........................................................................
Setting menu.....................................................................
Cleaning & Maintenance................................................
Troubleshooting..............................................................
Error code........................................................................
Warranty...........................................................................
Safety precautions..........................................................
Consignes de securite....................................................
Safety symbols................................................................
Product specifications...................................................
Ordering information......................................................
Technical support...........................................................
4
5
6~7
8~9
10~19
20
21~49
21~23
24~33
24~26
27~33
34~43
44~49
50
51~52
53~54
55
56
57
58
59
60
61

4
ADAMII™ is a benchtop fluorescent cell counting analyzer that can use in either a hospital or a
research laboratory.
It has 4-channel (Bright, Green (PE), Green (PerCP), and Blue (FITC)) light sources, and three-color
fluorescence samples can analyze simultaneously. The automatic X-Y-Z stage captures a maxi-
mum of 75 images and increases the accuracy of the analysis.
The obtained images are processed by image analysis software integrated in the system. All procedures
are automatic once the stained sample is loaded into the disposable assay slide.
[Features]
• A benchtop fluorescence cell counting analyzer
• Can be used in hospital and research laboratory
• Visualize: Quantitative results with visual confirmation
• Quantify fluorescence-labeled cells without sheath tank maintenance
Introduction

ADAMII™ © 2016 NanoEntek, Inc. 5
ADAMII™ is shipped with the following components. Once you receive your instrument, please check
that all components listed below were shipped.
Product components
ADAMII™
1 EA
Operating PC
(Please note: PC will be
packaged separately)
1 SET
User manual
1 EA
Focus guide
1 EA
4 pcs/1 SET
Power cord with 4 adaptor cords
(for U.S./Canada/ Taiwan/Japan,
Europe or UK)
2 EA
USB connection cable

6
Product description
Front view
Side view
Slide holder
Door
Insert/Eject button
Run Button
State LED
Light up when software runs in the laptop and
connection of camera and serial perform well.
Perform all procedures of automatic counting.
Insert and eject the slide from the ADAMII™.
Functions as load and unload.
State LED
Insert/Eject
button
Run button
Open to check the slide holder.
Location to insert or remove the slide.Slide holder
Door

ADAMII™ © 2016 NanoEntek, Inc. 7
Product description
Rear view
Control the ADAMII™ operating
Control the camera of the ADAMII™
Power on/off
Power supply
Serial connection port
Camera connection port
Power supply port
Power switch
Power
supply port
Power switch Serial
connection
port
Camera
connection
port

8
Installation
Unpacking
the instrument
Install
the instrument
1. Open the box and remove the material foam in the box.
2. Carefully lift the instrument out of the box.
3. Place the instrument on a flat, level surface.
1. Plug the power cord into the electrical outlet and connect two USB cables.
2. Connect the PC and the ADAMII™ using two USB cables.
Power supply port USB port

ADAMII™ © 2016 NanoEntek, Inc. 9
Installation
Install
SW program
1. Turn on the PC and ADAMIITM instrument.
At this time, the slide holder will be ejected automatically.
2. Double-click ‘ADAM’ icon on the PC to start the PC software.
CAUTION:
• The instrument must turn on before the PC software can run.
☞
Note: The ADAMII™ will be ready to use after initialization is completed
when powered on.
☞
Note: When the software runs and is connected with ADAMII™
normally, the state LED of instrument will be lighted up.

10
Home menu
Log in
User
management
At the ‘Home’ screen, enter the user ID and password to log in.
Default ID and password are both ‘master’.
Click ‘User management’ when you need to manage accounts (e.g.
User ID addition, password change). To create a new ID, fill out the
blank (user name, user ID, password, confirm PW) and click ‘Add’.
☞
Note: Only the master user can access the ‘User management’ .

ADAMII™ © 2016 NanoEntek, Inc. 11
Home menu
Audit trail Click ‘‘Audit trail” to search and trace detailed information of each
user.
1. Enter the User ID and set the date that you want to search.
2. Click ‘Search’ button.
3. The record of the selected user is displayed.
☞
Note: Only the master user can access the ‘’Audit trail’ .

12
Home menu
1. For calibration, go to ‘Setting’ menu and click ‘Calibrate’.
A pop-up window for calibration appears as shown below.
Calibration
procedure

ADAMII™ © 2016 NanoEntek, Inc. 13
Home menu
Calibration
procedure
2. Shake bottle vigorously or vortex briefly for 5 seconds before use.
☞
Note:
ADAMIITM Calibration Beads is included in the kit. Calibration
Beads should be removed from the refrigerator and allowed to
room temperature before use.
3. Once again, vortex for 4 seconds and pipette for immediately.
4. Load the Calibration Beads into the ADAMII Assay Slide.
[Shake bottle vigorously] [Vortexing]
5 sec.
4 sec.
[Vortexing]
[Loading volume: 25 uL]
[Pipetting Calibration Beads]

14
Home menu
Calibration
procedure
Warning:
• Calibration Beads loading error:
- Ensure that Calibration Beads is fully loaded on the ADAMII Assay Slide.
- The instrument will not detect in low or high loading volumes.
CAUTION:
• Avoid bubbles as theymay negativelyaffect results.
5. Leave for 20 seconds (Calibration Beads needs time to settle).
6. Insert the Assay Slide with Calibration Beads into the slide holder
of the ADAMII instrument, and then press ‘Insert sample’ button.
20 sec.
[Low volume] [Correct volume]

ADAMII™ © 2016 NanoEntek, Inc. 15
Home menu
Calibration
procedure
7. Enter lot number of Calibration Beads.
8. Select ‘Bright’ channel and adjust the focus using the focus buttons.

16
Home menu
Calibration
procedure
Bright- Good Focus
FL- Good Focus
Bright- Bad Focus
FL- Bad Focus
[Focusing example - representative images]
• Bright - Good Focus: Clear circumference of the beads, dark and
clear contrast to the background.
• Bright - Bad Focus: Blurry and unclear bead circumference.
• FL - Good Focus: Bright fluorescence beads with clear contrast to
the background.
• FL - Bad Focus: Weak fluorescence beads with unclear contrast
to the background.
Good Focus VS. Bad Focus
☞
Note: Please check ‘ADAMII™ Focus guide’ before setting the focus.
9. Press the ‘Save BR Focus’ after adjusting focus.

ADAMII™ © 2016 NanoEntek, Inc. 17
Home menu
Calibration
procedure
10. Select FL3 channel and adjust the focus using the focus button.
11. Press the ‘Save FL Focus’ after adjusting focus.
12. Press the ‘Run’ button.
☞
Note: Save the focus in ‘Bright’ and ‘FL3’ channel. The other
channels will be automatically focused.
3~4 min

18
Home menu
Calibration
procedure
13. When the calibration is completed, the results will be displayed.
14. When you need previous results of calibration, click ‘Record’ button
of the ‘Setting’ menu.
☞
Note: If any of the results are “FAIL”, please contact the manufacturer
or distributor.
☞
Note: If any of the results are “Low”, please check the focus or
expiration date of the Calibration Beads. Or please re-test
using another slide.

ADAMII™ © 2016 NanoEntek, Inc. 19
Home menu
Calibration
procedure
15. The calibration results are displayed. To save the results, click
‘Save’ button.
16. Press “Close” button to finish calibration.

20
Sample loading
Sample
preparation
Load sample
Prepare a sample by checking the staining method according to the
sample type.
☞
Note: Please refer to the ADAMIITM -CD34 Kit package insert.
To run a sample, click ‘Measure’ menu.
Load 25 uL stained sample into the ADAMIITM Assay Slide.
[Load 25μL sample]
☞
Note: Please refer to page 14 to check cautions for loading correct
volume .
☞
Note: Before loading the stained sample or Calibration Beads to the
Assay Slide, vortex enough to mix them up.
Other manuals for ADAMII-CD34
1
Table of contents
Other NanoEnTek Measuring Instrument manuals
Popular Measuring Instrument manuals by other brands

Trolex
Trolex TX6353 user manual

Emerson
Emerson Rosemount 56 instruction manual

BAMO IER
BAMO IER TURBISWITCH GS4 operating instructions

Dwyer Instruments
Dwyer Instruments DPMA-4 Series Installation and operating instructions

Anritsu
Anritsu Network Data Analyzer MD6430A Specifications

dlb
dlb AIJGO-60 instruction manual