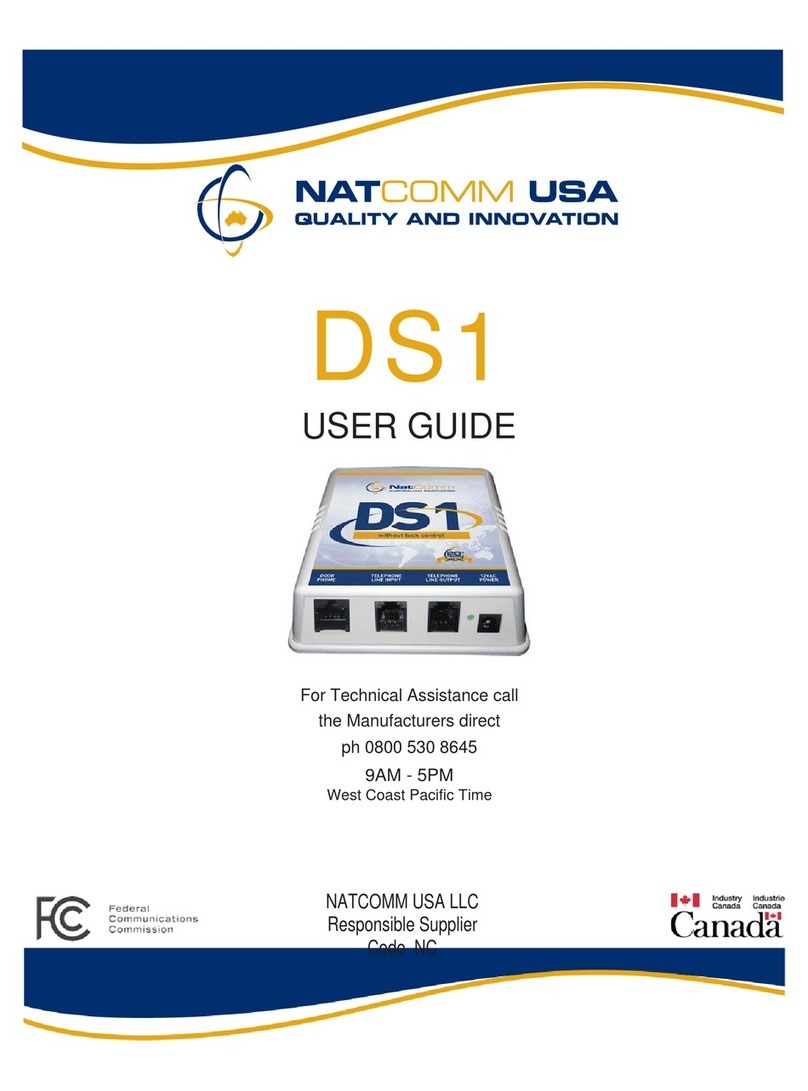
NatComm DP2 User manual

LANGHAM
Dresser

Please read the instructions and warnings carefully before use to ensure safe and satisfactory
operation of this product.
Your child’s safety is your responsibility. If you have a query with this product or require replacement
parts, please contact 01692 408802.
Lay out the parts on a soft level surface and compare to the part/fixing checklist on pages 2 & 3. Do
not discard any packaging until you are sure that you have all the parts.
Keep children clear during assembly as pack contains small parts which may present a choking
hazard.
Hardware:
Cam Pin x 12
Medium Bolt (30mm) x 4
Small Bolt (20mm) x 20
Round Headed Bolt (22mm) x 6
Hexagonal key
Round Headed Woodscrew (12mm) x 24
Plastic Nut x 32
Small Woodscrew (25mm) x 8
Long Woodscrew (40mm) x 32
Cam Nut x 12
2
IMPORTANT
RETAIN FOR FUTURE REFERENCE: READ CAREFULLY

Left Side
Right Side
Back Panel x 2
Base Frame
Central Divider Crossbar x 1
Crossbar x 3
Top Front Crossbar x 1
Central Divider
Large Drawer Back x 2
Large Drawer Front x 2
Small Drawer Back x 2
Small Drawer Front x 2
Drawer Support x 2
Left Drawer Side x 4
Handle x 6
Foot x 4
Changer Top
Small Drawer Base x 2
Large Drawer Base x 2
You will need the following tools to complete assembly:
Flat-headed screwdriver and Cross point screwdriver.
Wooden parts:
3
Top Back Crossbar x 1
Right Drawer Side x 4

NOTE: You may find it easier to complete the first 4 stages of the assembly with the Left Side lying flat
on the floor or other soft level surface.
Insert 3 Cam Pins into the Left Side as shown. Attach 2 Crossbars and the Top Back Crossbar by
inserting 3 Cam Nuts, making sure that the arrow on one of the screwdriver slots points to the
nearest edge of the part. To secure the parts, turn the Cam Nut approximately 1/2 turn clockwise until
resistance is felt.
Slide the Central Divider into the frame and line up with the hole in the centre of the Top Back
Crossbar. NOTE: Support the Central Divider until secured to the front crossbars in next step. Attach to
the Top Back Crossbar using a Small Bolt (20mm) as shown.
Top Back Crossbar
Cam Pin x 3
Cam Nut x 3
Crossbar
Crossbar
Small Bolt (20mm)
Left Side
Left Side
Central Divider
4
Dresser Assembly 1. Fitting the Back Crossbars.
Dresser Assembly 2. Fitting the Central Divider.

Insert 3 Cam Pins into the Left Side as shown. Insert 3 Cam Nuts into the Crossbars making sure the
arrow on the Cam Nut is facing towards the edge of the part. Turn the Cam Nut approximately 1/2
turn clockwise until resistance is felt.
Secure the Central Divider with 2 Small Bolts (20mm) as shown. Attach the Right Side as in previous
steps using 6 Cam Pins and 6 Cam Nuts.
Crossbar
Top Front Crossbar
Central Divider Crossbar
Cam Pin x 3
Cam Nut x 3
Cam Nut x 6
Right Side
Cam Pin x 6
5
Dresser Assembly 3. Fitting the Front Crossbars.
Dresser Assembly 4. Securing the Central Divider & Attaching the Right Side.
Small Bolt (20mm)
Small Bolt (20mm)

Insert the Feet into the 4 corners using the attached dowels. Insert 4 Medium Bolts (30mm) into each
Foot to secure them.
To secure the Base Frame to the dresser turn the frame over and insert 6 Small Bolts (20mm) into the
holes as shown.
Medium Bolt (30mm) x 4
Small Bolt (20mm) x 6
Foot x 4
Base Frame
6
Dresser Assembly 5. Attaching the Base.
Dresser Assembly 6. Attaching the Feet.

Secure the Changer top with 11 Small bolts (20mm) into the underneath of the Left and Right Side, the
Central Divider and the Top Crossbar.
Attach the 2 Back Panels with 24 Round Headed Woodscrews (12mm).
Small Bolt (20mm) x 4
Small Bolt (20mm) x 3
Small Bolt (20mm) x 4
Round Headed
Woodscrew (12mm)
x 24
Changer Top
Back Panel x 2
7
Dresser Assembly 7. Fixing the Changing Top.
Dresser Assembly 8. Fitting the Back Panels.

Fit 4 Plastic Nuts into the Small Drawer Front panel making sure the holes point towards the edge of
the piece. Fit 4 more Plastic Nuts into the Small Drawer Back.
Attach the drawer parts together using 8 Long Woodscrews (40mm) into the Drawer Sides. Slot the
Small Drawer Base into the grooves of the drawer parts as you join them together. Repeat the above
step for the other Small drawer.
Small Drawer Front Small Drawer Back
Plastic Nut x 4
Plastic Nut x 4
Long Woodscrew (40mm) x 4
Drawer Side
Drawer Side
Small Drawer Front
Small Drawer Back
Small Drawer Base
8
Small Drawer Assembly 1. Fitting the Plastic Nuts.
Small Drawer Assembly 2. Attaching the Sides to the Base.

Fit 4 Plastic Nuts into the Large Drawer Front panel making sure the holes point towards the edge of
the piece. Fit 4 more Plastic Nuts into the Large drawer back.
Attach the drawer parts together using 8 Long Woodscrews (40mm) into the Drawer Sides. Slot the
Drawer Base into the grooves of the drawer parts as you join them together. Repeat the above step
for the other Large drawer
Long Woodscrew (40mm) x 4
Large Drawer Back
Large Drawer Front
Plastic Nut x 4
Plastic Nut x 4
Large Drawer Front
Large Drawer Back
Large Drawer Base
Drawer Side
Drawer Side
9
Large Drawer Assembly 1. Fitting the Plastic Nuts.
Large Drawer Assembly 2. Attaching the Sides to the Base.

Attach the Drawer Support to the bottom of the Large Drawer with 4 Small Woodscrews (25mm).
Affix the 2 Handles on the Large drawer with 2 Round Headed Bolts through the drawer and into
the Handle. Use 1 Round Headed Bolt for the Small drawer. Repeat for the other drawers.
Drawer Support
Small Woodscrew (25mm) x 4
Handle x 2 Handle
Round Headed Bolt x 2 Round Headed Bolt
Large Drawer
10
Large Drawer Assembly 3. Fitting the Drawer Support.
Final Drawer Assembly. Fitting the Drawer Handles.

Fit the Drawers by locating the plastic wheels on the drawer runners to the metal channels just
behind the plastic wheels on the dresser. Note that when inserting the Small drawers there is a
larger lip on the side that needs to be on the outside of the dresser.
11
Dresser Assembly 9. Fitting the Drawers.

Your furniture may be cleaned by wiping with a damp cloth and drying with a soft clean cloth.
Do not use abrasives, bleach, alcohol or ammonia-based household polishes.
Take care when handling or moving the furniture. Careless handling may cause damage.
Regularly check that all fixings are tightened and that there are no broken or damaged parts.
WARNING: Do not leave your child unattended.
All assembly fixings should always be tightened properly. Care should be taken that no screws are
loose because a child could trap parts of their body, or clothing (e.g. strings, necklaces, ribbons,
dummies, etc.) which could pose a risk of strangulation.
Be aware of the risks of open fires and other such sources of strong heat, such as electric bar fires, gas
fires, etc. in the near vicinity of the dresser.
Suitable for use with a changing mat 80 x 53 cm maximum.
The changing area is suitable for use up to 12 months old or 11kg in weight.
Do not use the dresser if any of the parts are broken, torn or missing.
Any additional or replacement parts can only be obtained from the manufacturer or the distributor.
Complies with BSEN 12221:2008 +A1:2013
East Coast Nursery Ltd. Robertson House, North Walsham, Norfolk,
NR28 0BX
Customer Care Hotline For this Product 01692 408802
12
2990/5
CARE AND MAINTENANCE
IN USE
Other manuals for DP2
2
Table of contents
Other NatComm Intercom System manuals

NatComm
NatComm DS6 User manual

NatComm
NatComm DP2 User manual

NatComm
NatComm DS3 User manual

NatComm
NatComm DP2 User manual

NatComm
NatComm DP1 User manual

NatComm
NatComm DP4 User manual

NatComm
NatComm DP5 User manual

NatComm
NatComm DS1 User manual

NatComm
NatComm DP5 User manual

NatComm
NatComm DP4 User manual