NavLinkz DVBT450 User manual

DVBT450
Car-use DVB-T Diversity Receiver
User Manual

2
Please Read all of these instructions regarding your unit and retain them for future reference.
Read this manual fully and carefully before operating this in-car DVB-T receiver.
Keep this manual handy as a reference for operating procedures and safety
information.
Pay close attention to all warnings in this manual and follow the instructions carefully.
Do not allow other people to use this system until they have read and understood the
operating instructions.
Do no block or cover the slots and openings in the cabinet. These openings are provided
for ventilation and to ensure reliable operation of the product and to protect it from
overheating.
Do not operate this in-car DVB-T receiver if doing so in any way will divert your attention
of your vehicle. Always observe safe driving rules and follow all traffic regulations. If
you experience difficulty in operating the system or reading the display, park you
vehicle in a safe location and make necessary adjustment.
Do not push objects of any kind into this product through openings as they may touch
dangerous voltage points or short-out parts that could result in a fire or electric shock.
Do not put this unit near the liquids. Electrical shock could result. Also, this unit damage,
smoke, and overheat could result from splashing liquids on receiver.
Be sure to run the vehicle engine while using this unit to avoid battery exhaustion.
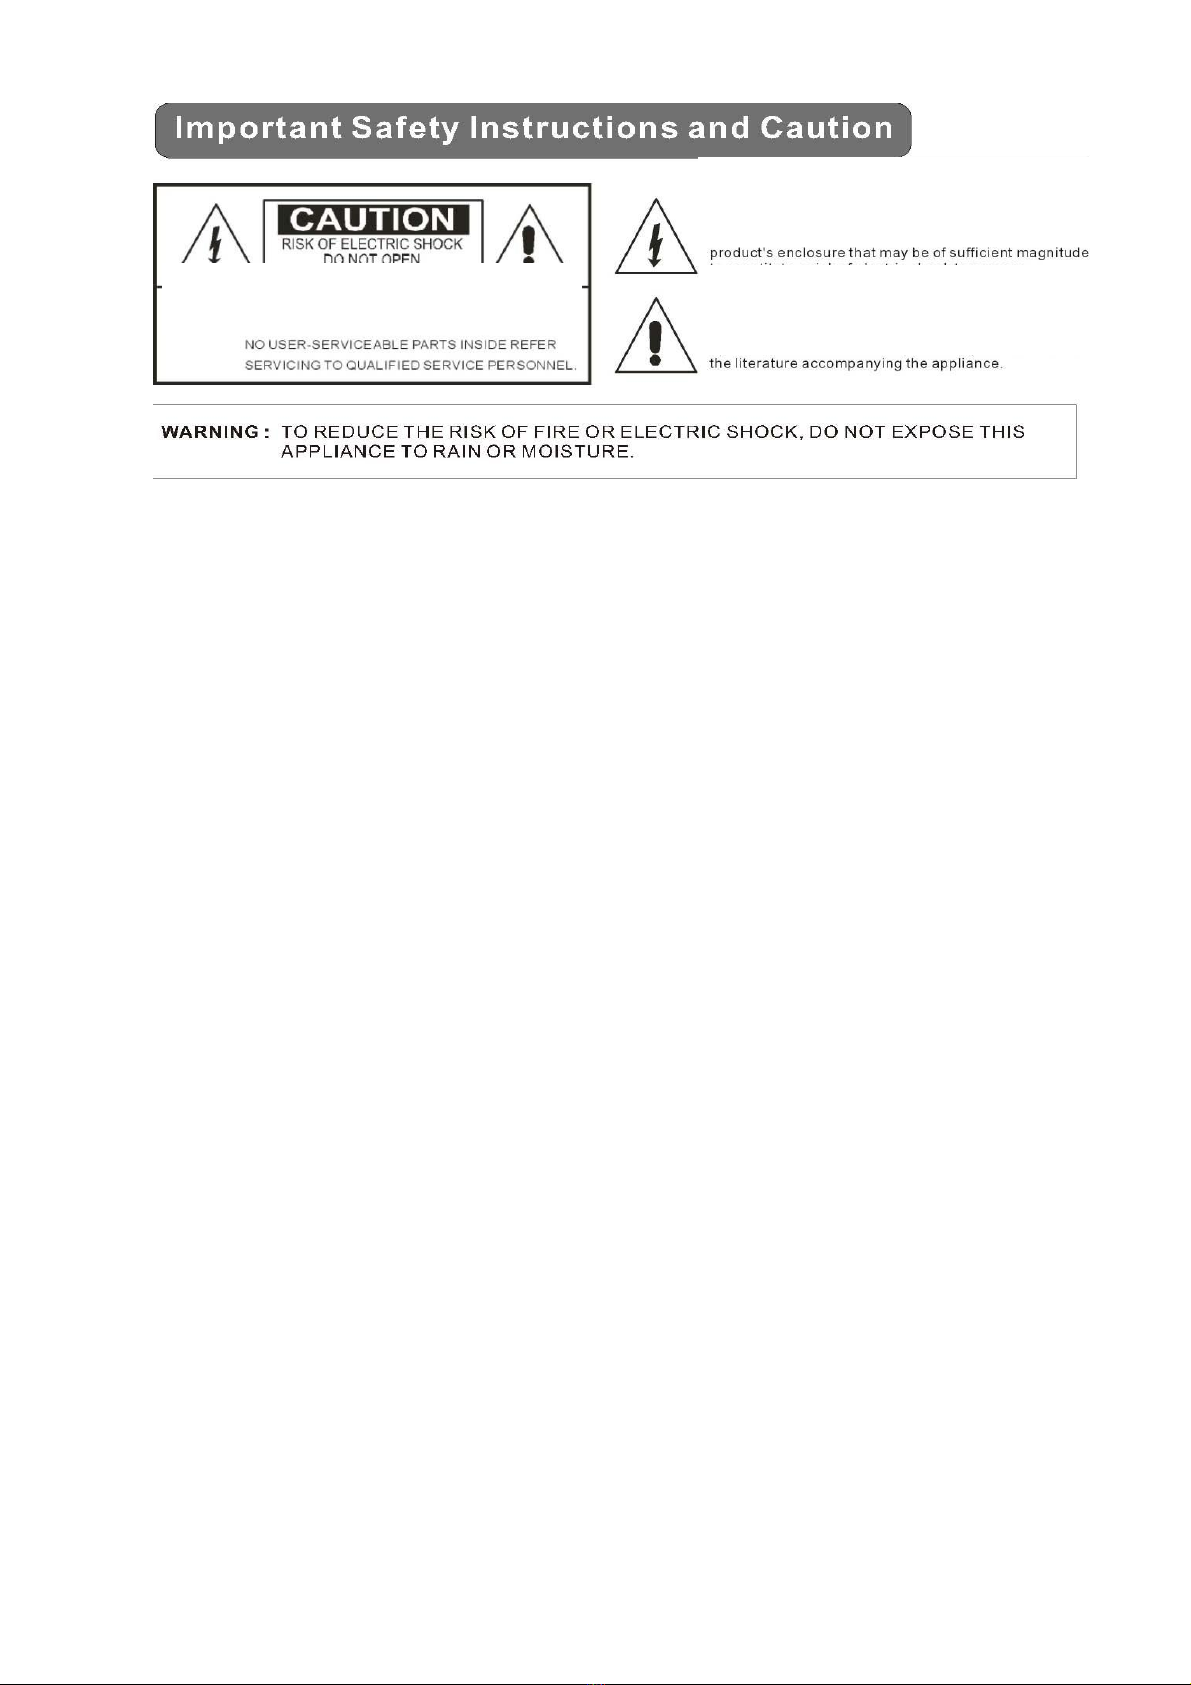
CAUTION: TO REDUCE THE RISK OF ELECTRIC SHOCK –
DO NOT REMOVE COVER (OR BACK)
NO USER-SERVICEABLE PARTS INSIDE REFER SERVICING
TO QUALIFIED SERVICE PERSONNE;
The lighting flash with arrowhead symbol within an
equilateral triangle is intended to alert the user to the
presence of uninsulated dangerous voltage within the
product’s enclosure that may be of sufficient magnitude to
constitute a risk at electric shock to persons.
The exclamation point within an equilateral triangle is
intended to alert the user to the presence of important
operating and maintenance (servicing) instructions in the
literature accompanying the appliance

3
On Safety
Do not attempt to install or service your DVB-T receiver by yourself. Installation or servicing
by people without training and experiencing in electronic equipment and automotive
accessories may be dangerous and could expose you to the risk of electric shock or other
hazards.
If the receiver does not work properly, please pull out the plug for safety. Contact us for
further technical support.
If any solid object or liquid fall into the cabinet, unplug the unit and have it checked by
qualified personnel before operating it any further.
On Placement
Do not install the in-car DVB-T receiver where it may (i) obstruct the driver’s vision, (ii)
impair the performance of any of the vehicle’s operating systems or safety features,
including air bags, hazard lamp buttons or (iii) impair the driver’s ability to safely operate
the vehicle.
On Operation
The unit may not work because of improper operation. The limited warranty does not cover
consequent losses that rise from improper usage.
Precaution
Preface

4
Table of Contents
I. Using the Menu .............................................................................. 10
I.1. Home Menu ................................................................................... 10
II. Quick Guide for First-time User ........................................................ 11
2.1 DVB-T TV Watching ..................................................................... 11
2.2 DVB-T Radio Listening................................................................. 13
2.3 Record Function .......................................................................... 14
2.4 Movie Watching........................................................................... 16
2.5 Music Listening .............................................................................. 17
2.6 Photo Viewing................................................................................ 18
3Technical Settings .......................................................................... 20
3.1 System Settings............................................................................. 20
3.2 DVB-T TV/Radio Menu..................................................................... 22
4Trouble Shooting Q&A ..................................................................... 26
5Specification .................................................................................. 27

5
Front Panel
(1) USB port: For reading USB memory stick.
(2) Power: “Power” LED indicates if the 12V or 24V power supply has been
successfully applied to the in-car DVB-T receiver .
(3) Operation: The “Operation” LED indicates if this unit is receiving a signal.
(4) IR In: Port for connecting the infrared receiver module. (Must be
connected)
(5) POWER: Wiring Connection Input harness. The power input is
supported either 12 V or 24 V car power system.
(6) TV OUT( Video/L/R): Output ports for connection to car monitor.
Audio L/R which can be connected to a head unit with stereo
amplifier inputs (if supported).
(7) Ant. In: Antenna connection port (NOTE: This unit provides +5V antenna
power on these inputs for 5v active antennas)
(8) Video2/Video3: TV video output ports for connection to car monitor on
rear seats.
(9) Reset: System reboot.
Unit Description & Installation Guide

6
Warning: Make sure all Power Cables are connected correctly.
Red: Must be connected to ACC or IGN (+)
Yellow: Must be connected to Vehicles 12V/24V battery (+) Constant Supply. (Fused 3 Amp)
Blue: Optional +12V output to power up powered active antennas.
(IMPORTANT: Please cut and insulate this blue wire if it’s not being used)
Black: Must be connected to Vehicles chassis / Ground
Green: Must be connected to vehicles Hand Brake Wire: (if connecting to front monitor in vehicle)
Orange: Must be connected to Vehicles chassis / Ground
Warning: Please connect the antennas before switching the unit on.
If you turn the unit on before connecting the antennas, the receiver may not receive any
signal. Please connect the antennas first and then turn on the unit.

7
Antenna Connection
DVB-T reception will vary from vehicle to vehicle and you may have to try several
mounting positions to determine which position provides the strongest signal in your
vehicle.
We recommend for one antenna to be mounted at the front and one at the rear of the
vehicle.
Please refer to the Diagram below for some of our recommendations:
Rear Location Front Location
(1) Behind the Rear Bumper. (providing it’s not Metal)
(2) Bottom of Rear Windscreen
(3) Top of Rear Windscreen
(4) Top of Front Windscreen
(5) Bottom of Front Windscreen
(6) Behind the Front Bumper. (providing that it’s not Metal)
Once a suitable position is found, carefully route the antenna cables to the receiver unit
and then connect to the Antenna Inputs. (Optional +12V Blue Wire not required for
active Antennas)
1
2
3
4
6
5

8
Button name
Function
1
POWER
Select power-on or stand-by
2
MUTE
Mute control
3
SOURCE
No Function
4
PREVIEW
Enter preview mode in DVB-T TV
5
AUDIO
Select second language and stereo audio
6
ENTER
To enter the selected channel number
7
EXIT
Exit the current setup
8
Digital keys
9
RECALL
Return to the last selected channel
10
OK
Select the highlighted item
11
VOL
Select volume up or move the cursor right
12
VOL
Select volume down or move the cursor left
13
CH ▲
Select channel up or move the cursor up
14
CH▼
Select channel down or move the cursor down
15
Home
Go to home screen
16
INFO
Display digital TV system information
17
EPG
Electronic Program Guide
18
MENU
Enter the setup menu
19
MANUAL
To manually select channels
20
AUTO
To scan channels automatically
21
PLAY/PAUSE
Select play or pause
22
FR
Fast Rewind
23
FF
Fast Forward
24
REC
Start record TV/Radio Program or Open Record
menu
25
Replay
No function
26
TTX
To display teletext content
27
RED BUTTON
Subtitle key in normal operation mode or the hot
key to enter Teletext pages in Teletext mode
28
GREEN BUTTON
Hot key to enter Teletext pages in Teletext mode
29
YELLOW BUTTON
Select page up in the EPG mode or the hot key to
browse teletext pages in Teletext mode
30
BLUE BUTTON
Select page down in the EPG mode or the hot key
to browse Teletext pages in Teletext mode
Before attempting to operate your remote control, install the supplied battery.
1. Rotate the battery cover to the ‘open’ position and pull off the cover.
2. Insert the supplied battery (or replace with new battery). Please ensure the
battery is facing the correct way. ((+) positive facing up)
3. Re-fit the battery cover and rotate to closed position.
Note: Replacement Battery is CR2032 (3V)
(1)
(2)
(3)
(4)
(5)
(6)
(8)
(10)
(12)
(13)
U
n
it
D
e
s
c
ri
p
ti
o
n
&
I
n
s
(14)
U
n
it
D
e
s
c
ri
p
ti
o
n
&
I
n
(11)
U
n
it
D
e
s
c
ri
p
ti
o
n
&
I
n
s
(15)
U
n
it
D
e
s
c
ri
p
ti
o
n
&
I
n
(17)
U
n
it
D
e
s
c
ri
p
ti
o
n
&
I
(18)
U
n
it
D
e
s
c
ri
p
ti
o
n
&
I
n
(20)
U
n
it
D
e
s
c
ri
p
ti
o
n
&
I
(23)
U
n
it
D
e
s
c
ri
p
ti
o
n
&
I
(22)
U
n
it
D
e
s
c
ri
p
ti
o
n
&
I
(25)
U
n
it
D
e
s
c
ri
p
ti
o
(26)
U
n
it
D
e
s
c
ri
p
ti
o
n
&
(27)
U
n
it
D
e
s
c
ri
p
ti
o
(28)
U
n
it
D
e
s
c
ri
p
ti
o
(30)
U
n
it
D
e
s
c
ri
p
ti
o
(29)
U
n
it
D
e
s
c
ri
p
ti
o
(21)
U
n
it
D
e
s
c
ri
p
ti
o
n
&
I
(19)
U
n
it
D
e
s
c
ri
p
ti
o
n
&
I
n
(16)
U
n
it
D
e
s
c
ri
p
ti
o
n
&
I
n
(7)
(9)
Remote Control Operations
Remote Control Battery Installation

9
oPower Harness (Cable)
oRemote control
oAV cord
oIR Receiver Module.
oUSB extension cable (optional)
o2 x Active Antenna’s (optional)
Accessories

10
I. Using the Menu
I.1. Home Menu
This is the home menu screen. From here
you can select video playback mode, music
playback mode, picture viewing mode,
DVB-T TV mode, DVB-T Radio mode, and the
settings menu.
Use [CH▲] and [CH▼] buttons to select the
desired item then press the [OK] button.
DVB-T TV Mode
To enter DVB-T TV mode.
DVB-T Radio Mode
To listen to DVB-T radio broadcasting.
Movie Playback Mode
To enter playback mode and watch movie files.
Music Playback Mode
To enter audio playback mode and listen to music.
Photo Viewing Mode
To enter photo viewing mode and view pictures.
System Settings
To configure the in-car DVB-T receiver settings.
Note: Press the [HOME] key to go back to the home screen anytime.
Press the [SOURCE] key to switch AV source anytime.

11
II. Quick Guide for First-time User
2.1 DVB-T TV Watching
Step 1: Turn on the unit
1. Turn on the vehicles ACC or IGN. (Or Start the vehicle)
2. When the unit has power, the POWER LED indicator will illuminate RED.
3. Using the remote, press the POWER button to turn it on. The LED on the IR
Sensor will illuminate Green and the Operation LED on the unit will also
illuminate Green.
Note: If the Operation LED does not turn on, please check if the remote battery
is inserted properly.
If the LED on the IR Sensor remains Red, please check if the remote battery is
inserted correctly. If it’s still not working, please refer to the trouble shooting
section.
Step 2: Press [CH▲]/[CH▼]buttons to select “TV” options and press
[OK]/[VOL] button to enter the TV mode

12
Step 3: Press [OK] button to enter the scan setup.
Step 4: Select your own OSD Language, your located region, whether it’s
summer time at present.
1. Use [CH▲]/[CH▼] buttons to highlight the item.
2. Use [VOL] button to set the highlight item.
3. Press [CH▲]/[CH▼] buttons to scroll up and down the options.
4. Select one by pressing the [OK] button or exit the setting by pressing
the [EXIT]/[MENU] button.
NOTE: Time zone setting will be automatically updated once the Region
setting is changed.
Step 5: Perform auto search to find available DVB-T channels.
1. Use [CH▲]/[CH▼] buttons to highlight the Auto Search item.
2. Press [OK] button to start.
Step 6: Job well-done! You can now sit back and enjoy your mobile TV.
NOTE: Keep [OK] button pressed to change the aspect ratio of current TV
program.

13
2.2 DVB-T Radio Listening
1. Press [CH▲]/[CH▼] buttons to select
the Radio item and then press [OK]
button to enter the radio mode.
2. Press [CH▲]/[CH▼]buttons to select your preferred radio channel.
3. The radio service will instantly start.

14
2.3 Record Function
NOTE: Mikado3M supports both DVB-T TV and DVB-T Radio recording.
1. During TV or Radio mode, press [REC] to start
recording TV/Radio programs.
When unit is start recording, icon will
appear on the upper left screen & the timer
menu (disappear in 10 sec without control) will
appear on the lower left screen simultaneously.
2. In the timer menu , you may use [CH▲] / [CH
▼]/ [REC] to select the recording time. Then press [OK] to start the recording
with selected timer. You can see the timer on below icon that is showed as the
left time of recording.
NOTE:
a. Please ensure that a USB Storage
device is connected to the unit before recording.
b. While turn off the ACC/IGN, the unit will continue recording if recording
time not over yet. The unit will automatically turn off while the recording
is finished.
3. You can simply call the timer menu out with
press [REC] again or press [EXIT] while
recording.
4. To stop recording, please select the STOP item
in timer menu.
5. Recorded TV programs can be played back in
Movie mode. And the recorded Radio programs can be played back in Music
mode.

15
Important notes:
i. A recorded program will be stored in a default folder named as
“Recorded_TV”. The file types will be “.mpg” file for TV program and
“.mp3” file for Radio.
ii. The file is named as (Channel Name) + (RecordedDate_RecordedTime)
iii. Maximum file size of FAT/FAT32 is 4 GB, so if the file exceeds this size,
it will cut the recorded file into 2 parts.
iv. 1 GB storage can record approximately 45 minutes.
v. Storage files system support only FAT/FAT32format.
vi. Generally all USB 2.0 can be used as recorded file storage. However,
there are cases when the USB in-car DVB-T receiver can’t store
recorded programs. It’s strongly suggested to format the USB storage
device before it’s inserted into the in-car DVB-T receiver unit.
vii. WARNING! Please do not edit the “*.PLT” & “RECORD.TMP” files.
Modifying/deleting this file will cause error on recorded file.

16
2.4 Movie Watching
Mikado3M can support mpg, dat, vob, and avi (MPEG4ASP, XVid, Div 4.0/5.0)
format video files. The section below will explain how you can play a video file
stored on your USB Storage device.
1. After selecting movie playback
mode on the home screen, file
browser screen will appear. Press
[OK] button to select the root
folder.
2. The available video files will appear
on screen. Use [CH▲] and [CH▼]
buttons to scroll up and down the
files, then select the desired file by
pressing [OK] button. Press
[EXIT]/[MENU] button to return.
NOTE: Users can only choose video
files under this mode. If users
choose music or photo files, the system will not support.
3. The video file will instantly start
playing.
NOTE: Press the FR / FF button to increase or decrease the speed of track.
Press the [PLAY/PAUSE] button to pause or resume movie playing.

17
2.5 Music Listening
Mikado3M supports mp3 and wav format audio file. The section below will explain
you how to quickly play a music file stored on USB device.
1. After selecting music playback mode
on the home screen, file browser
screen will appear. Press [OK]
button to select the root folder.
2. The available audio files will appear
on screen. Use [CH▲] and [CH▼]
buttons to scroll up and down the
files, then select the desired file by
pressing the [OK] button. Press
[EXIT]/[MENU] button to return.
NOTE: users can only choose music
files under this mode. If users
choose video or photo file, the system will not support.
3. The audio file will instantly start
playing.
NOTE: Press the FR / FF button to increase or decrease the speed of track.
Press the [PLAY/PAUSE] button to pause or resume music playing.

18
2.6 Photo Viewing
Mikado3M supports jpeg, bmp, and gif picture file. The section below will explain
you how to view a picture file stored on USB device.
1. After selecting photo viewing mode
on the home screen, file browser
screen will appear. Press [OK]
button to select the root folder.
2. Available picture and folders will
appear on screen.
Use [CH▲]/[CH▼]/[VOL]/[VOL]
buttons to browse the folder, then
select the desired one by pressing
[OK] button. Press [EXIT]/[MENU]
button to return.
Note: users can only choose photo
files under this mode. If users choose music or video files, the system will
not support.
3. A picture preview will appear. Press
[CH ▲]/[CH ▼]/[VOL]/[VOL] to
select a picture, and press [OK]
button to display the picture in full
screen mode.

19
Photo Viewing –Advanced Functions
Rotating picture
Press [VOL] button to rotate the picture clockwise, press [VOL] button to
rotate it counterclockwise.
Slideshow
Press [PLAY/PAUSE] to start/stop photo slideshow.
Zoom
1. When viewing a picture, presses [OK] button to active the zoom function.
2. Press [OK] to zoom in or zoom out.
3. Use [CH▲]/[CH▼]/[VOL]/[VOL] to navigate the picture.
4. Press [EXIT]/[MENU] button to exit the zoom function.

20
3Technical Settings
3.1 System Settings
This is the system settings menu screen.
Users can adjust the country/language
setting, the sound setup, display, time, and
proceed to a software upgrade. Use [CH▲]
and [CH▼] buttons to highlight the desired
item and press [OK] button to select one.
III.1.1. Display Settings
To set up the TV system (PAL, NTSC, AUTO), the aspect ratio.
1. Press [CH▲]/[CH▼] buttons to
highlight the item you want to adjust.
2. Press [VOL] button and use
[CH▲]/[CH▼] to scroll up and down
the options.
3. Select one by pressing the [OK]
button or exit the setting by pressing
the [EXIT]/[MENU] button.
4. After adjusting, press [EXIT]/[MENU] button to exit the “Display Settings”.
III.1.2. Region & Language Settings
To set up the OSD language and DVB-T regional settings.
1. Press [CH ▲]/[CH ▼] buttons to
highlight the item you want to adjust.
2. Press [VOL] button and use
[CH▲]/[CH▼] to scroll up and down
the options.
3. Select one by pressing the [OK]
button or exit the setting by pressing
the [EXIT]/[MENU] button.
4. After adjusting, press [EXIT]/[MENU] button to exit the “Region &
Language Settings”.
Table of contents