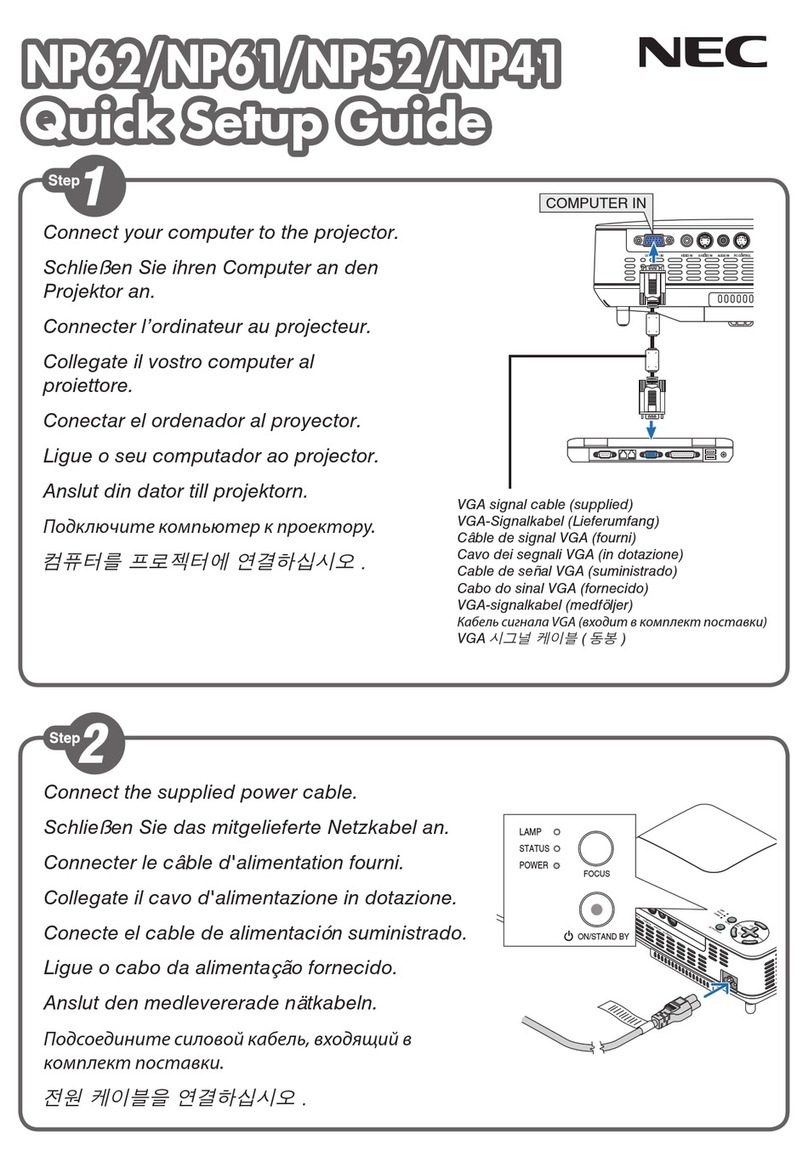
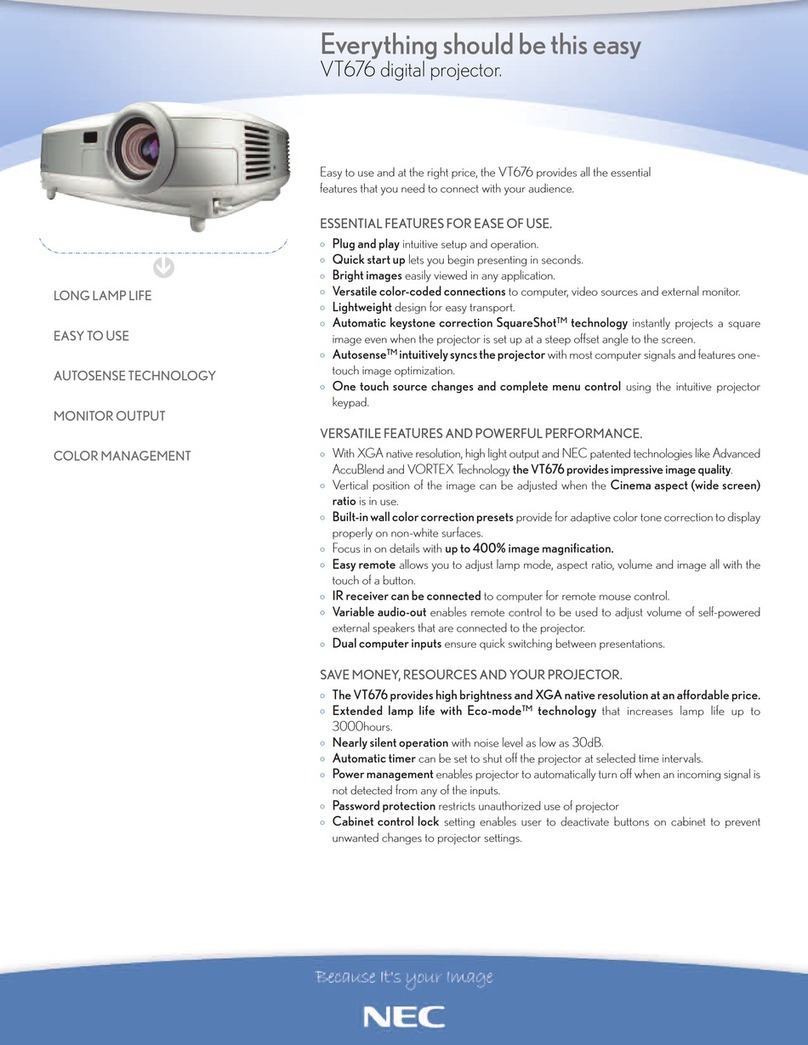
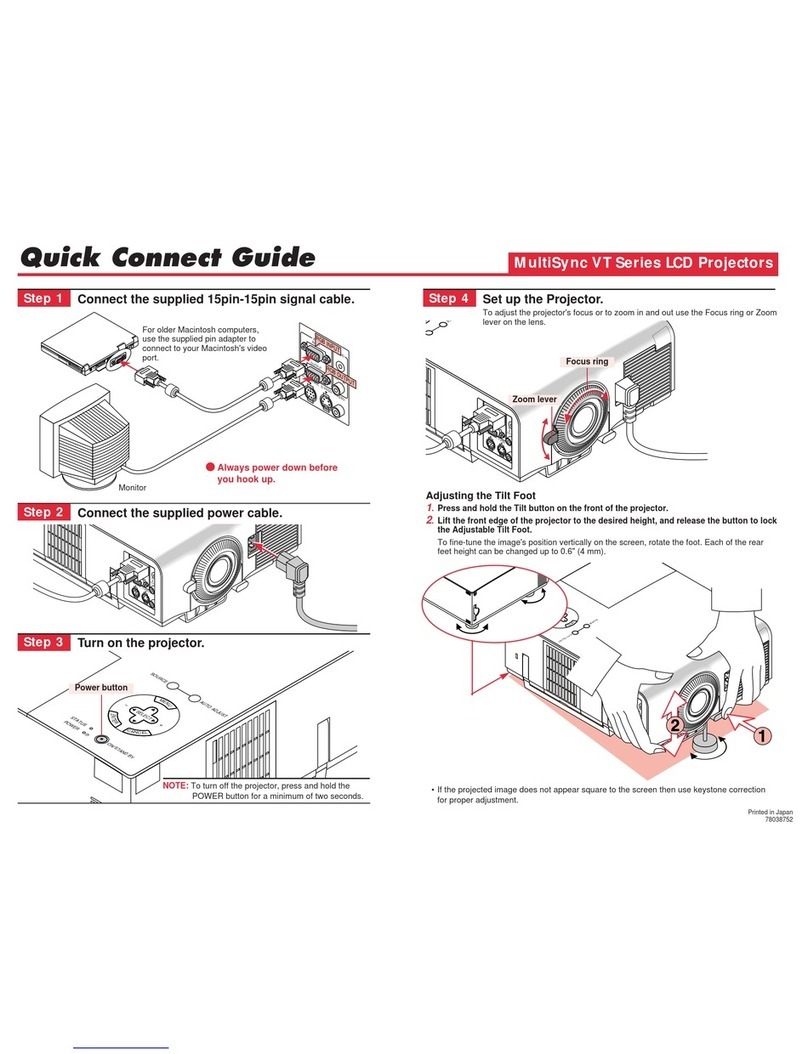
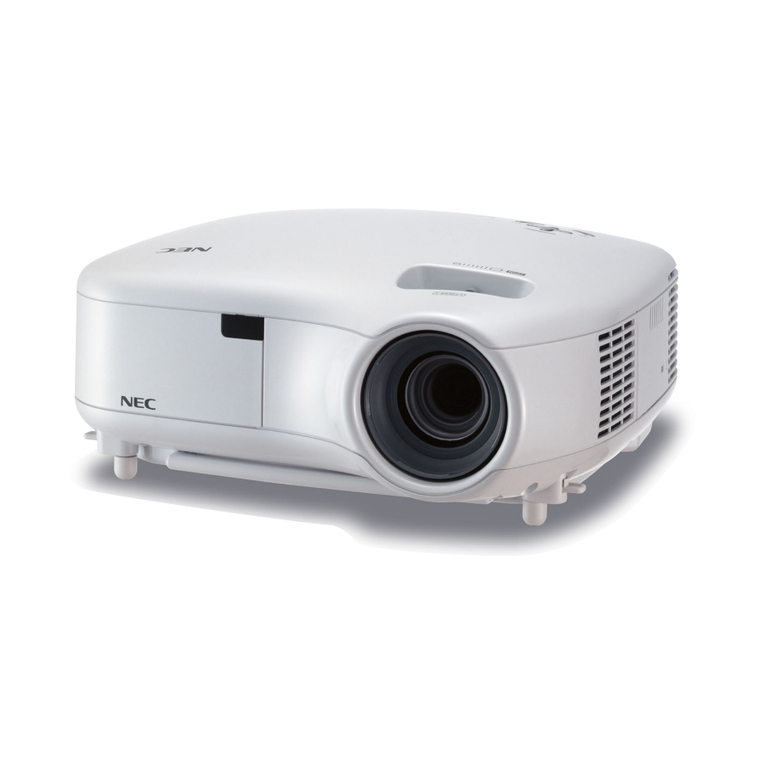
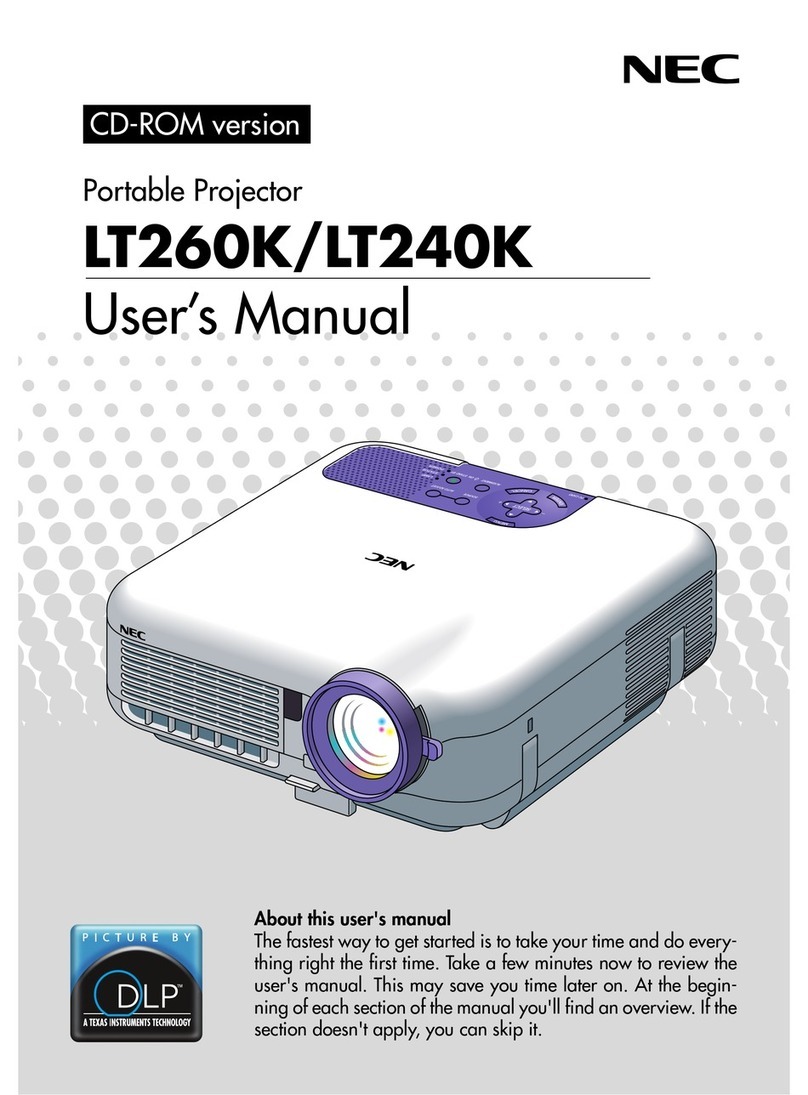
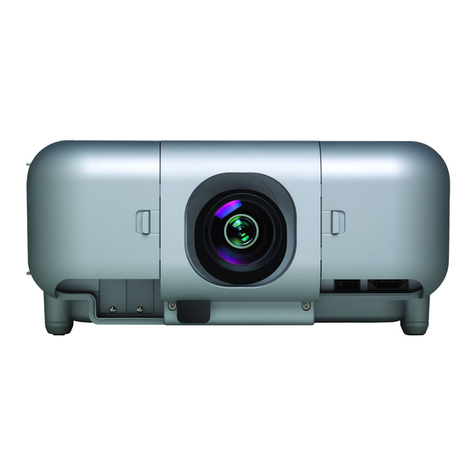
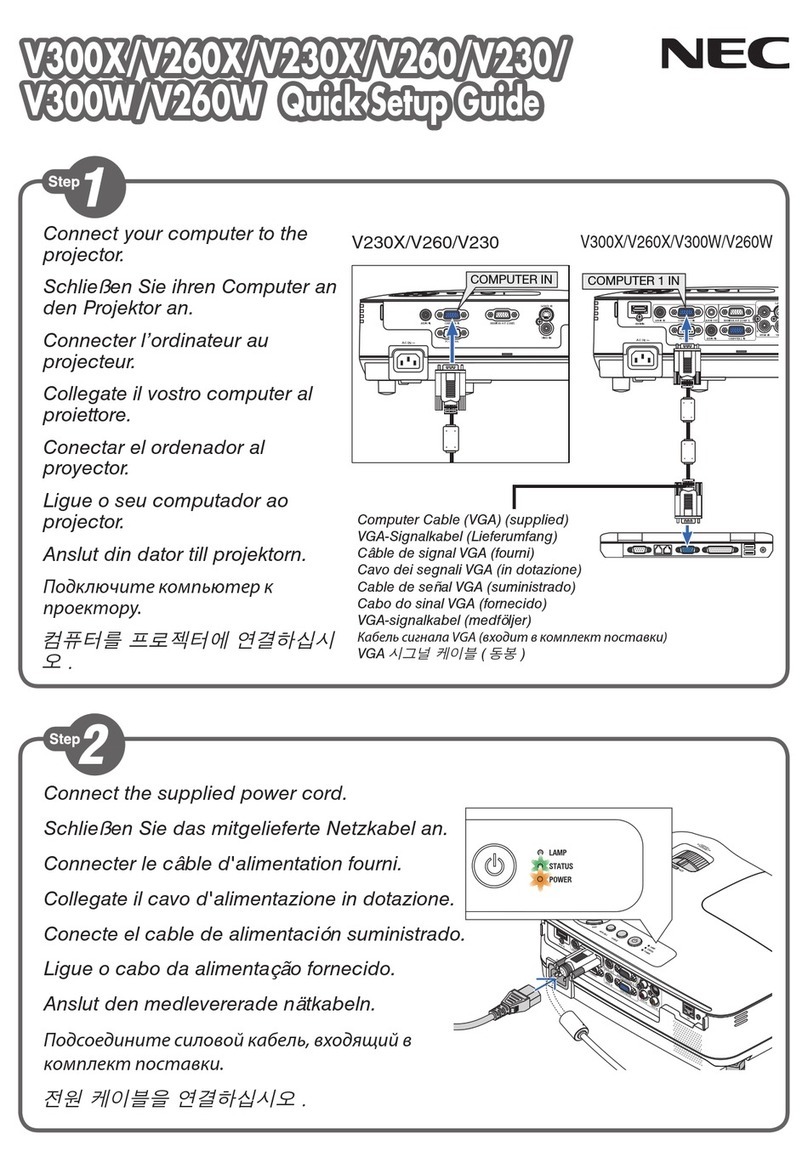
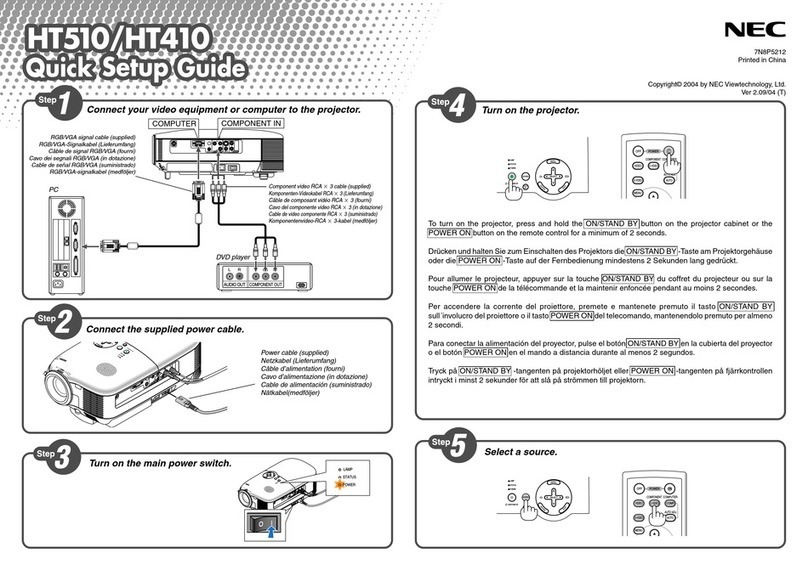
NEC PA723U User manual

Projector
PA803U/PA723U/PA653U/
PA853W/PA703W/PA903X
User’s Manual
Please visit our web site for User’s Manual in the latest version:
http://www.nec-display.com/dl/en/pj_manual/lineup.html
• ThePA723UandPA703WarenotdistributedinNorthAmerica.
ModelNo.
NP-PA803U/NP-PA723U/NP-PA653U/NP-PA853W/NP-PA703W/NP-PA903X

Ver.24/17
• Apple,Mac,MacOS,andMacBookaretrademarksofAppleInc.registeredintheU.S.andothercountries.
• Microsoft,Windows,WindowsVista,Internet Explorer,.NET FrameworkandPowerPointareeither a registered
trademarkortrademarkofMicrosoftCorporationintheUnitedStatesand/orothercountries.
• MicroSaverisaregisteredtrademarkofKensingtonComputerProductsGroup,adivisionofACCOBrands.
• AccuBlend,NaViSet,andVirtualRemotearetrademarksorregisteredtrademarksofNECDisplaySolutions,Ltd.
inJapan,intheUnitedStateandothercountries.
• ThetermsHDMIandHDMIHigh-DenitionMultimediaInterface,andtheHDMILogoaretrademarksorregistered
trademarksofHDMILicensing,LLCintheUnitedStatesandothercountries.
• DisplayPortandDisplayPortComplianceLogoaretrademarksownedbytheVideoElectronicsStandardsAssocia-
tion.
• HDBaseT™isatrademarkofHDBaseTAlliance.
• TrademarkPJLinkisatrademarkappliedfortrademarkrightsinJapan,theUnitedStatesofAmericaandother
countries and areas.
• Blu-rayisatrademarkofBlu-rayDiscAssociation.
• CRESTRONandROOMVIEWareregisteredtrademarksofCrestronElectronics,Inc.intheUnitedStatesandother
countries.
• ExtronandXTPareregisteredtrademarksofRGBSystems,Inc.intheUnitedStates.
• EthernetiseitheraregisteredtrademarkortrademarkofFujiXeroxCo.,Ltd.
• Otherproductandcompanynamesmentionedinthisuser’smanualmaybethetrademarksorregisteredtrademarks
of their respective holders.
• VirtualRemoteToolusesWinI2C/DDClibrary,©NicomsoftLtd.
NOTES
(1)Thecontentsofthisuser’smanualmaynotbereprintedinpartorwholewithoutpermission.
(2)Thecontentsofthisuser’smanualaresubjecttochangewithoutnotice.
(3)Greatcarehasbeentakeninthepreparationofthisuser’smanual;however,shouldyounoticeanyquestionable
points,errorsoromissions,pleasecontactus.
(4)Notwithstandingarticle(3),NECwillnotberesponsibleforanyclaimsonlossofprotorothermattersdeemed
toresultfromusingtheProjector.

i
Important Information
Safety Cautions
Precautions
PleasereadthismanualcarefullybeforeusingyourNECprojectorandkeepthemanualhandyforfuturereference.
CAUTION
Toturnoffmainpower,besuretoremovetheplugfrompoweroutlet.
Thepoweroutletsocketshouldbeinstalledasneartotheequipmentaspossible,andshouldbeeasily
accessible.
CAUTION
TOPREVENTSHOCK,DONOTOPENTHECABINET.
THEREAREHIGH-VOLTAGECOMPONENTSINSIDE.
REFERSERVICINGTOQUALIFIEDSERVICEPERSONNEL.
Thissymbolwarnstheuserthatuninsulatedvoltagewithintheunitmaybesufficienttocauseelectrical
shock.Therefore,itisdangeroustomakeanykindofcontactwithanypartinsideoftheunit.
Thissymbolalertstheuserthatimportantinformationconcerningtheoperationandmaintenanceofthis
unit has been provided.
Theinformationshouldbereadcarefullytoavoidproblems.
WARNING:TOPREVENTFIREORSHOCK,DONOTEXPOSETHISUNITTORAINORMOISTURE.
DONOTUSETHISUNIT’SPLUGWITHANEXTENSIONCORDORINANOUTLETUNLESSALLTHEPRONGS
CANBEFULLYINSERTED.
DOC Compliance Notice (for Canada only)
ThisClassBdigitalapparatuscomplieswithCanadianICES-003.
Machine Noise Information Regulation - 3. GPSGV,
Thehighestsoundpressurelevelislessthan70dB(A)inaccordancewithENISO7779.
CAUTION
Avoiddisplayingstationaryimagesforaprolongedperiodoftime.
DoingsocanresultintheseimagesbeingtemporarilysustainedonthesurfaceoftheLCDpanel.
Ifthisshouldhappen,continuetouseyourprojector.Thestaticbackgroundfrompreviousimageswill
disappear.
Disposing of your used product
In the European Union
EU-widelegislationasimplementedineachMemberStaterequiresthatusedelectricalandelectronicprod-
uctscarryingthemark(left)mustbedisposedofseparatelyfromnormalhouseholdwaste.Thisincludes
projectorsandtheirelectricalaccessories.Whenyoudisposeofsuchproducts,pleasefollowtheguidance
ofyourlocalauthorityand/orasktheshopwhereyoupurchasedtheproduct.
Aftercollectingtheusedproducts,theyarereusedandrecycledinaproperway.Thiseffortwillhelpusreduce
thewastesaswellasthenegativeimpacttothehumanhealthandtheenvironmentattheminimumlevel.
ThemarkontheelectricalandelectronicproductsonlyappliestothecurrentEuropeanUnionMemberStates.
Outside the European Union
IfyouwishtodisposeofusedelectricalandelectronicproductsoutsidetheEuropeanunion,pleasecontact
yourlocalauthorityandaskforthecorrectmethodofdisposal.
For EU:Thecrossed-outwheeledbinimpliesthatusedbatteriesshouldnotbeputtothegeneralhousehold
waste!Thereisaseparatecollectionsystemforusedbatteries,toallowpropertreatmentandrecyclingin
accordancewithlegislation.
According the EU directive 2006/66/EC, the battery can’t be disposed improperly. The battery shall be sepa-
rated to collect by local service.

ii
Important Information
WARNING TO CALIFORNIA RESIDENTS:
Handlingthecablessuppliedwiththisproductwillexposeyoutolead,achemicalknowntotheStateofCalifornia
tocausebirthdefectsorotherreproductiveharm.WASHHANDSAFTERHANDLING.
RF Interference (for USA only)
WARNING
The Federal Communications Commission does not allow any modications or changes to the unit EXCEPT
thosespeciedbyNECDisplaySolutionsofAmerica,Inc.inthismanual.Failuretocomplywiththisgovernment
regulationcouldvoidyourrighttooperatethisequipment.Thisequipmenthasbeentestedandfoundtocomply
withthelimitsforaClassBdigitaldevice,pursuanttoPart15oftheFCCRules.Theselimitsaredesignedto
providereasonableprotectionagainstharmfulinterferenceinaresidentialinstallation.Thisequipmentgenerates,
uses,andcanradiateradiofrequencyenergyand,ifnotinstalledandusedinaccordancewiththeinstructions,
maycauseharmfulinterferencetoradiocommunications.However,thereisnoguaranteethatinterferencewill
not occur in a particular installation.
Ifthisequipmentdoescauseharmfulinterferencetoradioortelevisionreception,whichcanbedeterminedby
turningtheequipmentoffandon,theuserisencouragedtotrytocorrecttheinterferencebyoneormoreofthe
followingmeasures:
• Reorientorrelocatethereceivingantenna.
• Increasetheseparationbetweentheequipmentandreceiver.
• Connecttheequipmentintoanoutletonacircuitdifferentfromthattowhichthereceiverisconnected.
• Consultthedealeroranexperiencedradio/TVtechnicianforhelp.
ForUKonly:InUK,aBSapprovedpowercordwithmouldedplughasaBlack(veAmps)fuseinstalledforusewith
thisequipment.Ifapowercordisnotsuppliedwiththisequipmentpleasecontactyoursupplier.
Important Safeguards
Thesesafetyinstructionsaretoensurethelonglifeofyourprojectorandtopreventreandshock.Pleasereadthem
carefullyandheedallwarnings.
Installation
• Donotplacetheprojectorinthefollowingconditions:
- onanunstablecart,stand,ortable.
- nearwater,baths,ordamprooms.
- indirectsunlight,nearheaters,orheatradiatingappliances.
- inadusty,smokyorsteamyenvironment.
- onasheetofpaperorcloth,rugsorcarpets.
• Donotinstallandstoretheprojectorinthebelowcircumstances.Failuretodosomaycauseofmalfunction.
- Inpowerfulmagneticelds
- Incorrosivegasenvironment
- Outdoors
• Ifyouwishtohavetheprojectorinstalledontheceiling:
- Donotattempttoinstalltheprojectoryourself.
- Theprojectormustbeinstalledbyqualiedtechniciansinordertoensureproperoperationandreducetherisk
of bodily injury.
- Inaddition,theceilingmustbestrongenoughtosupporttheprojectorandtheinstallationmustbeinaccordance
withanylocalbuildingcodes.
- Please consult your dealer for more information.

iii
Important Information
WARNING
• Donotcoverthelenswiththelenscaporequivalentwhiletheprojectorison.Doingsocanleadtomeltingof
thecapduetotheheatemittedfromthelightoutput.
• Donotplaceanyobjects,whichareeasilyaffectedbyheat,infrontoftheprojectorlens.Doingsocouldlead
totheobjectmeltingfromtheheatthatisemittedfromthelightoutput.
Thebelowpictogramindicatedonthecabinetmeanstheprecautionforavoidingtoplaceobjectsinfrontofthe
projector lens.
Thisprojectorcanbeinstalledanyanglewithinvertical.
Forportraitinstallation,installtheprojectorwiththeintakeventatthebottom.Observeprecautionsforportraitinstallation.
* Acustomizedstandisrequiredtobeattachedtotheprojector.(→page150)
130 mm or more
Fire and Shock Precautions
• Ensurethatthereissufficientventilationandthatventsareunobstructedtopreventthebuild-upofheatinsideyour
projector.Allowenoughspacebetweenyourprojectorandawall.(→pageviii)
• Donottrytotouchtheexhaustventsontheleftrearandtherear(whenseenfromthefront)asitcanbecomeheated
while the projector is turned on and immediately after the projector is turned off. Parts of the projector may become
temporarilyheatediftheprojectoristurnedoffwiththePOWERbuttonoriftheACpowersupplyisdisconnected
duringnormalprojectoroperation.Usecautionwhenpickinguptheprojector.
Thebelowpictogrammeansthecautiontohotarea.
• Preventforeignobjectssuchaspaperclipsandbitsofpaperfromfallingintoyourprojector.Donotattempttoretrieve
anyobjectsthatmightfallintoyourprojector.Donotinsertanymetalobjectssuchasawireorscrewdriverintoyour
projector.Ifsomethingshouldfallintoyourprojector,disconnectitimmediatelyandhavetheobjectremovedbya
qualiedservicepersonnel.
• Donotplaceanyobjectsontopoftheprojector.
• Donottouchthepowerplugduringathunderstorm.Doingsocancauseelectricalshock.
• Theprojectorisdesignedtooperateonapowersupplyof100-240VAC50/60Hz.Ensurethatyourpowersupply
tsthisrequirementbeforeattemptingtouseyourprojector.
• Makesuretomountthepowercordstopperbeforeattemptingtouseyourprojector.Pleaserefertopage15 about
the power cord stopper.

iv
Important Information
• Donotlookintothelenswhiletheprojectorison.Seriousdamagetoyoureyescouldresult.Thefollowinglabel,
thatisindicatedatthelens-mounting-sectionontheprojectorcabinet,describesthisprojectoriscategorizedinthe
riskgroup2ofIEC62471-5:2015.Aswithanybrightlightsource,donotstareintothebeam,RG2IEC62471-5:
2015.
• Performtheadjustmentfrombehindorfromthesideoftheprojector.Adjustingfromthefrontcouldexposeyour
eyestostronglightwhichcouldinjurethem.
• Keepanyitems(magnifyingglassetc.)outofthelightpathoftheprojector.Thelightpathbeingprojectedfromthe
lensisextensive,thereforeanykindofabnormalobjectsthatcanredirectlightcomingoutofthelens,cancause
anunpredictableoutcomesuchasareorinjurytotheeyes.
• Donotplaceanyobjects,whichareeasilyaffectedbyheat,infrontofaprojectorexhaustvent.
Doingsocouldleadtotheobjectmeltingorgettingyourhandsburnedfromtheheatthatisemittedfromtheexhaust
vent.
• Handlethepowercordcarefully.Adamagedorfrayedpowercordcancauseelectricshockorre.
- Donotuseanypowercordotherthantheonesuppliedwiththeprojector.
Ifthesuppliedpowercorddoesnotsatisfyrequirementsofyourregion'ssafetystandard,andvoltageandcurrent
foryourregion,makesuretousethepowercordthatconformstoandsatisesthem.
- Donotbendortugthepowercordexcessively.
- Donotplacethepowercordundertheprojector,oranyheavyobject.
- Donotcoverthepowercordwithothersoftmaterialssuchasrugs.
- Donotheatthepowercord.
- Donothandlethepowerplugwithwethands.
• Turnofftheprojector,unplugthepowercordandhavetheprojectorservicedbyaqualiedservicepersonnelunder
thefollowingconditions:
- Whenthepowercordorplugisdamagedorfrayed.
- Ifliquidhasbeenspilledintotheprojector,orifithasbeenexposedtorainorwater.
- Iftheprojectordoesnotoperatenormallywhenyoufollowtheinstructionsdescribedinthisuser’smanual.
- Iftheprojectorhasbeendroppedorthecabinethasbeendamaged.
- Iftheprojectorexhibitsadistinctchangeinperformance,indicatinganeedforservice.
• Disconnectthepowercordandanyothercablesbeforecarryingtheprojector.
• Turnofftheprojectorandunplugthepowercordbeforecleaningthecabinetorreplacingthelamp.
• Turnofftheprojectorandunplugthepowercordiftheprojectorisnottobeusedforanextendedperiodoftime.
• WhenusingaLANcable:
Forsafety,donotconnecttotheconnectorforperipheraldevicewiringthatmighthaveexcessivevoltage.

v
Important Information
CAUTION
• Donotusethetilt-footforpurposesotherthanoriginallyintended.Misusessuchasgrippingthetilt-footorhang-
ingonthewallcancausedamagetotheprojector.
• Donotholdthecablecoverwhilemovingtheprojectorordonotapplyexcessiveforcetothecablecover.Doing
somaydamagethecablecover,resultingininjury.
• Besuretotightenthescrewsafterattachingthecablecover.Failuretodosomaycausethecablecovertocome
offandfall,resultingininjuryordamagetothecablecover.
• Donotputbundledcablesinthecablecover.Doingsomaydamagethepowercord,resultinginare.
• Select[HIGH]inFanmodeifyoucontinuetousetheprojectorforconsecutivedays.(Fromthemenu,select
[SETUP]→[OPTIONS(1)]→[FANMODE]→[MODE]→[HIGH].)
• Donotmovetheprojectorbyholdingthecablecover.Doingsomayresultintheprojectorfallingorcausing
injury.
• Donotunplugthepowercablefromthewalloutletorprojectorwhentheprojectorispoweredon.Doingsocan
causedamagetotheACINterminaloftheprojectorand(or)theprongplugofthepowercable.
ToturnofftheACpowersupplyunderthestatetheprojectorisON,useapowerstripequippedwithaswitch
andabreaker.
• DonotturnofftheACpowerfor60secondsafterthelampisturnedonandwhilethePOWERindicatorisblink-
ingblue.Doingsocouldcauseprematurelampfailure.
• Thepowerplugmaybeunpluggedfromthesocketafterturningoffthepowersupplyoftheprojector.
ImmediatelyafterturningofftheACpowersupplyduringvideoprojection,orafterturningoffthepowersupply
oftheprojector,theprojectorcabinetmaybecomeveryhotmomentarily.Pleasehandlewithcare.
Caution on Handling the Optional Lens
Whenshippingtheprojectorwiththelens,removethelensbeforeshippingtheprojector.Alwaysattachthedustcap
tothelenswheneveritisnotmountedontheprojector.Thelensandthelensshiftmechanismmayencounterdam-
agecausedbyimproperhandlingduringtransportation.
Donotholdthelenspartwhencarryingtheprojector.
Doingsocouldcausethefocusringtorotate,resultinginaccidentaldroppingoftheprojector.
Intheconditiontheprojectorisnolensmounted,donotputyourhandsinthelensmountopeningforcarryingthe
projector.
Keephandsawayfromthelensmountingportionwhileperformingalensshift.Failuretodosocouldresultinngers
beingpinchedbythemovinglens.
Remote Control Precautions
• Handletheremotecontrolcarefully.
• Iftheremotecontrolgetswet,wipeitdryimmediately.
• Avoidexcessiveheatandhumidity.
• Donotshort,heat,ortakeapartbatteries.
• Donotthrowbatteriesintore.
• Ifyouwillnotbeusingtheremotecontrolforalongtime,removethebatteries.
• Ensurethatyouhavethebatteries’polarity(+/−)alignedcorrectly.
• Donotusenewandoldbatteriestogether,orusedifferenttypesofbatteriestogether.
• Disposeofusedbatteriesaccordingtoyourlocalregulations.
• Replacetwobatteriesatthesametimewiththequitesameonesthathasbeeninstalledintheremotecontrolor
AAsizedalkalisbatterythatisconformedtoIEC60086-5.
Note for Canadian Environmental Protection Act, 1999
Thelamp(s)inthisproductcontainsmercury.Pleasedisposeaccordingtoyourlocalauthoritylaw.
FORMOREINFORMATION,CONTACT:
NECDisplaySolutionsofAmerica,Inc.
500ParkBoulevard,Suite1100,Itasca,Illinois60143-1248
TELEPHONE800-836-0655
www.necdisplay.com
vi
Important Information
Note for US Residents
Thelampinthisproductcontainsmercury.PleasedisposeaccordingtoLocal,StateorFederalLaws.
Lamp Replacement
• Usethespeciedlampforsafetyandperformance.
• Toreplacethelamp,followallinstructionsprovidedonpage156.
• Besuretoreplacethelampandlterwhenthemessage[THE LAMP HAS REACHED THE END OF ITS USABLE
LIFE. PLEASE REPLACE THE LAMP. USE THE SPECIFIED LAMP FOR SAFETY AND PERFORMANCE.]
appears.Ifyoucontinuetousethelampafterthelamphasreachedtheendofitsusablelife,thelampbulbmay
shatter,andpiecesofglassmaybescatteredinthelampcase.Donottouchthemasthepiecesofglassmaycause
injury.
Ifthishappens,contactyourdealerforlampreplacement.
A Lamp Characteristic
Theprojectorhasadischargelampforspecialpurposesasalightsource.
Alamphasacharacteristicthatitsbrightnessgraduallydecreaseswithage.Alsorepeatedlyturningthelampon
andoffwillincreasethepossibilityofitslowerbrightness.
CAUTION:
• DONOTTOUCHTHELAMPimmediatelyafterithasbeenused.Itwillbeextremelyhot.Turntheprojectoroff
andthendisconnectthepowercord.Allowatleastonehourforthelamptocoolbeforehandling.
• Whenremovingthelampfromaceiling-mountedprojector,makesurethatnooneisundertheprojector.Glass
fragmentscouldfallifthelamphasbeenburnedout.
About High Altitude mode
• Set[FANMODE]to[HIGHALTITUDE]whenusingtheprojectorataltitudesapproximately5500feet/1700meters
orhigher.
Usingtheprojectorataltitudesapproximately5500feet/1700metersorhigherwithoutsettingto[HIGHALTITUDE]
cancausetheprojectortooverheatandtheprotectorcouldshutdown.Ifthishappens,waitacoupleminutesand
turn on the projector.
• Usingtheprojectorataltitudeslessthanapproximately5500feet/1700metersandsettingto[HIGHALTITUDE]
cancausethelamptoovercool,causingtheimagetoicker.Switch[FANMODE]to[AUTO].
• Usingtheprojectorataltitudesapproximately5500feet/1700metersorhighercanshortenthelifeofopticalcom-
ponents such as the lamp.
About Copyright of original projected pictures:
Pleasenotethatusingthisprojectorforthepurposeofcommercialgainortheattractionofpublicattentioninavenue
suchasacoffeeshoporhotelandemployingcompressionorexpansionofthescreenimagewiththefollowingfunc-
tionsmayraiseconcernabouttheinfringementofcopyrightswhichareprotectedbycopyrightlaw.
[ASPECTRATIO],[KEYSTONE],Magnifyingfeatureandothersimilarfeatures.
Turkish RoHS information relevant for Turkish market
EEE Yönetmeliğine Uygundur.

vii
Important Information
Health precautions to users viewing 3D images
Beforeviewing,besuretoreadhealthcareprecautionsthatmaybefoundintheuser’smanualincludedwithyour3D
eyeglassesoryour3DcompatiblecontentsuchasBlu-rayDiscs,videogames,computer’svideolesandthelike.
Toavoidanyadversesymptoms,heedthefollowing:
• Donotuse3Deyeglassesforviewinganymaterialotherthan3Dimages.
• Allowadistanceof2m/7feetorgreaterbetweenthescreenandauser.Viewing3Dimagesfromtooclosea
distance can strain your eyes.
• Avoidviewing3Dimagesforaprolongedperiodoftime.Takeabreakof15minutesorlongeraftereveryhour
ofviewing.
• Ifyouoranymemberofyourfamilyhasahistoryoflight-sensitiveseizures,consultadoctorbeforeviewing3D
images.
• Whileviewing3Dimages,ifyougetsicksuchasnausea,dizziness,queasiness,headache,eyestrain,blurry
vision,convulsions,andnumbness,stopviewingthem.Ifsymptomsstillpersist,consultadoctor.
• View3Dimagesfromthefrontofthescreen.Viewingfromananglemaycausefatigueoreyestrain.
AUTO POWER OFF Function
Thefactorydefaultsettingfor[AUTOPOWEROFF]is15minutes.Ifnoinputsignalisreceivedandnooperationis
performedontheprojectorduring15minutes,theprojectorisautomaticallypoweredoffforsavingthepowercon-
sumption.Inordertocontroltheprojectorbyanexternaldevice,setthe[AUTOPOWEROFF]to[OFF].Pleaserefer
page133 for details.

viii
Important Information
Clearance for Installing the Projector
Allowampleclearancebetweentheprojectoranditssurroundingsasshownbelow.
Thehightemperatureexhaustcomingoutofthedevicemaybesuckedintothedeviceagain.
AvoidinstallingtheprojectorinaplacewhereairmovementfromtheHVACisdirectedattheprojector.
HeatedairfromtheHVACcanbetakeninbytheprojector'sintakevent.Ifthishappens,thetemperatureinsidethe
projectorwillrisetoohighcausingtheover-temperatureprotectortoautomaticallyturnofftheprojectorspower.
Example 1 – If there are walls on both sides of the projector.
20 cm/7.9" or greater 13 cm/5.1" or greater
Filter cover
(Intake vent)
Lamp cover
NOTE:
The drawing shows the proper clearance required for the left and right of the projector assuming sufficient clearance has been kept
for the front, back and top of the projector.
Example 2 – If there is a wall behind the projector.
10 cm/3.9" or greater
Exhaust vent
NOTE:
The drawing shows the proper clearance required for the back of the projector assuming sufficient clearance has been kept for the
right, left and top of the projector.
Example 3 – In the case of portrait projection.
Filter cover
(Intake vent)
13 cm/5.1" or greater
NOTE:
• Thedrawingshowstheproperclearancerequiredforundertheprojectorassumingsufcientclearancehasbeenkeptforthe
front, rear and top of the projector.
• Seepage150 for an installation example on portrait projection.

ix
Table of Contents
Important Information............................................................................................ i
1. Introduction...........................................................................................................1
❶What’sintheBox? ..........................................................................................................1
❷IntroductiontotheProjector............................................................................................2
CongratulationsonYourPurchaseoftheProjector ...................................................2
Installation.................................................................................................................2
Videos.......................................................................................................................2
Network.....................................................................................................................3
Energy-saving ...........................................................................................................3
Maintenance .............................................................................................................4
Aboutthisuser’smanual...........................................................................................5
❸PartNamesoftheProjector ...........................................................................................6
Front/Top ...................................................................................................................6
Rear ..........................................................................................................................8
Controls/IndicatorPanel............................................................................................9
Terminals ................................................................................................................ 10
❹PartNamesoftheRemoteControl............................................................................... 11
BatteryInstallation ..................................................................................................12
RemoteControlPrecautions ...................................................................................12
OperatingRangeforWirelessRemoteControl .......................................................13
2. Projecting an Image (Basic Operation) ...............................................14
❶FlowofProjectinganImage .........................................................................................14
❷ConnectingYourComputer/ConnectingthePowerCord ..............................................15
Usingthepowercordstopper .................................................................................15
❸TurningontheProjector................................................................................................17
PerformingLensCalibration...................................................................................17
NoteonStartupscreen(MenuLanguageSelectscreen).......................................18
❹SelectingaSource .......................................................................................................19
Selectingthecomputerorvideosource..................................................................19
❺AdjustingthePictureSizeandPosition ........................................................................21
Adjustingtheverticalpositionofaprojectedimage(Lensshift) .............................22
Focus ......................................................................................................................23
Applicablelens:NP30ZL.........................................................................................24
Applicablelens:NP11FL .........................................................................................25
Applicablelens:NP40ZL/NP41ZL...........................................................................26
Applicablelens:NP43ZL.........................................................................................27
Zoom.......................................................................................................................28
AdjustingtheTiltFoot..............................................................................................29
❻OptimizingComputerSignalAutomatically...................................................................30
AdjustingtheImageUsingAutoAdjust ...................................................................30
❼TurningUporDownVolume .........................................................................................30
❽TurningofftheProjector................................................................................................31
❾AfterUse.......................................................................................................................32

x
Table of Contents
3. Convenient Features......................................................................................33
❶TurningofftheImageandSound..................................................................................33
❷ShifttheOn-ScreenMenudisplayingposition ..............................................................34
❸FreezingaPicture.........................................................................................................35
❹EnlargingaPicture .......................................................................................................35
❺ChangingEcoMode/CheckingEnergy-SavingEffectUsingEcoMode[ECOMODE].36
CheckingEnergy-SavingEffect[CARBONMETER] ...............................................37
❻CorrectingHorizontalandVerticalKeystoneDistortion[CORNERSTONE]..................38
❼OperationfortheOn-ScreenMenubyacommerciallyavailableUSBmouse..............40
Menu operation .......................................................................................................40
Menu position control..............................................................................................41
Geometriccorrection...............................................................................................41
❽
PreventingtheUnauthorizedUseoftheProjector[SECURITY] ........................................43
❾Projecting3Dvideos.....................................................................................................46
Proceduretowatch3Dvideosusingthisprojector .................................................46
Whenvideoscannotbeviewedin3D.....................................................................48
❿ControllingtheProjectorbyUsinganHTTPBrowser ...................................................49
⓫StoringChangesforLensShift,Zoom,andFocus[LENSMEMORY]..........................56
Tostoreyouradjustedvaluesin[REF.LENSMEMORY]:.......................................56
Tocallupyouradjustedvaluesfrom[REF.LENSMEMORY]: ................................59
4. Multi-Screen Projection ...............................................................................62
❶Thingsthatcanbedoneusingmulti-screenprojection ................................................62
Case1.Usingasingleprojectortoprojecttwotypesofvideos[PIP/PICTURE
BYPICTURE]..........................................................................................................62
Case2.Usingfourprojectors(liquidcrystalpanel:WUXGA)toprojectvideos
witharesolutionof3840×2160pixels[TILING] ....................................................63
Thingstonotewheninstallingprojectors ................................................................65
❷DisplayingTwoPicturesattheSameTime...................................................................66
Projectingtwoscreens............................................................................................67
Switchingthemaindisplaywiththesub-displayandviceversa .............................68
Restrictions .............................................................................................................69
❸DisplayingaPictureUsing[EDGEBLENDING] ...........................................................70
Settingtheoverlapofprojectionscreens ................................................................71
[BLENDCURVE].....................................................................................................73
BlackLevelAdjustment ........................................................................................... 74
5. Using On-Screen Menu.................................................................................76
❶UsingtheMenus...........................................................................................................76
❷MenuElements.............................................................................................................77
❸ListofMenuItems ........................................................................................................78
❹MenuDescriptions&Functions[INPUT] ......................................................................84
❺MenuDescriptions&Functions[ADJUST] ...................................................................88
[PICTURE] ..............................................................................................................88
[IMAGEOPTIONS] .................................................................................................92
[VIDEO]...................................................................................................................96
[3DSETTINGS] ......................................................................................................98
UsingtheLensMemoryFunction[LENSMEMORY]..............................................99

xi
Table of Contents
❻MenuDescriptions&Functions[DISPLAY] ................................................................ 101
[PIP/PICTUREBYPICTURE]............................................................................... 101
[GEOMETRICCORRECTION]............................................................................. 103
[EDGEBLENDING] ..............................................................................................108
[MULTISCREEN]..................................................................................................109
❼MenuDescriptions&Functions[SETUP]....................................................................111
[MENU(1)]..............................................................................................................111
[MENU(2)]............................................................................................................. 113
[INSTALLATION] ................................................................................................... 114
[CONTROL] .......................................................................................................... 118
[NETWORKSETTINGS].......................................................................................125
[SOURCEOPTIONS] ...........................................................................................130
[POWEROPTIONS] .............................................................................................132
ReturningtoFactoryDefault[RESET] ..................................................................134
❽MenuDescriptions&Functions[INFO.] .....................................................................136
[USAGETIME] ......................................................................................................136
[SOURCE(1)] ........................................................................................................137
[SOURCE(2)] ........................................................................................................137
[SOURCE(3)] ........................................................................................................137
[SOURCE(4)] ........................................................................................................138
[WIREDLAN]........................................................................................................138
[VERSION]............................................................................................................138
[OTHERS] .............................................................................................................139
[CONDITIONS] .....................................................................................................139
[HDBaseT] ............................................................................................................140
6. Connecting to Other Equipment ...........................................................141
❶Mountingalens(soldseparately)...............................................................................141
Mountingthelens..................................................................................................141
Removingthelens ................................................................................................142
❷MakingConnections ...................................................................................................143
AnalogRGBsignalconnection .............................................................................143
DigitalRGBsignalconnection ..............................................................................144
ConnectingComponentInput ...............................................................................146
ConnectingHDMIInput.........................................................................................147
ConnectingtoaHDBaseTtransmissiondevice(soldcommercially) ....................148
Connectingseveralprojectors..............................................................................149
Portraitprojection(verticalorientation) .................................................................150
ConnectingtoaWiredLAN...................................................................................152
7. Maintenance .....................................................................................................153
❶CleaningtheFilters.....................................................................................................153
❷CleaningtheLens.......................................................................................................155
❸CleaningtheCabinet ..................................................................................................155
❹ReplacingtheLamp....................................................................................................156
❺Replacingthelters ....................................................................................................160

xii
Table of Contents
8. Appendix..............................................................................................................162
❶Throwdistanceandscreensize .................................................................................162
Lenstypesandthrowdistance .............................................................................162
Tablesofscreensizesanddimensions.................................................................166
Lensshiftingrange................................................................................................167
❷CompatibleInputSignalList.......................................................................................169
❸Specications .............................................................................................................172
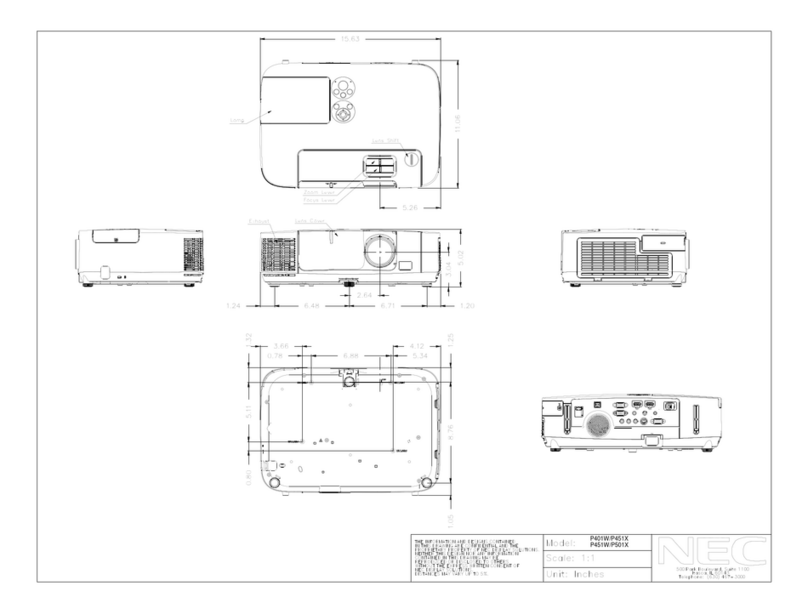
❹CabinetDimensions ...................................................................................................175
❺Mountingthecablecover(soldseparately) ................................................................ 176
❻Pinassignmentsandsignalnamesofmainconnectors.............................................177
❼ChangingtheBackgroundLogo(VirtualRemoteTool)...............................................179
❽Troubleshooting ..........................................................................................................180
Featureofeachindicator ......................................................................................180
IndicatorMessage(Statusmessage) ...................................................................180
IndicatorMessage(Errormessage)......................................................................182
ExplanationonthePOWERindicatorandstandbystate......................................183
CommonProblems&Solutions ............................................................................185
Ifthereisnopicture,orthepictureisnotdisplayedcorrectly................................187
❾PCControlCodesandCableConnection ..................................................................188
❿TroubleshootingCheckList.........................................................................................191
⓫REGISTERYOURPROJECTOR!(forresidentsintheUnitedStates,Canada,and
Mexico) .................................................................................................................193

1
1. Introduction
❶What’s in the Box?
Makesureyourboxcontainseverythinglisted.Ifanypiecesaremissing,contactyourdealer.
Pleasesavetheoriginalboxandpackingmaterialsifyoueverneedtoshipyourprojector.
Projector
Dust cap for lens (24F53241)
* The projector is shipped without
a lens. For the types of lens and
throw distances, see page 162.
Remote control
(7N901081)
AA alkaline batteries
(x2)
Input selection char-
acter sticker
Power cord
(US: 7N080241)
(EU: 7N080022)
Power cord stopper
(24F53221/24F53231)
For the preventive mea-
sure from dropping off
the power cord.
Lens theft prevention screw
(24V00941)
This screw makes it difficult to
remove the lens mounted on
the projector. (→page 142)
Straps (for preventing the lamp
cover and the lter cover from fall-
ing down) (24F54161, 24F54151)
Attaching the straps to the lamp
cover and the lter cover prevents
them from falling when the projec-
tor is suspended from the ceiling.
For North America only
Limited warranty
For customers in Europe:
You will nd our current valid Guar-
antee Policy on our Web Site:
www.nec-display-solutions.com
• ImportantInfomation(ForNorth
America: 7N8N7661)
• QuickSetupGuide(ForNorth
America: 7N8N7672) (For Other
countries than North America:
7N8N7672 and 7N8N7681)
NEC Projector CD-ROM
User’s manual (PDF)
(7N952552)

2
1. Introduction
❷Introduction to the Projector
Thissectionintroducesyoutoyournewprojectoranddescribesthefeaturesandcontrols.
Congratulations on Your Purchase of the Projector
Thisprojectorisoneoftheverybestprojectorsavailabletoday.Theprojectorenablesyoutoprojectpreciseimages
upto500inchesacross(measureddiagonally)fromyourPCorMaccomputer(desktopornotebook),VCR,Blu-ray
player,ordocumentcamera.
Youcanusetheprojectoronatabletoporcart,youcanusetheprojectortoprojectimagesfrombehindthescreen,
andtheprojectorcanbepermanentlymountedonaceiling*1.Theremotecontrolcanbeusedwirelessly.
*1 Donotattempttomounttheprojectoronaceilingyourself.
Theprojectormustbeinstalledbyqualiedtechniciansinordertoensureproperoperationandreducetherisk
of bodily injury.
Inaddition,theceilingmustbestrongenoughtosupporttheprojectorandtheinstallationmustbeinaccordance
withanylocalbuildingcodes.Pleaseconsultyourdealerformoreinformation.
Installation
• Liquidcrystaltypehighbrightness/highresolutionprojector
Model Brightness Resolution AspectRatio
PA803U 8000lm WUXGA(1920×1200) 16:10
PA723U 7200lm WUXGA(1920×1200) 16:10
PA653U 6500lm WUXGA(1920×1200) 16:10
PA853W 8500lm WXGA(1280×800) 16:10
PA703W 7000lm WXGA(1280×800) 16:10
PA903X 9000lm XGA(1024×768) 4:3
• Widerangeofoptionallensesselectableaccordingtotheplaceofinstallation
Thisprojectorsupportseighttypesofoptionallenses,providingaselectionoflensesadaptedtoavarietyofplaces
of installation and projection methods.
Inaddition,thelensescanbemountedandremovedinonetouch.
Notethatnolensismounteduponshipmentfromthefactory.Pleasepurchaseoptionallensesseparately.
• Motorizedlenscontrolfunctionforeasilyadjustingthepositionoftheprojectedimage
Thepositionoftheprojectedimage(lensshift)canbeadjustedbybuttonseitheronthecontrolpanelontheside
face of the cabinet or the remote control.
• 360°installationangle(tilt-free)
Theprojectorcanbeinstalledatanyangle(360°)however,theprojectorcannotbeinstalledtiltedtotheleftor
right.
• Portraitprojectionispossible
Thisprojectorcanperformportraitprojectionwiththeprojectionscreenturned90°.
Videos
• Widerangeofinput/outputterminals(HDMI,DisplayPort,HDBaseT,etc.)
Theprojectorisequippedwithavarietyofinput/outputterminals:HDMI(input×2),DisplayPort,HDBaseT(input
x1,outputx1),computer(analog),etc.
Theprojector’sHDMIinput,DisplayPortinputterminalsandHDBaseTPortssupportHDCP.
• HDMIandHDBaseTsupportHDCP2.2/1.4
• DisplayPortsupportsHDCP1.4

3
1. Introduction
• Simultaneousdisplayof2images(PIP/PICTUREBYPICTURE)
Twoimagescanbeprojectedsimultaneouslywithasingleprojector.
Therearetwotypesoflayoutsforthetwoimages:“picture-in-picture”inwhichasub-pictureisdisplayedonthe
mainpicture,and“picture-by-picture”inwhichthemainandsubpicturesaredisplayednexttoeachother.
• Multi-screenprojectionusingmultipleprojectors
ThisprojetorequipstheHDBaseTIN/EthernetandHDBaseTOUT/Ethernetports.Multipleprojectorsinsame
brightnessandresolutionuptofourunitscanbeconnetedinadaisychainbyaLAN*1cable via these terminals
withoutavideocable.Ahighqualitypictureisachievedbydividingandprojectinghighresolutionvideosamong
the various projectors.
Furthermore,theboundariesofthescreensaresmoothedusinganedgeblendingfunction.
*1 UseacommerciallyavailableCAT5eSTPcableoroneinahigherspecication.
• Seamlessswitchfunctionforsmootherscreenchangeswhenswitchingthesignal
Whentheinputconnectorisswitched,theimagedisplayedbeforeswitchingisheldsothatthatthenewimagecan
beswitchedtowithoutabreakduetoabsenceofasignal.
• SupportsHDMI3Dformat
Thisprojectorcanbeusedtowatchvideosin3Dusingcommercially-availableactiveshutter-type3Deyewearand
3DemittersthatsupportXpand3D.
Network
• SupportswiredLAN
EquipstheLANandHDBaseT/Ethernet(RJ-45)ports.UtilizingawiredLANconnectedwiththeseports,itenables
to control the projector by a computer.
• CRESTRONROOMVIEWandExtronXTPcompatibility
Theprojectorsupports CRESTRONROOMVIEWandExtronXTP,allowingmultiple devicesconnectedinthe
networktobemanagedandcontrolledfromacomputerMoreover,itenablestooutputandcontrolimageviaan
ExtronXTPtransmitterconnectedwiththeprojector..
• Convenientutilitysoftware(UserSupportware)providedasstandard
Thisprojectorsupportsourutilitysoftware(NaViSetAdministrator2,VirtualRemoteTool,etc.).
NaViSetAdministrator2helpsyoucontroltheprojectorbyacomputerviawiredLANconnection.
VirtualRemoteToolhelpsyouperformoperationsbyavirtualremotecontrolsuchasprojector'spoweronoroff
andsignalselectionviawiredLANconnection.Moreover,ithasfunctiontosendanimagetotheprojectorand
registeritasthelogodata.
Pleasevisitourwebsitefordownloadingeachsoftware.
URL:http://www.nec-display.com/dl/en/index.html
Energy-saving
• Energy-savingdesignwithastandbypowerconsumptionof0.15W(100-130VAC)/0.21W(200-240VAC)
Whentheon-screenmenu’sstandbymodeissetto“NORMAL”,thepowerconsumptioninthestandbymodeac-
tivatingthePowerManagementis0.15W(100-130VAC)/0.21W(200-240VAC)and0.11W(100-130VAC)/
0.16W(200-240VAC)whenLANisineffective.
• “Ecomode”forlowpowerconsumptionand“CarbonMeter”display
The projector is equipped with an“eco mode” for reducing power consumption during use. Furthermore, the
power-savingeffectwhentheecomodeissetisconvertedintotheamountofreductionsofCO2emissions and
thisisindicatedontheconrmationmessagedisplayedwhenthepoweristurnedoffandat“Information”onthe
on-screenmenu(CARBONMETER).

4
1. Introduction
Maintenance
• Maximumreplacementtimeforthelampis5000hoursandforthelteris10000hours.
Whenusedintheecomode,thelampreplacementtime*isextendedtoamaximumof5000hours.
*Thistimeisnotguaranteed.
Atthesametime,themaximumusagetimeforthelteris10000hours.**
**Itisvarydependingontheprojectorinstallationcircumstances.
* Actualmenusmaybedifferentfromthemenuimagesinthisuser’smanual.

5
1. Introduction
About this user’s manual
Thefastestwaytogetstartedistotakeyourtimeanddoeverythingrightthersttime.Takeafewminutesnowto
reviewtheuser’smanual.Thismaysaveyoutimelateron.Atthebeginningofeachsectionofthemanualyou’llnd
anoverview.Ifthesectiondoesn’tapply,youcanskipit.
Notation by Resolution
Theseindicatethedescriptionsofthemodelgroupsaccordingtotheresolutionoftheliquidcrystalpanels.
WUXGAType
ApplicabletomodelsPA803U/PA723U/PA653U.
WXGAType
ApplicabletomodelsPA853W/PA703W.
XGAType
ApplicabletomodelsPA903X.
*Thedescriptionappliestoallmodelsifthetypenameisnotindicated.
How to Differentiate the Model Group
P A 8 0 3 U
“U”referstoaWUXGAtype.
“W”referstoaWXGAtype.
“X”referstoaXGAtype.
ModelNameSymbol
Example:PA803U
“NP-”isnotindicatedontopofthecabinet.

6
1. Introduction
❸Part Names of the Projector
Front/Top
Thelensissoldseparately.ThedescriptionbelowisforwhentheNP13ZLlensismounted.
Controls
(→page 9)
Lens
Remote Sensor (located on the
front and the rear)
(→page 13)
Remote Sensor
(→page 13)
Zoom Lever/Zoom Ring (→page
28)
Lens Cap
(The optional lens is shipped with
the lens cap.)
Focus Ring
(→page 23)
Adjustable Tilt Foot
(→page 29)
Indicator Section
(→page 9)
Lens Release Button
(→page 142)
Adjustable Tilt Foot
(→page 29)
Exhaust vent
Heated air is exhausted from here.
Mounting the strap
Beforestartingtouse,mountthestrapstothelampcoverandtheltercoverforpreventingthemfromdroppingdown.
Lamp cover
Preparation:Removethelampcoverfromtheprojector.
Refertotheclause“Replacingthelamp”onpage156 about the lamp cover installation.
1. Insert the L-shaped part of the lamp cover strap (flat resinoid strap) to the protruded section on the rear
face of the lamp cover as the below illustration.
Hole for xing the strap
2. Insert the opposite side of the lamp cover strap to the hole on the projector body.
Lamp Cover (→page 156)
Security Bar
Attach an anti-theft device.
The security bar accepts security
wires or chains up to 0.18 inch/4.6
mm in diameter.
This manual suits for next models
8
Table of contents
Other NEC Projector manuals