NEFF U1322N1GB Safety guide

How to connect up,
build-in, set up, use and
look after your
U1322.1 oven
NEFF (UK) Ltd

2
Table of contents
Important Information . . . . . . . . . . 3
Packaging and old appliances . . . . . 3
Before installation . . . . . . . . . . . . . . 4
Safety information . . . . . . . . . . . . . . 4
Reasons for damage . . . . . . . . . . . . 5
Your new cooker . . . . . . . . . . . . . . 6
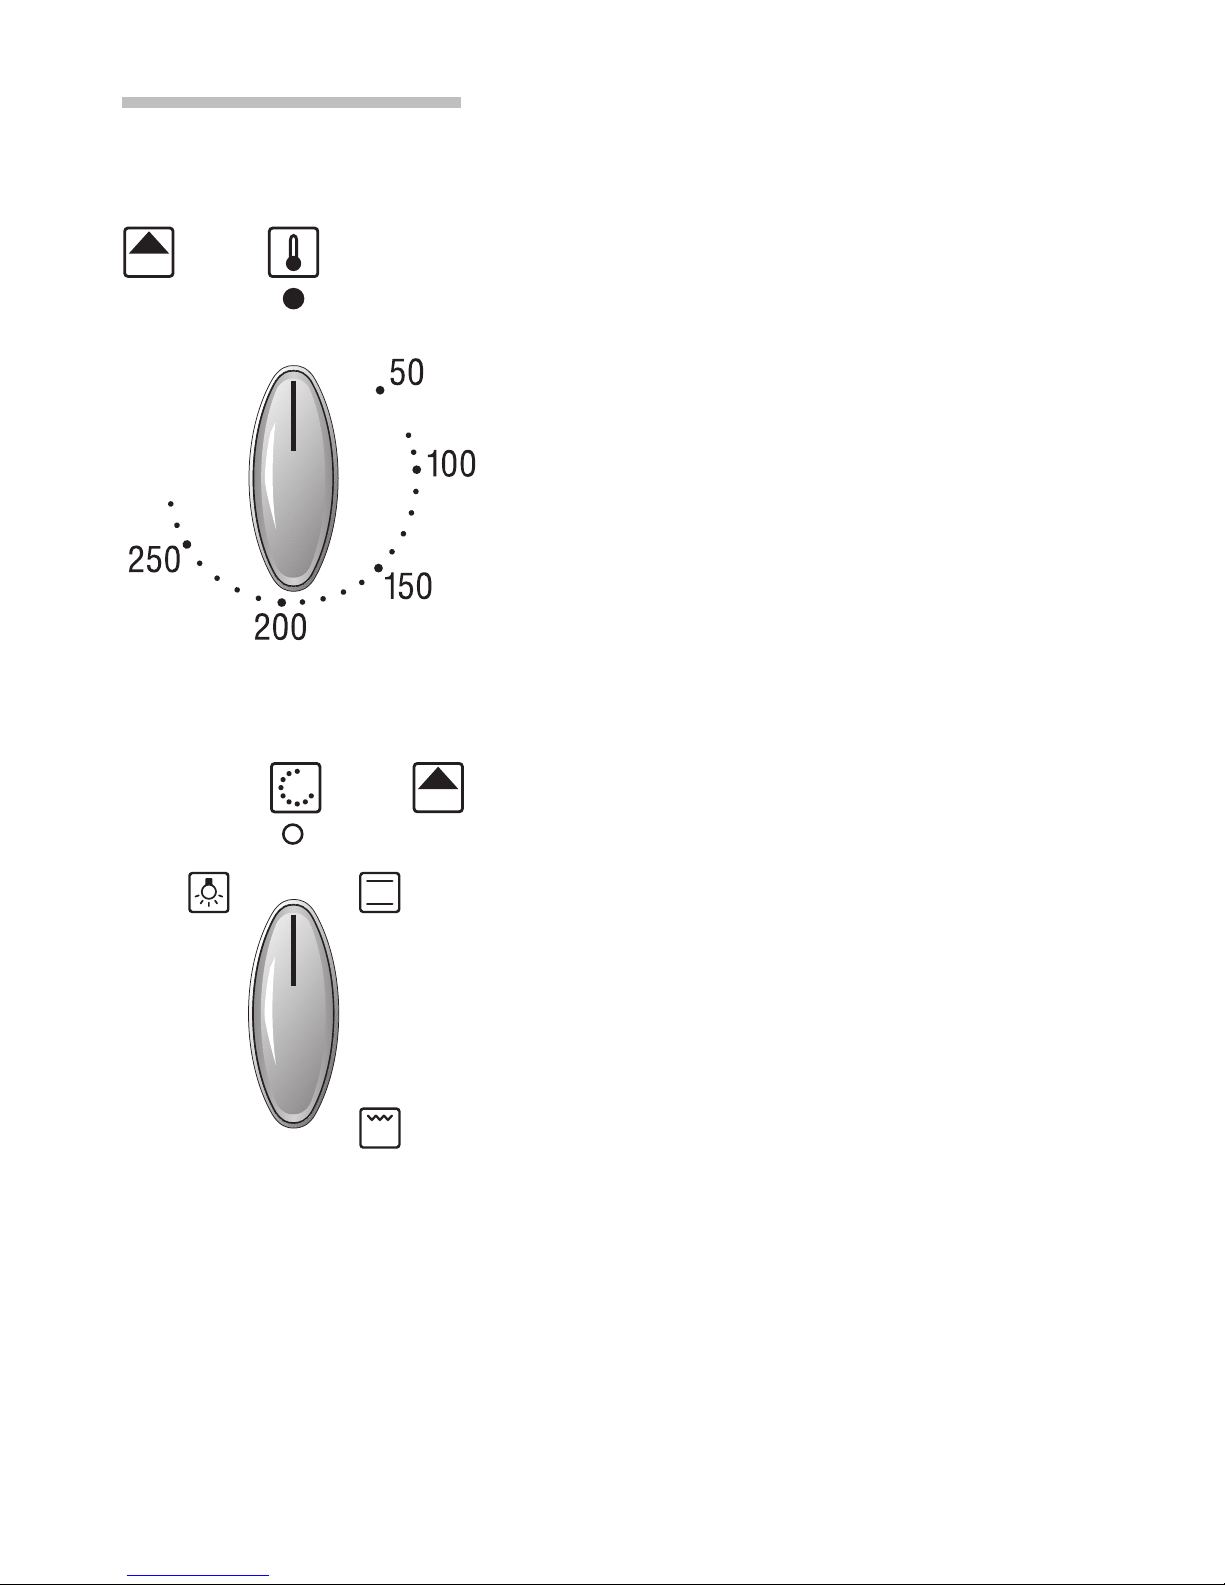
The control panel . . . . . . . . . . . . . . . 6
Temperature selector – main oven . . 6
Temperature selector – mini oven . . 7
Function selector – mini oven . . . . . 7
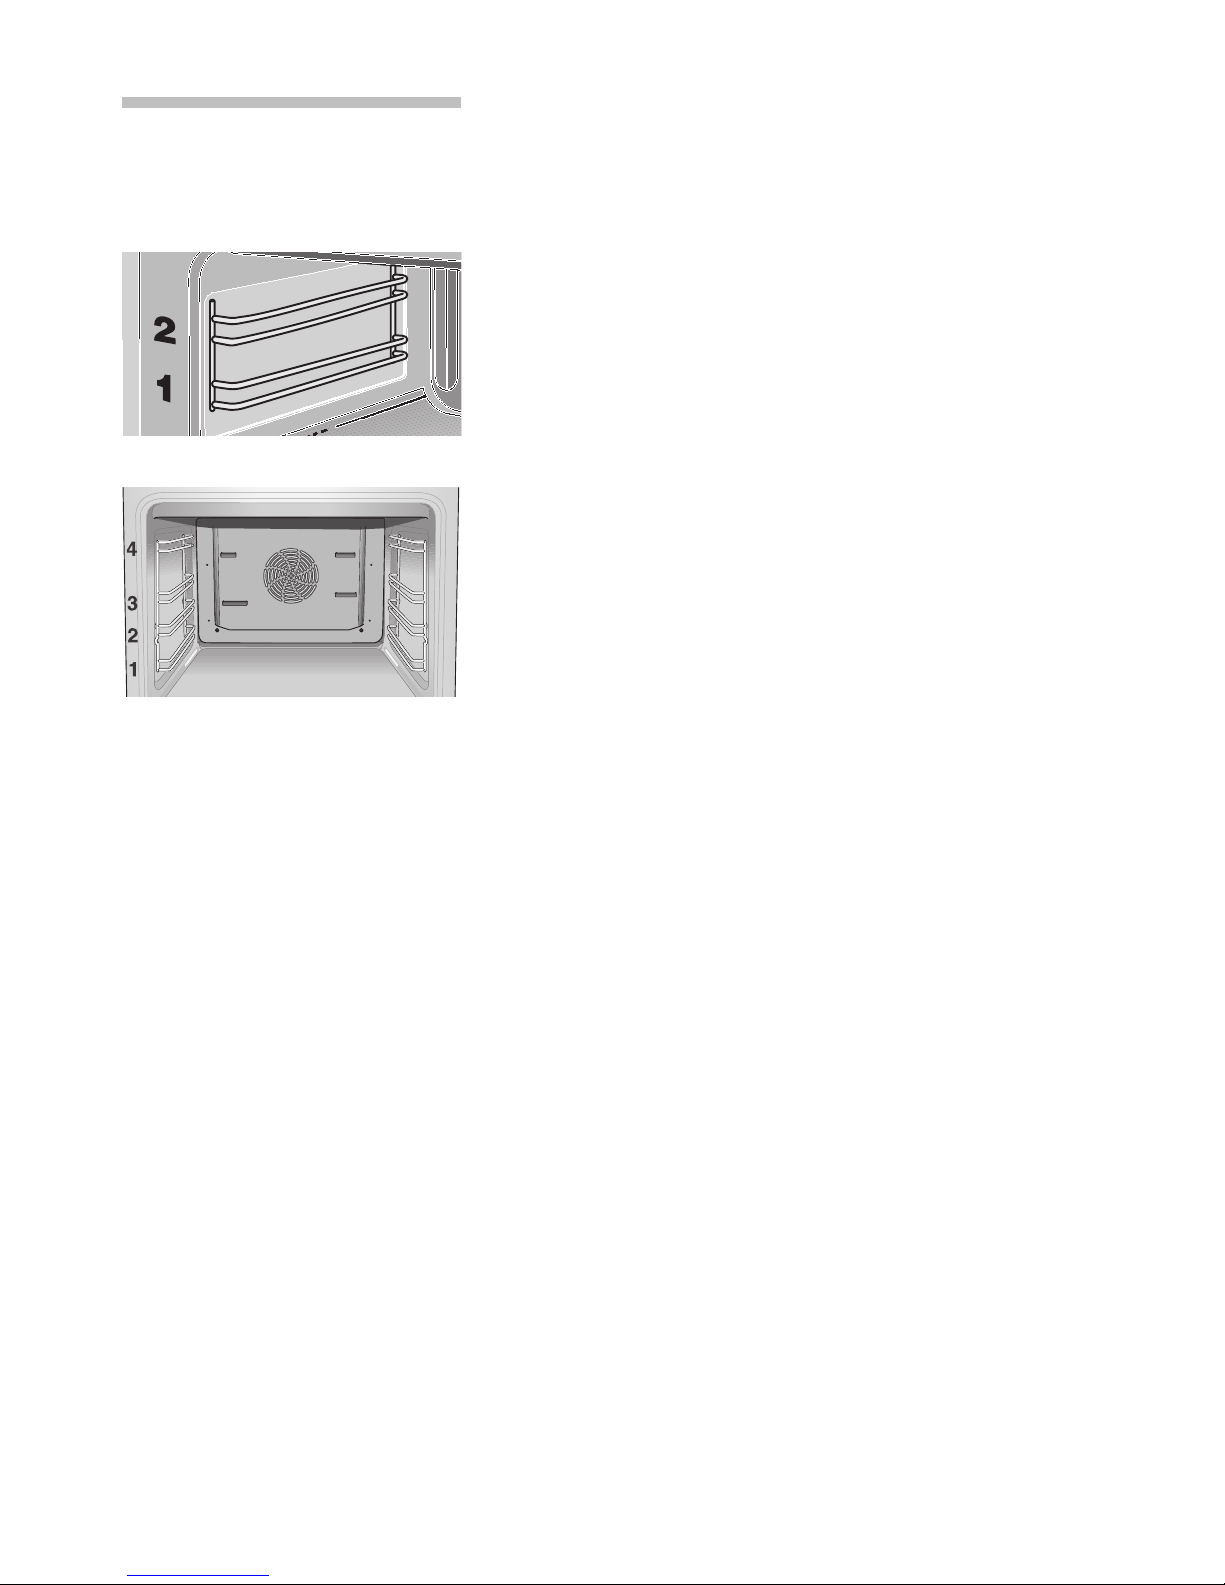
Shelf positions . . . . . . . . . . . . . . . . . 8
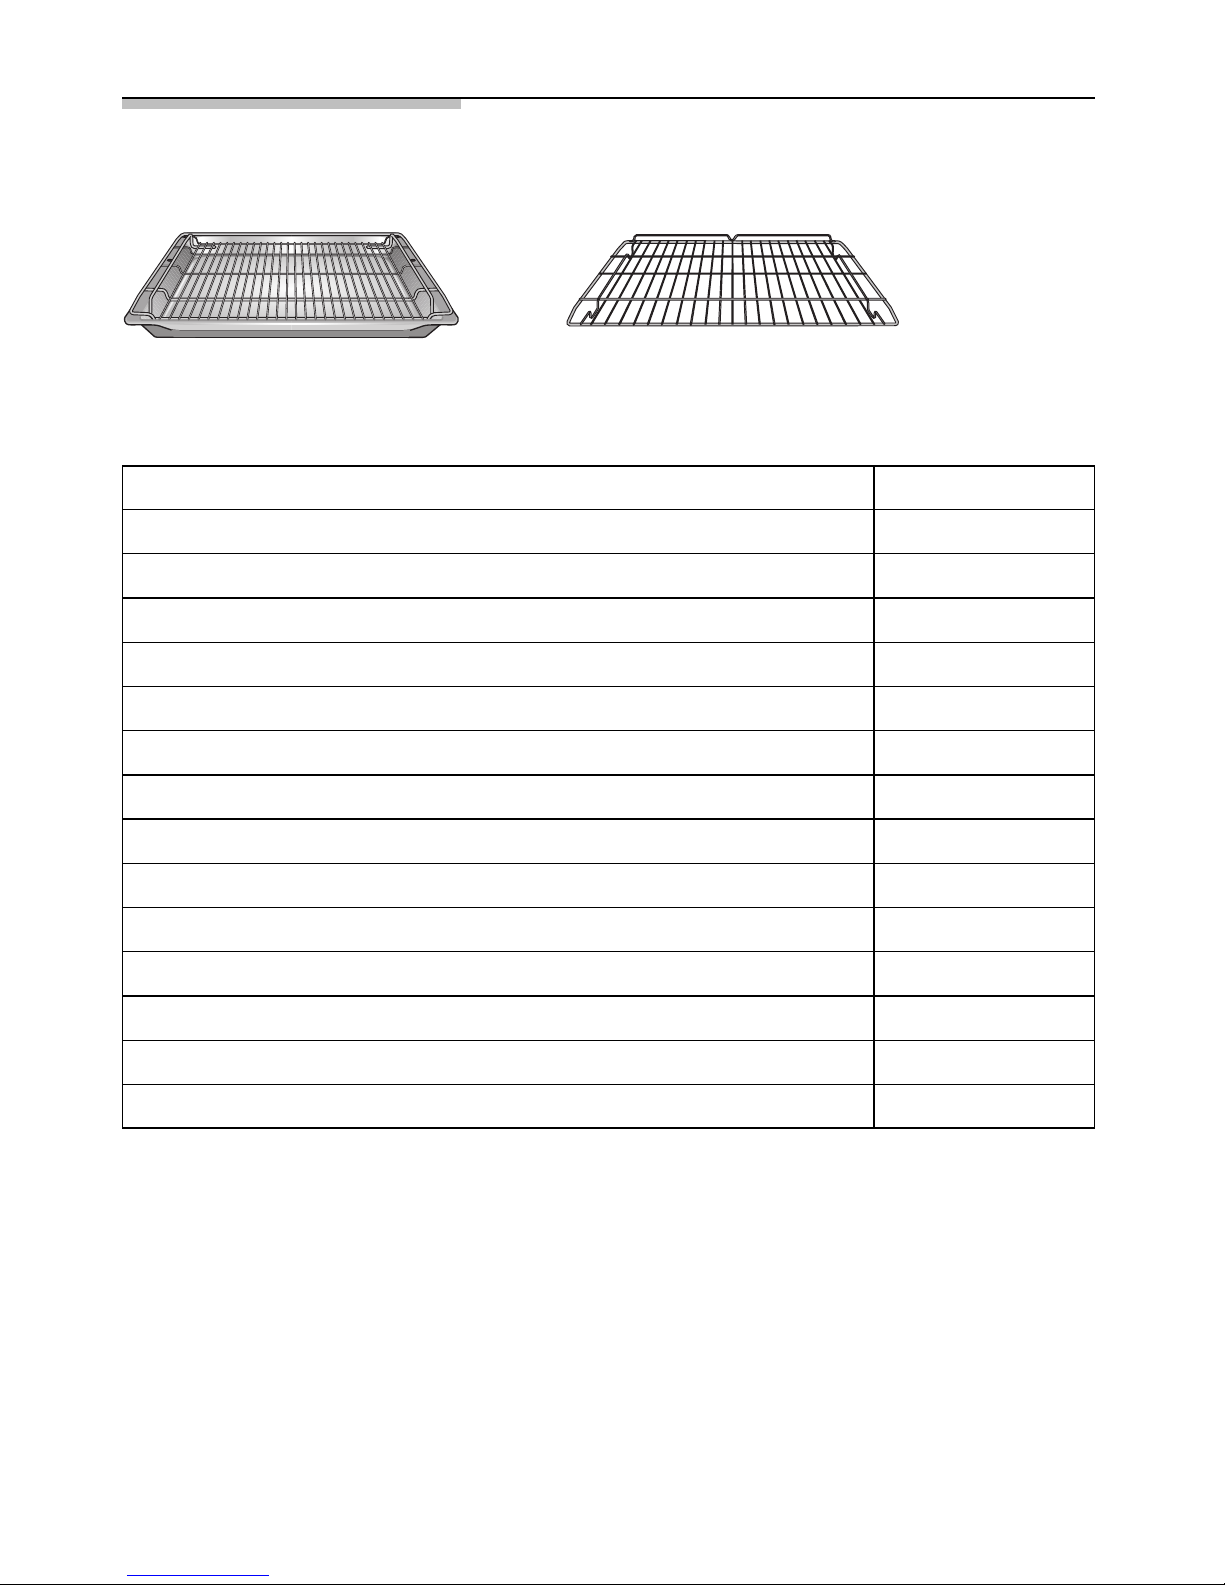
Accessories . . . . . . . . . . . . . . . . . . 9
Before using your Appliance
for the first time . . . . . . . . . . . . . . . 10
Preliminary cleaning . . . . . . . . . . . . . 10
Initial burn-in . . . . . . . . . . . . . . . . . . 10
Subsequent cleaning . . . . . . . . . . . . 10
Time of day . . . . . . . . . . . . . . . . . . . 10
Electronic clock . . . . . . . . . . . . . . . 11
The control panel . . . . . . . . . . . . . . . 11
Minute timer . . . . . . . . . . . . . . . . . . 11
Automatic timer . . . . . . . . . . . . . . . . 12
Special functions . . . . . . . . . . . . . . . 13
Description of Oven Features . . . . 14
main oven . . . . . . . . . . . . . . . . . . . . 14
mini oven . . . . . . . . . . . . . . . . . . . . . 15
Switching the oven ON and OFF . 16
Inhaltsverzeichnis
Baking – main oven . . . . . . . . . . . . 17
Cooking Tips and Helpful Hints . . . . 18
Roasting – main oven . . . . . . . . . . 19
Grilling – main oven . . . . . . . . . . . . 21
Roasting – mini oven . . . . . . . . . . . 21
Grilling – mini oven . . . . . . . . . . . . 22
Surface grilling . . . . . . . . . . . . . . . . . 22
Defrosting and Cooking . . . . . . . . 23
Defrosting with circotherm . . . . . . . . 23
Cleaning and Care . . . . . . . . . . . . . 25
Important cleaning basics . . . . . . . . 25
Catalytic oven surfaces . . . . . . . . . . 27
Removing/installing
the oven door . . . . . . . . . . . . . . . . . 28
Shelf supports . . . . . . . . . . . . . . . . . 29
Service and Repair information . . 30
Trouble-shooting Guide . . . . . . . . . 31
Assembly instructions
For the installer
and kitchen expert
Important installation notes . . . . . 33
Installation of the built-in oven . . . 34

3
Important information
Before using your new appliance, please read these
Instructions for Use carefully. They contain important
information concerning your Personal safety as well
as on use and care of the appliance.
The Instructions for Use apply to several versions of
this appliance. Accordingly, you may find
descriptions of individual features that do not apply
to your specific appliance.
Please keep the operating and installation
instructions in a safe place; this important
documentation may also be of use to a possible
subsequent owner.
Packaging and Your new appliance was protected by suitable
old appliances packaging while it was on its way to you. All materials
used for this purpose are environmentally friendly and
can be recycled. Please make a contribution to
protecting the environment by disposing of the
packaging appropriately.
Old appliances are not worthless rubbish.
Environmentally-conscious recycling can reclaim
valuable raw materials.
Before disposing of your old appliance, please make
sure that it is unusable, or label it with a sticker
stating „Caution, scrap”.
This appliance is labelled in accordance with
European Directive 2002/96/EG concerning used
electrical and electronic appliances (waste electrical
and electronic equipment – WEEE). The guideline
determines the framework for the return and
recycling of used appliances as applicable
throughout the EU.
Up-to-date information on how to dispose of your
old appliance and the packaging from the new one
can be obtained from your retailer or local authority.

4
Before installation
Transport damage Check the appliance after unpacking it. Do not
connect the appliance if it has been damaged in
transport.
Electrical connection The cooker may only be connected by an approved
specialist. Losses resulting from damage caused by
incorrect connection will invalidate warranty claimes.
Safety information This appliance is intended for domestic use only.
Only use the cooker for food preparation.
Hot oven Open the oven door carefully. Hot steam may escape.
Never touch the internal surfaces of the oven or the
heating elements. There is a risk of burning.
Children must be kept at a safe distance from the
appliance.
Never store combustible items in the oven.
Risk of fire. Never place flammable objects onto the
hot plates. Fire hazard!
Never place cables of electronic devices onto the hot
plates.
Never clamp leads of electrical appliances in the hot
oven door. The insulation on the leads could melt.
There is a risk of short-circuiting.
Remove all packaging remnants, e.g. polystyrene
parts, from the oven.
Repairs Incorrectly done repairs are dangerous. There is a
risk of electrocution.
Repairs may only be carried out by after-sales
service technicians who have been fully trained by
BSH.
If there is a fault, switch off the oven fuse at the fuse
box.
Call the after-sales service.

5
Reasons for
damage
Baking tray, aluminium foil Do not place the baking tray on the oven floor.
or dishes on the oven floor Do not cover it with aluminium foil.
Do not place dishes on the oven floor.
This will cause heat accumulation. The baking and
roasting times will no longer be correct and the
enamel will be damaged.
Slide-in accessories To avoid damage, insert slide-in accessories
carefully.
Baking paper If using hot air functions, do not place
greaseproof paper loosely in the oven (e.g. when
heating the oven).
The hot-air fan could draw in the paper which may
damage the heater and fan.
Water in the oven Never pour water directly into a hot oven.
This could damage the enamel.
Fruit juice When baking very moist fruit cakes, do not put too
much on the baking sheet. Fruit juice dripping from
the baking sheet leaves stains that cannot be
removed.
It is recommended that you use the deeper universal
pan.
Cooling with the oven door Only leave the oven to cool with the door closed. Do
not allow anything to become trapped in the oven
door. Even if you only leave the oven door open
slightly, the fronts of adjacent units may become
damaged over time.
Very dirty oven seal If the oven seal is very dirty, the oven door will no
longer close properly when the oven is in use.
The fronts of adjacent units could be damaged.
Keep the oven seal clean.
Using the oven door as a Do not stand or sit on the oven door.
seat
Care and cleaning Do not use high-pressure cleaners or steam jets.

Mini ovenMain oven Electronic timer controls
6
Your new cooker
Here you will learn more about your new oven. The
control panel and its switches and indicators are
explained here. The heating modes and the
accessories included with your oven will be
explained here.
The control panel
Main oven (circotherm)
Temperature selector
Settings
$
Oven light
50 –200
Circotherm temperature in °C.
e
Defrost
Temperature selector
with control lamp
Temperature selector
with control lamp
Function selector

7
Mini oven
Temperature selector
Settings
50 –275
Temperature in °C.
Function selector Use the function selector to select the type of
heating for the oven.
Settings
$
Oven light
/
Top/bottom heat
(conventional heating system)
)
Large area grill

8
Shelf positions
Mini oven Your oven features 2 shelf positions.
The shelf positions are counted from bottom to top.
The numbers are marked in the oven.
Main oven Your oven features 4 shelf positions. The shelf
positions are counted from bottom to top.
The numbers are marked in the oven.
When using hot air function, do not use shelf
position »2«, in order not to block air circulation.

Accessories Your appliance is supplied with:
Universal pan with wire shelf 2 Wire shelves
Additional accessories can be obtained from a specialist dealer.
Before ordering, please check the Neff sales literature to
confirm which of the following items are available in the UK: Order no.
Note:
The guard prevents contact with the hot oven door.
This is particularly important with small children.
The baking tray or universal pan may distort while the oven is operating. This is
caused by major temperature differences on the utensil. These differences may occur
if only one part of the utensil was covered or if deep-frozen food, e.g. pizza, was
placed on the utensil.
The distortion will subside again during baking, roasting or grilling.
Universal pan, non-stick
Soufflé pan
Baking tray, aluminium
Baking tray, enamelled
Baking tray, non-stick
Wire shelf, high/low
Wire shelf, close mesh
Upgrade set Clou, 3 pieces for main oven
Upgrade set Clou, 4 pieces for main oven
Pizza stone
Universal pan Z 1232 X0
Z 1233 X0
Glass pan Z 1262 X0
Z 1272 X0
Z 1332 X0
Z 1342 X0
Z 1343 X0
Pizza tray Z 1352 X0
Z 1432 X0
Z 1442 X0
Z 1742 X0
Z 1752 X0
Z 1912 X0
Universal oval roaster enamelled Z 9930 X0
Oven door guard 440651
9

Before using your appliance
for the first time
Preliminary Ta ke the accessories out of the oven.
cleaning Remove all packaging remnants, e.g. polystyrene
parts, from the oven.
1. Clean the appliance exterior with a soft
moistened cloth.
2. Remove the shelf supports from the oven.
3. Clean the oven and the accessories with a hot
detergent solution.
Please observe the operating instructions
furnished with the hob.
Initial burn-in Before using the appliance for the first time, you
must set the time on the electronic clock.
Preheat the empty oven for about 30 minutes.
Select heat for the main and mini oven at a setting of
190 °C.
Subsequent cleaning Clean the oven with a hot detergent solution.
Install the shelf supports.
Time of day After connecting to the mains, or after a power
Setting the time failure, the display 0:00 will blink.
Press the >button and set the current time with
the rotary knob (e.g. 15:00 hours).
To correct the time, press the >button until the
symbol flashes.
Then set the time.
Note: The time cannot be corrected if an automatic
function has been set (see Electronic clock for
cancelling automatic function).
10

11
Electronic clock
The electronic clock can be operated with one hand;
after pressing the button, set the time with the rotary
knob. Settings can be made for as long as the
function display flashes (~4 seconds).
The control panel
Minute timer
Set cooking time OFF time
Rotary knob
To engage and
disengage, depress
gently
Time of day
Function selector
Minute timer 1. Press the >button and set the cooking time
(e.g. 5minutes).
When the timer switches on, the remaining time
is displayed.
2. When the time has elapsed, a signal is emitted
and the ,symbol flashes. To stop the signal,
press the >button.

12
Automatic timer You can switch the oven on and off via the electronic
for the main oven clock.
Automatic switch off If you wish to bake or roast food immediately, it is
only necessary to set the cooking time.
1. Select the heating system and the oven
temperature.
2. Press the >button until the ?
symbol flashes and set the cooking time with the
rotary knob (example: 1hour and 30 minutes).
When the setting has been made, the current
time is displayed after approx. 4 seconds.
The ?symbol signals automatic mode.
3. When the time has elapsed (example: 1hour and
30 minutes), a signal is emitted and the !
display flashes.
The oven switches off automatically.
To stop the signal, press the >button.
4. Switch the oven off.
5. To end automatic mode, press the >button
again.
Automatic switch on and If the food is to be baked or roasted later on, both
switch off the cooking time and OFF time must be set.
1. Select the heating system and the oven
temperature.
2. Press the >button until the ?
symbol flashes and set the cooking time with the
rotary knob (example: 1hour and 30 minutes).
3. Press the >button until the !symbol flashes
and set the OFF time with the rotary knob
(example: 12:30).
When the setting has been made, the current
time is displayed after approx. 4 seconds.
The !symbol signals automatic mode.

13
4. The oven is automatically switched on and off at
the preset times (e.g. 11:00 and 12:30).
5. When the time has elapsed, a signal is emitted
and the !symbol flashes. To stop the signal,
press the >button.
6. Switch the oven off.
7. To end automatic mode, press the >button.
Checking, correcting and 1. To check your settings, press the >button
cancelling settings until the symbol flashes.
2. If required, correct the settings with the rotary
knob.
3. If you want to cancel your settings, turn the set
time back to 0:00 and switch the oven off.
Note The automatic timer is best used with dishes which
require little attention.
The minute timer and OFF time can be pre-
programmed up to a max. 24 hours.
The settings can be displayed at any time by
pressing the >button.
Special functions
Masking out the display 1. Press the >button for 7 seconds.
The display then goes blank and the time
continues running in the background.
2. To switch on the display, briefly press the
>button.
Setting the time See section ”Before using your appliance for the first
time”.
Dimming the display Between 22.00 and 6.00 the display is automatically
dimmed.

14
Description of Oven Features
Main oven
Circotherm Advantages:
–low soiling of oven interior
–cooking on up to 3 shelf levels at once is possible
–shorter preheating times
–low oven temperatures
–bread baking
Circotherm grilling A system by which foods, that would normally be
grilled by direct heat from an element, are cooked
using Cirotherm. Temperatures between 180 to
190 °C are selected and the food is placed on the
wire shelf, roasting on the roasting/grill pan.
Advantages:
–ideal for steaks, sausages, chicken joints, fish,
kebabs and chops
–no turning of food is required
–three shelves of ‘grilled’ food can be prepared at
one time
–very convenient.
Defrost A fan in the rear wall of the oven circulates the air in
the oven around the frozen food.
The fan system is running without heating.
Advantages:
–Gentle defrosting.
–Frozen pieces of meat, poultry, bread and cakes
defrost evenly.
e

15
Description of Oven Features
Mini oven
Top and bottom heat The food being baked or roasted is exposed to heat
(Conventional heating system) radiation from heating elements located at the top
and bottom of the oven cavity.
Baking and roasting is possible on one shelf position
only.
Advantages:
–Baking of cake wet fillings, pizza, quiche, e.g.
Large area grilling The food being prepared is exposed to heat radiation
from the heating element at the top of the oven
cavity.
–Particularly effective with flat, small cuts of meat,
i.e., steaks, sausages, fish, vegetables and toast.
/
)

Switching the Oven ON and OFF
main oven Switching the oven ON:
1. Set the temperature control knob to the desired
temperature.
The selected temperature will be controlled
automatically.
The red oven temperature control lamp illuminates
when the oven is first switched on, and extinguishes
when the required temperature has been reached.
mini oven Before switching on your oven, you should decide
which heating system you wish to use.
Switching the oven ON:
1. Use the function selector to determine the
desired system.
2. Set the temperature control knob to the desired
temperature.
The selected temperature will be controlled
automatically.
The oven temperature control lamp illuminates when
the oven is first switched on, and extinguishes when
the required temperature has been reached.
Switching the oven OFF:
To switch the oven OFF, turn both the temperature
selector and functions selector to the »0« position.
Notes:
The appliance features a cooling fan which runs until
the oven has cooled down.
16

17
Baking – main oven
Using baking tins Always place baking tins in the centre of the
baking wire shelf.
We recommend dark metallic baking tins.
Notes Light coloured baking tins made from thin-wall
materials lead to longer baking times and uneven
browning of the cake.
You can influence the degree of browning by
changing the temperature setting.
If a cake collapses after removing it from the oven,
consider using a longer baking time, or use a slightly
lower temperature setting.
Using tinplate baking tins Shelf position 1
If the cake bottom gets too dark:
Check the shelf position. Shorten the baking time,
and possibly use a lower baking temperature.
If the cake bottom stays too light:
Check the shelf position. Increase the baking time,
select a lower temperature, or use a dark metal
baking tin.
Do not place baking tirns or high cakes too close
to the rear oven wall.

18
Cooking Tips and Helpful Hints
The bottom of a cake baked Remove from the oven all baking sheets or universal
on a baking sheet stays too pan currently not in use.
light
The bottom of a cake baked Use a wire shelf and not a baking sheet to support
in a tin stays too light the cake tin during baking.
The bottom of cake or Set cake or cookies into a higher set of shelf
cookies gets too dark position.
The cake gets too dry Select a slightly higher oven temperature, and shorter
baking time.
The cake is too moist Choose a slightly lower baking temperature.
on the inside Note: Higher temperatures do not shorten baking
times (done on the outside, raw on the inside).
Choose a slightly longer baking time, allow the dough
to rise slightly longer. Add less liquid to the dough.
When baked with circotherm, Avoid blocking the air vents at the rear wall of the
cake baked in round or oven cavity with the cake tins.
square tins gets too dark
at the rear
Very moist cake dough (e.g. You can let the steam escape from the oven and
fruit cake) causes a lot of thereby reduce the forming of water droplets by
steam to generate in the briefly and carefully opening the oven door (once or
oven that condenses on the twice, in case of longer baking times more often).
oven door.
Very uneven browning when Check the shelf position.
using circotherm
Cake collapses when taken Use less liquid.
out of the oven
To save energy Preheat only if expressly required by the recipe.
Dark baking tins have a higher degree of heat
absorption.
Residual heat: In the case of longer baking times,
you can switch off the oven 5-10 minutes before the
full baking time has elapsed.

19
Roasting – main oven
Place the wire shelf into the universal pan and
slide them together into the same shelf
position.
Meat can be roasted in the oven in a particularly
economical fashion if the weight of the cut exceeds
750 grams.
Roasting in an uncovered Rinse the universal pan and/or the roaster with
pot water, and place the meat into it.
With fat meat and poultry, pour 125 to 250 ml of
water (to suit the size and kind of roast) into the
universal pan. At your discretion, baste lean meat
with fat, or cover it with bacon strips.
The roast drippings collecting in the universal pan
make a tasty gravy. Dissolve the drippings with hot
water, bring to a boil, thicken with corn starch,
season to taste and, if required, pass it through a
strainer.
No preheating is required. Save energy by putting
the roast into the oven while it is still cold.
Roasting in a covered pot Place the meat into the roasting pot (or Dutch oven),
cover it with a matching lid, and place it on the wire
shelf in the oven. We recommend that beef roast be
prepared in a covered roasting pot.

20
Tips Big, high roasts, goose, turkey, duck
= Long roasting times, low temperatures
Medium sized, low roasts
= Medium roasting times, medium temperatures
Small, flat roasts
= Short roasting times, high temperatures
Roasting time per cm of meat height without bones
app. 13-15 minutes
Roasting time per cm of meat height with bones
app. 15-18 minutes
We recommend using the lower of the stated
temperatures first.
In general, the lower temperature ensures a more
even browning.
We recommend turning the roast after half or two
thirds of the roasting time have elapsed.
For roasting, use only cookware with oven-proof
handles.
Prepare large roast directly in the universal pan,
without using the wire shelf.
Smaller cuts of meat can be roasted on aluminium
foil. To do so, bend the edges of the foil upward, as
if to form a dish, and place it on the wire shelf.
After the end of the selected roasting time and with
the oven switched OFF, leave the roast in the closed
oven for approx. 10 minutes.
The roast is not done on Use a lower roasting temperature.
the inside Note: Higher temperatures do not shorten roasting
times (done on the outside, raw on the inside).
Choose slightly longer roasting times.
Very moist roasts (e.g. roasts You can let the steam escape from the oven and
prepared with water) cause a thereby reduce the forming of water droplets by
lot of steam to generate in briefly and carefully opening the oven door (once or
the oven that condenses on twice, in case of longer roasting times more often).
the oven door.
This manual suits for next models
3
Table of contents
Other NEFF Oven manuals

NEFF
NEFF B1DCC1A 0B Series User manual

NEFF
NEFF B57CR22 1B Series User manual

NEFF
NEFF B46VT64 0 Series User manual

NEFF
NEFF B15E54N0 User manual

NEFF
NEFF B55CS22.0B User manual

NEFF
NEFF B1641 User manual

NEFF
NEFF U1CHC0A.0B User manual

NEFF
NEFF B1GCC0AN.B User manual

NEFF
NEFF B45M42 3 Series User manual

NEFF
NEFF U15M42 0GB Series User manual

NEFF
NEFF B1GCC0A 0B Series User manual

NEFF
NEFF B1DCC0A 0B Series User manual

NEFF
NEFF B14M42N0EU User manual

NEFF
NEFF U1452B2GB Safety guide

NEFF
NEFF C17FS22 1 Series User manual

NEFF
NEFF B1691N2GB Reference manual

NEFF
NEFF B44M42N0 User manual

NEFF
NEFF C24MR21 0B Series User manual

NEFF
NEFF C15FS24 0 Series User manual

NEFF
NEFF B1412 User manual