English Deutsch Français Español
USER GUIDE
With the NeilPryde Universal Adjustable Outhaul System, you can tune your rig
as easily while sailing as you can when on the beach – regardless of the type
of NeilPryde boom you use.
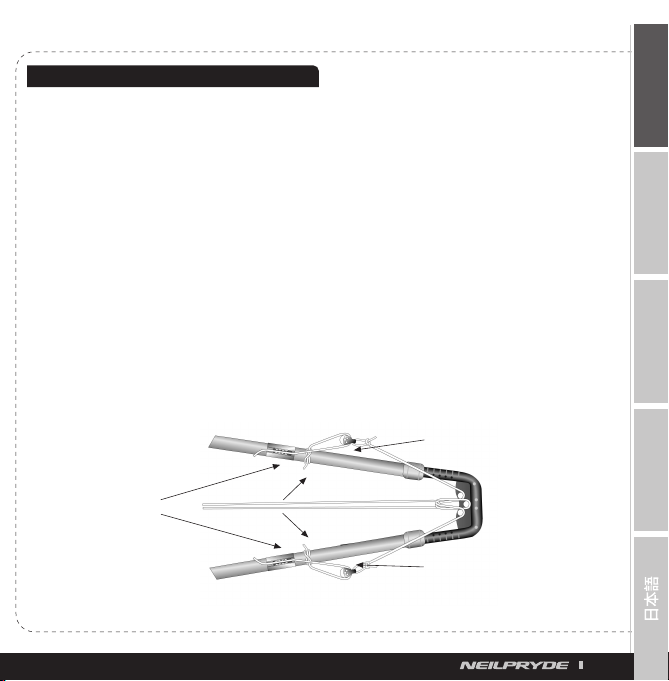
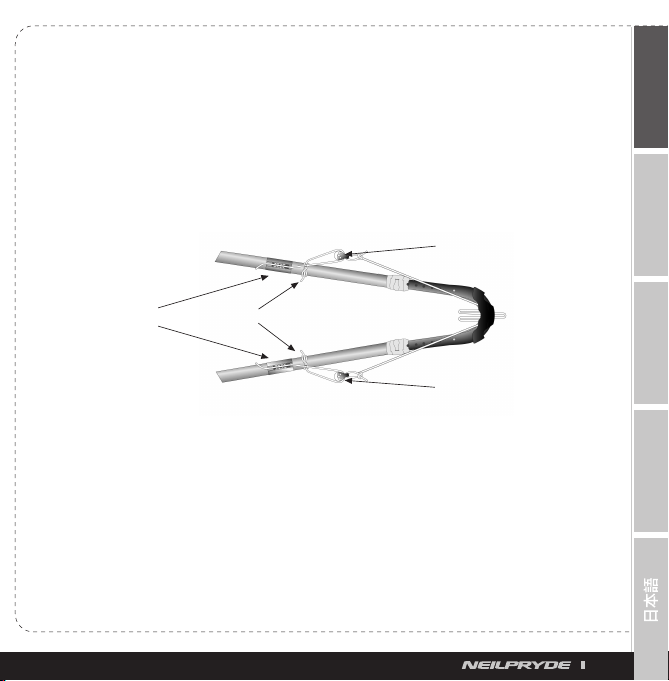
This kit is designed to be used on any X1, X3, X9,RS:X or RS:One boom. For
the X1, X3 and RS:One booms you will need to modify the back end of the boom
by installing a new tail piece (included). For the RS:X and X9 booms, the tail end
is supplied complete with pulleys and is therefore ready for the installation of
an adjustable outhaul.
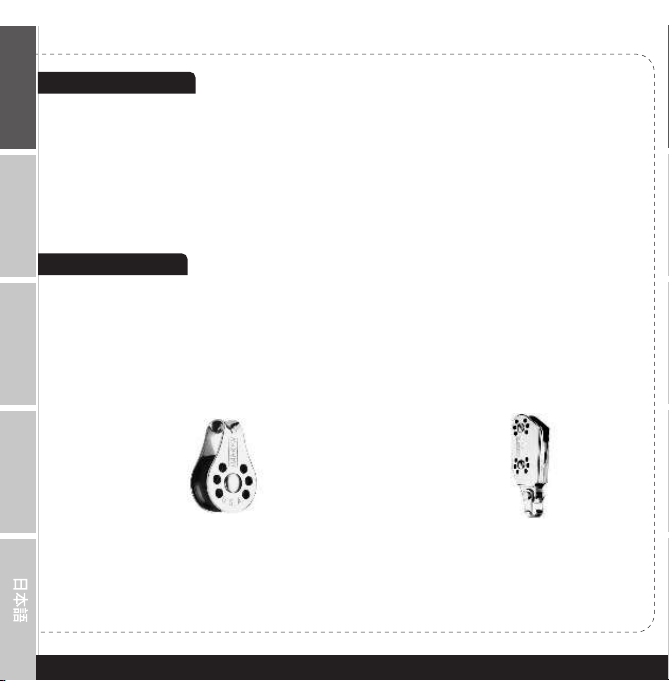
PARTS LIST
2 x Clamcleat CL244 aluminum cleat.
2 x Clamcleat CL111 plastic cleat clamp with stainless steel screws.
2 x Ronstan RF571 pulley block.
1 x 3 pulley tail piece with stainless steel rivet. (for X1, X3, RS:One)
2 x 2.4m lengths of 5mm line.
1 x 2.8m length of 4mm line.
2 x EVA Shims.
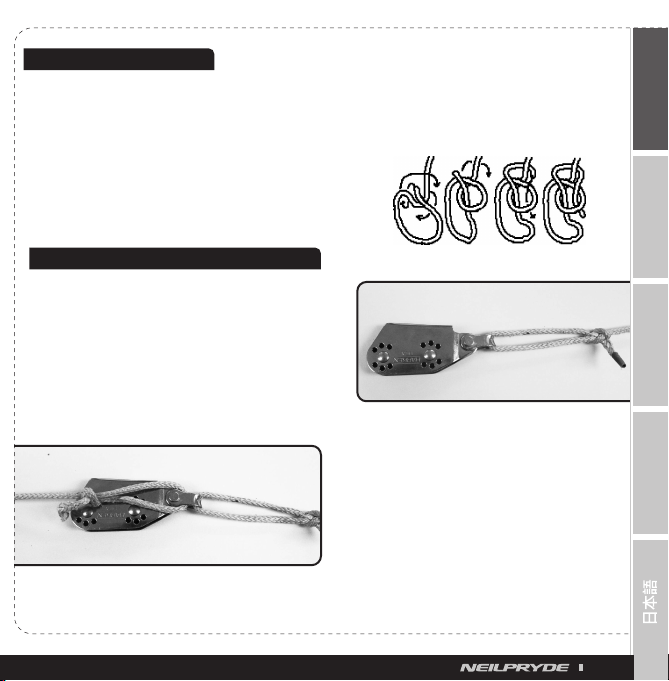
HELPFUL HINTS
• You will need to trim the 4mm rope (this goes through the tail piece) to length in order
to suit the size of sail and boom that you are using. The best way of doing this is
to assemble your adjustable outhaul system and then rig your sail. After testing the
adjustment range on the rigged sail, trim off the excess rope.
• So that the rope does not accidentally slip through the cleat on the boom, tie a figure
eight knot in the end of the line.
• Try to set up your outhaul system so that you use the 6:1 option as often as possible.
You will find it much easier to trim the sail, even under load, when you do this.
04
Universal Adjustable Outhaul