06
English Deutsch Français Español
b.Apply enough down-haul so that the
mast just disappears from the sleeve
window.
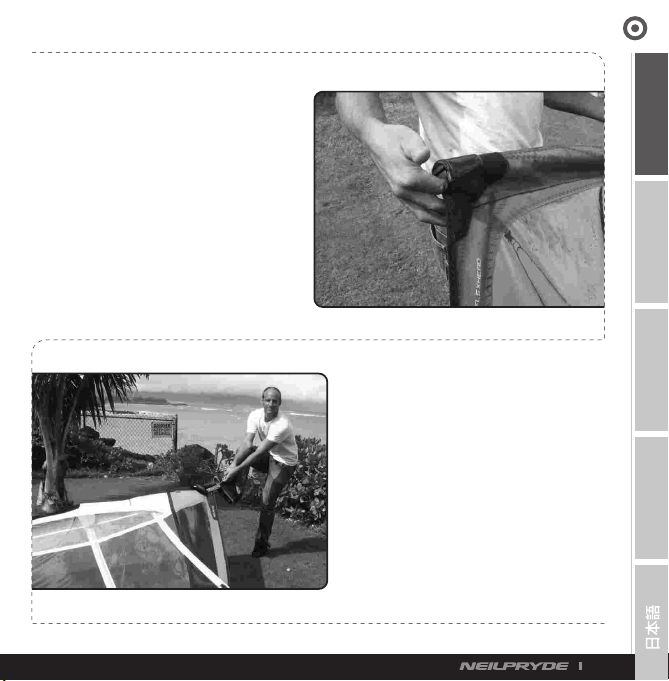
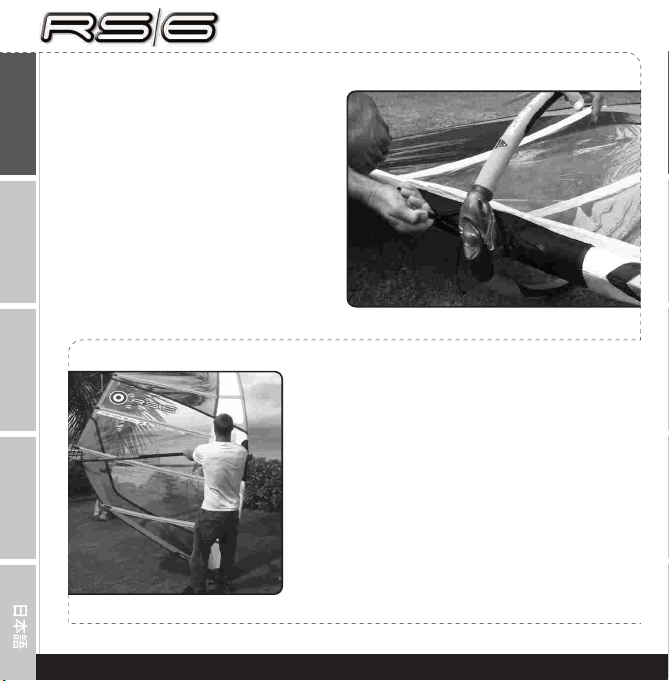
3.Putting the cams onto the mast
a.Hold the mast in the boom opening
with the hand closest to the bottom
of the sail. Place your other hand under
the cam immediately above the boom
opening. Make sure the whole palm
of your hand is under the cam. Pull
the mast towards you while you push
the cam away from you and onto the
mast – the cam will pop into the mast.
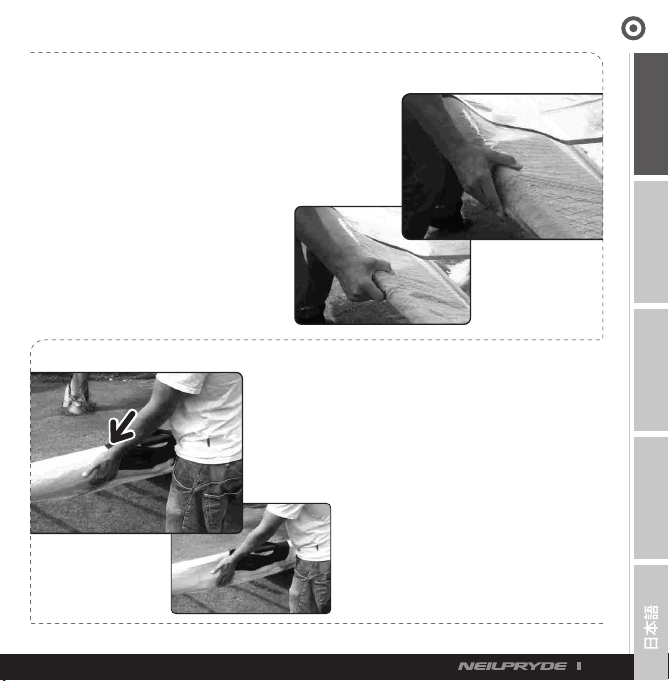
b. Next is the top cam. Keep holding
the mast in the boom opening (as
pictured). Put your thumb on top of
the mast while all 4 fingers grab
under the front of the cam. Squeeze
your thumb and your fingers
together pushing the cam forward
while holding the mast back and the
cam will pop on easily.
c.For the cam below the boom, hold the mast in
the boom opening with the hand closest to the
top of the sail. Place the other hand under the
cam below the boom opening. Making sure the
whole palm of your hand is under the cam, pull
the mast towards you while pushing the cam away
from you and onto the mast.