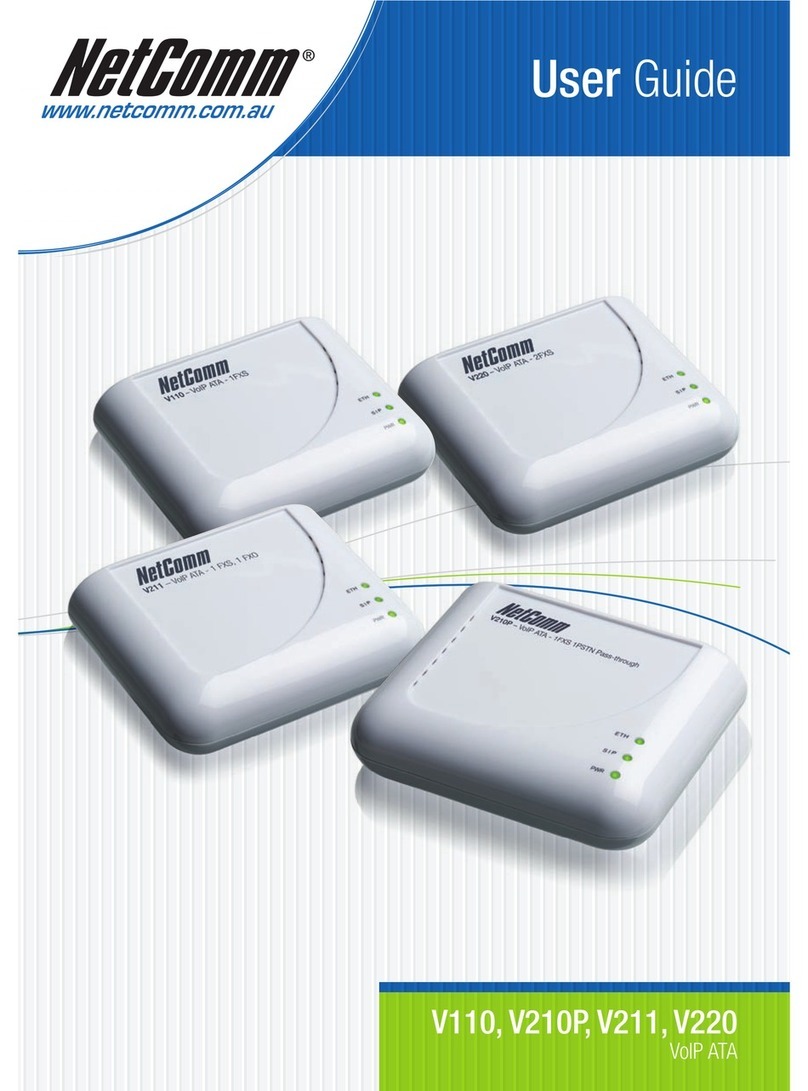
NetComm V110 User manual

Quick Start Guide
V110, V210P, V211, V220
VoIP ATA

Want to network your home quickly and
easily without any hassles?
NetComm HomePlugs are the simplest method available to set up a home network, without any of the hassle of
laying meters of cable or drilling holes into walls. Simply put, a NetComm HomePlug turns the existing electrical
wiring in your home into a network capable of transmitting data at up to 200Mbps.
Setting up a network couldn’t be easier. Simply plug a Homeplug into an available power socket near a computer,
attach it to the computer with a short ethernet cable. Then plug in and connect a second homeplug with your second
home computer and that’s it, you’ve successfully networked two computers.
HomePlugs are extremly versatile and suit any number of tasks -
• Internet sharing and On-line Gaming - Connect your broadband modem to a HomePlug and then every other
PC or ethernet capable gaming console on your HomePlug network can access your internet connection
• Wireless Access Point - With a Wireless HomePlug you can create a wireless access point anywhere you want
• VoIP - Place a VoIP ATA anywhere in your home for big savings on your phone bill
• Home Entertainment - Stream high-def movies, audio or photos from a media server to set-top boxes or HTPCs
Another added bonus of a Homeplug network is that it moves with you. If you’re moving home or apatments, or
simply doing some redecorating and need to move your PC, you can take your HomePlug with you and have your
network up and running again in seconds. Try doing that with cables embedded in the wall!
And as your network grows, HomePlugs make it easy to add new network points, simply plug in a new HomePlug
and you’re ready to go.
Grab your NetComm HomePlug today, either:
Buy Online
http://www.netcomm.com.au/EOP/
and click on the Buy Now button
Purchase by Phone
Tel – (02) 9424-2055
(Quote Ref - Home-2)
YML882Rev1 V110, V210P, V211, V220V110, V210P, V211, V220 Quick Start Guide
www.netcomm.com.au 3
WELCOME TO THE WONDERFUL WORLD OF VOIP
Congratulations on your purchase of a NetComm VoIP ATA. Whether this is your first VoIP device or you
are upgrading from another device we’re glad to have you as part of the NetComm family. The NetComm
V110/V210P/V211/V220 ATA’s are true next generation technology and in addition to the fantastic savings
you’re going to experience you’ll also get fantastic features such as routing, T.38 Fax and 3 way conferencing.
This Quick Start Guide contains everything you need to get you up and running for everyday use but if
you need to delve into any of the more advance configuration features available on your unit you’ll find a
comprehensive User Guide on the CD that accompanies the ATA.
Should you run into any problems with your unit (and let’s face it, we all need a little help from time to time)
you can find the answers to many questions in the support section of our website
www.netcomm.com.au/Support/
So without any further delay it’s time to get you more familiar with your ATA so you can start using VoIP.
IMPORTANT NOTICE: Please ensure that the Broadband modem/router to be use with this ATA had been designed to handle VoIP traffic. Most new
broadband modem/router will be able to handle VoIP without any issues and does not need extra configuration to handle VoIP service. However, old
broadband modem/router might need to be configured correctly to supports it.
Please check with the broadband modem/router manufacturers for more details.

V110, V210P, V211, V220 Quick Start Guide YML882Rev1
4 www.netcomm.com.au
Ports and Buttons
V110 (WAN + 1 LAN + 1 FXS)
V220 (WAN + 1 LAN + 2 FXS)
V211 (WAN + 1 LAN + 1 FXO +1 FXS)
V210P (WAN + 1 LAN + 1 PSTN pass through +1 FXS)
Port / Button Description
Power Connect the supplied power adapter to the ATA. The power requirement is DC12 volts/0.6 A
Note: Using a power supply with a different voltage rating will damage this product
Power Switch Power on/off the NetComm ATA.
WAN Port Connect to Broadband devices, such as an ADSL or Cable modem.
LAN Port Connect to Ethernet network devices, such as a PC, switch, or router. Depending on the
connection, you may need a cross over cable or a straight through cable
RESET The Reset button will set the NetComm ATA to its factory default setting and reset the unit.
You may need to reset the NetComm ATA into its factory defaults if you loose the ability to
enter the NetComm ATA via the web interface, or following a software upgrade.
LINE Socket Connect a telephone cable between the NetComm ATA line jack and a wall jack.
PHONE Socket Connect a standard telephone handset to the NetComm ATA phone jack using a telephone cable.

YML882Rev1 V110, V210P, V211, V220V110, V210P, V211, V220 Quick Start Guide
www.netcomm.com.au 5
LED Indicators
LED Description
PWR This LED illuminates to indicate the system is powered.
SIP This LED illuminates when the NetComm ATA is registered successfully to the SIP server.
ETH This LED illuminates when a connection is established to WAN/LAN port and flashes when
WAN/LAN port is sending/receiving data.

V110, V210P, V211, V220 Quick Start Guide YML882Rev1
6 www.netcomm.com.au
Default Settings
LAN (Management)
Static IP Address: 192.168.22.1
Subnet Mask: 255.255.255.0
Default Gateway: blank
WAN (Internet)
WAN mode: DHCP
Modem Access
Username: admin
Password: admin
Many configuration changes made using the web interface will only become active after clicking the Save &
Reboot button on the Save Savings / Reboot page in the web configuration page.
Note: Certain voice parameters do not require a Save & Reboot to take effect. These Voice Parameters will take effect on the next voice
call after the Voice Parameter is entered and submitted. However, if Save & Reboot is not done, then these Voice Parameters will not be
saved over a power cycle. The Voice Parameters that can be changed “on the fly” are noted in the respective sections.
Restoring Factory Defaults
The reset button will reset the ATA to its factory default configuration. Occasions may present themselves
where you need to restore the factory default settings on your ATA. Typical situations are:
• You have lost your password and unable to login to the ATA;
• You have purchased the router from someone else and need to reconfigure the device.
• You are asked to perform a factory reset by a member of the excellent NetComm Support Staff.
In order to restore your router to its factory default settings, please follow these steps:
• Ensure that the ATA is powered on (for at least 20 seconds).
• Use a paper clip or a pencil tip to depress the reset button for ten seconds and release. At this point, the
reset is in progress. Do not power off the unit at this point.
• After the ATA reboots, the default settings are now restored. This entire process takes several minutes to
complete.
• Once you have reset the ATA to its default settings you will be able to access the device’s web
configuration using http://192.168.22.1 with username “admin” and password “admin”.

YML882Rev1 V110, V210P, V211, V220V110, V210P, V211, V220 Quick Start Guide
www.netcomm.com.au 7
HARDWARE INSTALLATION
1. Connect the WAN port to your broadband router using the Ethernet cable supplied. If you would like
your PC to be connected to the network through the V100/V210P/V211/V220, you can connect another
Ethernet cable (not supplied) from your PC to the LAN Ethernet port. This enables your PC and the ATA to
share one Ethernet port on your router/switch.
V211 and V210P
2. Connect your telephone handset to the Phone port. For V220, you can connect an additional handset to
Phone 2 port.
Notes: A second VoIP account is needed unless your VoIP provider supports multiple connections from the one account and both ports
need to be configured individually (even when using one account that supports multiple connections).
3. For V210P or V211 unit, connect the Line port to your PSTN wall socket.
4. Connect the AC power adaptor and press the power button to turn the ATA on. The ATA will boot up and in
a few minutes, the Power and Ethernet Lights will light up.
Note: Only use the power adapter supplied with the NetComm ATA. A different adapter may damage the product.

V110, V210P, V211, V220 Quick Start Guide YML882Rev1
8 www.netcomm.com.au
V110
V220

YML882Rev1 V110, V210P, V211, V220V110, V210P, V211, V220 Quick Start Guide
www.netcomm.com.au 9
SOFTWARE CONFIGURATION
Easy Setup Utility (for Windows Only)
1. For easy configuration, insert the included CD into your CD-ROM drive. The CD should auto-start. If it
does not start, click on Start -> Run and type in D:\Easysetup\vbpES.exe (where D is the drive letter of
your CD-ROM drive).
2. The default Internet access is DHCP Client Mode. Click on WAN Configuration to change the internet
access type.
3. Enter the SIP Proxy Domain, Proxy Server, Outbound Proxy, Username, Auth. ID and Auth. Password
provided by your VSP.
4. And then click on Setup, the software will start to configure the NetComm ATA. Follow the instructions of
the Easy Setup utility which will guide you to complete the configuration.
5. After a few minutes, the NetComm ATA should report that the setup has been successful.
Note: The easy setup utility can not be used to retrieve details. The utility will initialize the unit back to default settings when executed.

V110, V210P, V211, V220 Quick Start Guide YML882Rev1
10 www.netcomm.com.au
Configuration via a web browser
If you do not have a Windows PC available, or you want to perform more complex configuration, you can
configure the NetComm ATA using a web browser.
Accessing the web configuration
1. Open your Web browser (e.g. Internet Explorer, Firefox).
2. Enter the LAN port default IP address of the NetComm ATA (e.g. http://192.168.22.1) in the address bar
and press Enter.
3. At the login screen, enter the gateway username and password. The default login username is admin,
and the default login password is admin.

YML882Rev1 V110, V210P, V211, V220V110, V210P, V211, V220 Quick Start Guide
www.netcomm.com.au 11
WAN Configuration
This guide shows the configuration using DHCP Client Mode
1. Click on WAN on the left menu.
2. Change the IP Type to DHCP.
3. After that, click the Submit button.
Option Description
DNS Server 1 The Domain Name Service that the NetComm ATA uses to resolve domain names to IP
addresses. This is usually your modem / router or the primary DNS server specified by your
Internet Service Provider (ISP) (Optional)
DNS Server 2 The Domain Name Service that the NetComm ATA uses to resolve domain names to IP
addresses. This is usually your modem / router. DNS 2 can be a different address to DNS 1 to
provide a backup DNS server if DNS 1 fails (Optional)
MAC The Ethernet MAC address of the WAN interface (Optional).
Host Name The host name of the VoIP Gateway (Optional).
Note: For other WAN connection type, please refer to the User Guide on the supplied CD.

V110, V210P, V211, V220 Quick Start Guide YML882Rev1
12 www.netcomm.com.au
VoIP Configuration
1. Click on VoIP on the left menu.
2. Click on SIP Service Provider.
3. Enter the information supplied by your VoIP service provider and click Submit.

YML882Rev1 V110, V210P, V211, V220V110, V210P, V211, V220 Quick Start Guide
www.netcomm.com.au 13
Option Description
Active
If set to on, the NetComm ATA will attempt to register the account with your VoIP service
provider.
SIP Proxy
Domain
The SIP Proxy Domain is specified by your VSP.
Proxy Server The host name of IP address of the SIP server. The proxy server is responsible for
forwarding requests received from the NetComm ATA to your VoIP service provider. The
Proxy Server is specified by your VoIP service provider.
Outbound
Proxy (optional)
The host name of IP address of the Outbound Proxy server. The Outbound proxy server is
responsible for forwarding requests received from the NetComm ATA to your VoIP service
provider. The Proxy Server is specified by your VoIP service provider.
Display Name The name or number the called party sees when you call them.
User Name Your VoIP number. This number is assigned by your VoIP service provider.
Auth. Name
The authentication username assigned by your VoIP service provider. This can be different to
your VoIP number.
Auth. Password The authentication password provided by your VoIP service provider.
Status Indicates if the NetComm ATA is registered to your VSP. If “Registered” is shown, you can
make and receive calls via your VoIP service provider. If the NetComm ATA reports “not
registered”, check the SIP Service Provider settings above and try again.
SIP Expiry Time This setting specifies a recommendation to the SIP server on the re-registration interval.
Increasing this time will send less registration traffic, but can cause other issues.
4. Click on Save Settings/Reboot on the left menu and then click the Save & Reboot button to save your
settings.

V110, V210P, V211, V220 Quick Start Guide YML882Rev1
14 www.netcomm.com.au
5. The NetComm ATA will reboot automatically to make your changes effective. Please wait while it reboots.
6. Once the device has rebooted, check if the SIP LED is illuminated to indicate successful registration with
your VoIP Service Provider. If not, please check your settings.
CONGRATULATIONS
The Installation of the NetComm ATA is now complete. Please refer to the User Guide on the supplied
CD for other usage details and features of your ATA.

Did you know your phones will disrupt
your ADSL2+ connection...
Even If You Have Older ADSL Filters?
Due to faster ADSL speeds, an inline ADSL2+ Microfilter stops your ADSL connection being disrupted by telephones
connected to the same line. Older filters cannot handle these speeds. A high-quality Microfilter from NetComm will
ensure you have a stable broadband Internet connection with no reduction in the quality of your telephone service.
Having one easy to install Microfilter for every telephone type device, including dial up modems and Foxtel, is
essential to reducing voice and data service problems and interruptions.
NetComm EM1550 ADSL2+ Microfilters conform to relevant ACA requirements and Telstra specifications
and will:
• Help you obtain faster technical support from your ISP
• Minimise unexplained disruption of your ADSL connection
• Work with all current ADSL connection speeds
• Microfilters are also splitters which allow you to connect the line between phone and modem
Grab your NetComm Microfilters today, either:
Visit a retailer closest to you...
Harvey Norman, Officeworks or Harris Technology.
Order direct...
Visit www.netcomm.com.au/ADSL/EM1550.php
Phone (02) 9424-2055 (Quote Ref No - 1550)

V110, V210P, V211, V220 Quick Start Guide YML882Rev1
16 www.netcomm.com.au
Product Warranty
NetComm products have a standard 12 months warranty from date of purchase. However some products have an extended
warranty option, via registering your product online at the NetComm website www.netcomm.com.au. Refer to the User Guide
for complete product warranty conditions, limitations of warranty and other legal and regulatory information.
Contact Information
If you have any technical difficulties with your product, please do not hesitate to contact NetComm’s Customer Support Department.
Email: [email protected]
www.netcomm.com.au
Note: NetComm Technical Support for this product only covers the basic installation and features outlined in the Quick Start Guide. For further information regarding
the advanced features of this product, please refer to the configuring sections in the User Guide or contact a Network Specialist.
NetComm Limited ABN 85 002 490 486
PO Box 1200, Lane Cove NSW 2066 Australia
E– [email protected] W– www.netcomm.com.au
Other manuals for V110
1
This manual suits for next models
3
Table of contents
Other NetComm VoIP manuals