manuals.online logo
Brands
  1. Home
  2. •
  3. Brands
  4. •
  5. NETGEAR
  6. •
  7. Network Router
  8. •
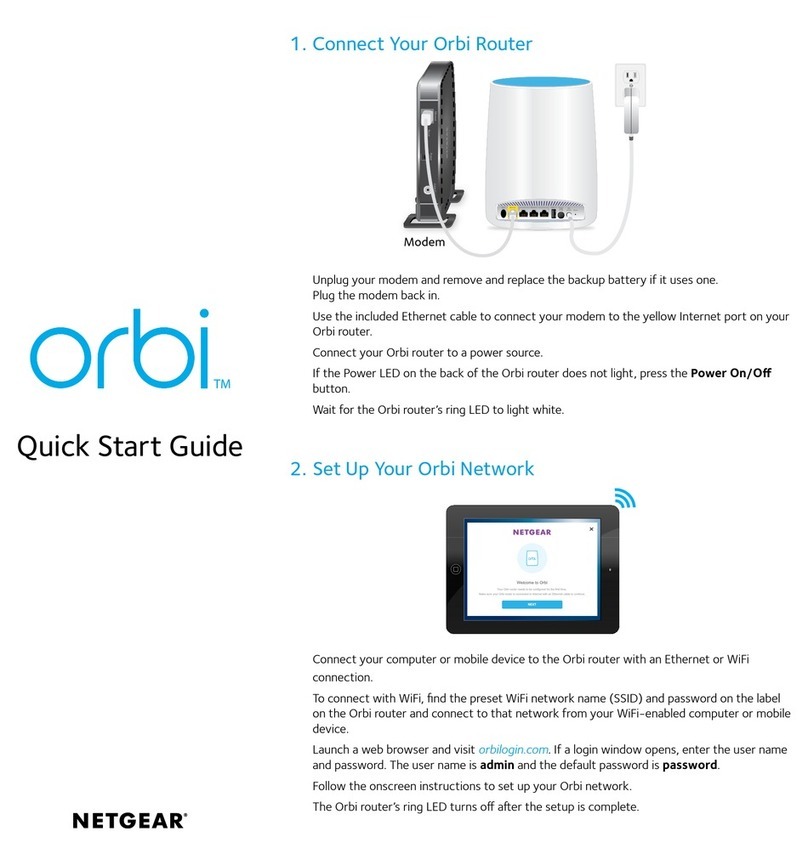
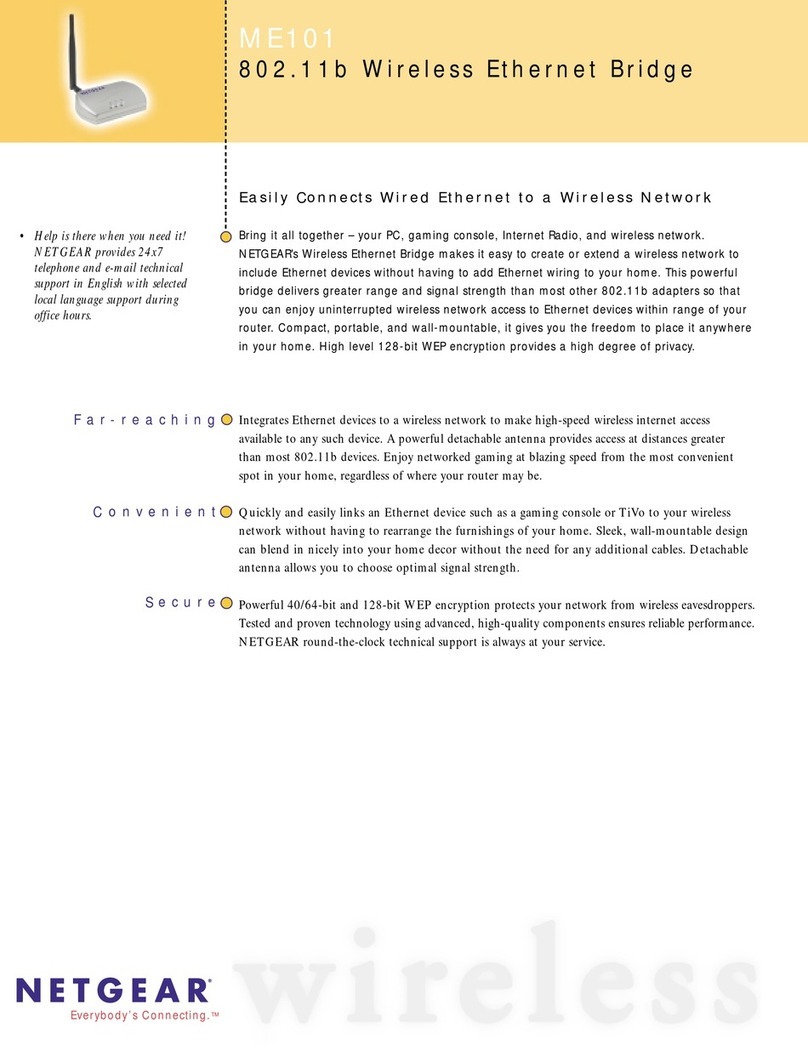
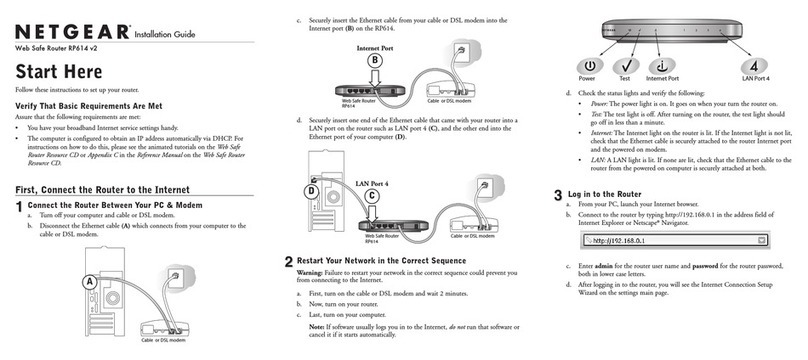
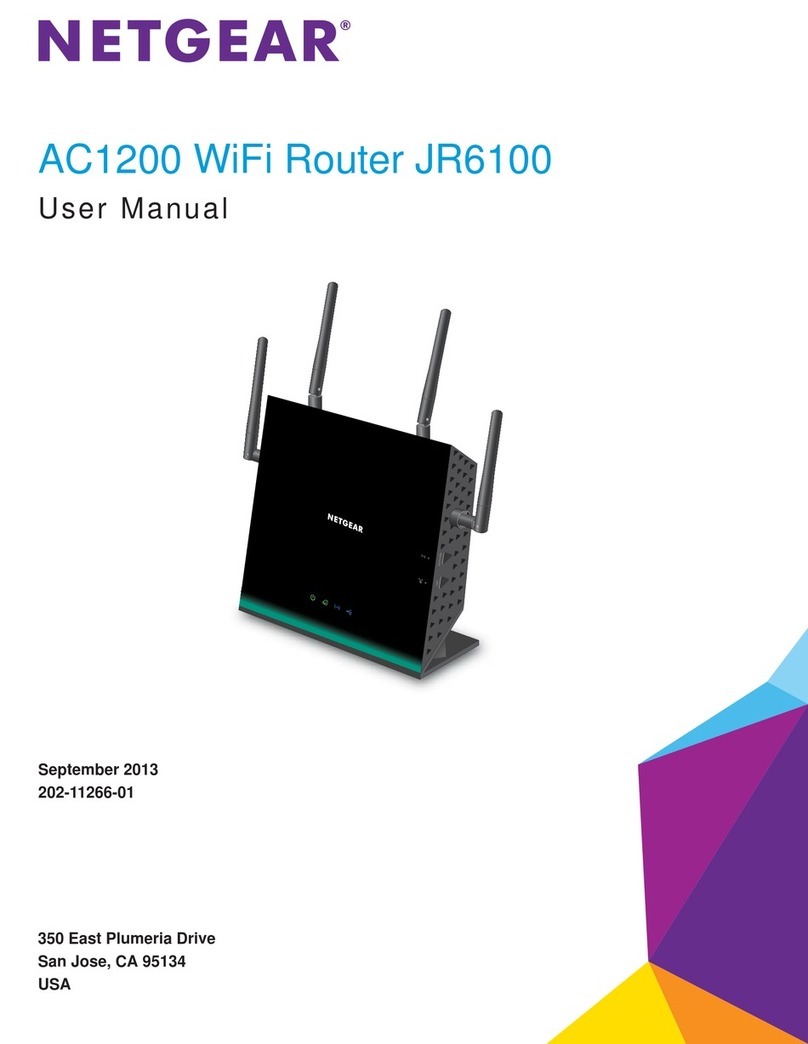
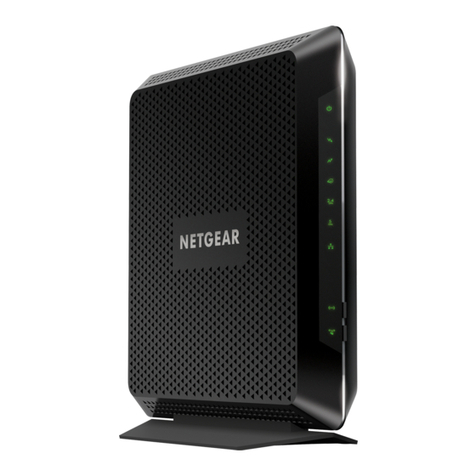
  9. NETGEAR WNDR4300 Instruction sheet

NETGEAR WNDR4300 Instruction sheet

Other manuals for WNDR4300

3

This manual suits for next models

1

Other NETGEAR Network Router manuals

NETGEAR DG834 - ADSL Firewall Router User manual

NETGEAR

NETGEAR DG834 - ADSL Firewall Router User manual

NETGEAR N150 User manual

NETGEAR

NETGEAR N150 User manual

NETGEAR Nighthawk XR1000v2 User manual

NETGEAR

NETGEAR Nighthawk XR1000v2 User manual

NETGEAR XE102 - Wall-Plugged EN Bridge User manual

NETGEAR

NETGEAR XE102 - Wall-Plugged EN Bridge User manual

NETGEAR Nighthawk R7100LG User manual

NETGEAR

NETGEAR Nighthawk R7100LG User manual

NETGEAR JNR3210 User manual

NETGEAR

NETGEAR JNR3210 User manual

NETGEAR WAG302 User manual

NETGEAR

NETGEAR WAG302 User manual

NETGEAR ProSafe FVS318v3 User manual

NETGEAR

NETGEAR ProSafe FVS318v3 User manual

NETGEAR N300 Product information sheet

NETGEAR

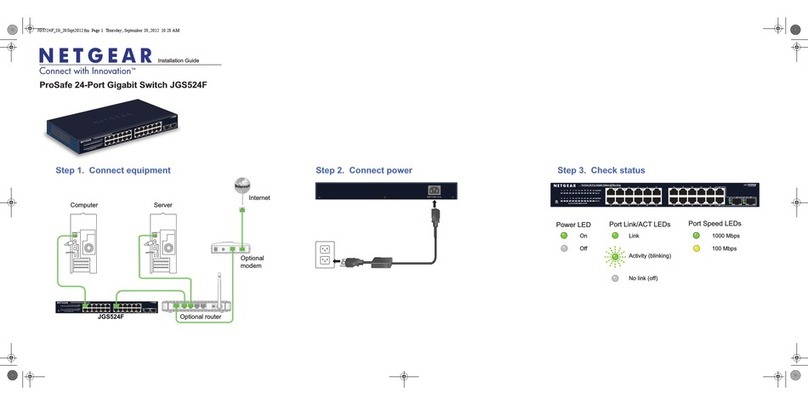
NETGEAR N300 Product information sheet

NETGEAR RT338  RT338 RT338 User manual

NETGEAR

NETGEAR RT338 RT338 RT338 User manual

NETGEAR NIGHTHAWK R7000 User manual

NETGEAR

NETGEAR NIGHTHAWK R7000 User manual

NETGEAR DGFV338 - ProSafe Wireless ADSL Modem VPN Firewall... Manual

NETGEAR

NETGEAR DGFV338 - ProSafe Wireless ADSL Modem VPN Firewall... Manual

NETGEAR JNR3210 User manual

NETGEAR

NETGEAR JNR3210 User manual

NETGEAR Orbi Pro SRK60 User manual

NETGEAR

NETGEAR Orbi Pro SRK60 User manual

NETGEAR orbi CBK40 User manual

NETGEAR

NETGEAR orbi CBK40 User manual

NETGEAR Nighthawk AX6 User manual

NETGEAR

NETGEAR Nighthawk AX6 User manual

NETGEAR FS605 User manual

NETGEAR

NETGEAR FS605 User manual

NETGEAR FVL328 - Cable/DSL ProSafe VPN Firewall... User manual

NETGEAR

NETGEAR FVL328 - Cable/DSL ProSafe VPN Firewall... User manual

NETGEAR AirCard 781S Troubleshooting guide

NETGEAR

NETGEAR AirCard 781S Troubleshooting guide

NETGEAR DG834Gv3 - 54 Mbps Wireless ADSL Firewall... User manual

NETGEAR

NETGEAR DG834Gv3 - 54 Mbps Wireless ADSL Firewall... User manual

NETGEAR R6300v2 User manual

NETGEAR

NETGEAR R6300v2 User manual

NETGEAR Nighthawk AX4 User manual

NETGEAR

NETGEAR Nighthawk AX4 User manual

NETGEAR FVX538v2 - ProSafe VPN Firewall Dual WAN User manual

NETGEAR

NETGEAR FVX538v2 - ProSafe VPN Firewall Dual WAN User manual

NETGEAR C6220 User manual

NETGEAR

NETGEAR C6220 User manual

Popular Network Router manuals by other brands

TRENDnet TEW-435BRM - 54MBPS 802.11G Adsl Firewall M Quick installation guide

TRENDnet

TRENDnet TEW-435BRM - 54MBPS 802.11G Adsl Firewall M Quick installation guide

Siemens SIMOTICS CONNECT 400 manual

Siemens

Siemens SIMOTICS CONNECT 400 manual

Alfa Network ADS-R02 Specifications

Alfa Network

Alfa Network ADS-R02 Specifications

Barracuda Networks Link Balancer quick start guide

Barracuda Networks

Barracuda Networks Link Balancer quick start guide

ZyXEL Communications ES-2024PWR Support notes

ZyXEL Communications

ZyXEL Communications ES-2024PWR Support notes

HPE FlexNetwork 5510 HI Series Openflow configuration guide

HPE

HPE FlexNetwork 5510 HI Series Openflow configuration guide

Allied Telesis AT-AR236E quick start guide

Allied Telesis

Allied Telesis AT-AR236E quick start guide

ADTRAN NetVanta 3458-PoE quick start

ADTRAN

ADTRAN NetVanta 3458-PoE quick start

C&H Technologies EM405-8 manual

C&H Technologies

C&H Technologies EM405-8 manual

Huawei WiFi Mesh 3 Product description

Huawei

Huawei WiFi Mesh 3 Product description

Addonics Technologies ISC8P2G-S Quick install guide

Addonics Technologies

Addonics Technologies ISC8P2G-S Quick install guide

Atel W02 Arch+ Faqs

Atel

Atel W02 Arch+ Faqs

Allnet ALL0333AU user guide

Allnet

Allnet ALL0333AU user guide

Sercomm Genesis OC3505D Quick installation guide

Sercomm

Sercomm Genesis OC3505D Quick installation guide

Billion BIPAC 5102 Series user manual

Billion

Billion BIPAC 5102 Series user manual

TP-Link TD-8817 QIG

TP-Link

TP-Link TD-8817 QIG

Motorola MR1900 user guide

Motorola

Motorola MR1900 user guide

Cisco SOHO Series Regulatory compliance and safety information

Cisco

Cisco SOHO Series Regulatory compliance and safety information

manuals.online logo
manuals.online logoBrands
  • About & Mission
  • Contact us
  • Privacy Policy
  • Terms and Conditions

Copyright 2025 Manuals.Online. All Rights Reserved.

Spectrotel IOF Service
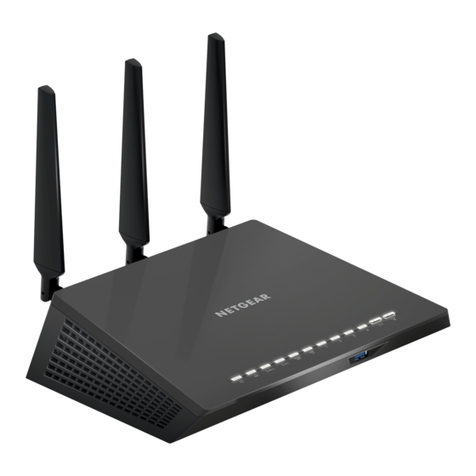
NETGEAR WNDR4300 N750 Router Installation Guidelines
Spectrotel | 3535 State Highway 66, Suite 7 | Neptune, NJ 07753 | www.spectrotel.com • 888-773-9722
1
Figure 1 –Typical RJ45 Jack
I. Self-installation of Spectrotel Provided NETGEAR N750 Router
If customer self-installation has been selected as the router installation method, a Spectrotel
provided router is shipped to the location specified by the Customer. For Internet Over Fiber
(IOF) Service Speeds of 300/65 and 500/100 Mbps, Spectrotel deploys NETGEAR N750 routers.
The router is shipped to arrive at the specified location before the service installation date so that
it is available when the Verizon Technician installs the IOF Service and the RJ45 jack (similar to the
one shown in figure 1) to access the service. Your Spectrotel
provided router may already be configured with the IP address;
however if you are not able to connect to the Internet after
installing your router through step III.A.3, continue to steps III.B
through III.C.9 to configure the IP address.
II. What You Will Need
To install your Spectrotel provided router, you will need to have
either a Mac or Windows based computer available to connect to
the router; an Ethernet cable (for a wired connection as shown in figure
2); a WiFi adapter (for a wireless connection; not shown) that supports
any of the following Ethernet standards: 802.11a, b, g, or n (most
computers typically have this built in). The connection can be either wired or wireless via WiFi.
III. Router Installation
Figure 3 shows a detailed
image of the back and
bottom of the NETGEAR
N750 router. The back
view (top) shows the
yellow Internet port and
black Ethernet ports for
connection to the
internet and computers.
It also shows the power
adapter socket and the
on/off switch. The
bottom view shows the
reset button as well as
the labels for the
Network Name, WIFI Password and the ports on the back of the router. The following steps
guide you through router installation.
A. Power Router: Connect the power adapter to the router, as shown in figure 4, to the power
adapter socket (also shown in figure 3). Then plug it into a power outlet. Confirm the power
on/off button is on (pushed in). Wait until the 2.4 GHz LED turns solid green as shown in figure 5
as the third green light from the left. Also shown is the 5GHz LED solid blue.
1. Connect Router to Internet: Plug the
yellow Ethernet cable that came with
the router into the RJ45 jack (figure 1)
installed by the technician. Plug the
other end of the cable into the yellow
Internet jack on the back of the router.
2. Connect Computer: Connect a
computer to the router through an
Ethernet cable (not provided) or
wirelessly.
a. To connect via cable, connect one
end of an Ethernet cable to one of
the black Ethernet ports on the
back of the router (as shown in
figure 4 and close up in figure 3)
and the other end to the Ethernet
port on a computer.
b. To connect wirelessly, configure the WiFi connection on your computer using the
NETGEAR assigned router Network Name
(also known as SSID) and key or password
located on the bottom of your router as
depicted in figure 3 above. If you are unsure of
how to configure your WiFi connection, please
call Spectrotel Customer Support at 1-888-773-
9722 for assistance.
3. Test Internet Connectivity: Open an Internet browser and type in www.spectrotel.com.
If the website comes up, it means Spectrotel was able to preconfigure your router, and it
is ready to go. If it does not, it means that the IP address needs to be configured.
Continue with step III.B below.
B. Confirm IP Address: If the router is unable to connect to the Internet, compare the IP address
provided by Spectrotel in the Data Cut Sheet with the IP address information provided by the
Verizon technician. If they are the same use the Data Cut Sheet and follow the steps below to
configure the router. If the IP information is different, use the information provided by the onsite
technician. Afterward, please notify Spectrotel of the discrepancy by contacting your Service
Delivery Manager at the number listed in the Data Cut Sheet or Spectrotel Customer Support at
1-888-773-9722.
C. Configure Router: NETGEAR routers attempt to auto configure the Internet connection based
on a dynamic IP address. Since Spectrotel IOF service uses static IP addresses that are assigned to
Figure 2 - RJ45 Plug on
Ethernet Cable
Figure 5 –N750 Router–Front with Power On
Figure 4 - NETGEAR N750 Router & Cables
Figure 3 - NETGEAR N750 Router - Back Connection
& Bottom Label Panels
Spectrotel IOF Service
NETGEAR WNDR4300 N750 Router Installation Guidelines
Spectrotel | 3535 State Highway 66, Suite 7 | Neptune, NJ 07753 | www.spectrotel.com • 888-773-9722
2
the customer for the life of the service, it needs to be loaded into the router. Follow these steps
to configure your router with the Static IP address identified in step III.B above.
1. Problem Detecting Message 1: When the NETGEAR router is unable to automatically
configure, it presents the screen shown in figure 6 below with the error message
“Problem Detecting the Internet connection.” Select “None of the above” option, and
click the “Next” button.
Figure 6 –Problem Detecting Message 1
2. Problem Detecting Message 2: On the next screen with the message “Problem Detecting
the Internet connection –IP Address,“ shown in figure 7, select the first option “Yes. My
ISP assigned a fixed (static) IP address to me. Then click the “Next” button to proceed.
Figure 7 –Problem Detecting Message 2
3. IP Address: The IP address information is input on the screen with the heading “Fixed
Internet IP Settings,” shown in figure 8 below.
a. Input the “IP Address” contained in the “Usable IP Range” field on the Data Cut Sheet
or from the onsite technician. If you are unsure about this, please call your Service
Delivery Manager listed in the Data Cut Sheet or Spectrotel Customer Support at 1-
888-773-9722.
b. Input the “Subnet Mask” from the Data Cut Sheet or from the onsite technician.
c. Input the “Gateway IP Address” from the Data Cut Sheet or the technician.
d. Input the “Primary DNS” from the Data Cut Sheet or the technician.
e. Input the “Secondary DNS” from the Data Cut Sheet or the technician.
f. Click the “Next” button to complete the process.
g. Figure 8 - Fixed Internet IP Settings
4. Confirmation: If everything is correct, the screen with the heading “Congratulations!”, as
shown in figure 9 below, will appear with the Network Name and the Network Key for
your router. This information is also contained on the back of your router as shown in
figure 3. Click “Take me to the Internet.” The router will automatically take you to a
NETGEAR website. This confirms that your Internet connection is configured correctly.
Figure 9 - Congratulations Screen
5. Error: If the IP configuration was not successful, the original error message shown in step
III.C.1 above. Please check that the IP addresses were loaded correctly and try again. If
the connection is not successful please call, your Service Delivery Manager listed in the
Data Cut Sheet or Spectrotel Customer Support at 1-888-773-9722.
IV. Additional Configuration Options
Additional configuration options, including changing passwords and IP address, are available at
http://www.spectrotel.com/faqs/how-do-i-install-my-spectrotel-provided-router/.