NetLink PRO ETH User manual

Softing AG Richard-Reitzner-Allee 6 D-85540 Haar
Tel. +49 (89) 4 56 56-340 Fax: +49 (89) 4 56 56-399 info.automation@softing.com www.softing.com
Ethernet Gateway for MPI/PROFIBUS
User Manual
Edition 5 / 2007-07-18
HW 1-1a-1 and FW 1.40 or higher


All rights are reserved, including those of translation, reprinting, and
reproduction of this manual, or parts thereof. No part of this manual may be
reproduced, processed, copied, or transmitted in any way whatsoever
(photocopy, microfilm, or other method) without the express written permission
of Softing AG, not even for use as training material, or using electronic
systems. All rights reserved in the case of a patent grant or registration of a
utility model or design.
Copyright
©
2007 by
Softing AG
Richard-Reitzner-Allee 6, D-85540 Haar
Note:
We have checked the content of this manual for conformity with the hardware
and software described. Nevertheless, because deviations cannot be ruled out,
we cannot accept any liability for complete conformity. The data in this manual
have been checked regularly and any necessary corrections will be included in
subsequent editions. We always welcome suggestions for improvement.
STEP, Protool, Starter, Micromaster, and SIMATIC are registered trademarks of SIEMENS AG
MS-DOS and Windows are registered trademarks of Microsoft Corporation.


NETLink PRO ETH i
Contents
1
Safety Information 1
1.1
General 1
1.2
Restriction of access 2
1.3
Information for the user 2
1.4
Use as intended 2
1.5
Avoiding use not as intended! 2
2
Installation and Mounting 3
2.1
Mounting orientation 3
2.2
Minimum clearance 3
2.3
Installing the module 3
3
System Overview 4
3.1
Application and function description 4
3.2
Connections 5
3.3
LED displays 5
3.4
Scope of supply 7
3.5
Accessories 7
3.5.1
Software 7
3.5.2
Other accessories 7
4
Installation of the driver software 8
4.1
Introduction 8
4.2
System requirements 8
4.3
Running the installation setup 8
4.3.1
Adding the interface to the PG/PC interface 8
4.3.2
Selecting the required interface parameterization 10
5
Configuration via the NETLink PRO driver 11
5.1
Properties 12
5.1.1
Local connection (TCP parameterization) 12
5.1.2
Bus settings 18
5.1.3
Options of the driver 23
5.2
Diagnostics 23
5.2.1
Bus members 23
5.2.2
Bus parameter 24
6
Parameterization via the parameterization tool ‚NETLink PRO
configuration’ 25
7
Possibilities of the web interface 26
7.1
Home page 26
7.2
Status page 27

ii NETLink PRO ETH
7.3
Configuration page 29
7.4
Security-Page 31
8
Using the RFC1006 option (S7-TCP/IP) 34
8.1
Configuration of the RFC1006 interface 34
8.1.1
Autobaud ON/OFF 35
8.1.2
Own (local) station address 35
8.1.3
Storage of specified bus parameters 35
8.1.4
Addressing (rack/slot mode ON/OFF) 36
8.2
Example of configuration for WinCC V6.0 38
8.2.1
Using addressed mode 38
8.2.2
Use of rack/slot mode 41
9
Troubleshooting 44
10
Appendix 49
10.1
Technical data 49
10.2
Pin assignments 49
10.2.1
MPI/PROFIBUS interface pin assignments 49
10.2.2
Assignment of the Ethernet interface (host interface) 50
10.2.3
Power supply socket 50
10.3
Further documentation 51
10.3.1
Address conversion table 51
10.3.2
Information in the Internet 52

NETLink PRO ETH 1
1 Safety Information
Please observe the safety information given for your own and other people's
safety. The safety information indicates possible hazards and provides
information about how you can avoid hazardous situations.
The following symbols are used in this manual.
!
Caution, indicates hazards and sources of error
i
gives information
hazard, general or specific
danger of electric shock
1.1 General
The NETLink PRO ETH is only used as part of a complete system.
!
The operator of a machine system is responsible for observing all
safety and accident prevention regulations applicable to the application in
question.
During configuration, safety and accident prevention rules specific
to the application must be observed.
Emergency OFF facilities according to EN 60204 / IEC 204 must
remain active in all modes of the machine system. The system must not enter
an undefined restart.
Faults occurring in the machine system that can cause damage to
property or injury to persons must be prevented by additional external
equipment. Such equipment must also ensure entry into a safe state in the
event of a fault. Such equipment includes electromechanical safety buttons,
mechanical interlocks, etc. (see EN 954-1, risk estimation).
Never execute or initiate safety-related functions using an operator
terminal.

2 NETLink PRO ETH
1.2 Restriction of access
The modules are open equipment and must only be installed in electrical
equipment rooms, cabinets, or housings. Access to the electrical equipment
rooms, barriers, or housings must only be possible using a tool or key and
only permitted to personnel having received instruction or authorization.
1.3 Information for the user
This manual is addressed to anyone wishing to configure, use, or install the
NETLink PRO ETH.
The manual tells the user how to operate the NETLink PRO ETH and
explains the signaling functions. It provides the installing technician with all
the necessary data.
The NETLink PRO ETH is exclusively for use with a S7-200 or S7-300/S7-
400 programmable controller from Siemens.
The NETLink PRO ETH is for use within a complete system only. For that
reason, the configuring engineer, user, and installing technician must
observe the standards, safety and accident prevention rules applicable in the
particular application. The operator of the automation system is responsible
for observing these rules.
1.4 Use as intended
The NETLink PRO ETH must only be used as a communication and
signaling system as described in the manual.
1.5 Avoiding use not as intended!
Safety-related functions must not be controlled via the NETLink PRO ETH
alone. Make sure in the software that uncontrolled restarts cannot occur.
Only authorized persons
must have access to the
modules!
During configuration,
safety and accident
prevention rules specific
to the application must be
observed.
Make sure in the software
that uncontrolled restarts
cannot occur.

NETLink PRO ETH 3
2 Installation and Mounting
Installation and mounting must be effected in compliance with VDE 0100 /
IEC 364. Because it is an IP30 module, you must install it in a cabinet.
Please ensure a maximum ambient temperature of 60 ºC for reliable
operation.
2.1 Mounting orientation
The NETLink PRO ETH can be installed in any orientation.
2.2 Minimum clearance
Minimum clearances must be observed because
• then it is possible to insert and remove the NETLink PRO ETH
without having to remove other system components.
• there is enough space to connect existing interfaces and other
contacts using standard commercial type accessories.
• there is room for any necessary cable routing.
For the NETLink PRO ETH, a minimum clearance of 60 mm must be left
above and below and 10 mm at the sides.
2.3 Installing the module
A wall/DIN rail bracket is available as an accessory for mounting on flat
surfaces or on DIN rails.
The available accessories are listed in Section 3.5 with the corresponding
order numbers.
Before you start
installation work, all
system components must
be disconnected from their
power source.

4 NETLink PRO ETH
3 System Overview
3.1 Application and function description
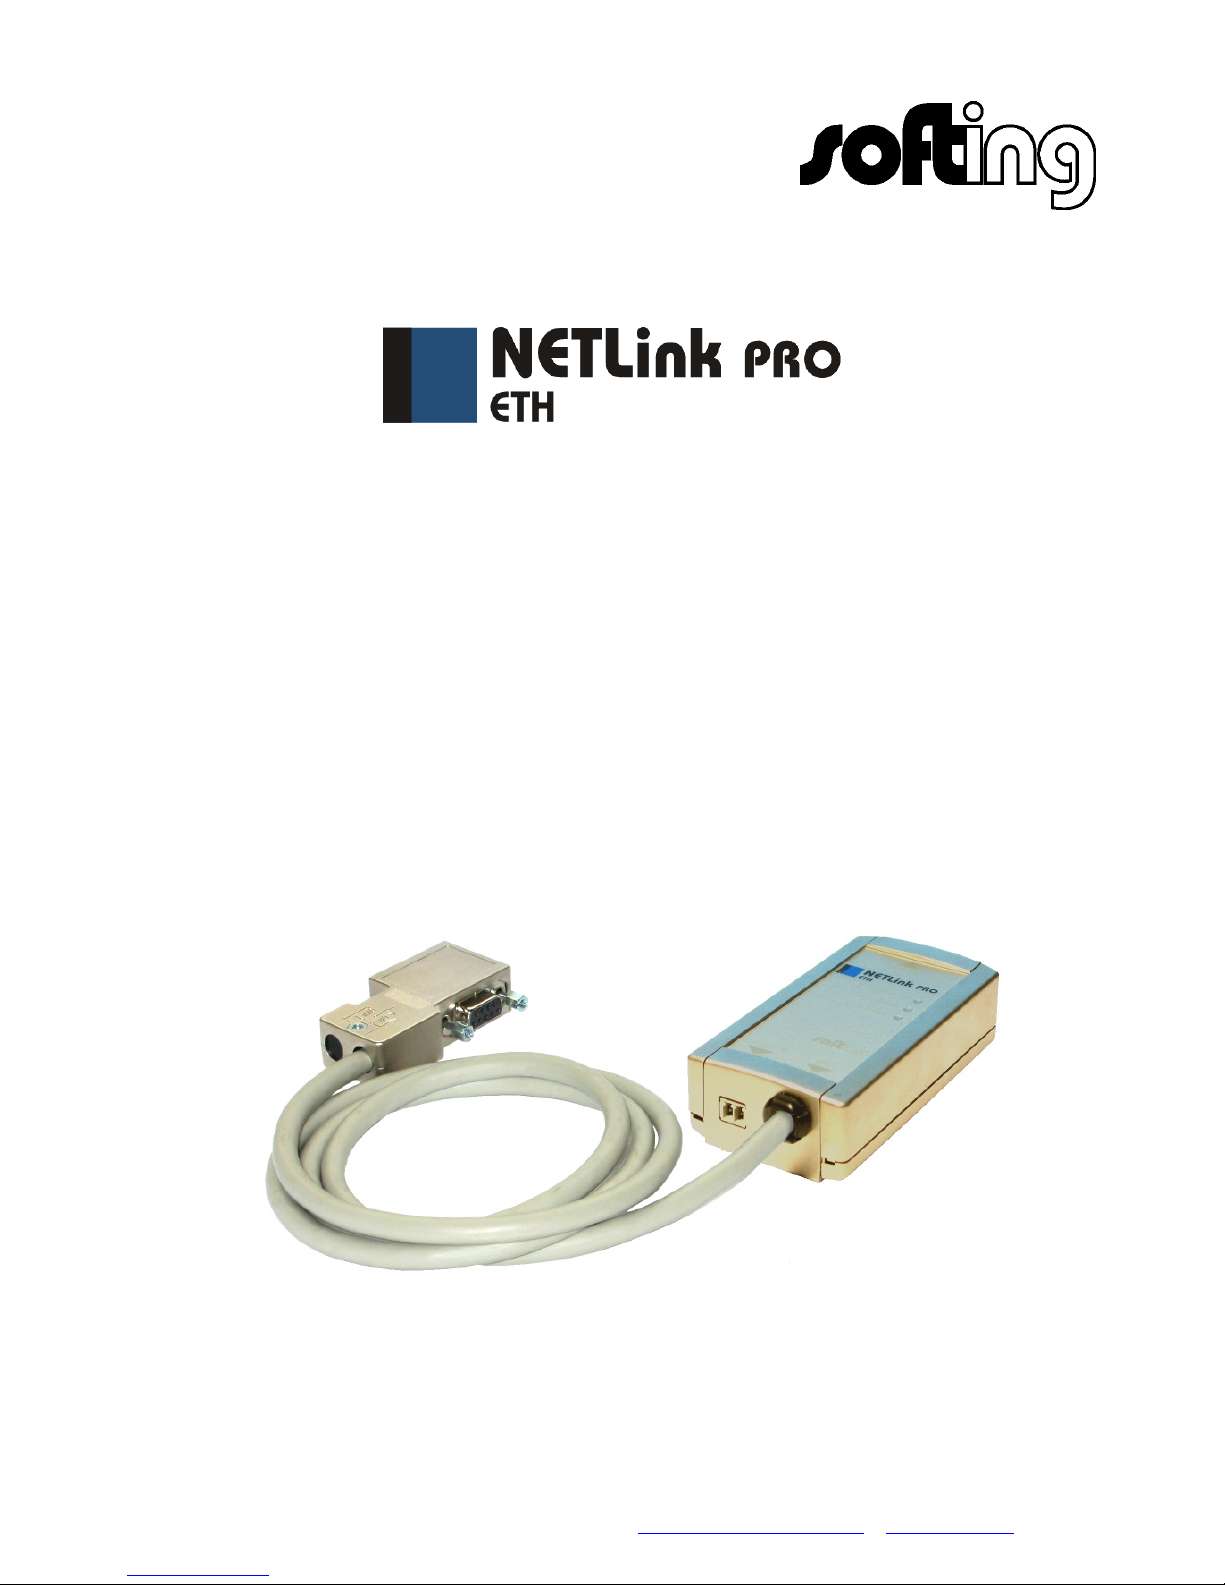
The NETLink PRO ETH is a gateway between a TCP network and a PPI,
MPI or PROFIBUS.
Two protocols are available at the TCP end for exchange of useful data with
the automation system (multi protocol mode):
• One is a proprietary protocol that is used to connect to the proprietary
NETLink PRO driver
• The other is the S7-TCP/IP protocol often used by visualization
system manufacturers which is known as ‘RFC1006’ or ‘ISO on top
of TCP’.
Up to seven (6+1) TCP connections (10 Mbps or 100 Mbps) and up to
twelve MPI/PROFIBUS connections (9.6 kbps to 12 Mbps) can be used
simultaneously.
Please note that up six TCP links per TCP protocol but no more than seven
TCP links in total can be opened in multi protocol mode.
This means that at least one spare link always remains that can be used by
the other protocol.
On both the TCP and the field bus sides, the baudrate used can be
determined automatically (autonegotiation or autobaud)
The NETLink PRO ETH can draw the necessary power supply either from
the bus interface of the programmable controller or via an external power
supply.
The connecting cable used to link the NETLink PRO ETH with the
programmable controller is 1.2 meters long and active. Because it is active,
no spur lines are required that could interfere with the bus.
The use of NETLink PRO driver makes it possible to use NETLink PRO
ETH as the following at the PC end
• Programming adapter,
• Teleservice unit or
• Operator control and monitoring unit
The RFC1006 interface also enables you to use third-party software that
supports this protocol for S7-300 and S7-400 systems.
In both cases the NETLink PRO ETH is connected to the PC via a switch or
hub.
If the NETLink PRO is connected directly to a PC, a crossover adapter must
be interposed between the PC and the NETLink PRO ETH (for accessories,
see section 3.5).

NETLink PRO ETH 5
3.2 Connections
The NETLink PRO ETH has the following connections:
• RJ45 socket for connecting the unit to a commercial type switch or
hub using a standard CAT5 TCP cable (straight).
If the NETLink PRO ETH is to be operated directly on a PC, mostly
a cross adapter (for accessories, see Section 3.5)or a CAT5 TCP
cable (cross) must be used.
• Power supply socket for 24 V DC power supply.
This power supply option can be used, if the programmable controller
used does not provide any or only insufficient power on the bus
connector.
• Bus connector with programming unit socket, switchable terminating
resistor, and 1.2 m connecting cable.
The programming unit socket of the bus connector allows further bus
nodes to be plugged in.
The terminating resistor must be connected (ON) if the NETLink
PRO ETH is at the beginning or end of a bus segment. If this is not
the case, the switch position must be OFF.
The 1.2 m connecting cable is an ‘active cable’. This means there is
no spur line, which avoids interferences with high baud rates.
3.3 LED displays
The NETLink PRO ETH has five LEDs, including two two-color LEDs, to
indicate its operating status.
Ethernet RJ45 plug
Status displays
LED green
LED red/green
LED red/green
MPI/PROFIBUS connector
Power supply socket

6 NETLink PRO ETH
The two LEDs located on the RJ45 socket indicate by their status, the state
in which the TCP network is:
LINK LED (green) ACTIVE LED (yellow)
Status Description Status Description
OFF Not connected OFF No activity on the network
ON Connected ON Activity on the network
BLINK BLINK Activity on the network
The three LEDs (two two-color LEDs) on the top of the NETLink PRO ETH indicate the
operating status of the device itself:
LED status for operating
status
Power LED
(green)
Active LED
(green)
Active LED
(red)
Connect
LED (green)
Connect
LED (red)
Search for TCP
configuration
BLINK
Ready to operate ON
Try to logon into PPI,
MPI or Profibus
ON BLINK
Actively logged on to the
PPI/MPI/Profibus
ON ON
Active connection with a
programmable controller
ON ON ON
Data exchange with a
programmable controller
ON ON BLINK
Transferring firmware
update
BLINK BLINK BLINK
Storing firmware update ON ON ON
Exception at bus end ON BLINK
Exception at PC end ON BLINK

NETLink PRO ETH 7
3.4 Scope of supply
The scope of supply of the NETLink PRO ETH includes:
• NETLink PRO ETH ready to run
• CAT5 TCP cable (straight) with a length of 3 meters
• CD with NETLink PRO driver
• Manual (German/English)
3.5 Accessories
3.5.1 Software
S7/S5 OPC server bundled with NETLink PRO ETH
Order code: OPC-S7-NETLP-ETH
3.5.2 Other accessories
DIN mounting rail bracket for NETLink PRO ETH
Order code: RS232-MPI/HS
The DIN rail bracket is for mounting the NETLink PRO ETH on a DIN
standard mounting rails.
The DIN rail bracket and NETLink PRO ETH can be separated without
the use of tools.
The DIN rail bracket can also be used as a wall bracket for mounting on
flat surfaces.
Ethernet cross link cable
Order code: NETLINK-CROSS
The cross link cable is 3 m long. It may be used to connect the NETLink
PRO ETH directly with a PC’s Ethernet port.
i
At delivery state the NETLink
has the ip address
192.168.4.49.

8 NETLink PRO ETH
4 Installation of the driver software
With installation of the NETLink PRO driver for the NETLink PRO ETH, it
is easy to access controllers with a PPI, MPI or PROFIBUS interface from
the PC via TCP/IP.
4.1 Introduction
The NETLink PRO driver is inserted in the PG/PC interface of an existing
Simatic application and can then be used from most Simatic engineering
tools (STEP7, ProTool, WinCC, etc.).
Access is possible to any controllers of the Simatic S7-200, S7-300 or S7-
400 series. The NETLink PRO ETH communication adapter is required to
connect a Simatic S7-200, S7-300 or S7-400 controller with the Ethernet
network.
4.2 System requirements
A PC with a 32-bit Windows operating system is required to operate the
NETLink PRO driver at the PU end. The Windows 2000 and Windows XP
operating systems can be used.
A further requirement is the existence of a Simatic engineering tool such as
STEP7, Version 5.1 and higher or STEP7 Micro/Win, version 4.0 and
higher, which ensures that the PG/PC interface is installed on the computer.
Installation under Windows 98/ME/NT is possible but is not supported by
our technical support team. Please pay attention to the requirements of the
SIMATIC package used.
A functioning network link using TCP/IP must have been set up on the PCs
that are used.The network configuration of the PC must be known. You can
use normal commercial type network cards.To maximize performance, 100
Mbps network cards and switches should be used in the local area network.
Of course, you can also use 10 Mbps network cards and hubs but that would
slow down status operation.
4.3 Running the installation setup
After the installation CD is inserted, a menu will start automatically, which
gives the choice to install the NETLink PRO driver.
If setup does not start automatically, the setup file ‚SetupNETLinkPRO.exe’
can be launched manually in directory ‘CD drive:NETLinkPRO\’.
If necessary, you can download the latest NETLink PRO driver from our
homepage (http://www.softing.com).
Please note that for installation you have to log on as an administrator under
the 32-bit Windows operating systems because the setup program has to
make entries in the Windows registry.
4.3.1 Adding the interface to the PG/PC interface
After initial installation, the new interface parameter set ‘NETLink PRO’ has
to be set up. Administrator rights are necessary for this.
After you have started ‘Set PG/PC Interface’ in the Control Panel, click the
‘Select…’ button there.
Administration rights are
required for installation.

NETLink PRO ETH 9
The ‘Installing/Uninstalling Interfaces’ dialog box now appears.
After you have selected the entry ‘NETLink PRO ETH’ from the left-hand
list, click the ‘Install’ button.
The following query then appears.
If you answer ‘Yes’to this query, the NETLink PRO ETH is immediately
set as the current access path. If you respond ‘No’, the previous access path
remains set and the NETLink PRO ETH is put in the selection list where you
can select it later.

10 NETLink PRO ETH
Now you have answered the query, ‘NETLink PRO ETH’ will also appear in
the right-hand list with the interfaces already installed.
The access path in the ‘Set PG/PC Interface’ dialog box is set when this
window is closed.
4.3.2 Selecting the required interface parameterization
The selection list for the interface parameter sets now contains an additional
three items for the NETLink PRO ETH.
All relevant settings of the NETLink PRO driver must be made in the
‘Properties…’ field. With the button ‘Diagnostics...’ it is possible to show
the nodes connected to the bus and the parameters the bus is working with.
These fields are explained in Section 5.

NETLink PRO ETH 11
5 Configuration via the NETLink PRO driver
Once a NETLink PRO ETH has been selected in the ‘Set PG/PC Interface’
window, it is possible to specify this access path more precisely with the
‘Properties…’ button.
With the functionality behind the button ‘Diagnostics...’, it is possible to
read the bus configuration and scan connected nodes.
The properties of the access path NETLink PRO ETH(xyz) are divided into
three subareas as follows:
• Local connection (TCP configuration)
Here, you set the IP address via which the required connection with
the programmable controller will be established.
The NETLink PRO ETH hardware can also be parameterized in this
window.
• Bus settings
Here it is possible to state the bus configuration (e.g. station address)
with which the NETLink PRO ETH will enter the bus system.
• Options
Here it is possible to change the language of the NETLink PRO
driver and to read out the version information of the driver.
Two functionalities are implemented for diagnostics at the connected bus:
• Bus members
A list of all active and passive nodes connected to the bus will be
displayed. By request the order numbers (MLFBs) will be displayed
also if this functionality is available by the nodes.
• Bus parameters
If possible, a list of all available bus parameters will be displayed

12 NETLink PRO ETH
5.1 Properties
5.1.1 Local connection (TCP parameterization)
There are three basic ways of parameterizing NETLink PRO ETH at the
TCP end:
• Parameterization via ‘Set PG/PC interface
Existing stations can be reparameterized using the ‘Change’ button
• Parameterization via the parameterization tool ‚NETLink PRO
Configuration’ (see section 6).
• Parameterization via the web interface of the NETLink PRO ETH
(see section 7.3)
If the NETLink PRO ETH is configured via the NETLink PRO driver, the
following points must be considered:
• If the NETLink PRO ETH is active on the bus when
reparameterization is required (e.g. a variable table or block is being
viewed), reparameterization is not performed because the ensuing
reset would interrupt the NETLink PRO ETH link.
• The NETLink PRO ETH is protected against unauthorized
reparameterization via a password (default password: “admin”).
If an attempt is made to save a parameter set with an incorrect
password, the following message is displayed:
The password query must be
answered correctly and
confirmed with OK.

NETLink PRO ETH 13
• If the password is correct and parameterization performed within the
parameterization time, the new parameter set will be saved and the
following message displayed:
NETLink PRO ETH is now restarted. This can take up to 15 seconds.
5.1.1.1 Creating a station
To able to access a NETLink PRO ETH with the NETLink PRO driver, a
station must be set up first. This station is virtual and is not stored in the
NETLink PRO ETH – it permits easier allocation if two or more NETLink
PRO ETHs are used.
The ‘New’ button takes you to an input dialog box in which you can store the
known IP address of an existing NETLink PRO ETH and any name for
easier assignment.
Is the desired NETLink PRO ETH behind a router (e.g. internet teleservice),
the network administrator is able to configure the router via NAT/PAT. So
all frames going to a specific port of the router going to a specific NETLink
PRO ETH behind the router.
Using this functionality makes it possible to communicate to more as one
NETLink PRO ETH behind a router, if each station gets a specific port
configuration.
Is the NETLink PRO ETH connected to the local network, the ‘Internet
teleservice’ option must be deselected.
‘OK’ stores this station, which can now be used.
It is easier to search for an existing NETLink PRO ETH in the local area
network. Just click the ‘Search NETLink PRO ETH…’ button.
!
Rebooting can take up to 15
seconds.
i
The default password is
‘admin’.
i
If NAT/PAT is used, a port
can be defined if ‘Internet
teleservice’ is selected.

14 NETLink PRO ETH
If you now select the required NETLink PRO ETH and click the ‘Close +
Get’ button, the following dialog box will appear again:
This station can also be saved with ‘OK’ and is then available.
If you do not want the name that is stored in the NETLink PRO ETH to be
the same as the station name, you can overwrite the station name (e.g.
replacing the name ‘Adam’ with the name ‘Eve’ in the example below).
Table of contents
Other NetLink Gateway manuals