Newer Technology miniStack v2 Instructions for use
Owner’s Manual
Assembly Guide
miniStack v2
External Storage Enclosure for
3.5” Hard Drive
Includes built in FireWire / USB Hub
® Copyright 2006 by Newer Technology, Inc. All Rights Reserved
The information contained within is believed to be accurate and reliable. New-
er Technology, Inc. assumes no responsibility for any errors contained within.
Newer Technology, Inc. Reserves the right to make changes in the specica-
tions and/or design of this product without prior notice. The photographs
contained within may dier from the product that you receive and are there
for illustration purposes only. Newer Technology, Inc. Assumes no responsibil-
ity for any dierences between the product mentioned in this manual and the
product you may receive.
Revision 3 February 16, 2006 JD
NWTFWU2MSV2
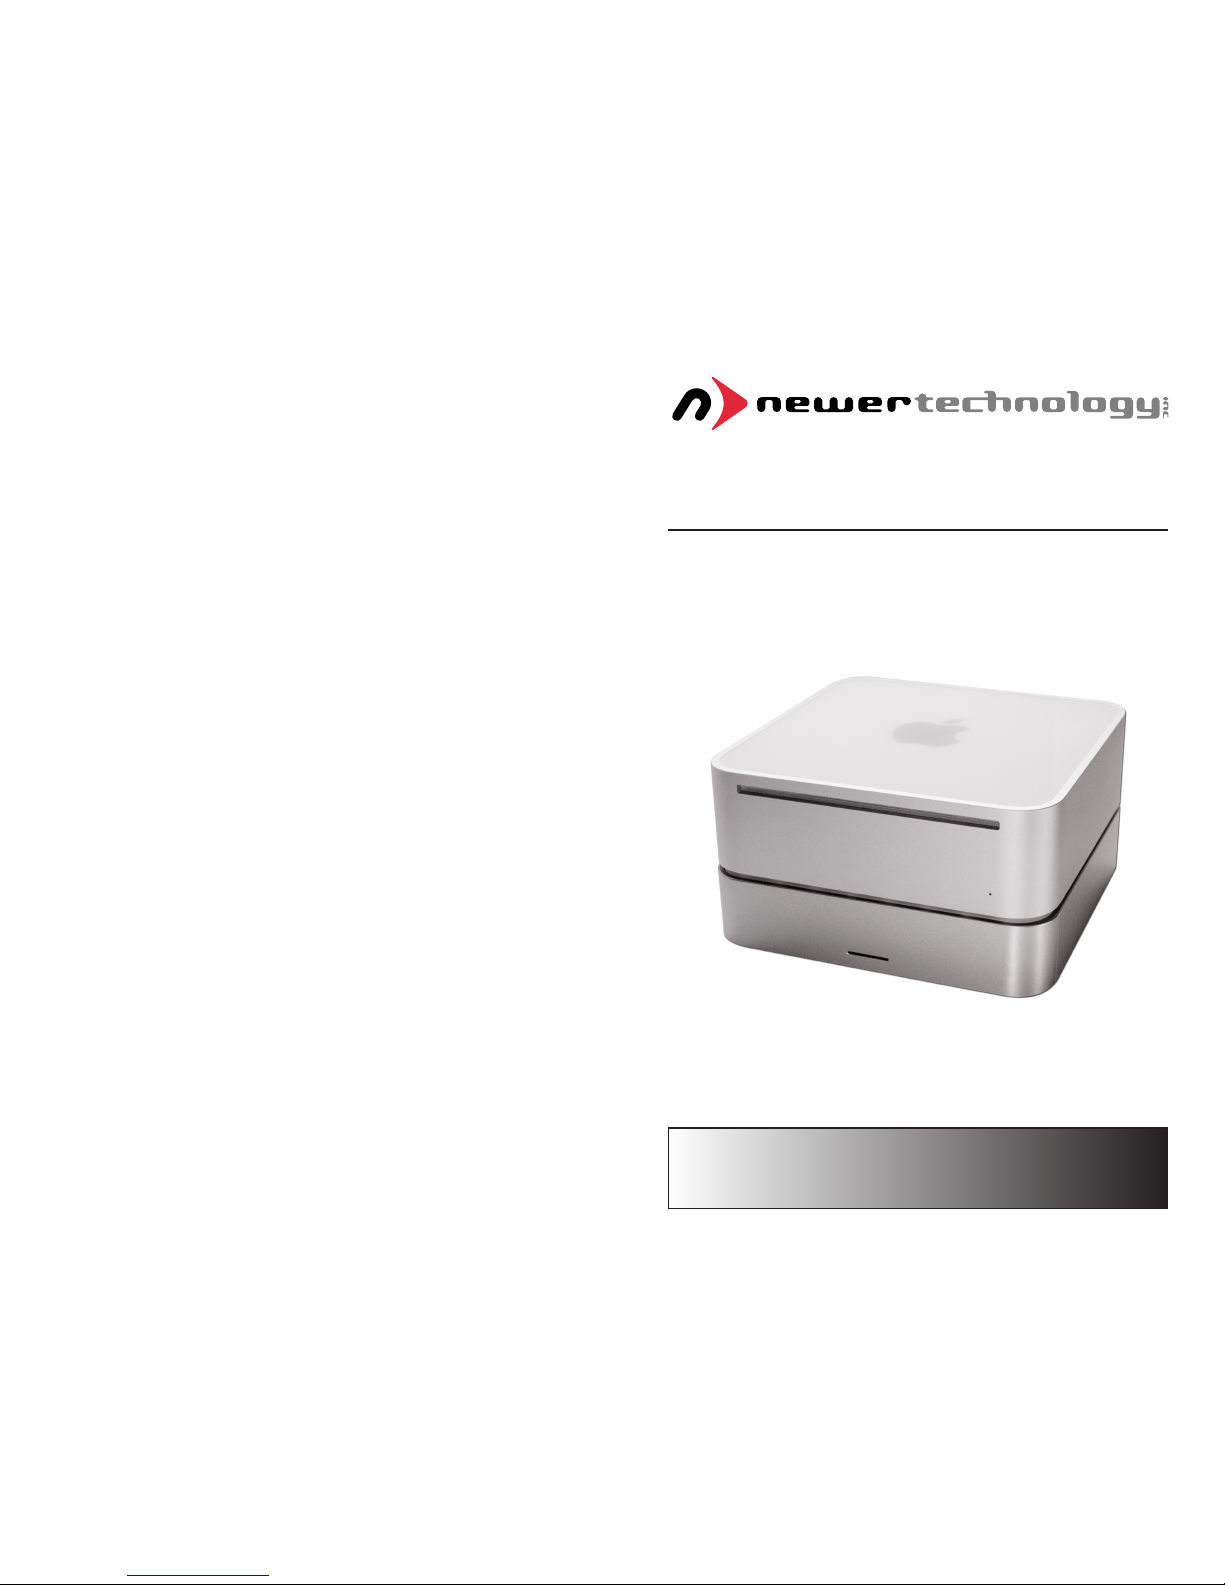
Thank you for purchasing your Newer Technology
miniStack, the easiest, most compact way to add
storage and expandability to your Mac mini!
The miniStack was designed just for your computer,
the Mac mini. It’s design perfectly compliments your
system!
Special Features of the Newer Technology miniStack
Cooling:
The Newer Technology miniStack v2 is made of high quality
plastic and integrates a smart interactive cooling system, which
automatically regulates and varies fan speed according to the
temperature of the hard drive. It also has a built in passive
aluminum radiator on the bottom of the miniStack v2, which
dissipates heat away from the hard drive without having to use
the cooling fan. This system extends the life of your hard drive by
keeping it cooler than a traditional external hard drive enclosure.
External Expansion:
The Newer Technology miniStack v2 features built in USB 2.0
and FireWire 400 (1394A) hubs allowing you to expand your
peripherals without adding external hubs which clutter up your
desk.
Internal Storage:
The Newer Technology miniStack v2 has a built in ATA connector
which supports large drive technology, oering massive storage
capacity! Simply place your own ATA hard drive inside the
miniStack v2 enclosure and connect using either FireWire 400 or
USB 2.0 - it’s that easy!
Formatting for use with Mac OS X:
Once formatted, you’re all set! Your new Newer Technology
miniStack is ready to use! Connect any USB or FireWire pe-
ripherals to the hubs and enjoy!
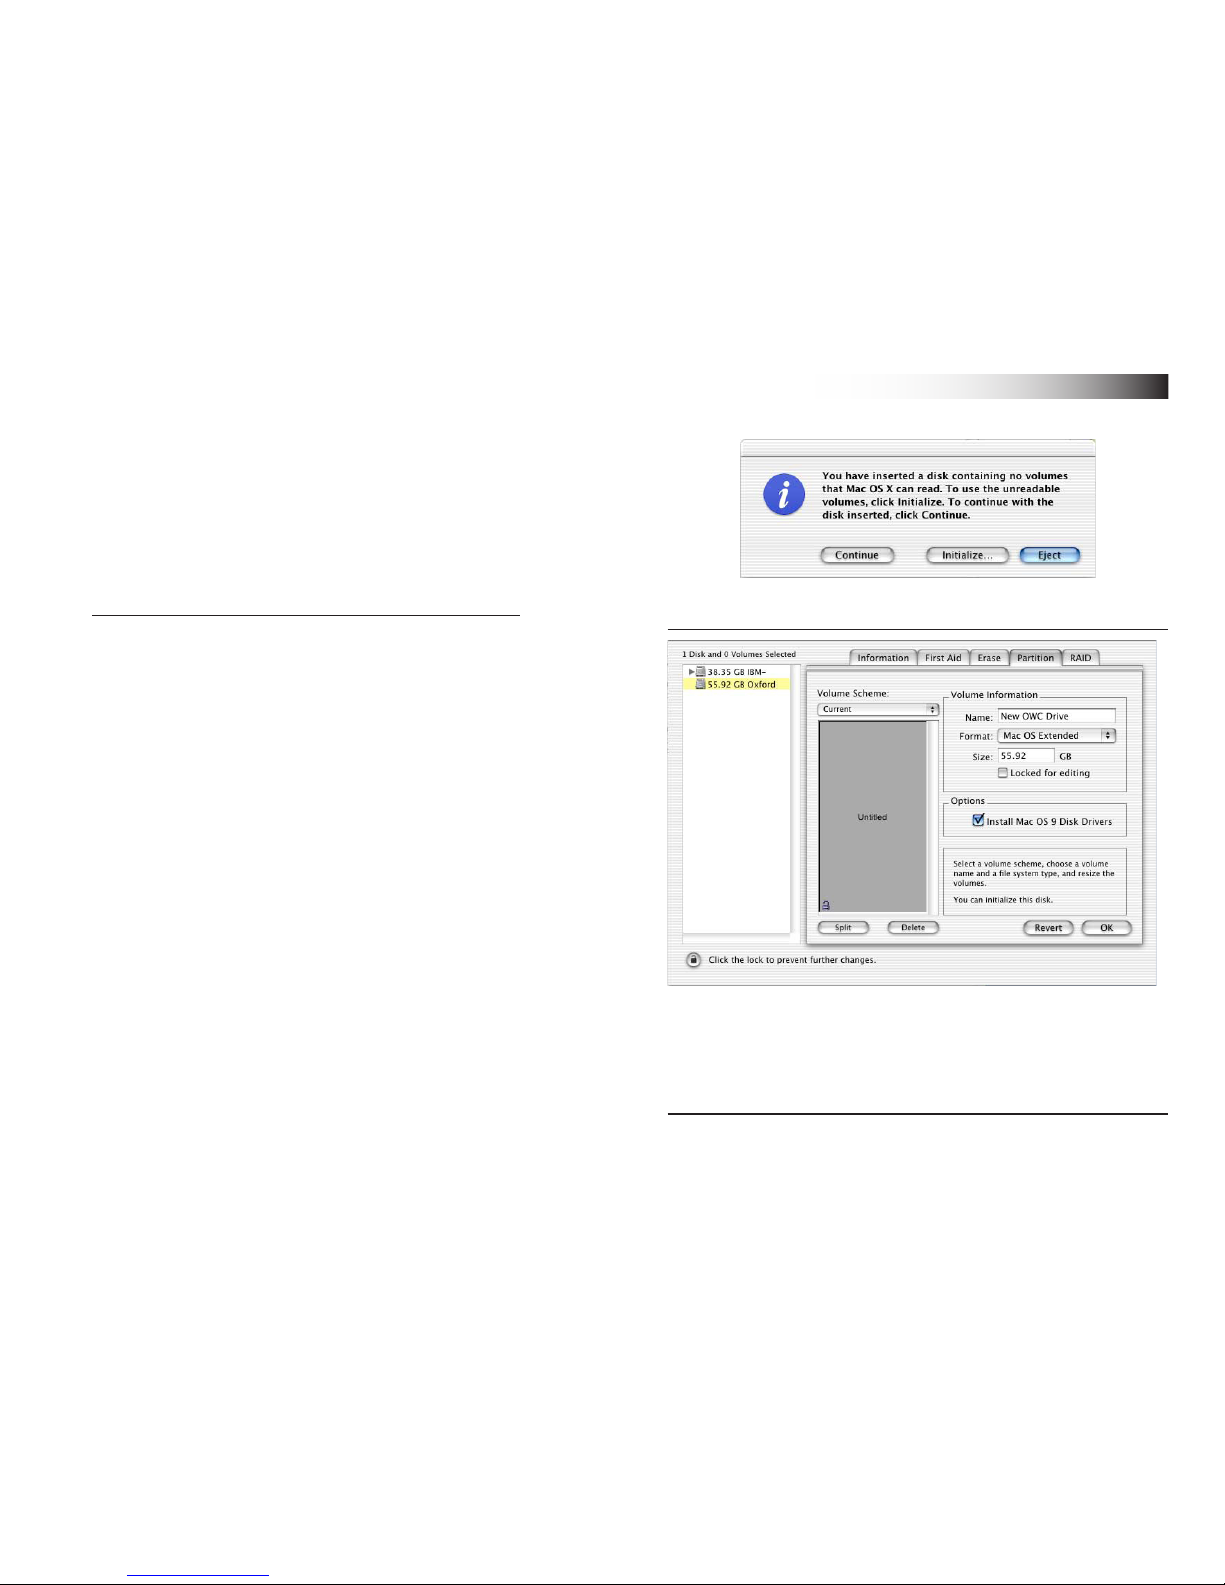
Upon initial boot of your new Newer Technology miniStack v2
drive, you will be greeted with the following dialog box:
Click on the initialize button to open Disk Utility to proceed with
initializing the new hard drive.
Click on the new hard drive with no volumes attached to it to
initialize the new drive mechanism. For full instructions, please
visit this web address:
http://eshop.macsales.com/tech_center/index.cfm?page=/
manuals/mercuryrewire/format/osx/osx1.html
2 7

Getting started using your Newer Technology miniStack:
Remove the Newer Technology miniStack v2 from it’s packaging
and examine the back of the enclosure. You will see the following
ports:
On/O Switch - Used to turn the miniStack v2 on. As long as the
power switch is in the ON position, the miniStack will power on
and o with your Mac mini - no need to shut the enclosure o
when done using your mini!
Power Receptacle - Used to power the miniStack
USB Ports - Add USB devices to your miniStack v2 here
USB Uplink Port - Connect your Mac mini to the miniStack v2
here
FireWire Ports- Connect one FireWire port to your Mac
mini using the included cable, and have 2 extra ports to add
peripherals with!
Fan Exhaust Port - Warm air is vented here from your miniStack
Connection Switch - Set to Auto, either the USB or 1394
connection will be used to interconnect your miniStack to your
Mac mini. Set to 1394A, the miniStack v2 will always connect
using FireWire (recommended)
Security Slot - Secure your miniStack v2 to your desk using a
Kensington MicroSaver Security Cable (not included)
3
System Setup:
Your miniStack v2 external drive enclosure and expansion hub is
simple to connect to your Mac mini.
Here are a few tips to get the most out of your new external storage
and expansion device:
• Place your miniStack v2 enclosure underneath your Mac mini
• Do not place anything behind your miniStack that would block
airow
• Treat your miniStack v2 just like you treat your Mac mini - keep it dry,
cool, and out of direct sunlight
• Always check any peripheral cable that you are going to use with
your miniStack enclosure for damage before hooking them up
Hard Disk Mode:
On the back of the miniStack v2 you will see a switch marked Auto
and 1394. Set the switch to 1394 if you plan to have your Mac mini
hooked to your miniStack all the time and it will automatically use the
FireWire/1394 connection to interface with your internal hard drive
inside the miniStack v2. If you’re going to use the USB 2.0 connection
to hook up to the hard drive, set the switch to Auto.
We recommend the FireWire connection for maximum speed.
Hub Connection:
To use either the USB 2.0 or FireWire 1394A Hub feature, you must
interconnect the cables provided between your Mac mini and the
miniStack. Connect the FireWire cable between the computer and
enclosure using any of the 3 FireWire ports on the miniStack, and the
one FireWire connection on the Mac mini. The USB 2.0 connection
between the machines is the same, except use the USB 2.0 Uplink port
on the miniStack and any of the 3 ports on the Mac mini.
Fan Settings:
The miniStack v2 has a cooling fan that will monitor thermal tempera-
tures inside the drive enclosure and only turn on when needed. There
are no adjustments to change the speed of the fan.
6

Package Contents:
• Newer Technology miniStack v2 Enclosure
• External Power adapter
Input 100-240V, Output +12V/2A, +5V/2A
Hard Drive Screws
• Power Cord
• USB 2.0 A-B Interconnect Cable (15”)
• 1394A 6-6 Interconnect Cable (15”)
Hard Drive Installation:
1. Begin by removing the 4 Phillips screws from the bottom
of the Newer Technology miniStack v2 enclosure. Remove the
drive carrier from inside of the Newer Technology miniStack v2
enclosure.
Please observe all static safe
precautions before proceeding.
Discharge any excess static
electicity safely before
removing any electronic
component from it’s protective
anti-static bag.
4
2. Make certain that the hard drive mechanism you’re installing
inside the Newer Technology miniStack v2 enclosure is set to
MASTER before installing. You can nd this information either
on the drive mechanism, or by visiting the drive manufacturer’s
website.
Place the ATA drive onto the mounting bracket as shown. The
connecting cables need to be positioned to the left, with the
opening in the drive bracket to the top. Once inserted properly
into the bracket, insert the 4 included screws to fasten it securely.
3. Place the drive and bracket inside the Newer Technology
miniStack v2 enclosure, routing the power and ATA cables to
avoid pinching them. The ATA cable will need to be folded at a 45
degree angle once it’s set into the drive enclosure.
Take the black and white wire at the bottom left of the enclosure
in this picture and tape the thermal probe (the blue portion of
the wire) onto the center of the hard drive using the enclosed
piece of tape. Once the drive is inserted, replace the 4 Phillips
screws on the bottom of the enclosure to fully secure the drive
carrier. Make sure that all wires are as at as possible and place
the plastic top back onto the drive enclosure. Be sure before
continuing that there are no bulges in the top cover.
5
Other Newer Technology Enclosure manuals


Popular Enclosure manuals by other brands

Ericsson
Ericsson BDV BS 101 01 installation instructions

Kingwin
Kingwin F-35U-BK installation guide

SilverStone
SilverStone PT13 user manual

Dormakaba
Dormakaba Crane 4000LE Installation, Setup and Troubleshooting Manual

Kingston Technology
Kingston Technology DATA EXPRESS DE90 installation manual

Genz Benz
Genz Benz V-Fold owner's manual


