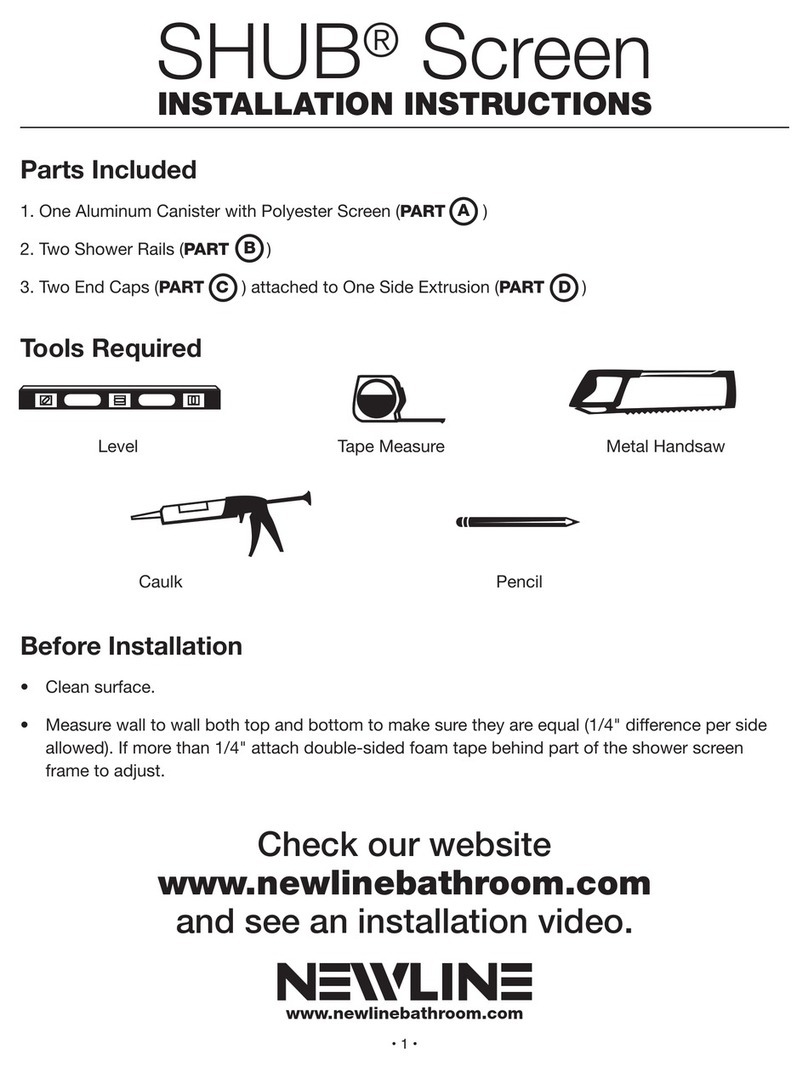
NewLine Acclaim Neo User manual

Acclaim Neo
Important!
INSTRUCTION MANUAL
July 2018
1. When you receive your Acclaim shower check contents for any freight damage or defect.
2. If this is a Custom Order the size will be in the outside of the box. Check this is correct.
3. Advise Newline on 0508 639 5463 if any damage has occurred or questions on the size
within 8 hours of receiving the goods so this is can be rectied.
4. Do not proceed with installation until resolved as there cannot be a valid claim later.
CODE: G9632

WARRANTY
• Faulty goods are covered under warranty for 5 years. Visit www.newline.co.nz for warranty information.
• Breakages incurred during construction are not covered under warranty.
• Installations must conform to the instructions to be covered by the warranty.
HEALTH AND SAFETY
Toughened Glass:
• Do not rework precut glass panels. Cutting or altering a glass panel will cause it to explode without warning.
• Unpack all glass assemblies. Stand glass on soft packaging on the oor and against a wall. Care must be taken
not to strike any edge or corner against a hard surface as this will chip and destroy the glass panel.
Installation:
• Glass panels and assemblies are heavy. Two man lifting is recommended for handling and installation.
• Determine positioning of wiring and piping within wall cavities before shower installation. Mark their positions to
ensure electrical and piping areas are avoided.
• Wear appropriate protective clothing and eye protection during installation.
MATERIALS SUPPLIED
• 1x Silicone Bostik V60
• 1x Self-Adhesive Acrylic Packers
• 2x Nylon Packers
TOOLS REQUIRED
AFTERCARE
The shower must be squeegeed down after each shower. Thoroughly clean weekly with a microber cloth, mild
detergent and water. Rinse with clean water and squeegee and wiped dry.
NEWLINE RECOMMENDS A SKILLED TRADESMAN ANTIQUATED WITH SHOWER
INSTALLATIONS IS USED TO ENSURE THE VERY BEST OUTCOME.
DOOR SET / IMPORTANT INFORMATION
Self adhesive blocks
Nylon packer packers

• Exploded View Diagram & Component list Page 4
• Lay-out Page & Dimension Table A Page 5
• Installation Steps Page Page 6
INDEX
ENSURE YOU TICK THE SPECIFIC BOXES THAT APPLY AS YOU PROGRESS
Floor & Walls: Floor must level with no deection and walls plumb and at. This is of all importance for a
successful installation.
Tray: Installation for Tile trays supplied with the specic Tray ordered
Frame:
1. Wall Prole options
Hob Tile Tray: Centred 45mm o nished tile edge. (This will allow 32mm o tray before tiling)
Level Entry: Centred at the transition line (where slope begins)
2. Solid xings for wall mounted plumbing ttings
Consult with the plumber.
Wet Grade Lining: The frame must be lined with a Wet Grade lining that meets the NZ building Code Clause
E3. Installation must be fastened to manufactures specications for Tile loadings.
Plumbing: Use a registered plumber for installation all supply and waste items prior to Tray and Wall linings
Waterproong “Pronsh Tile Trays”: This must comply with AS/NZS 4858:2004 and be undertaken by
certied applicator and a Producer Statement provided. There is a list of proven systems on our website
www.newline.co.nz
Tiling:
1. Newline requires the use of complete systems by licenced/trained applicators. Waterproong, Tile
Adhesive, Grouting and Silicone detailing for full accountability and performance requirements.
2. The tiles must conform to gradients provide with the “ProFinish Tile Tray” to comply to NZ Building
Code.
3. The line where shower frame sits must be level for an acceptable install of the shower.
PREPARATION CHECKLIST

4
EXPLODED VIEW 2 SIDED - CHROME
ACCLAIM SHOWER 2 SIDED COMPONENT LIST - CHROME
Part Number QTY Part Number QTY
110mm Fixed Glass Panel 110 Waterbar Clips LH & RH H6355 2
210mm Door Glass B2343 1 11 Threshold Waterbar A9076 1
3 10mm Glass Hinge Panel 112 Fastening Screw Pack H1665 1
4Glass Lintel C2879 16 x 40 Pan square screws x 9
5Wall Proles A1887 2 4 x CSK Machine Screws
61 x Curved Handle H5498 16gauge x 12mm Pan square screws x 5
71 x Set 135 Degree Hinges H5535 2 Screw cap covers x 5
8Glass Lintel Clips H5412 4Wall plugs x 9
9Bottom Door Seal I5979 1
Fastening Screw Pack
H1665
1 2
4
5 5
6
7
7
9
8
10
11
3

5
STEP 1
• Identify your installation measurement from the Frame Dimensions Table “A”. Mark the position of the
outside of the Wall Proles on the sill
• If this is a custom order the size will be printed on the outside of the packaging
• Bond the Wall Proles to the Tiled Wall. (Note Below)
• Mark the Floor Channels. (dotted line) 2mm inside Wall Prole
INSTALLATION LAYOUT
Dimension Table “A”
Pronish Tray Size Minimum to Maximum
900 x 900 864 to 876mm
1000 x 1000 964 to 976mm
1100 x 1100 1064 to 1076mm
PLEASE NOTE:
Waterproong warranties will potentially be void if there are penetrations through the membrane. Use Bostik
V60 to bond wall channels to the tiles. Allow to cure as cartridge information.
If penetrations’ through the waterproong are undertaken you must ensure you have an acceptable solution
and if using anchors’ these must be below the wall cladding surface. Record the details as the installer is
wholly responsible for failures.

6
INSTALLATION
STEP 2
Fit Fixed Glass Panels
1. Ensure the xed panel with the cut outs is placed on the side as ordered.
2. Fit the Glass Panels progressively into the Wall Proles until outer glass edge is at Door line.
(Prevents horizontal scratching of inner proles).
45°

7
INSTALLATION
STEP 3
• Apply silicone into end of Side panel oor proles to hold base at this point when cured.
• Take the Waterbar, LH & RH brackets and t assembly in place. Note: the Waterbar requires a bead of silicone
underneath and the brackets sealed to the lower proles both sides and oor
• Equalise the glass panels to boundary line and make sure the Door Gap remains at 656mm top and bottom.
• Use the self-adhesive packers to hold xed glass in place and tape the Waterbar to the tray.
Corner Bracket
Water Bar

8
INSTALLATION
STEP 4
• Install the glass lintel to the top edge of the glass panels, using four clamps along the top edge of the panels.
• Ensure the Door gap remains at 656mm top and bottom.
STEP 5
• Re check the glass is still aligned correctly to the Tile Tray.
• Screw with 12 gauge pan head screws and add cover caps.

9
INSTALLATION
STEP 6
• Attach the hinges to hinged panel and x the handle, and then install the door glass. Close the door carefully
and adjust for even clearance in the door opening.
STEP 7
• Silicone seal the outside boundary as indicated lines.
• Tape the Door closed with packers installed to stop the door sagging.
• Leave for 24 hours until silicone has cured.

10
Head Oce: 3 Hynds Road, Greerton, Tauranga 3112
Email: [email protected]
Freephone: 0508 639 5463 Phone: 09 444 2053 Fax: 09 443 0044
www.newline.co.nz
COMPANY PRIMER PRODUCTS CONTACT WARRANTY
ARDEX Prep: Wipe down with
damp cloth - No primer
1. ARDEX WPM 155 Rapid
(1 Part Poly- Acrylic)
2. Ardex Superex WPM 002 (2Part)
3. ARDEX WPM 750 WeldTec
Undertile Sheet Membrane*
Ronald Rose 027 838 5691
ronald.r[email protected]
15years
*20years
DAVCO
Tilemax Ltd
Davco Primex 1. Davco K10 Plus - Polyurathane
(Coat Primex within 24 hrs)
2. Davco K10 Rapid
Isaac Gordan 022 127 7694
15 years
DRIBOND
CONSTRUCTION
CHEMICALS
Primax Bonding slurry -
Kemcrete mixed 50/50
with cement or Gripex
1. Hydrathane
2. Liquid Flash 2- Pack
3. Reomat b/breaking Tapes
Steve Plester 022 1205416
15years
LADICRETE
GLOBAL TILE
Prep: as instructions
No Primer
Hydro Ban SBR Chris Anderson 021 784 162
15years
MAPEI Ecoprim Grip (1part)
Magelastic SP (2 part)
1. Mapelastic AquaDefence
2. Mapegum WPS
3. Mapelastic Smart (2part)
Heidi Clark 027 6455 122
15 years
SIKA (NZ) Per Instructions Sikalastic-152 Andy Williams 09 820 2900
021 421 084
15 years
Tiling Trade
Supplies
T/A Technokolla NZ
Prep: Clean and Vac
surface.
Technokolla 101
1. Technokolla RL80 SeamTape joins
Rasolastic Advance. Two Part
2. Strataex & Rasogum over laps
Dave Boyes 0275 635 891
15 years
WATERPROOFING
• The Independent Waterproong Companies listed below have tested their systems and
procedures on Newline Pronish Tile Trays. This represents years of proven track record.
• At the time of publication all Waterproong Systems hold a BRANZ Appraisal.
• All the Waterproong Systems listed have an aligned Tiling Systems. You must use the associated
Waterproong & Tiling system for compatibility, performance and accountability.
• A Producer Statement must be provided to the Council Authority and Owner detailing the
Waterproong applicator ID or Code. As an appendage also include the tiling system utilised.
• Applicators must be trained and hold current Accreditation with the respective system being
utilised for the Warranty to be valid. We advise you to ask for these credentials.
• Newline warrants the performance and integrity of the Pronish Tile Shower Base for 20 years.
Non-conformity to installation instructions has the risk of failure.
• All Waterproong and Tile Installation must be installed as per manufactures Specications as any
deviation from the instructions may result in a performance failure.
• All Tiling must follow BRANZ Good Tiling Practice.
Tile Tray Waterproong
* This document is current as of 9 May 2018.
Table of contents
Other NewLine Plumbing Product manuals
Popular Plumbing Product manuals by other brands

Bristan
Bristan R2 SHXRR C Installation instructions and user guide

Moen
Moen Show House S881 Series user manual

Glacier bay
Glacier bay HD67701W-6001 Installation and care guide

Ridder
Ridder Assistent A0070700 quick start guide

Sanela
Sanela SLZN 83ER2 Instructions for use

Brizo
Brizo 68414 Series quick start guide

agape
agape PETRA AKIT092 Assembly instructions

Hans Grohe
Hans Grohe PuraVida 15445 Series Instructions for use

Black & Decker
Black & Decker Price Pfister 48-N Series manual

ZUCCHETTI
ZUCCHETTI Bellagio ZB1481 Instruction for the installation

Moen
Moen 9419F12 manual

Oras
Oras Optima 7160 Installation and maintenance guide